Phone:
(701)814-6992
Physical address:
6296 Donnelly Plaza
Ratkeville, Bahamas.

Phone:
(701)814-6992
Physical address:
6296 Donnelly Plaza
Ratkeville, Bahamas.
Old paving removed & a renewed garden approach
Nashkov Group Construction LLC removed the old paving and installed new pavers along this front walkway. Rectangular gray units and darker perimeter borders give the route a renewed appearance between the garden beds and the entrance steps. Explore the original surface, the removal stage and the completed path.
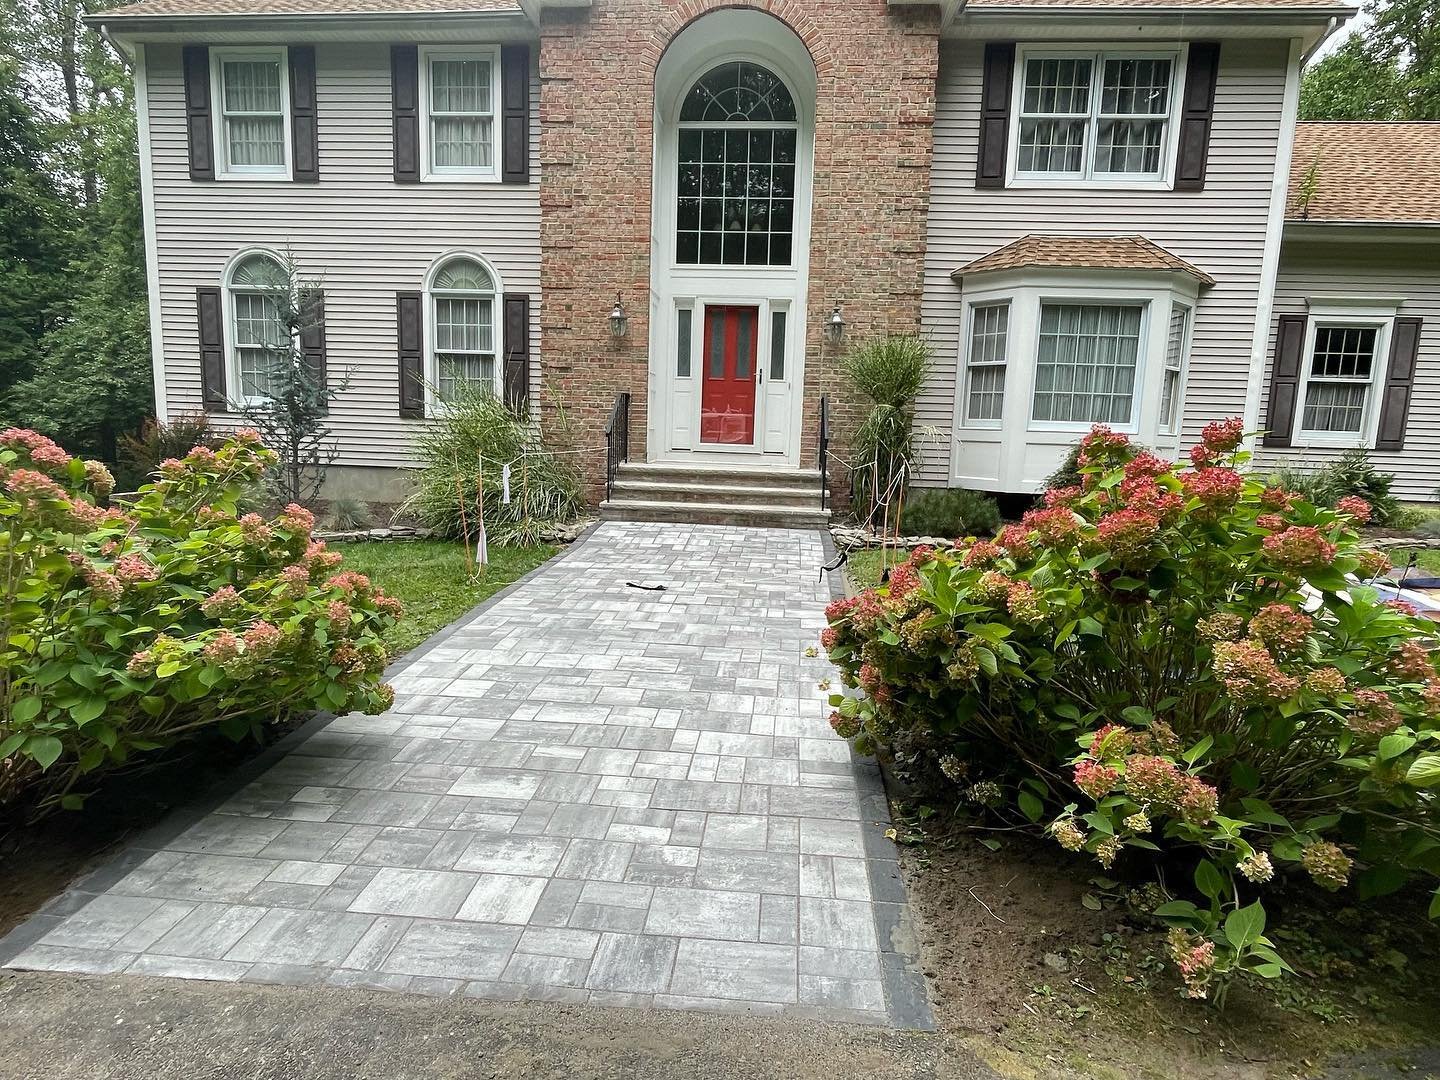 AFTER
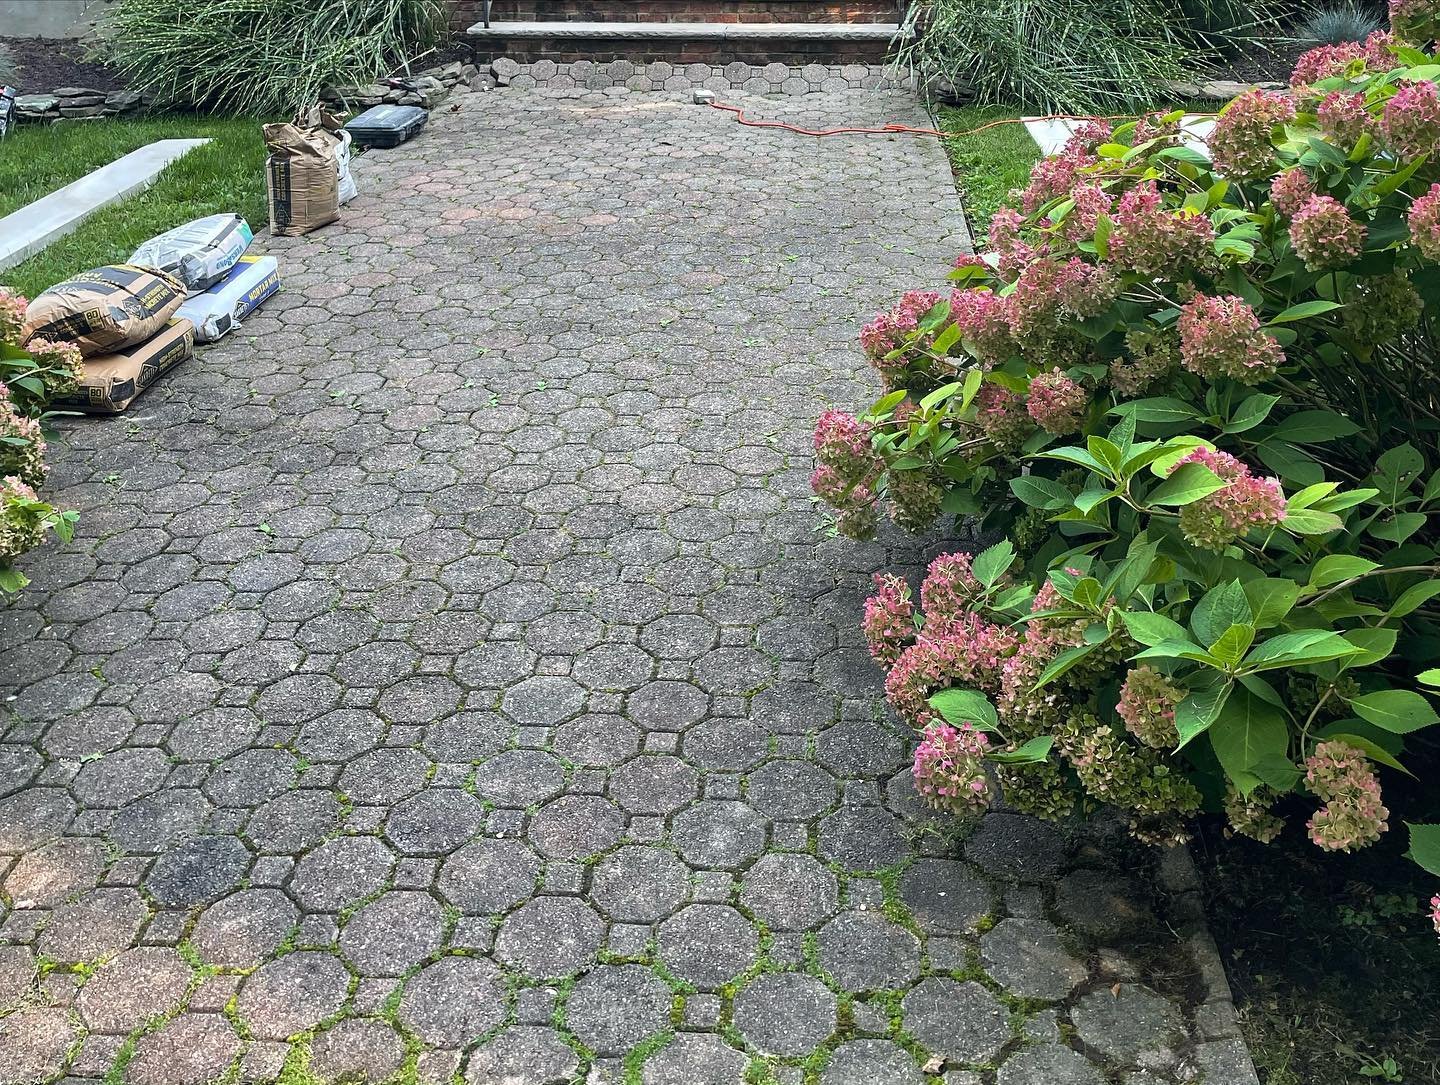 BEFORE
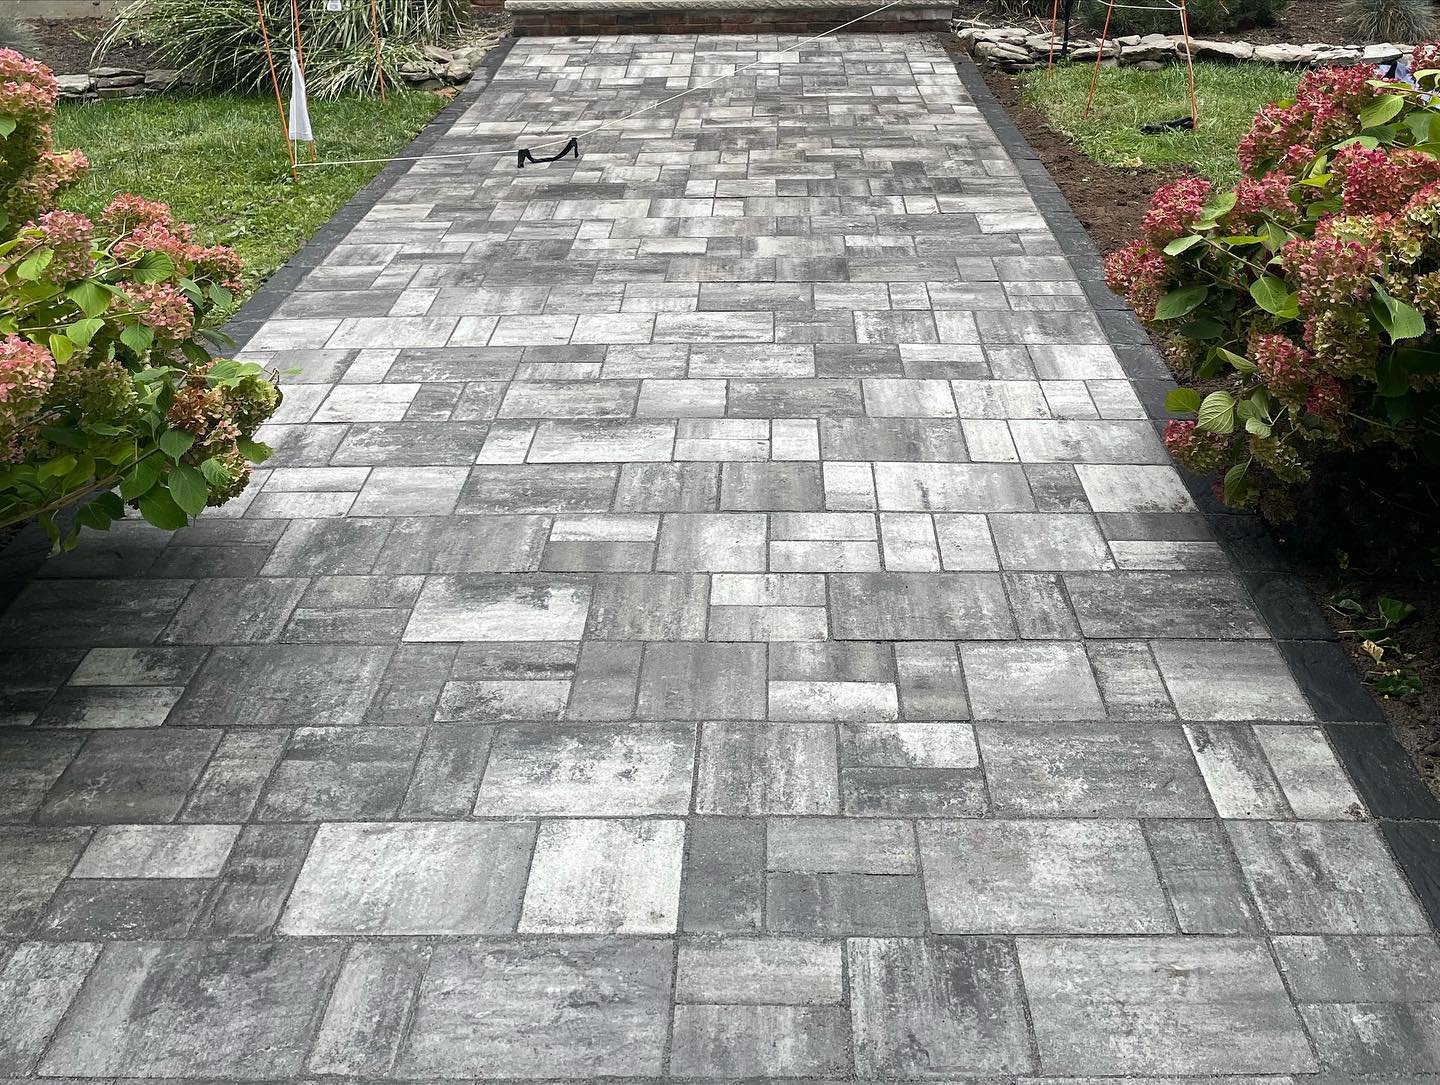
Move the slider to compare the original patterned paving with the renewed front walkway. The completed entrance steps belong to the separate limestone and railing project linked below.
The walkway project focused on replacing the old paving surface along the route to the front entrance.
Follow the original condition, the removal work and the finished result. Select a photograph to view the full image, then browse with the arrows, keyboard or a swipe.
Stage 01
The earlier view shows small patterned paving units leading through the planted front garden. Darkened joints and uneven color across the old surface give the route a worn appearance.
The original path establishes the area that was renewed with the new rectangular paving layout.
Stage 02
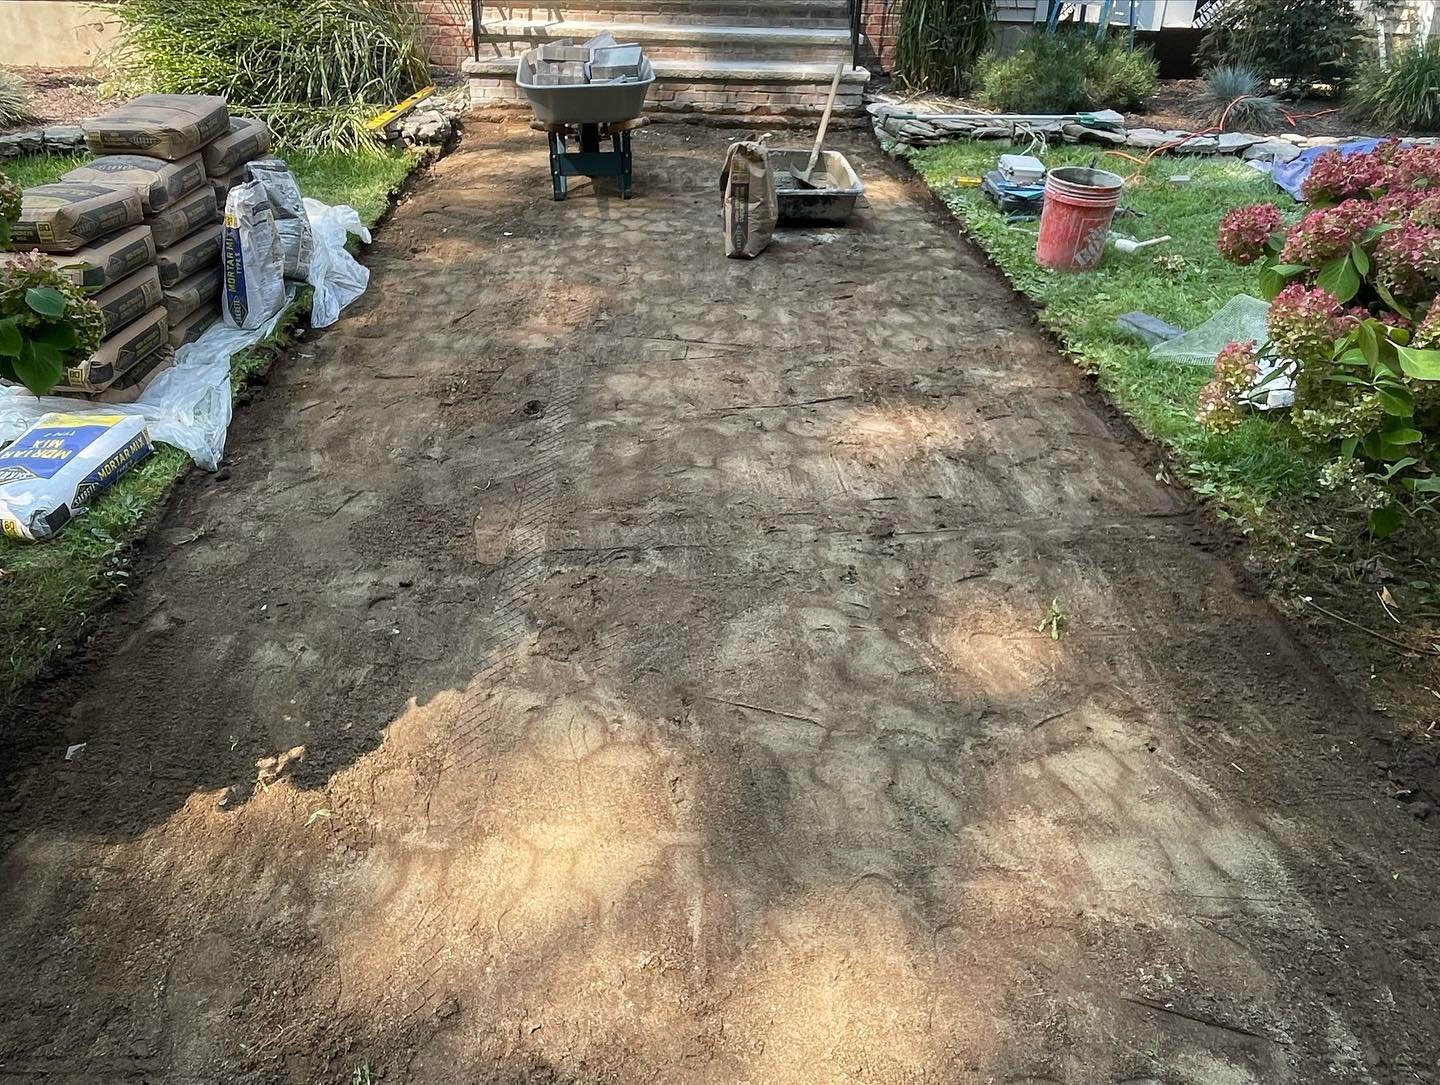
The old paving units were dismantled and removed from the path. The work-stage photograph shows the underlying surface exposed, with removed material and installation supplies set beside the route.
This stage opens the walkway area for the new paving installation between the garden beds.
Stage 03
New rectangular gray pavers were installed across the path, with darker strips defining the outer edges. The closer view shows the varied gray tones and the repeated arrangement of the paving units.
The wider finished view follows the renewed walkway toward the entrance. The path now brings the front garden and the separately renovated limestone steps together visually.
Planning to replace old paving around your home? Send Nashkov Group Construction LLC photographs of the path and your property location. We can discuss the route, paving choices, project scope and an on-site visit.
Discuss your walkway project