Phone:
(848)318-7679
Physical address:
954 Vaughn Ave, Toms River 08753

Phone:
(848)318-7679
Physical address:
954 Vaughn Ave, Toms River 08753
Project story
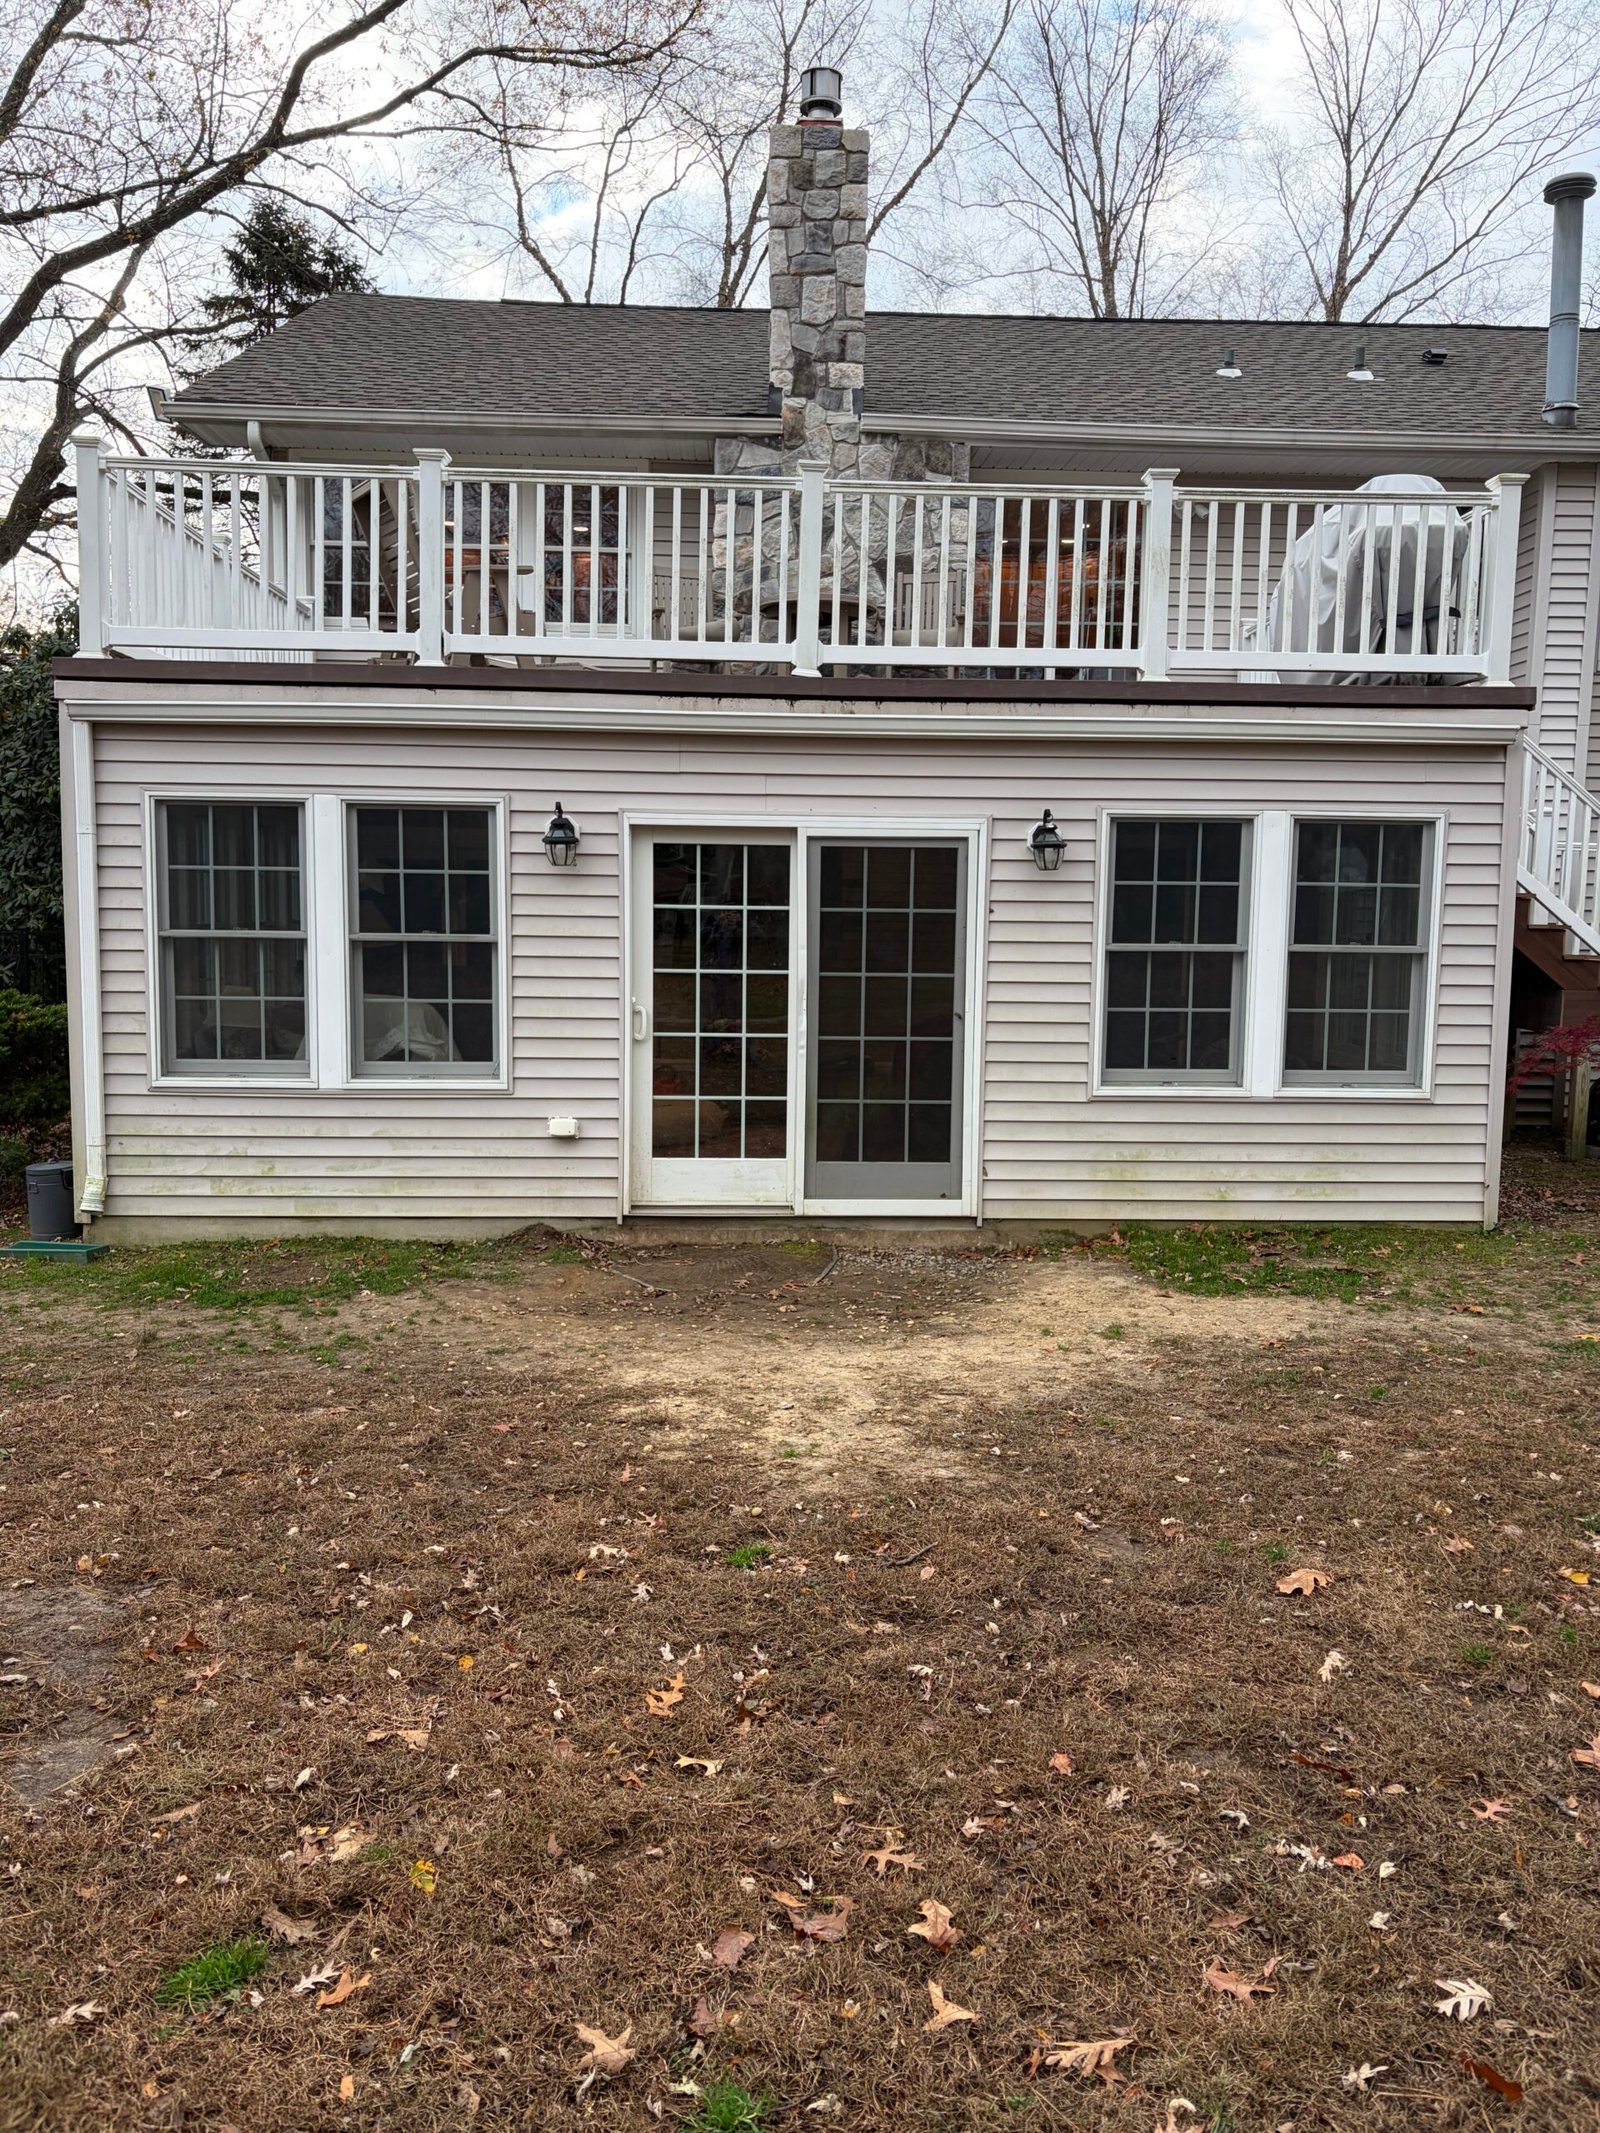
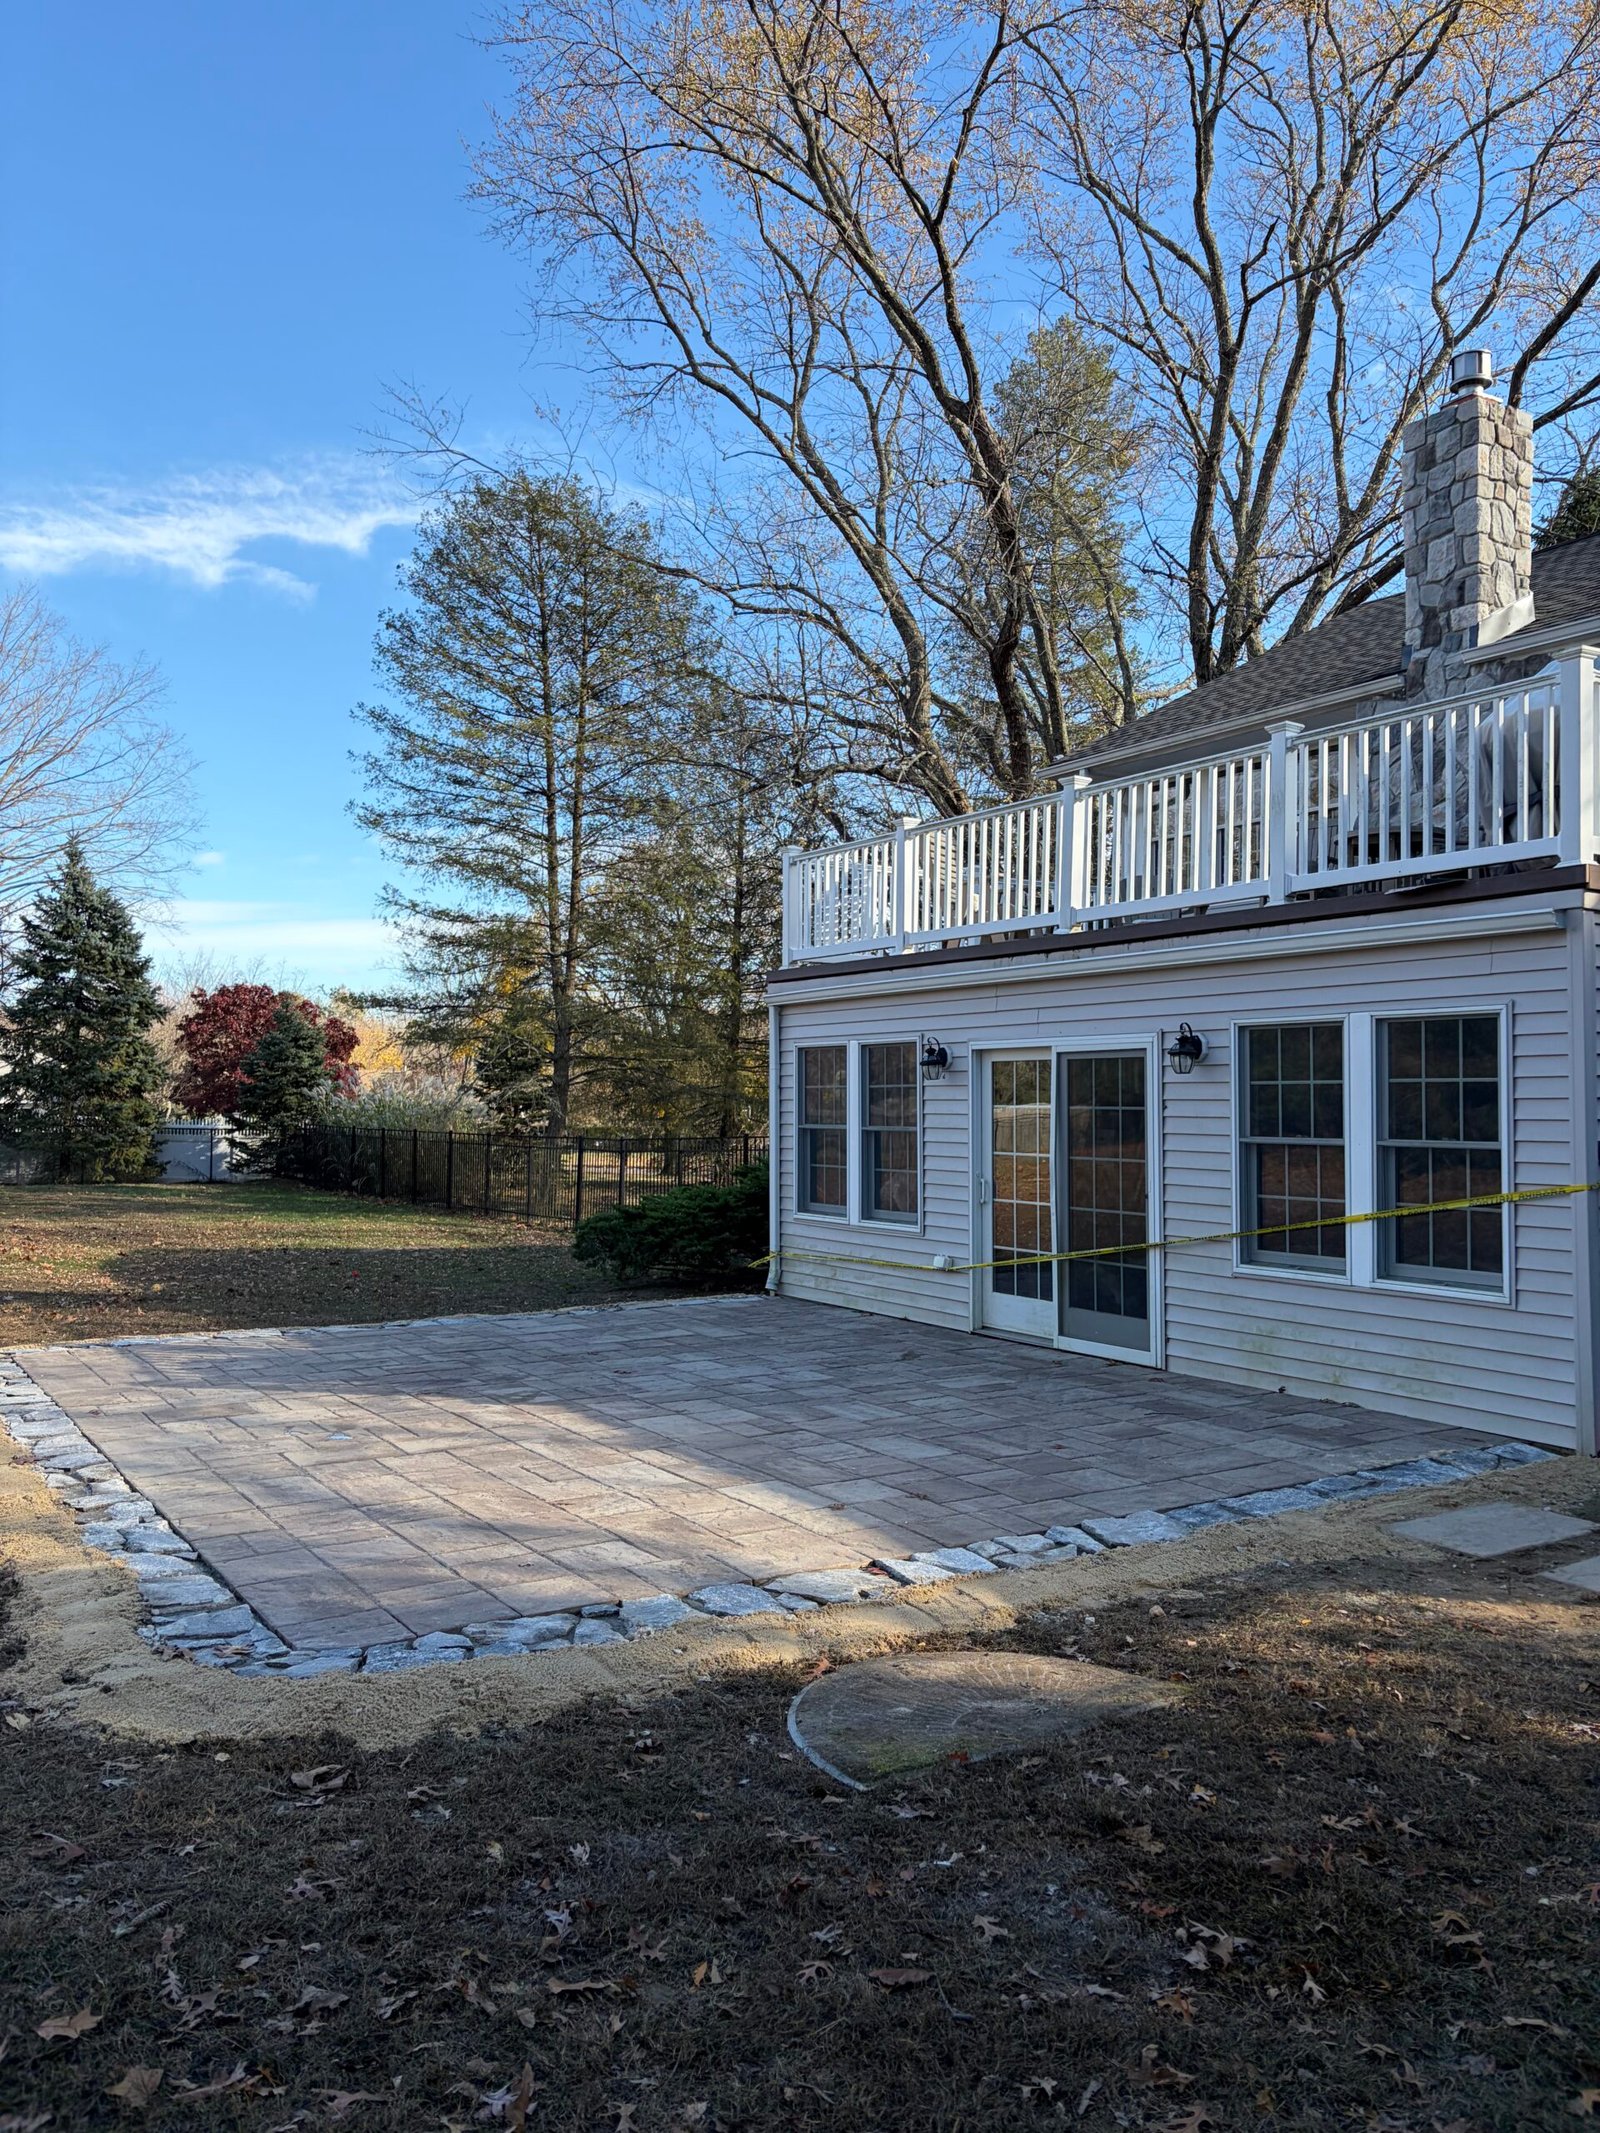
A new place to spend time outside, directly beside the rear doors. Gray pavers in a mixed rectangular pattern and a rough stone border turn an open patch of yard into a defined patio. Explore the preparation, base compaction, bedding and paving behind the finished surface.
 AFTER
 BEFORE
 AFTER
 BEFORE
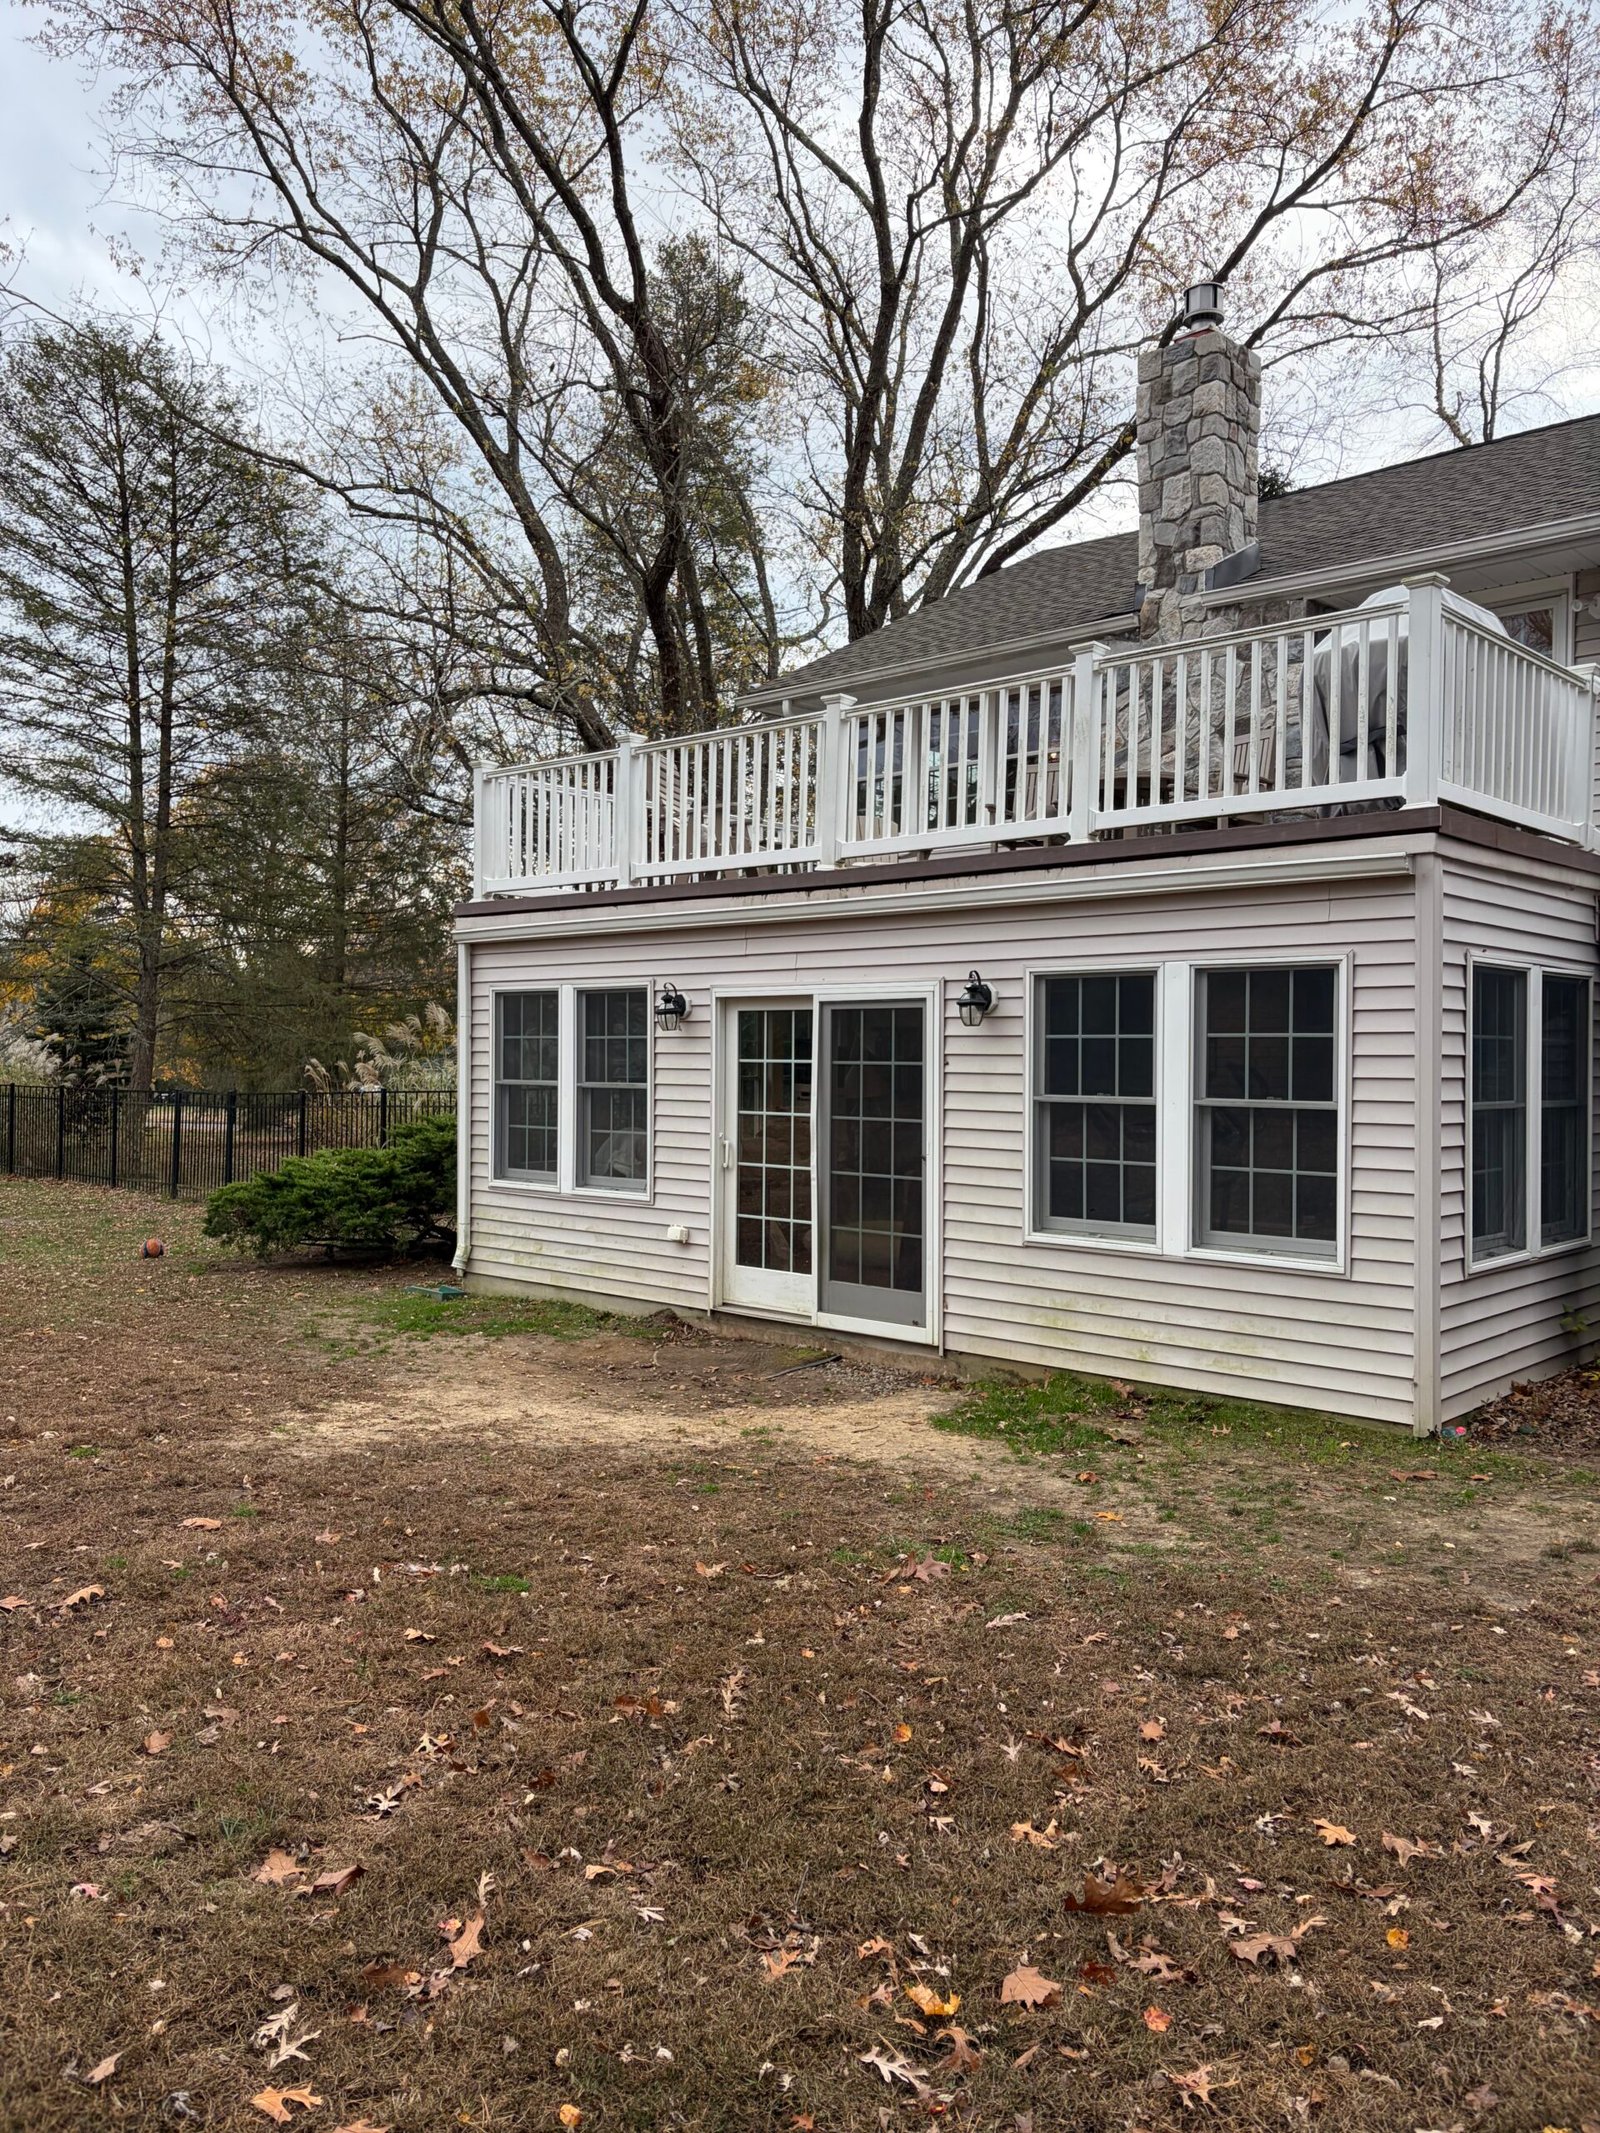
Move either slider to compare the original area with the completed paving. The photographs were taken at different times and from slightly different positions.
The work began with unpaved ground beneath the upper deck and outside the rear doors. A patio footprint was opened, filled with granular material and compacted before a fine bedding layer was prepared for the pavers.
Gray rectangular pavers create the main surface, while rough stone edging defines the outer border. The patio meets the house at the rear doors and connects with a separate stepping-stone walkway around the side of the property.
Explore 7 stages with 20 selected photographs and 9 videos. Select a photograph to open the gallery, or play the videos beside the stages they document.
Stage 01
The rear doors originally opened onto an unpaved area of the yard. The starting views record the space beneath the upper deck, the rear corner of the house and the relationship to the existing side stairs.
These views establish the footprint of the new patio and the points it would connect: the rear doors, the open yard and the route around the house.
Stage 02
The surface was opened and the ground shaped into a defined area outside the rear doors. Removing the existing surface growth and preparing this footprint created room for the base and paving layers.
The two views show the area from the front and the rear corner before the aggregate was placed.
Stage 03
Granular material was brought into the marked footprint and spread across the prepared ground. The perimeter line kept the outline visible while wheelbarrows delivered material to the work area.
This stage established the base beneath the patio before compaction and the finer bedding work that followed.
This video could not be played here. Open the original video.
Watch this stage
Watch granular material being delivered by wheelbarrow and distributed within the marked patio footprint.
Stage 04
A plate compactor was worked across the granular base. The two compaction videos show this preparation from different positions around the patio.
Fine bedding material was then spread and leveled over the base. The photographs and final video in this stage follow the change from a partly covered base to a smooth surface ready for the pavers.
This video could not be played here. Open the original video.
Watch this stage
Follow the plate compactor across the granular base before the bedding layer and pavers were installed.
This video could not be played here. Open the original video.
Watch this stage
A closer view of the plate compactor working across the patio base, showing the preparation behind the paving surface.
This video could not be played here. Open the original video.
Watch this stage
See the smooth, prepared bedding area and its perimeter before the paver installation began.
Stage 05
Gray pavers were laid in a repeating arrangement of different rectangular sizes. The pattern fills the area outside the rear doors and carries across to the corner of the house.
At this stage the main paving surface was in place while the outer edge remained open for the stone border. The two videos follow the pattern and unfinished perimeter from different sides.
This video could not be played here. Open the original video.
Watch this stage
Move across the installed gray pavers while the surrounding edge is still awaiting its stone border.
This video could not be played here. Open the original video.
Watch this stage
A second view follows the mixed rectangular pattern and the unfinished outer edge before border work.
Stage 06
A line of rough stone units was fitted around the outer patio edge. Its lighter, uneven texture frames the regular paver pattern and gives the perimeter a distinct finish.
The closer view records the border and its visible outside support. Wider views show how the edging continues around the front and side of the paved area.
This video could not be played here. Open the original video.
Watch this stage
See the rough stone edging frame the new pavers, then follow the adjoining stepping-stone route toward the side gate.
Stage 07
The final views bring together the patterned gray paving, stone border and connection to the rear doors. Fine finishing material is visible across parts of the paver surface and joints.
The paving is complete in this sequence, with open soil still visible around the perimeter. The final videos show the patio from the house side and the yard, connecting the finished surface with its setting.
This video could not be played here. Open the original video.
Watch this stage
A final sweep follows the paving and stone edge, then continues to the stepping-stone walkway beside the house.
This video could not be played here. Open the original video.
Watch this stage
Look across the completed paver pattern toward the yard and follow the finished stone perimeter.
Browse all 20 stage photographs with the gallery arrows, your keyboard or a swipe on your phone.
The patterned pavers and stone border give the area beside the rear doors a clear purpose and a finished paving surface. The project sequence connects that result with the ground preparation, compacted base and bedding beneath it.
Explore the connecting side-yard walkway
Thinking about a new patio or a wider outdoor improvement? Share your property location, a few photographs and how you would like to use the space. Nashkov Group can help plan the layout, preparation and paving scope.
Discuss your patio project