Phone:
(848)318-7679
Physical address:
954 Vaughn Ave, Toms River 08753

Phone:
(848)318-7679
Physical address:
954 Vaughn Ave, Toms River 08753
Concrete removal. A renewed approach to the front door.
A worn concrete entrance path removed and replaced from the driveway connection to the front door. Follow the protection and demolition work, ground preparation, concrete mixing, placement and finished walkway, including the curved corner beside the garage.
Move the slider to compare the original entrance walkway with the completed replacement.
 AFTER
 BEFORE
The entrance path keeps its connection to the front door, planting bed, lawn and driveway. Replacing the old concrete renews the walking surface while bringing the straight approach and curved corner into one coordinated finish.
The comparison uses the completed final view. The photographs below show the intermediate removal and concrete-work stages before the later finished entrance.
Follow the walkway replacement from demolition and ground preparation to concrete placement and the finished entrance. Select a photo to open the complete image, then use the arrows, your keyboard or a swipe to browse the gallery. Videos sit alongside the work they show.
Stage 01
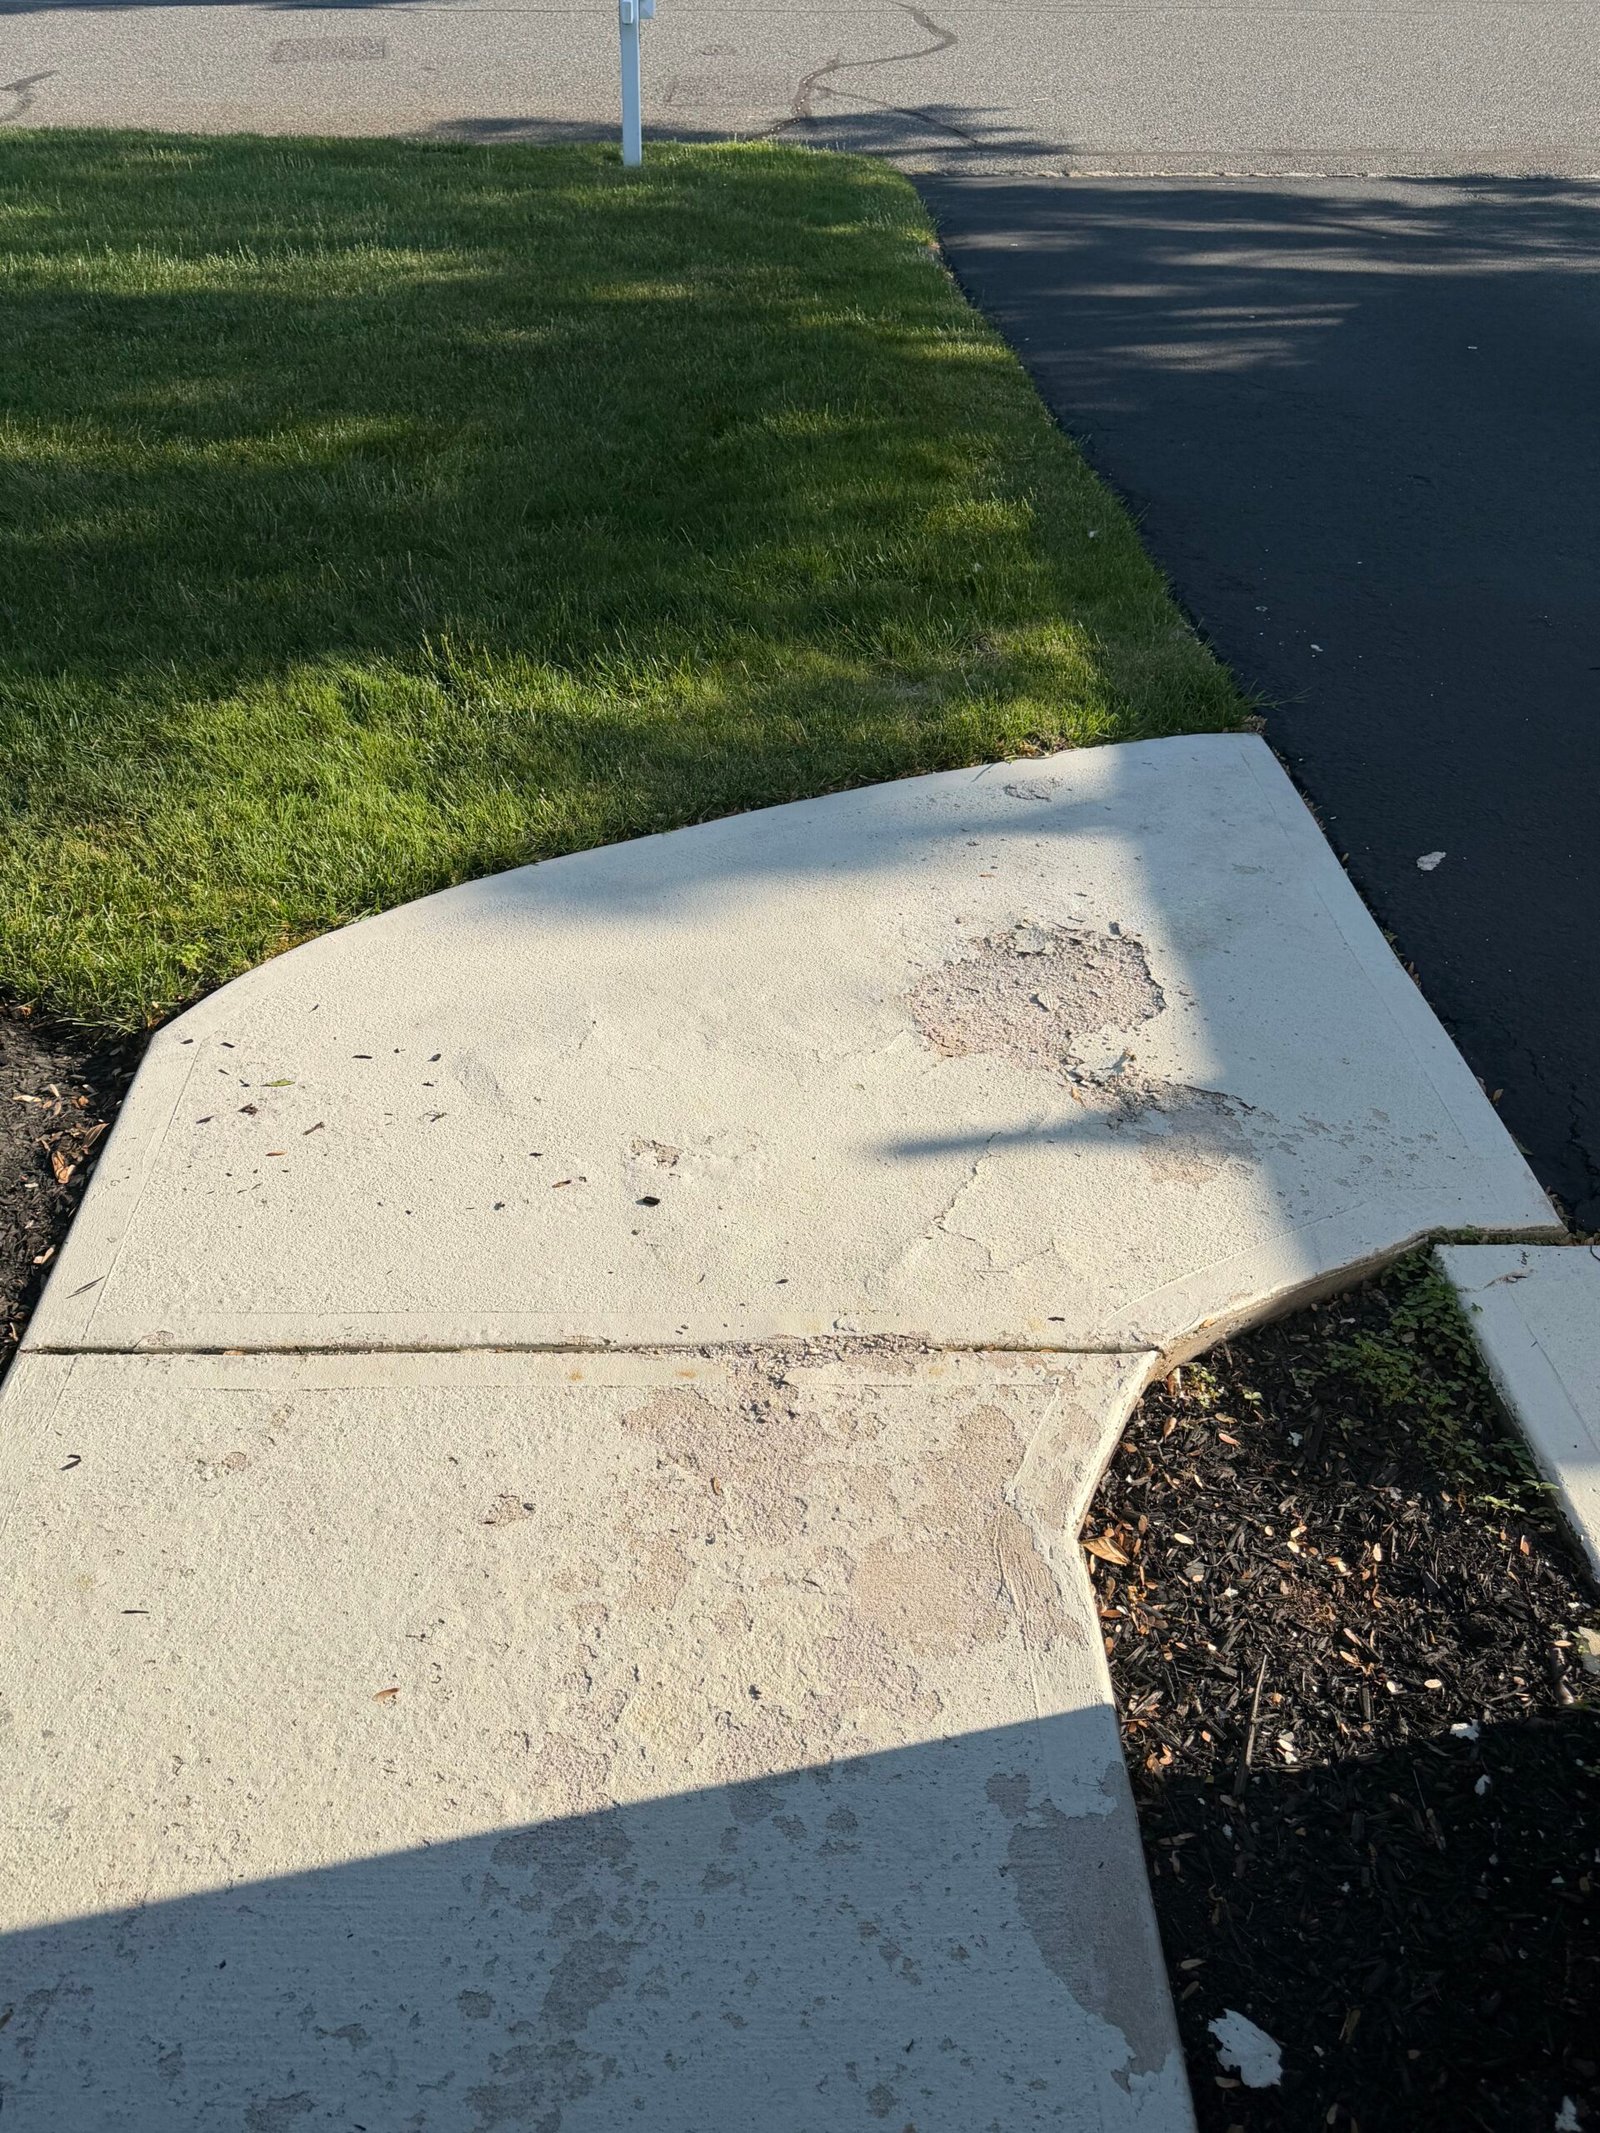
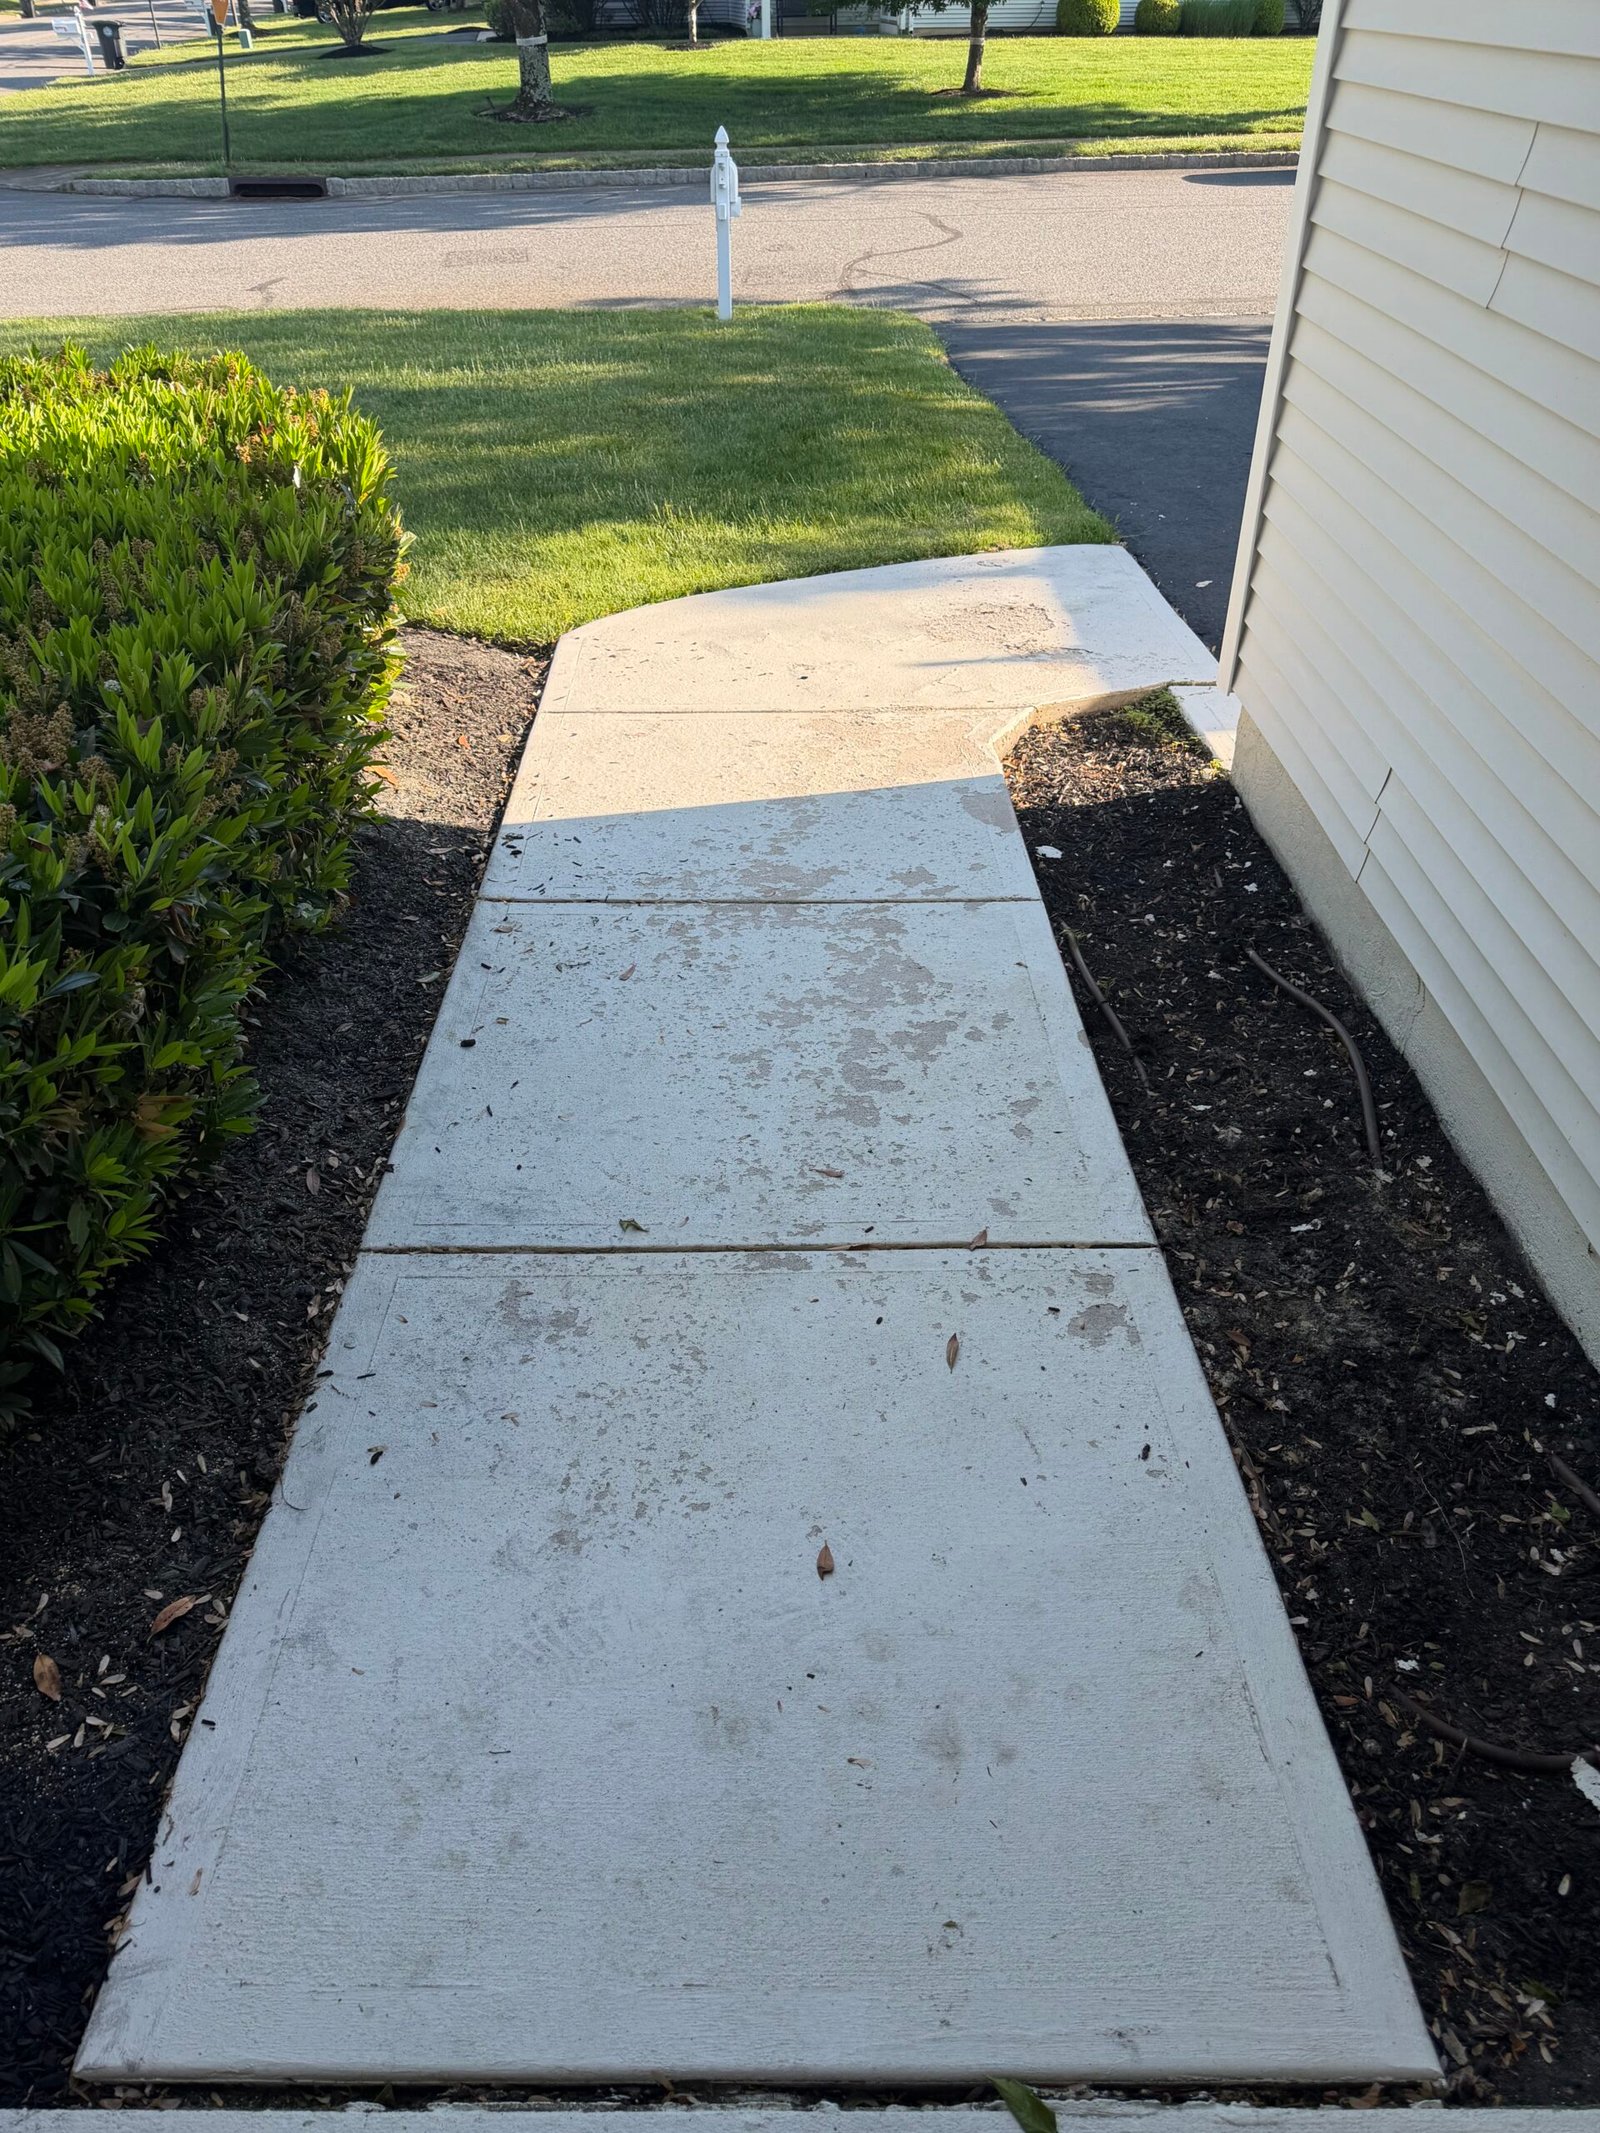
The original concrete path ran beside the garage wall and planting bed, then opened into a curved connection at the driveway. Its walking surface had a visibly worn, flaking finish across several sections.
The starting photographs show the approach from both directions and the corner near the garage. The replacement followed this entrance route, connecting the driveway with the front door and the adjoining concrete.
Stage 02
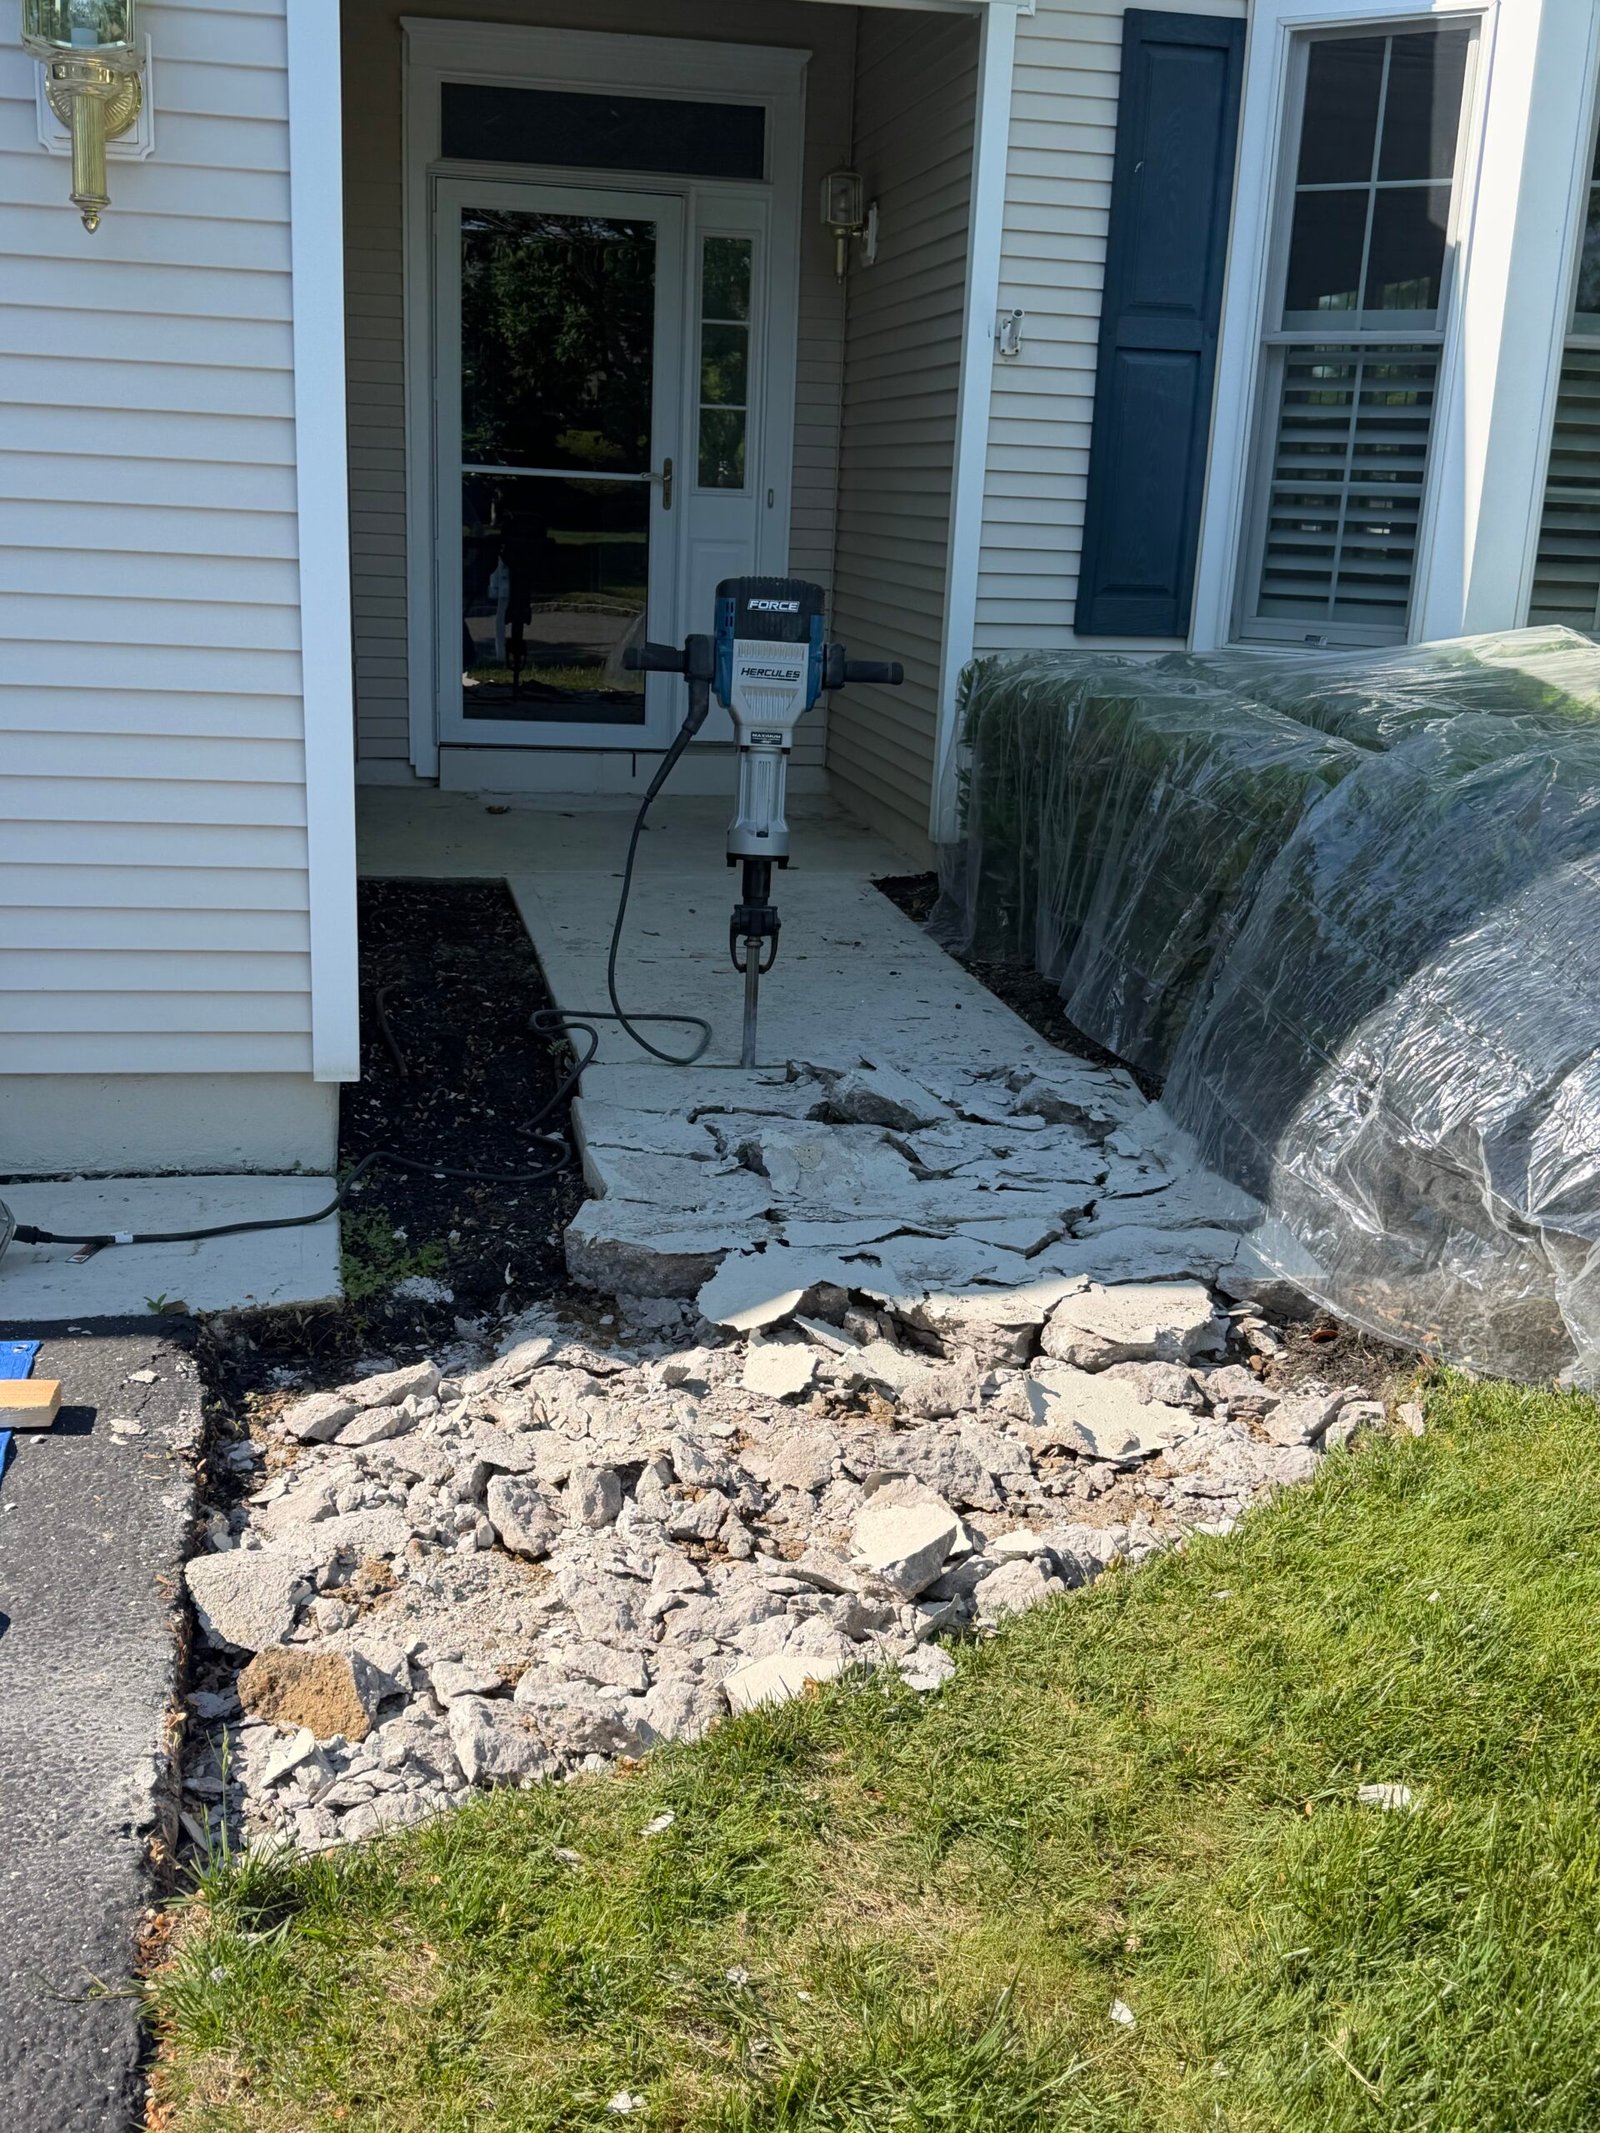
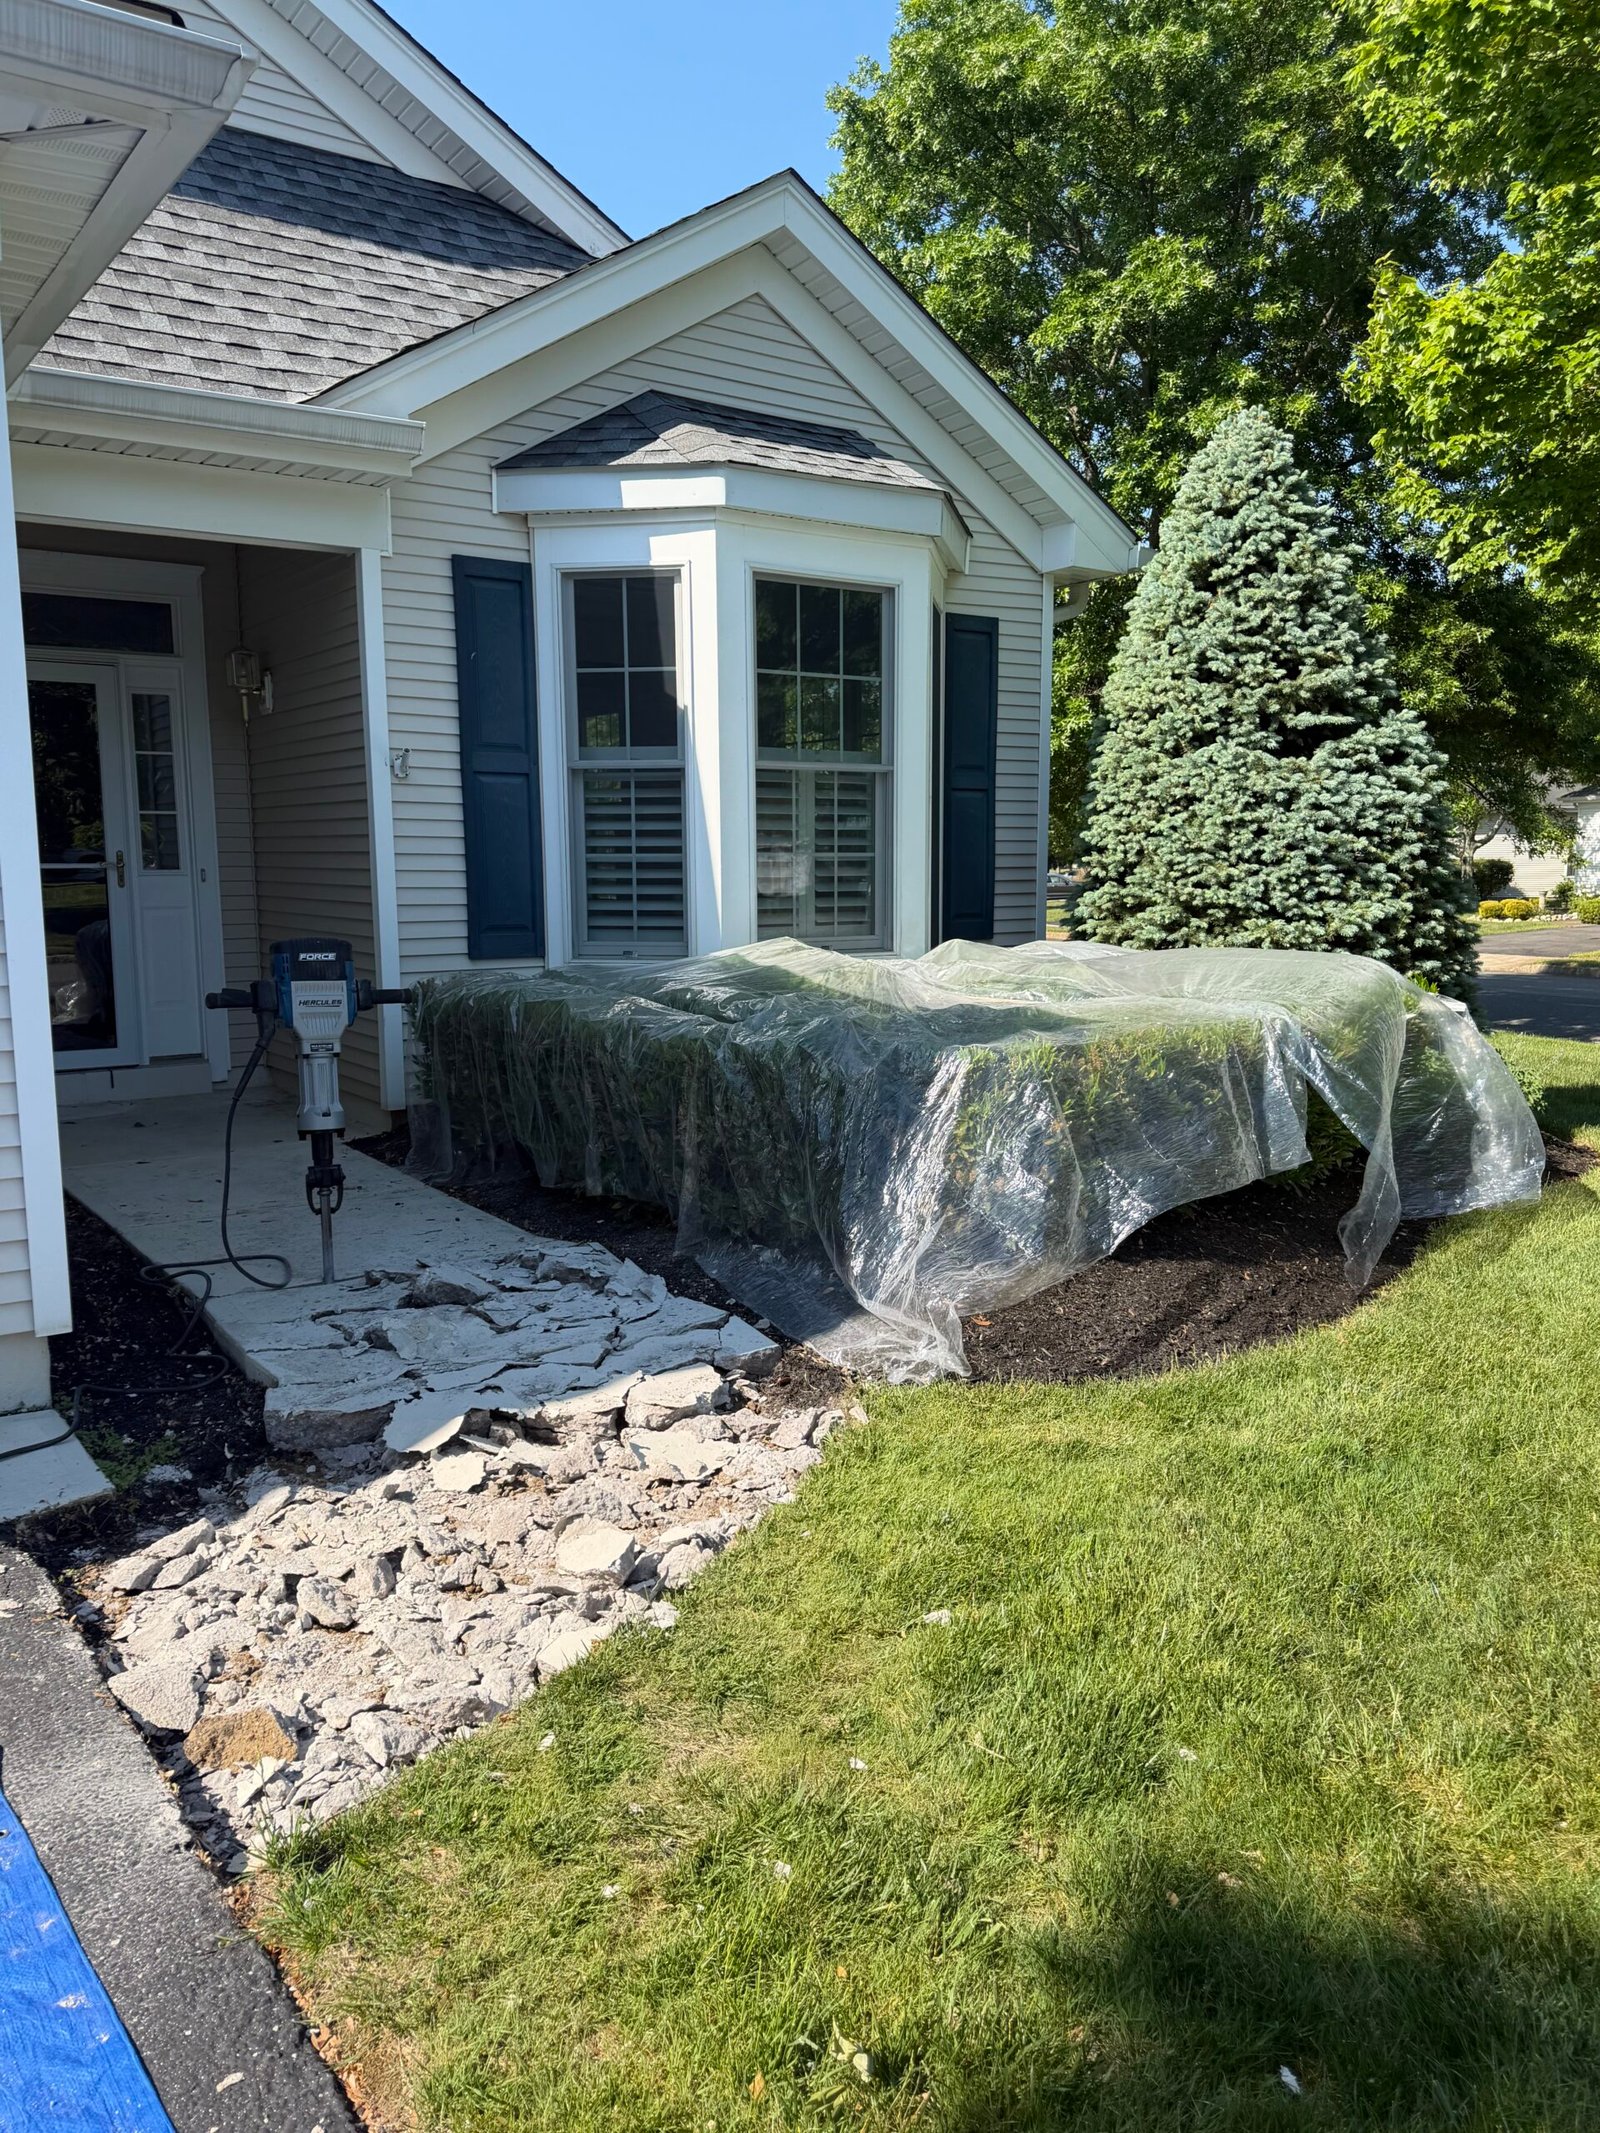
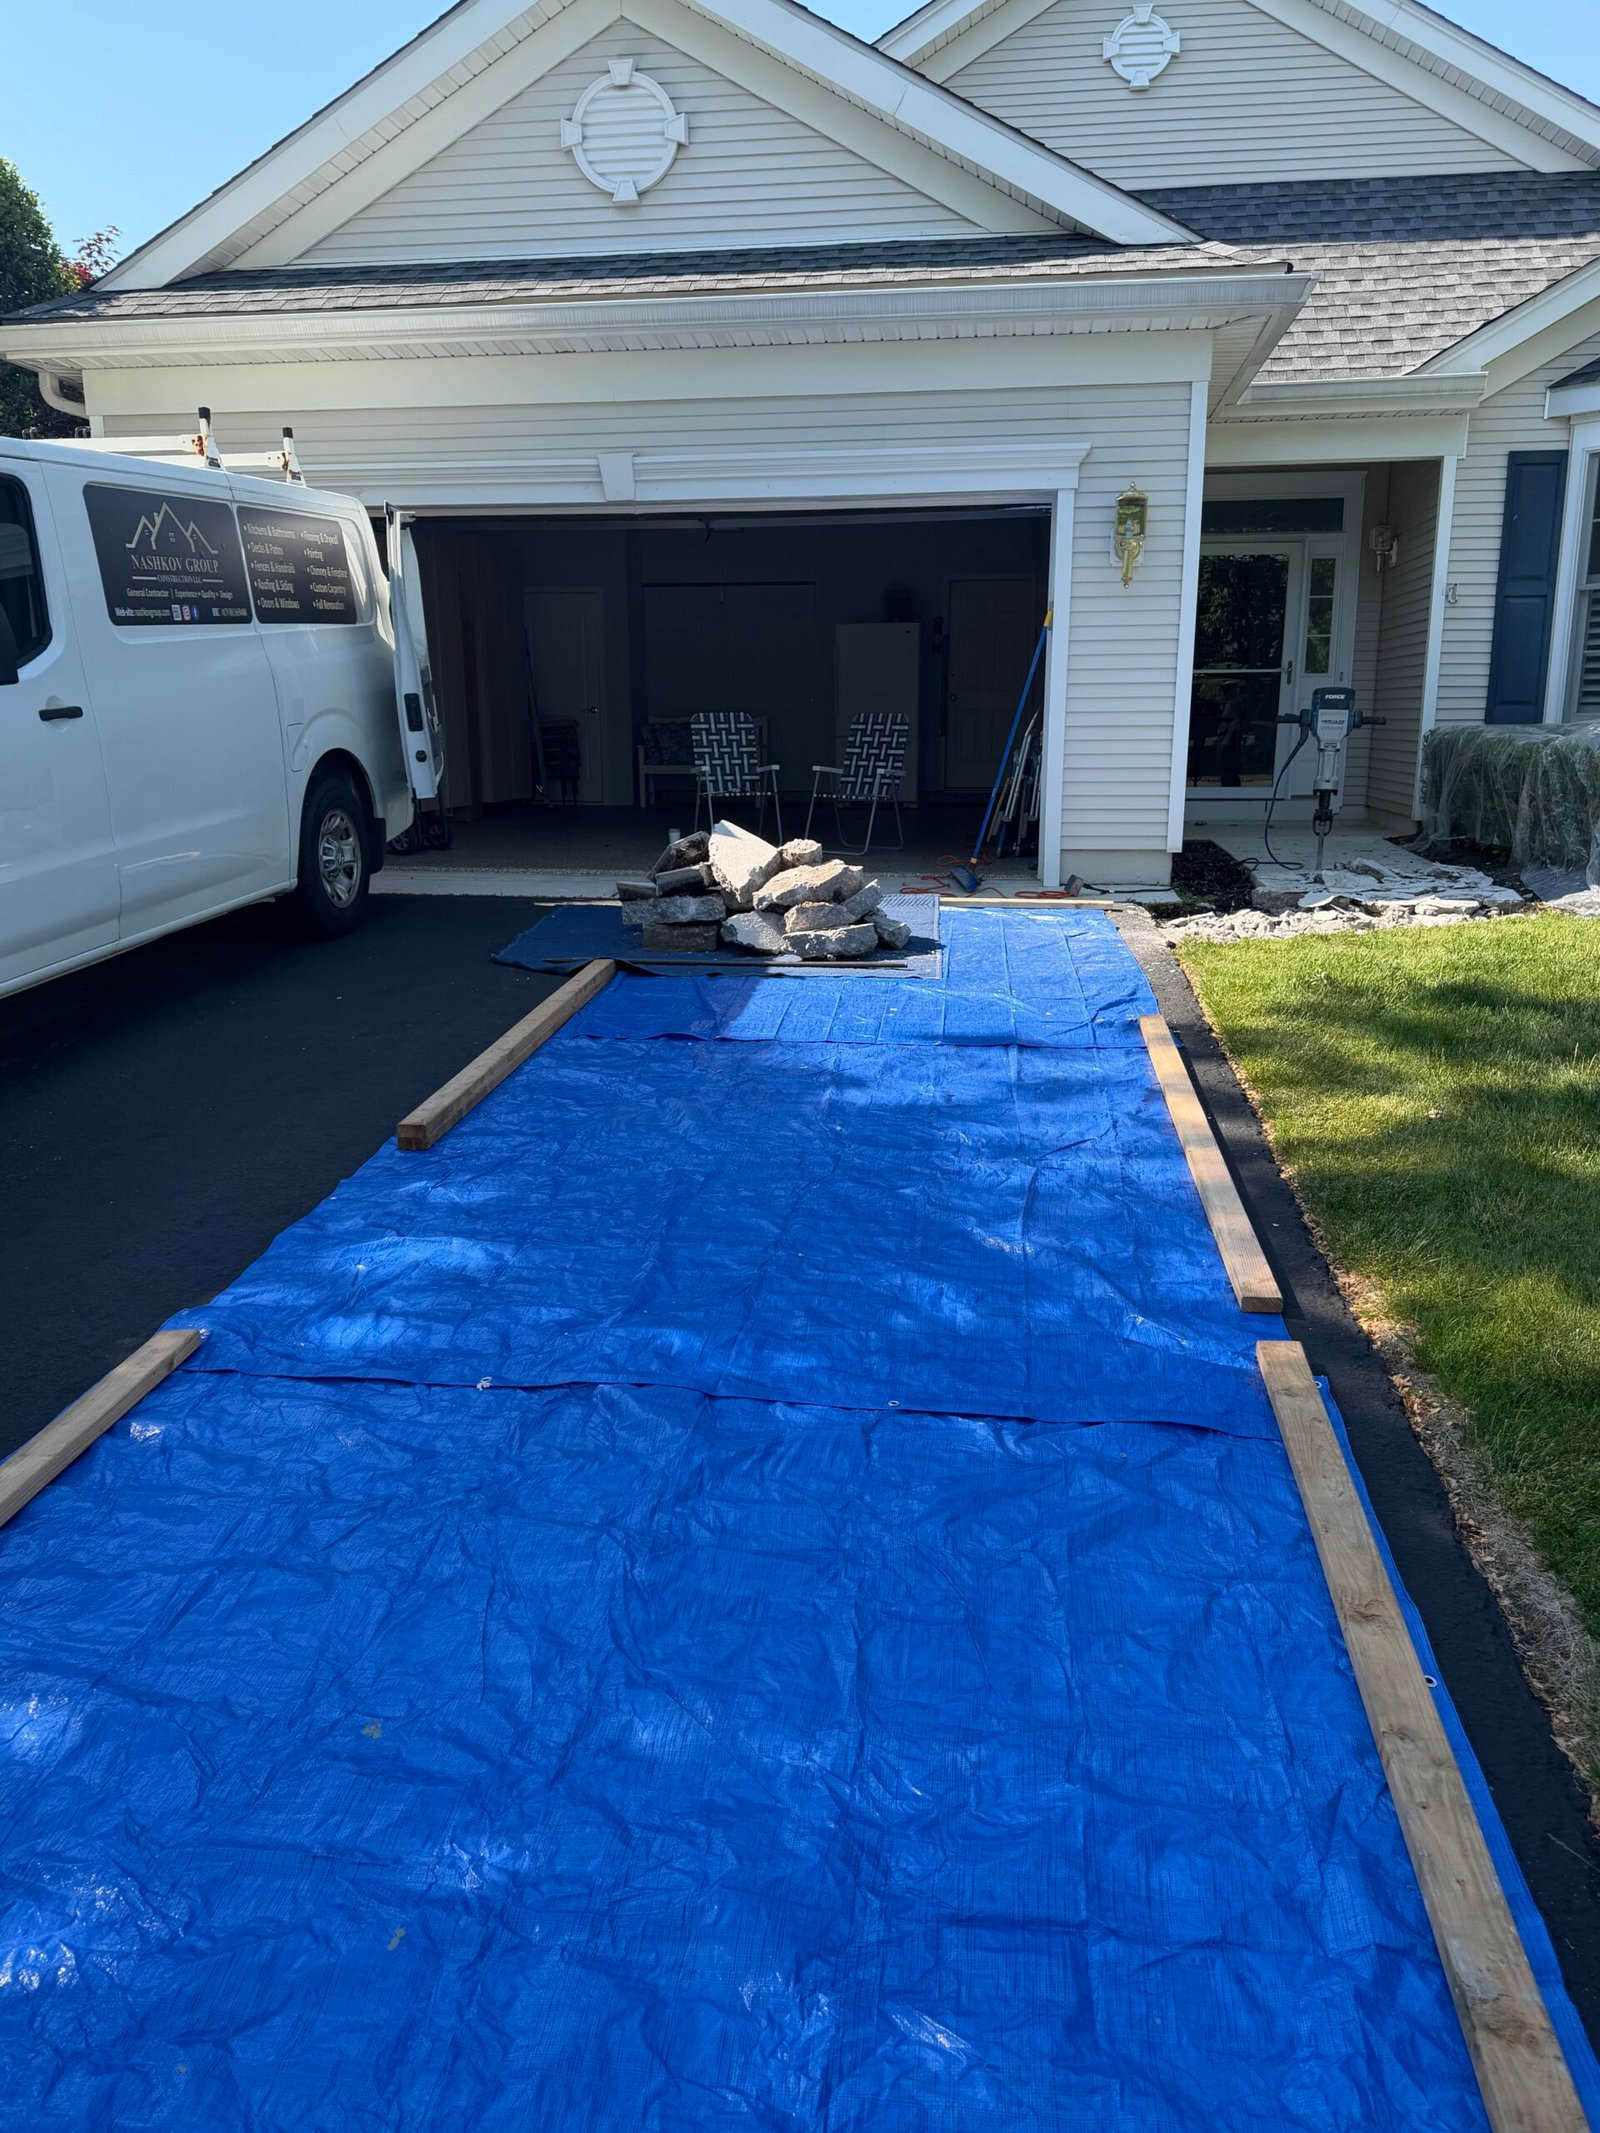
The neighboring shrubs were covered and a blue tarp was laid over the adjacent driveway. The old concrete walkway was then broken out with a demolition hammer and the removed material cleared from the route.
The photographs and demolition video show the work progressing toward the front entrance. This opened the full walkway area for preparation before the replacement concrete was placed.
Stage 03
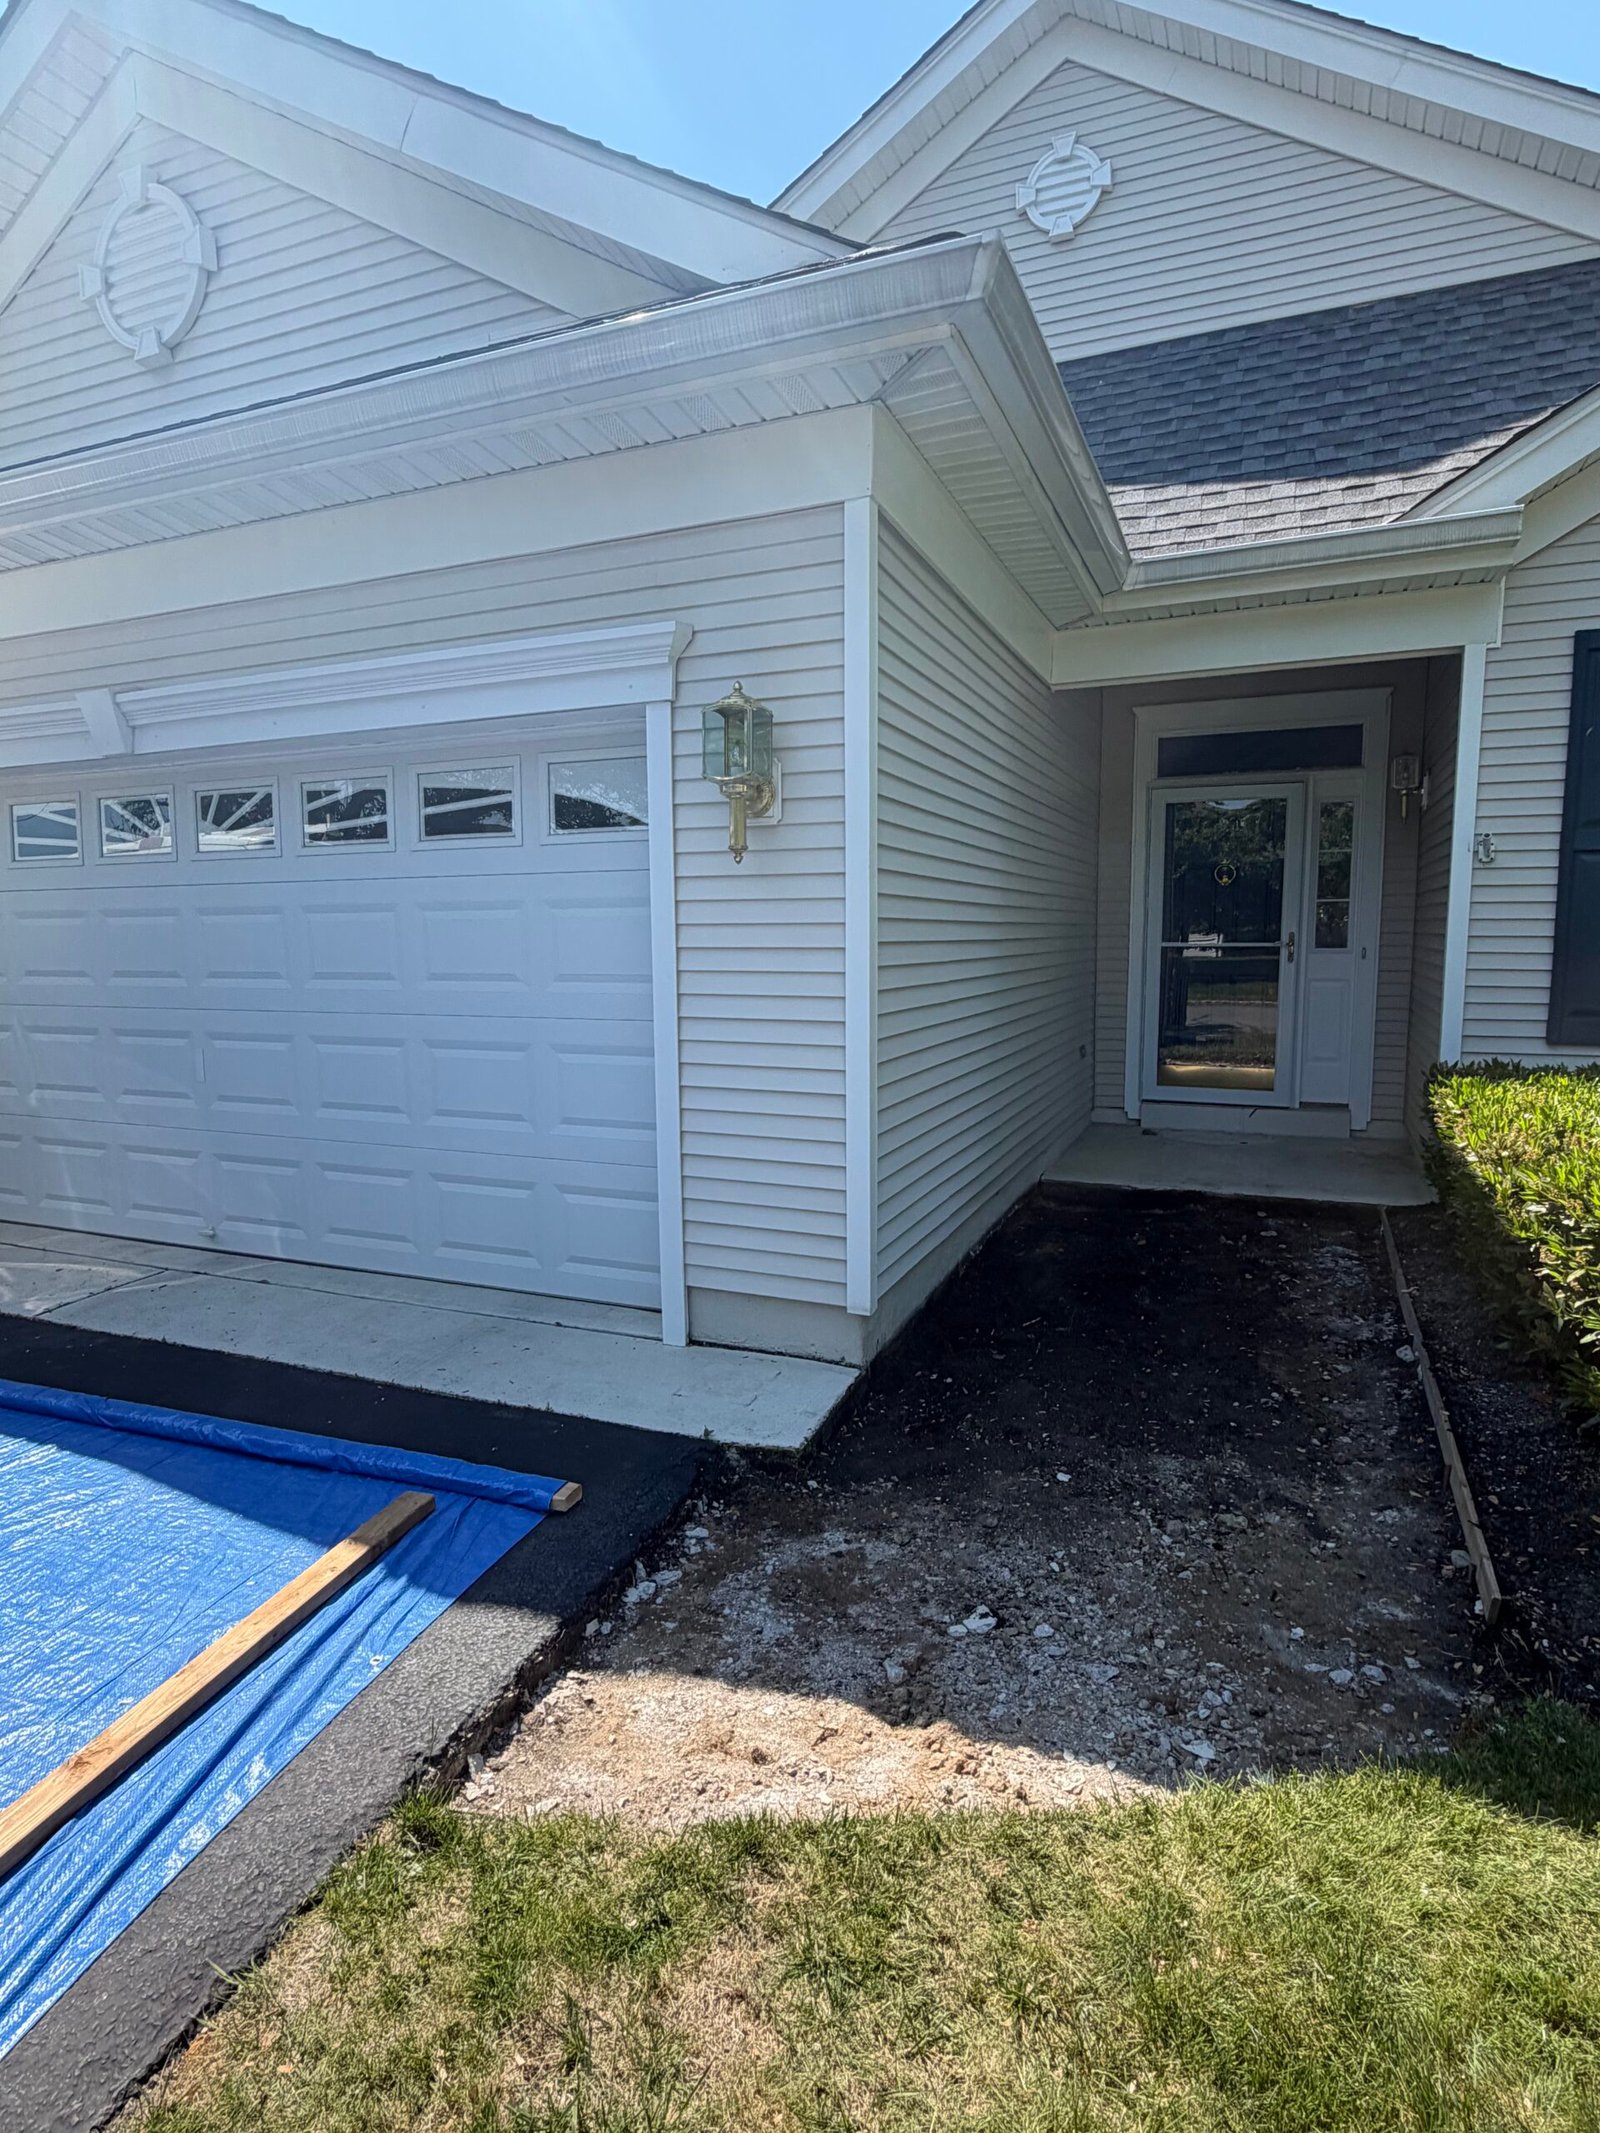
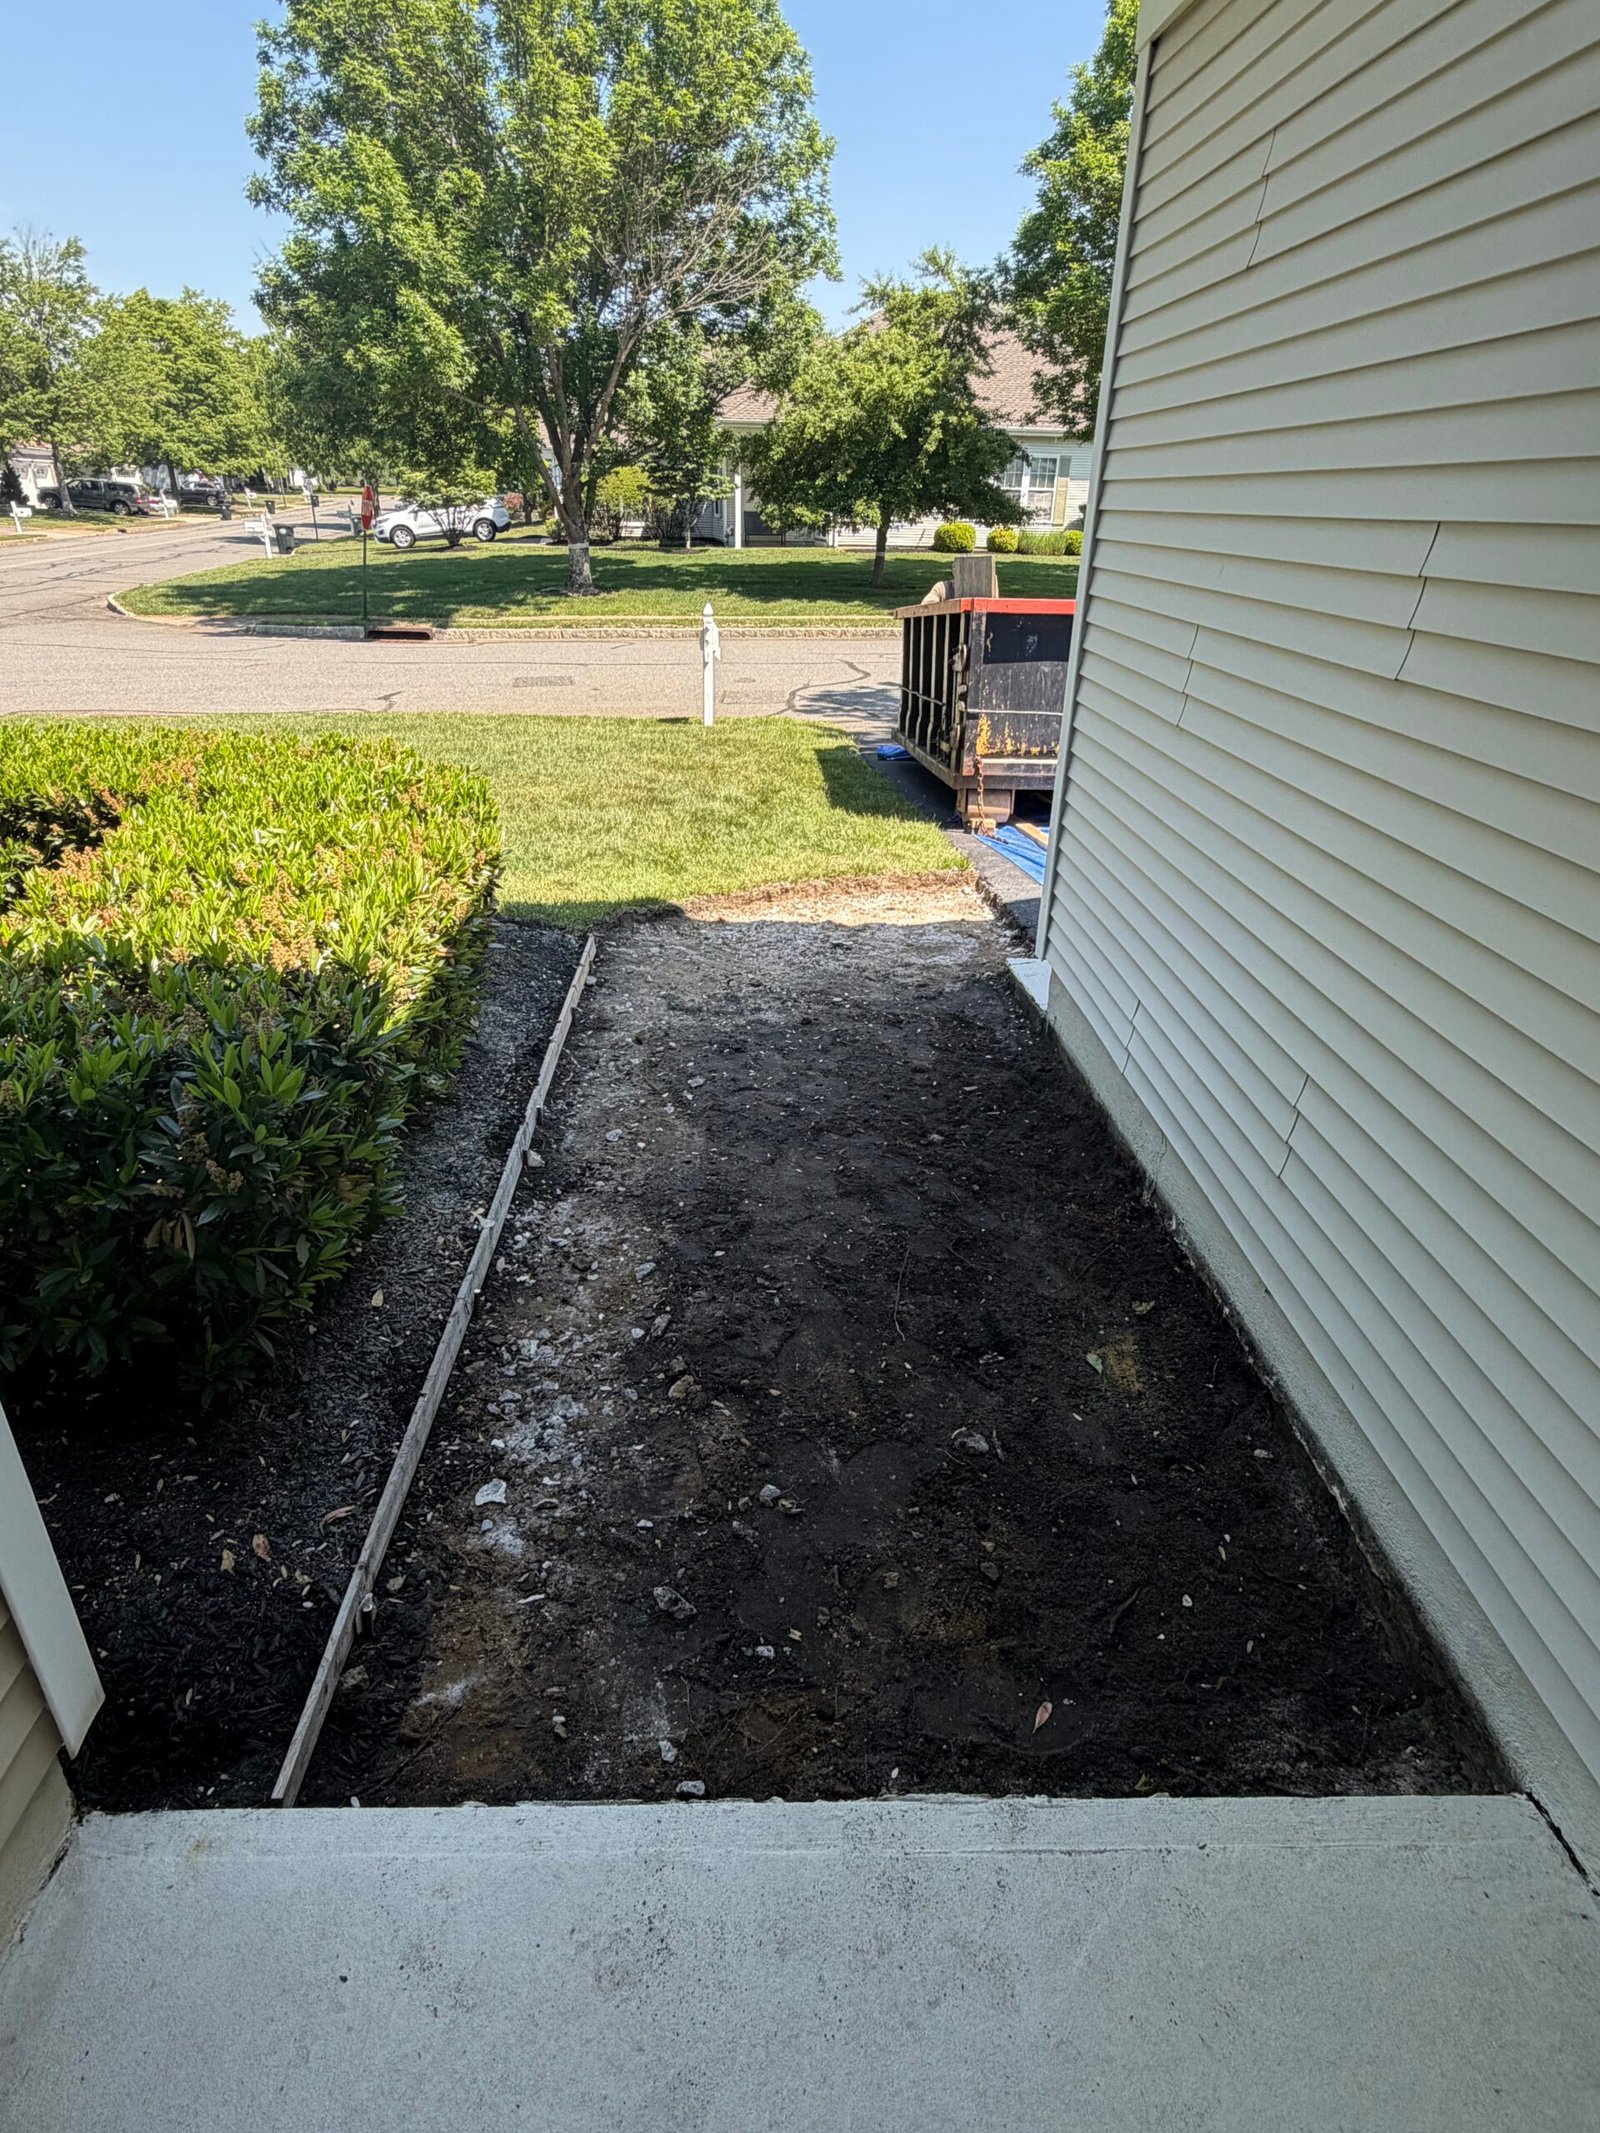
With the old concrete removed, the exposed ground along the house and entrance was prepared for the replacement walkway. Edge forms defined the sides of the route and the connection to the retained surrounding surfaces.
These views record the open area before the pour, including the straight section beside the house and the wider approach near the driveway. The existing lawn, planting bed and adjoining concrete remained the boundaries of the work.
Stage 04
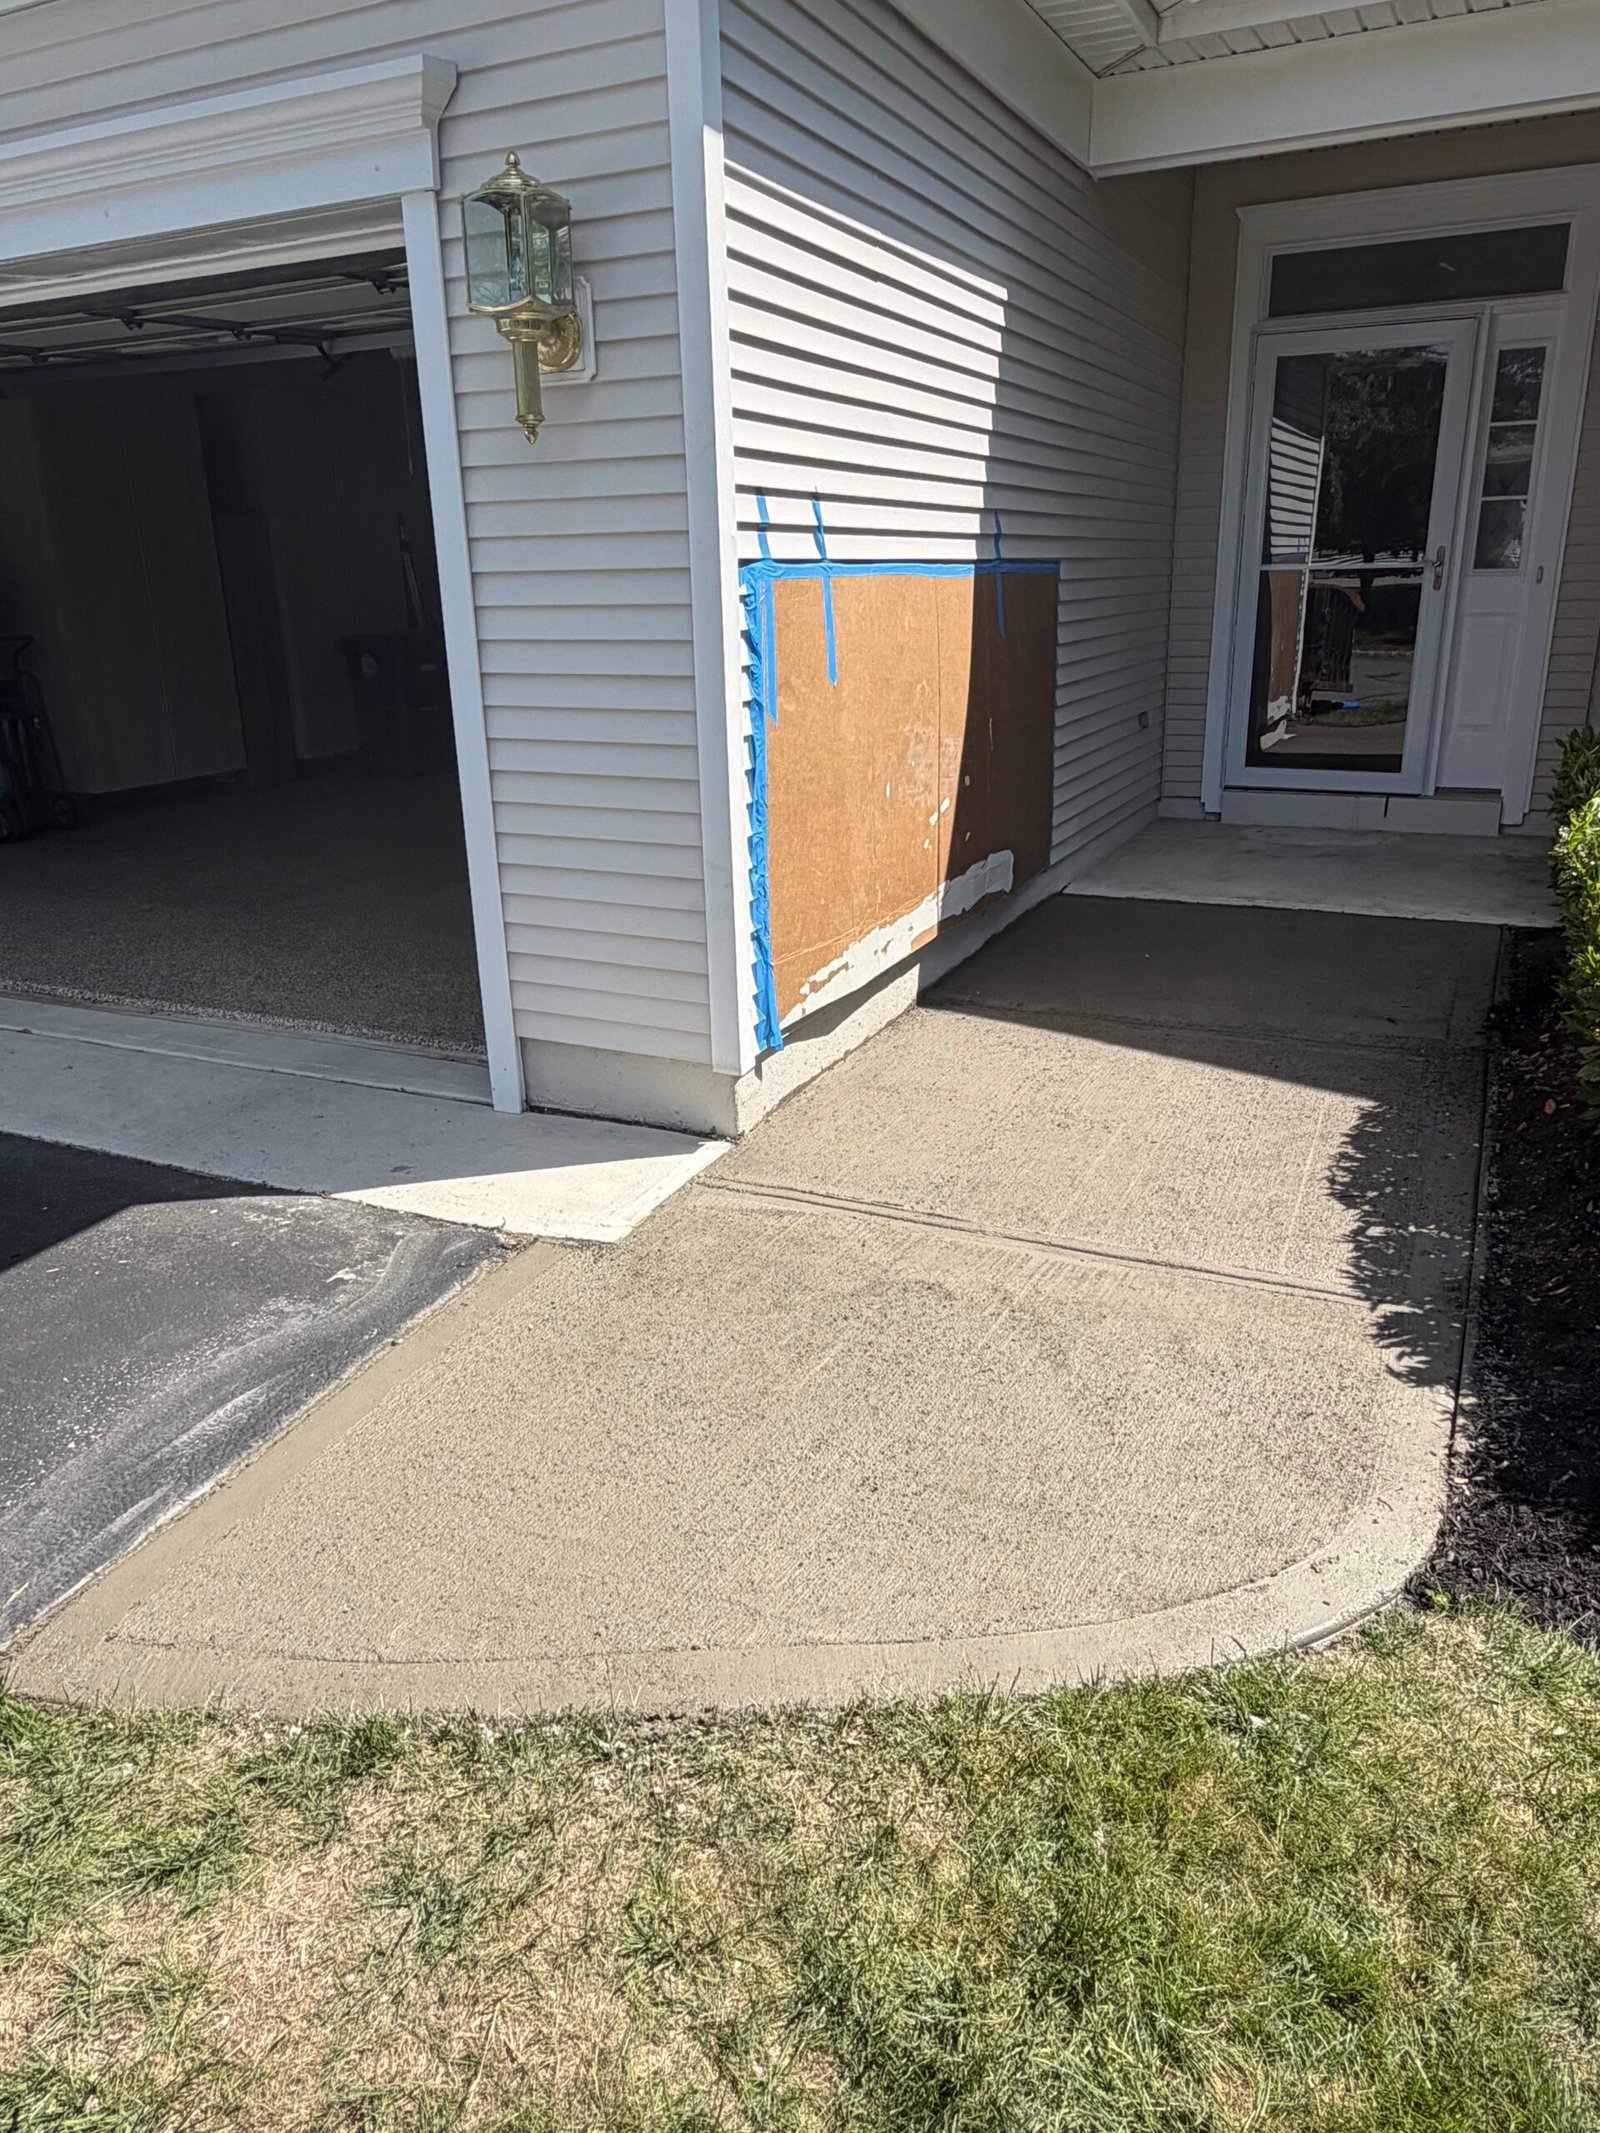
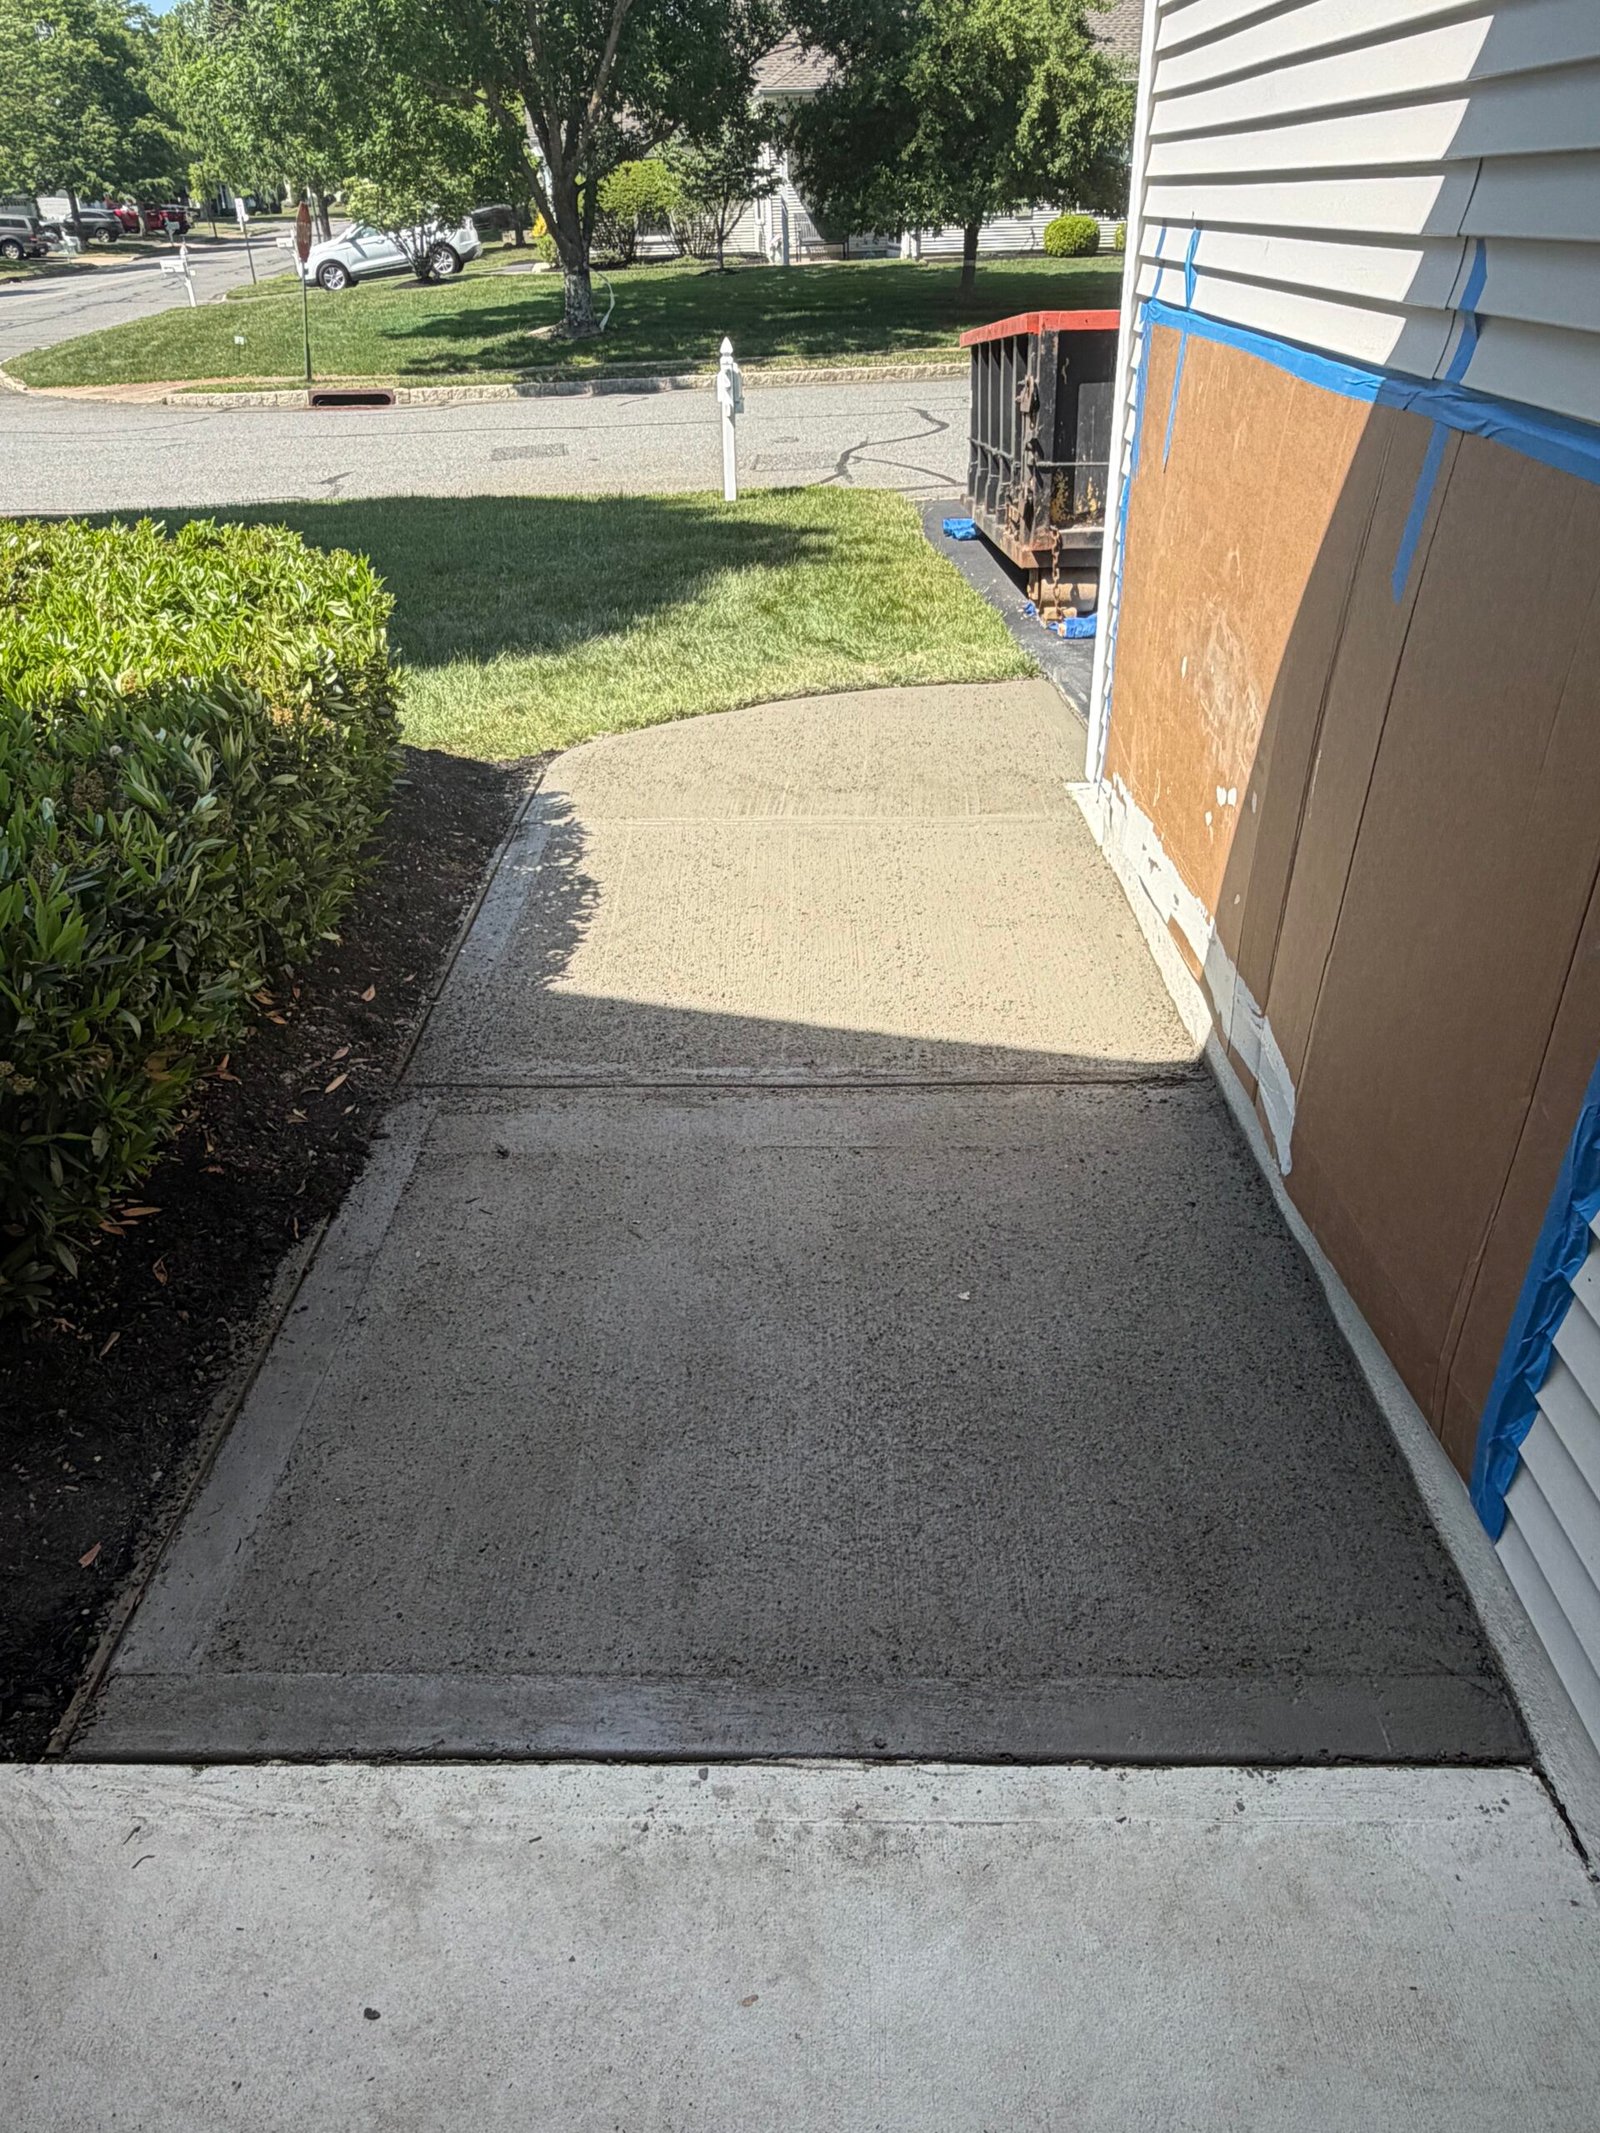
Concrete was prepared on site and placed within the prepared walkway area. Protective covering shielded the lower house wall while the new surface was formed along the entrance and around the curved outer corner.
The new concrete was finished with defined edges and joint lines. The photographs show the fresh surface beside the garage and along the straight section, while the video records the concrete mixing stage.
Stage 05
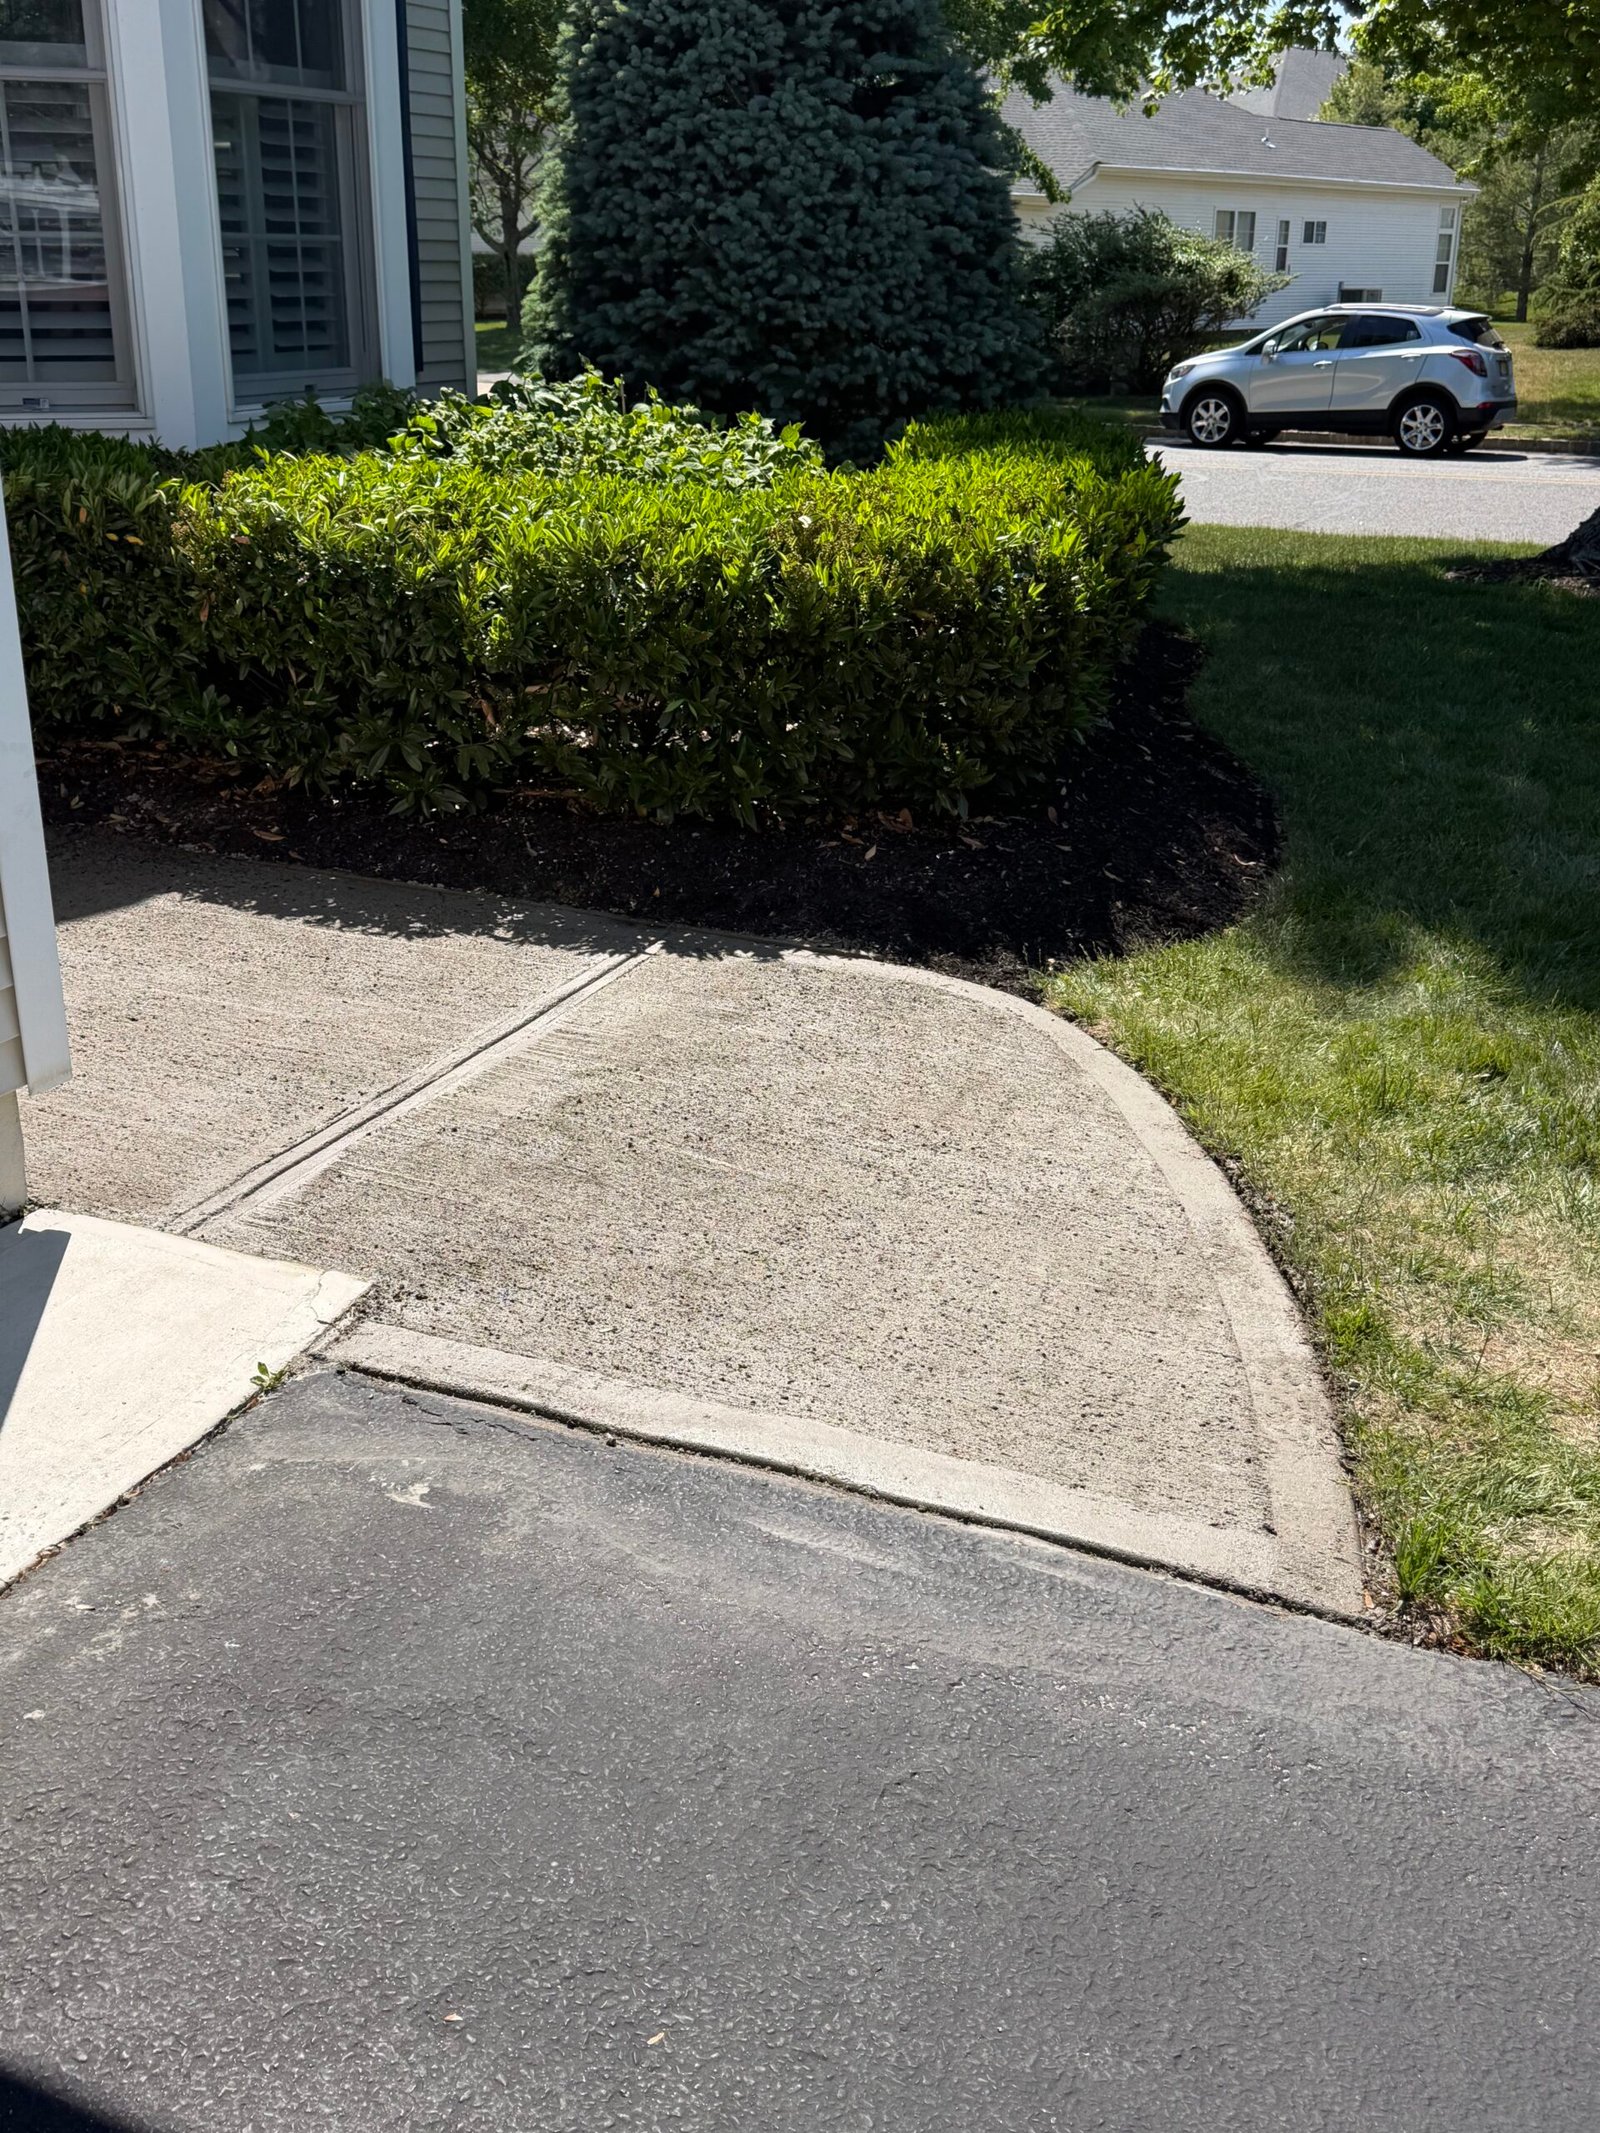
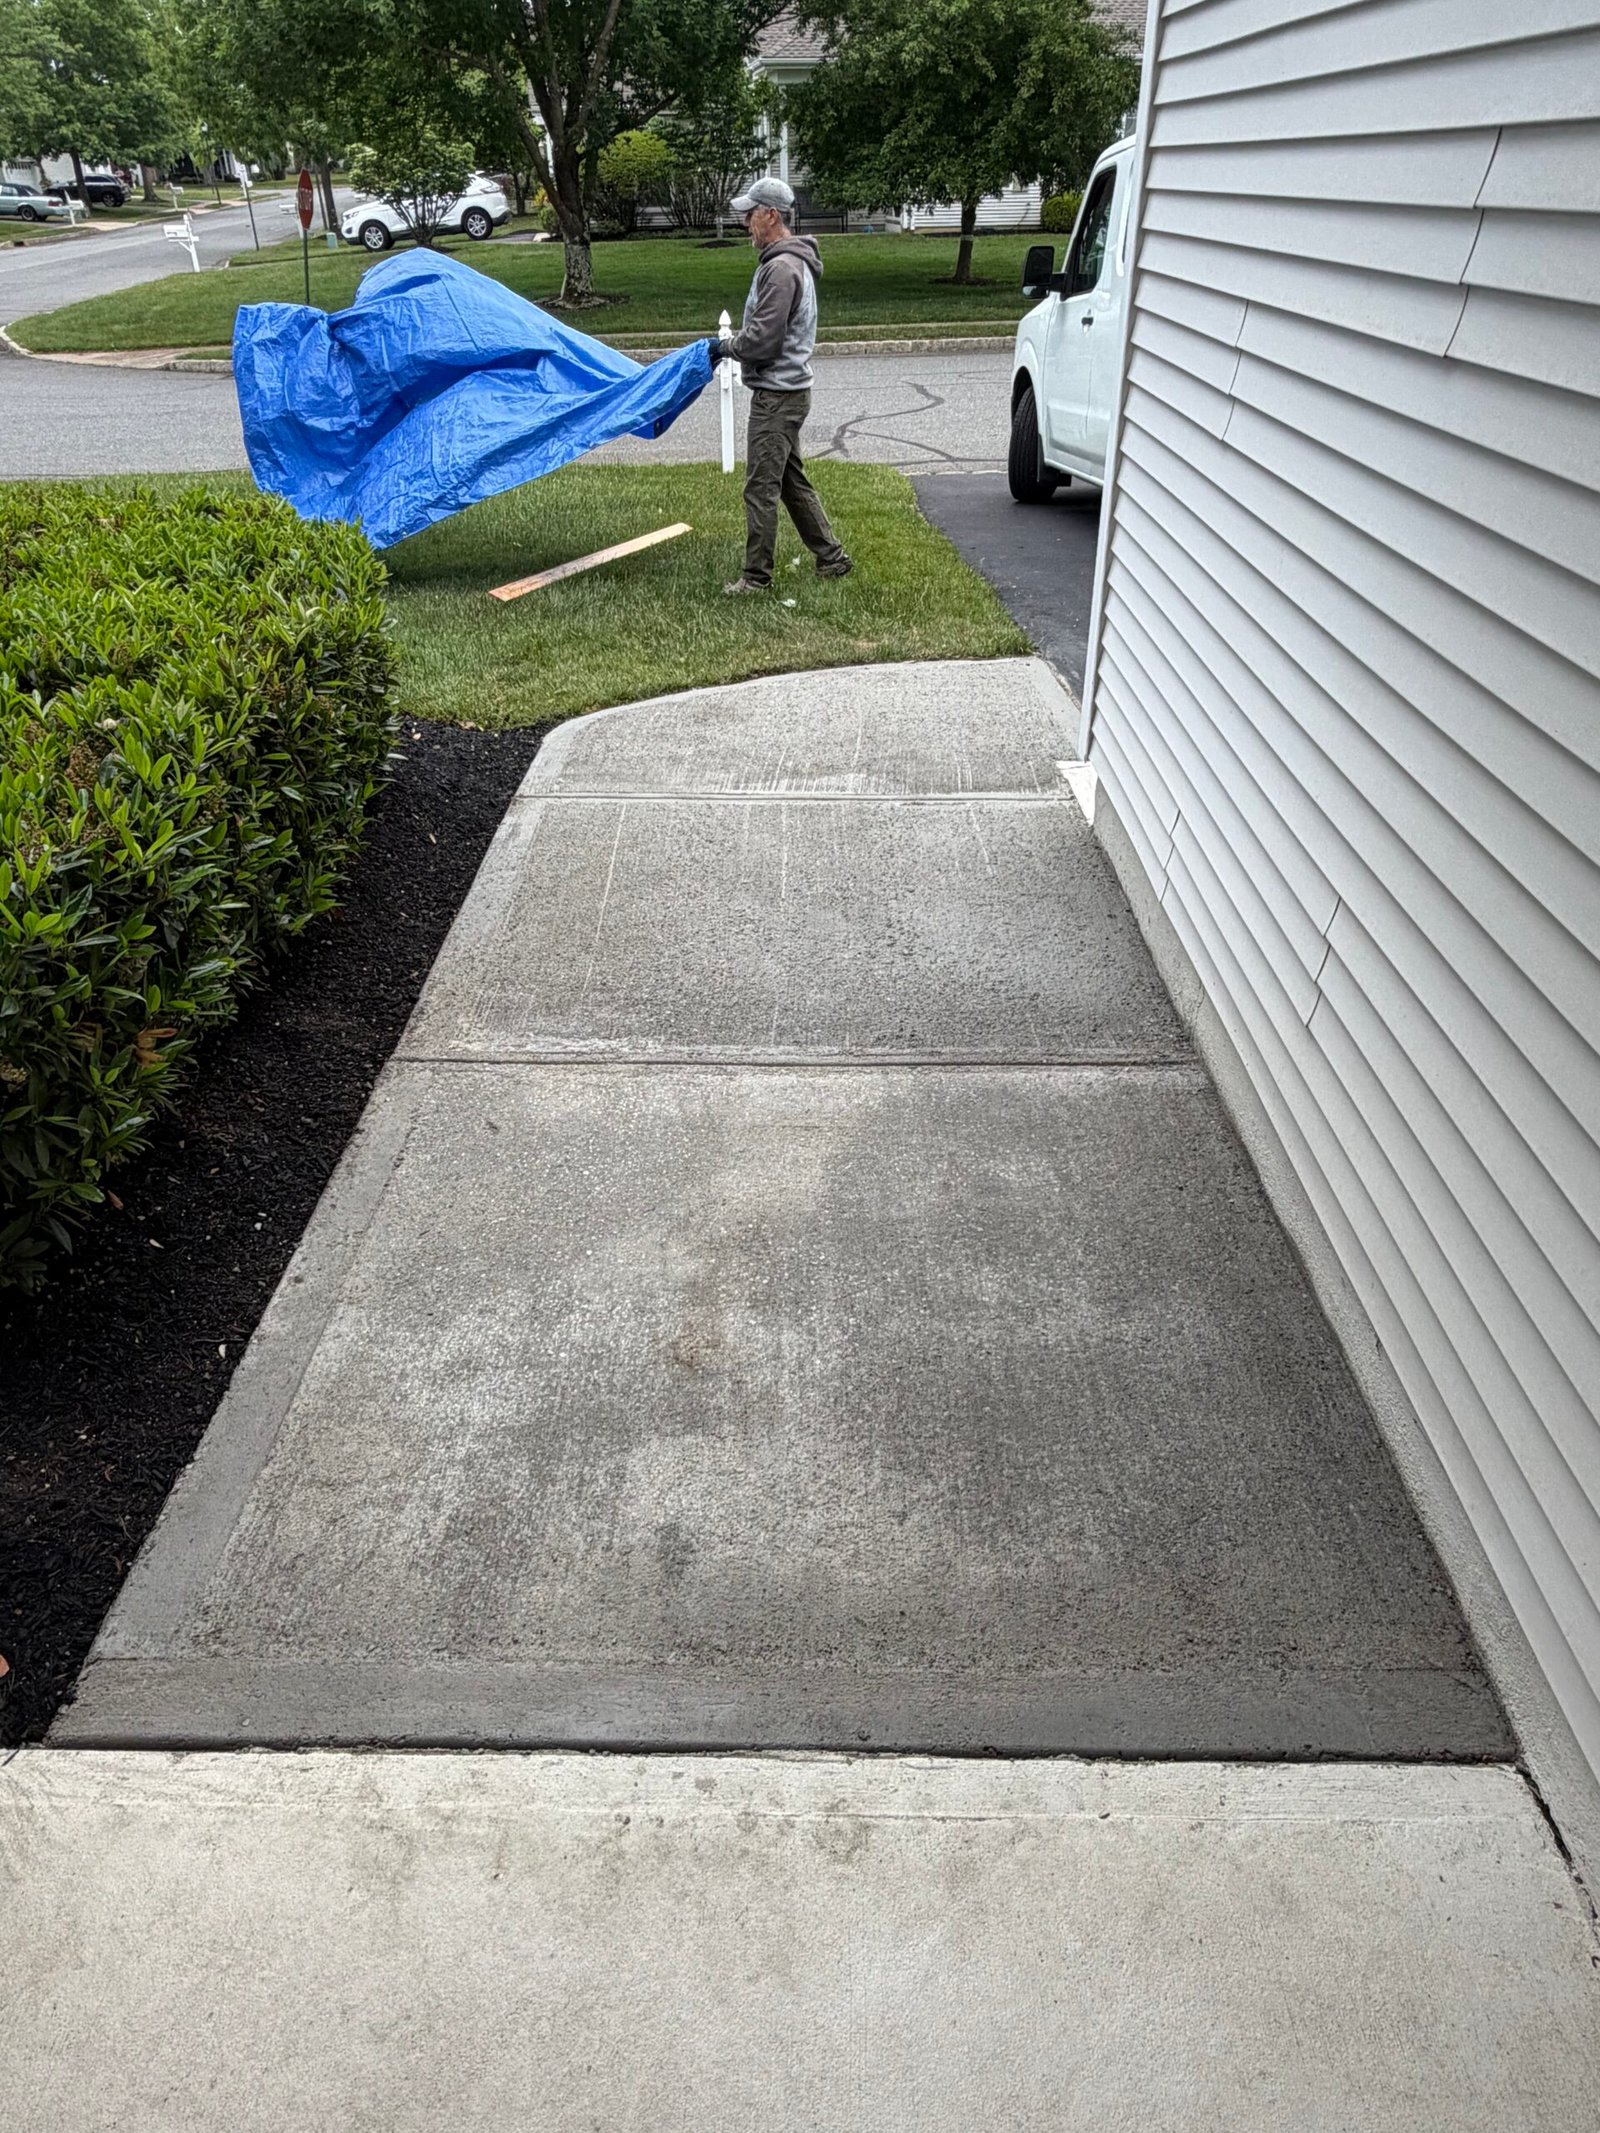
After the concrete work, the protective coverings were removed and the full replacement shape became visible. The curved corner meets the asphalt driveway, while the straight route continues between the house and the planting bed.
These photographs show the new concrete before the later final views below. The joint layout, curved perimeter and connection to the retained adjoining concrete can be seen from several angles.
Stage 06
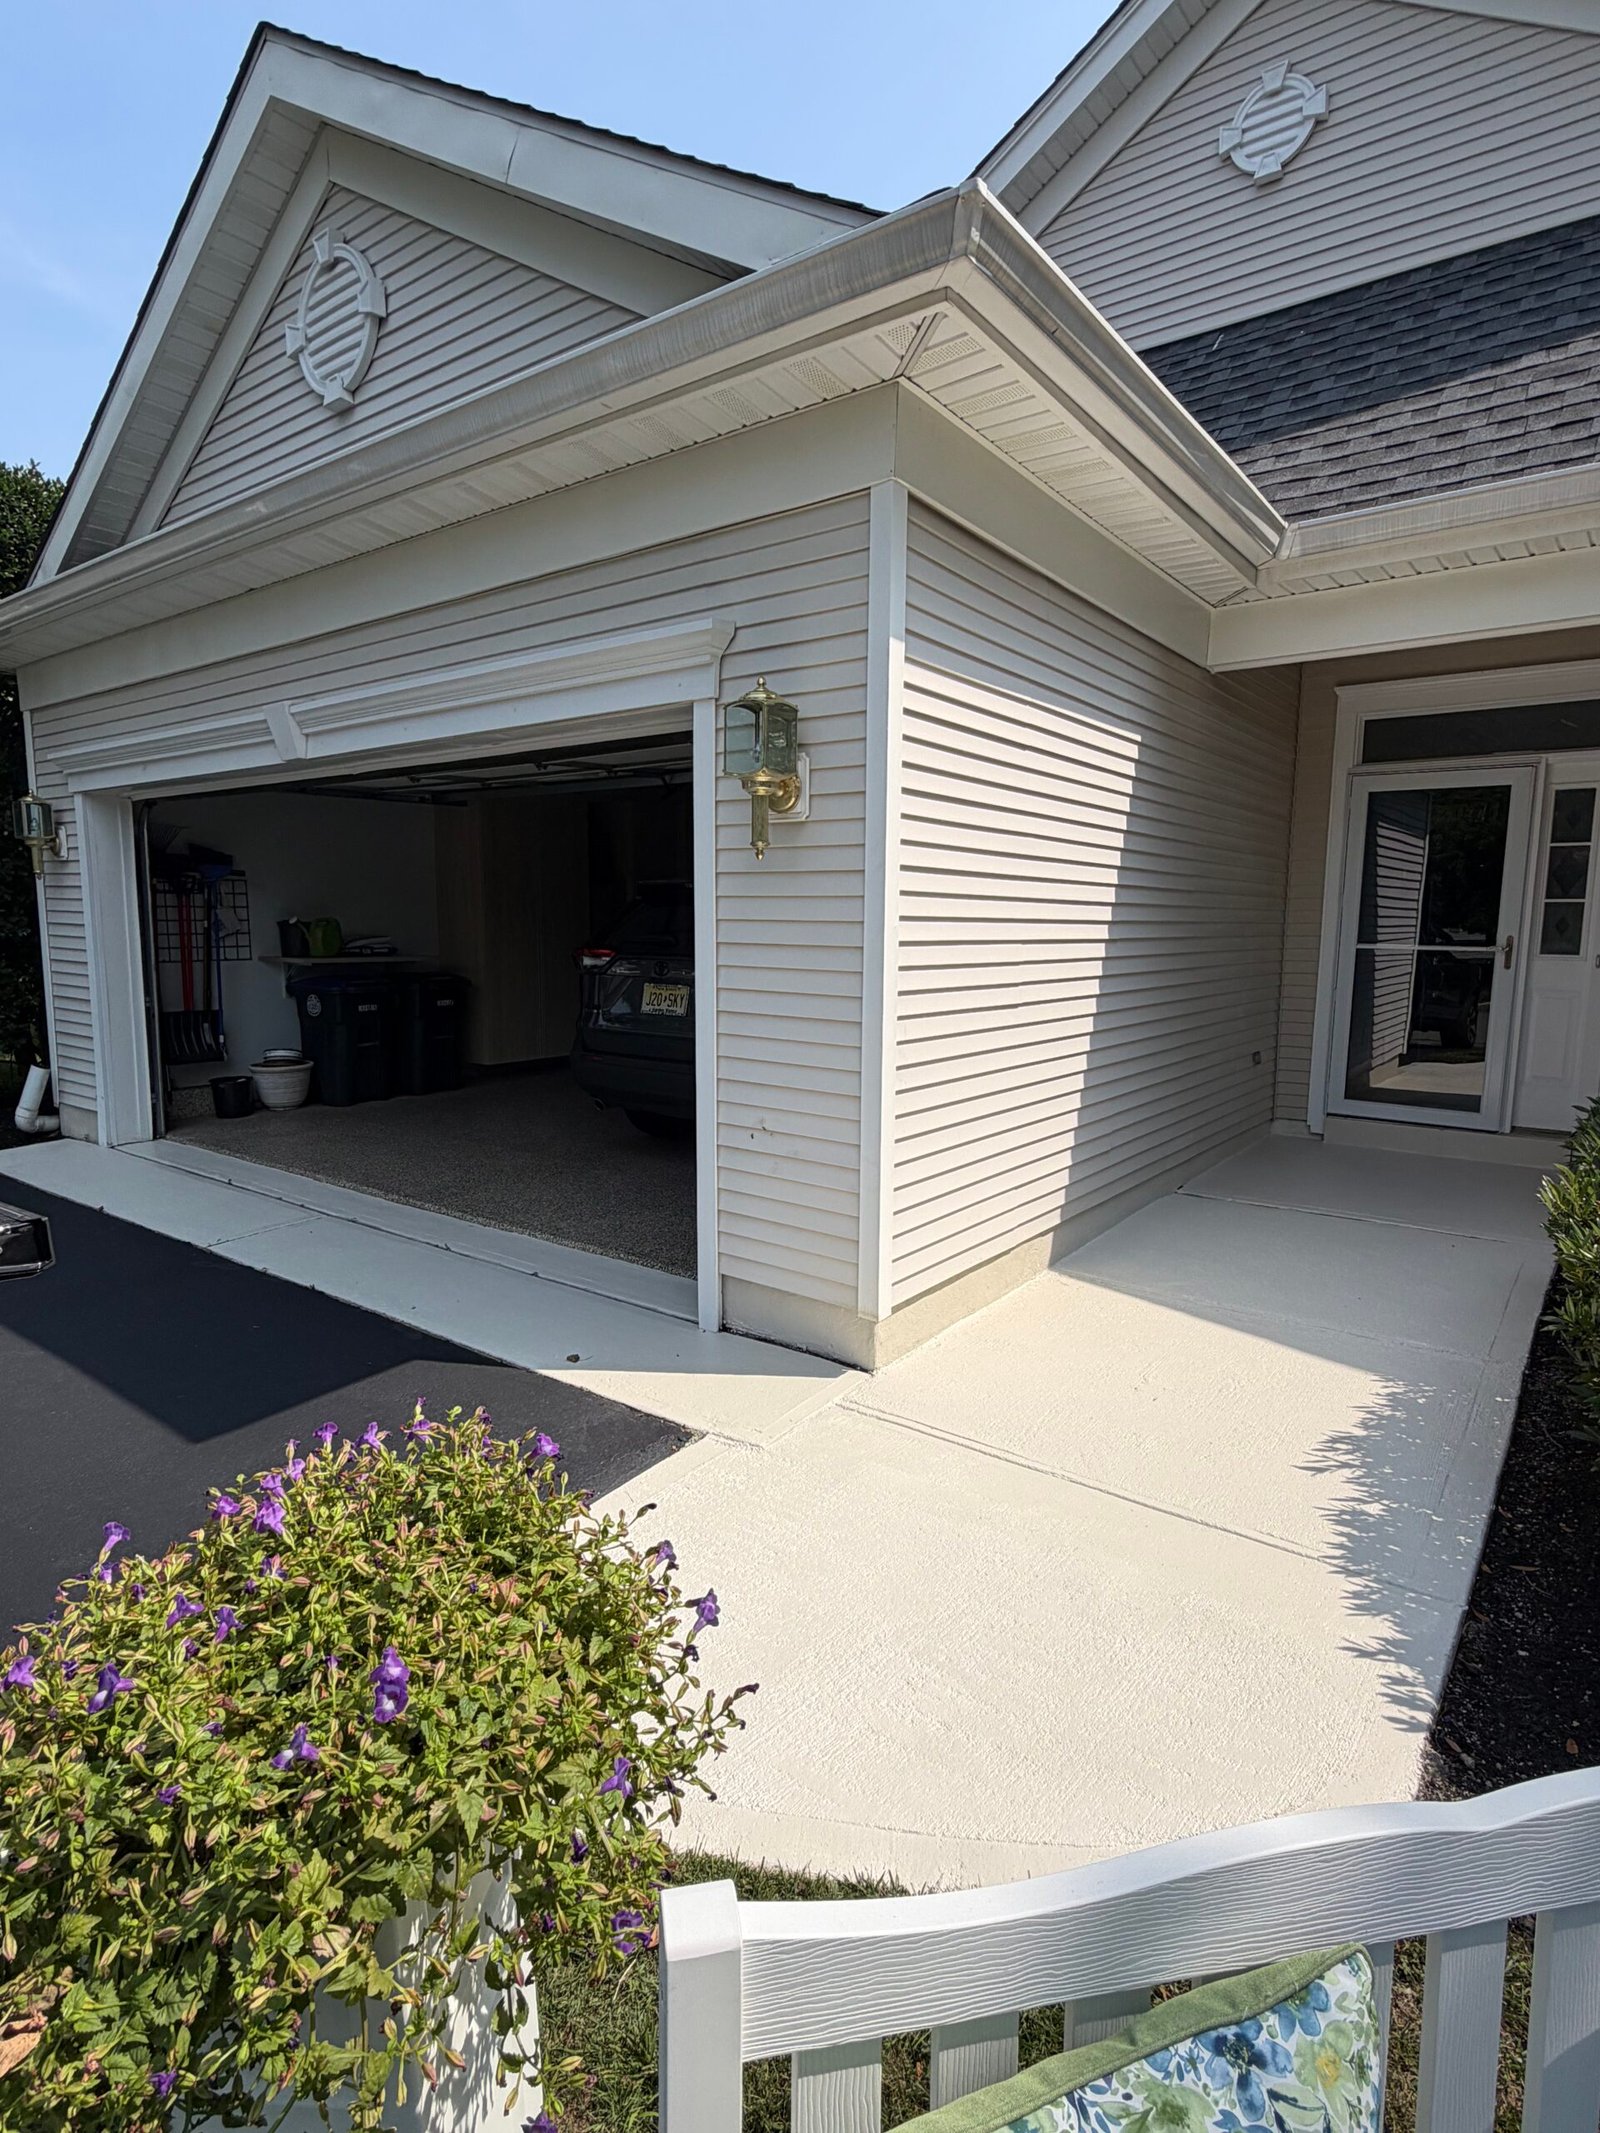
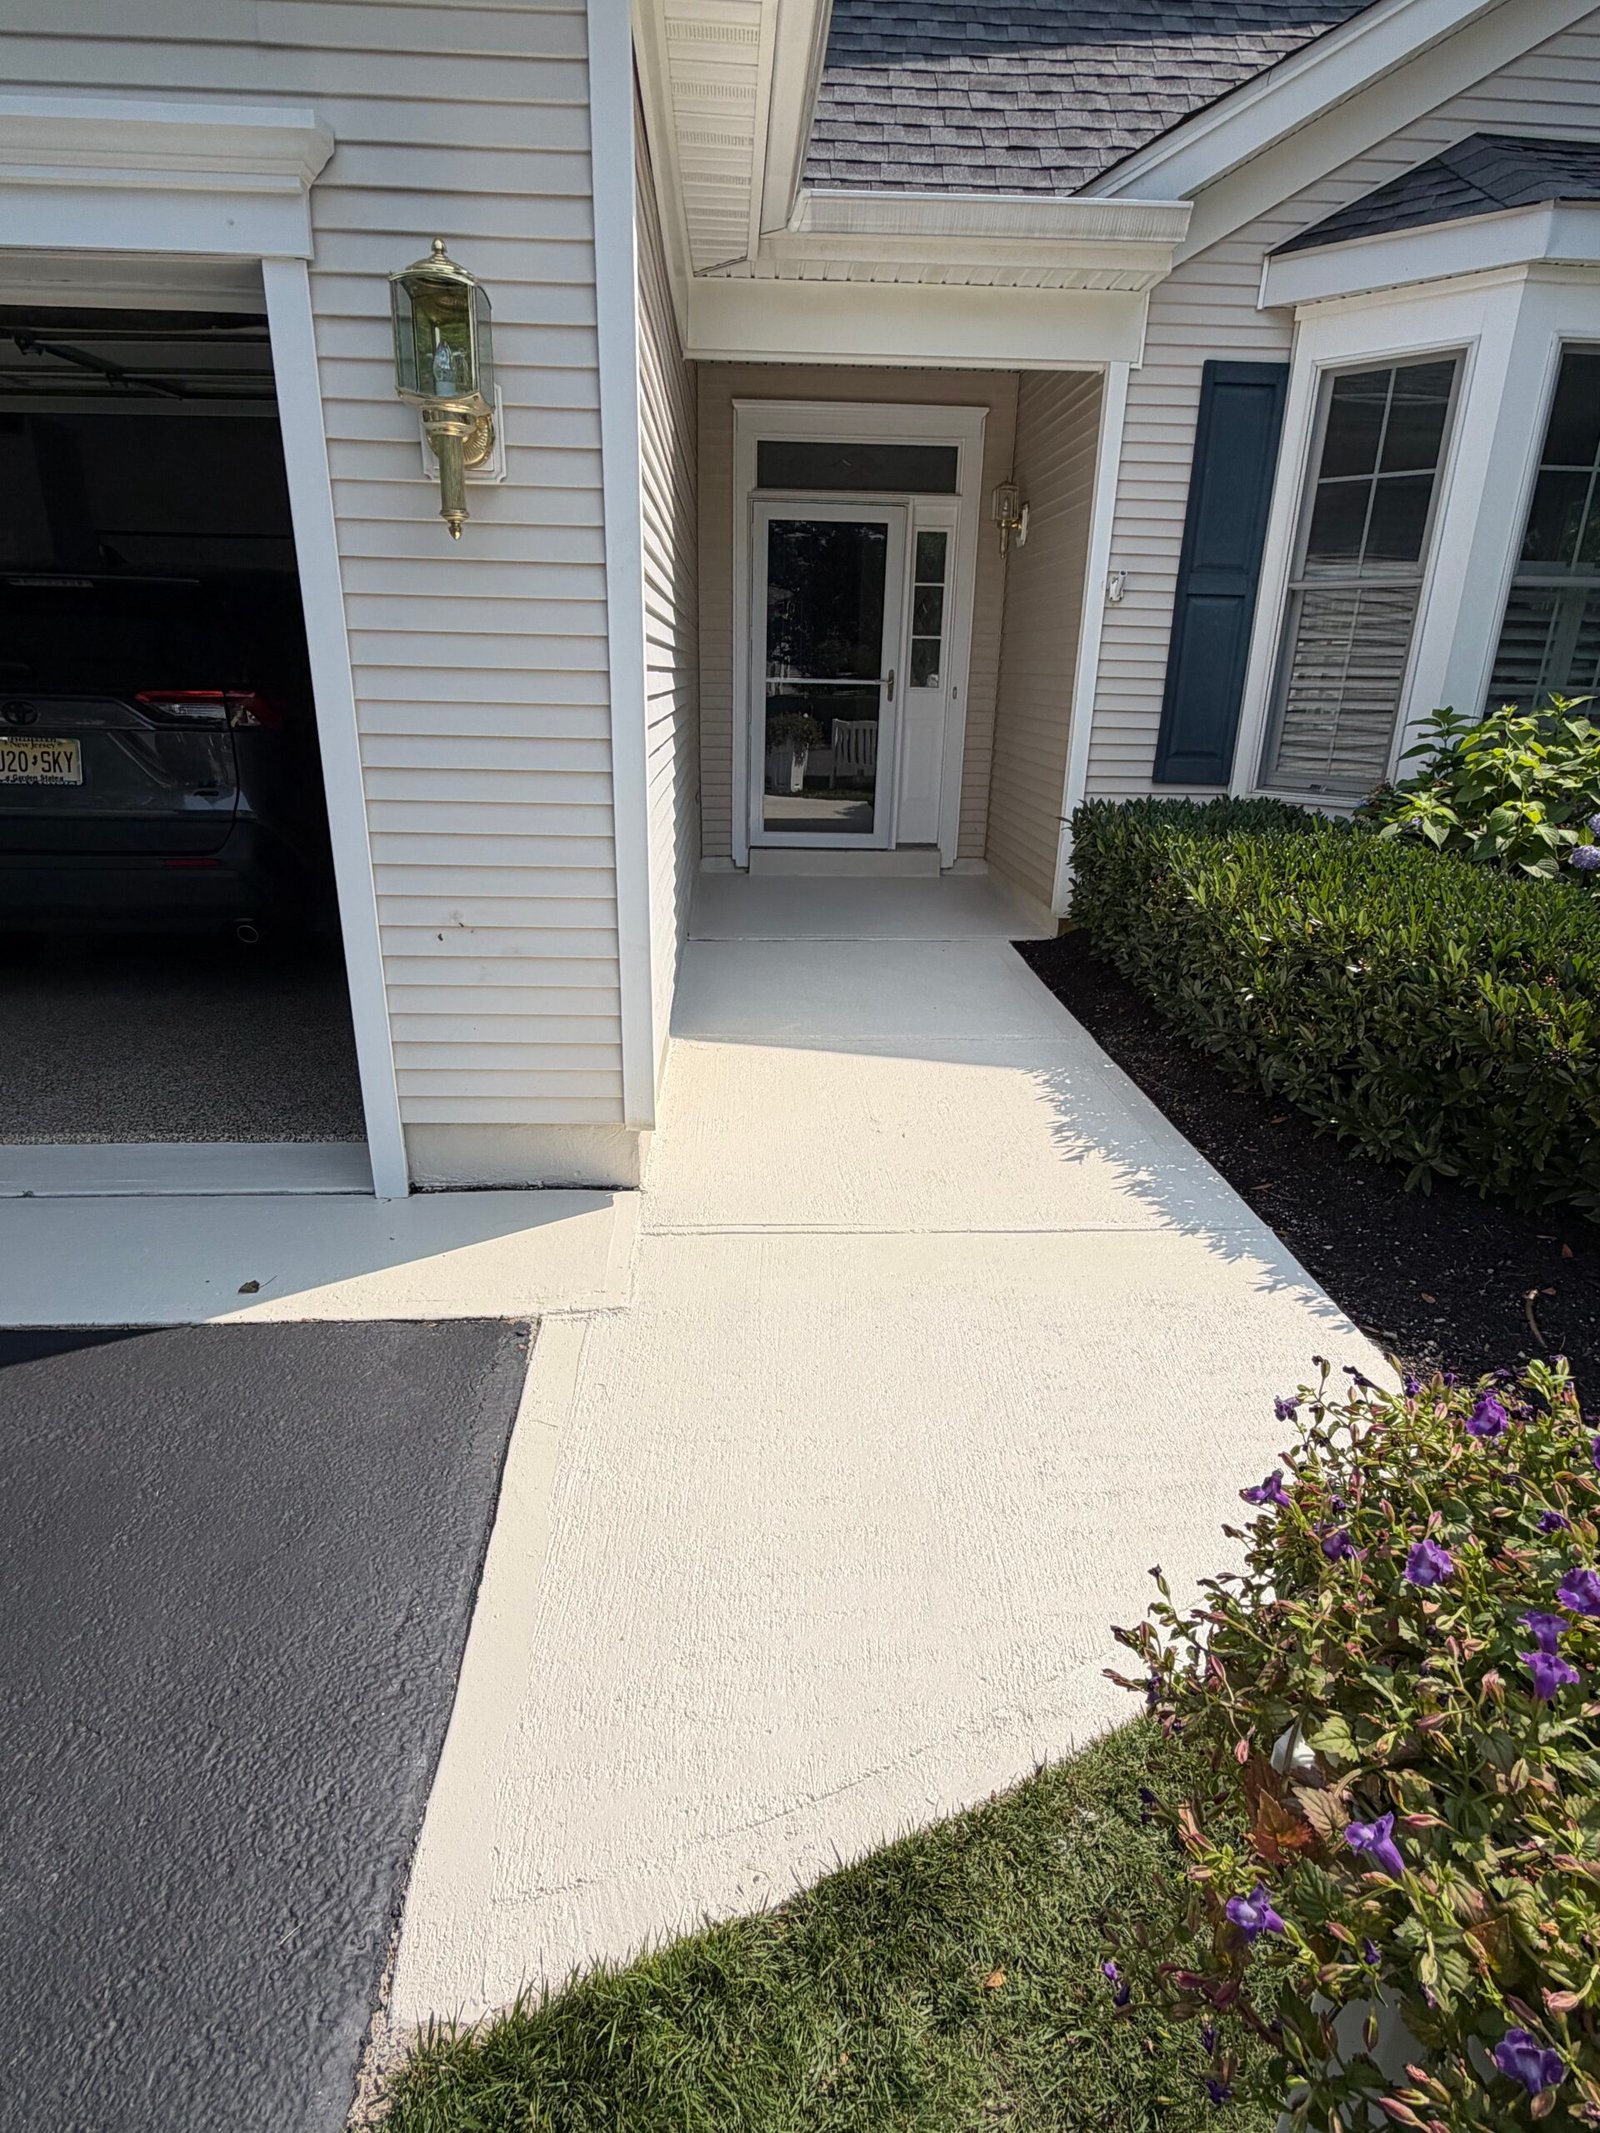
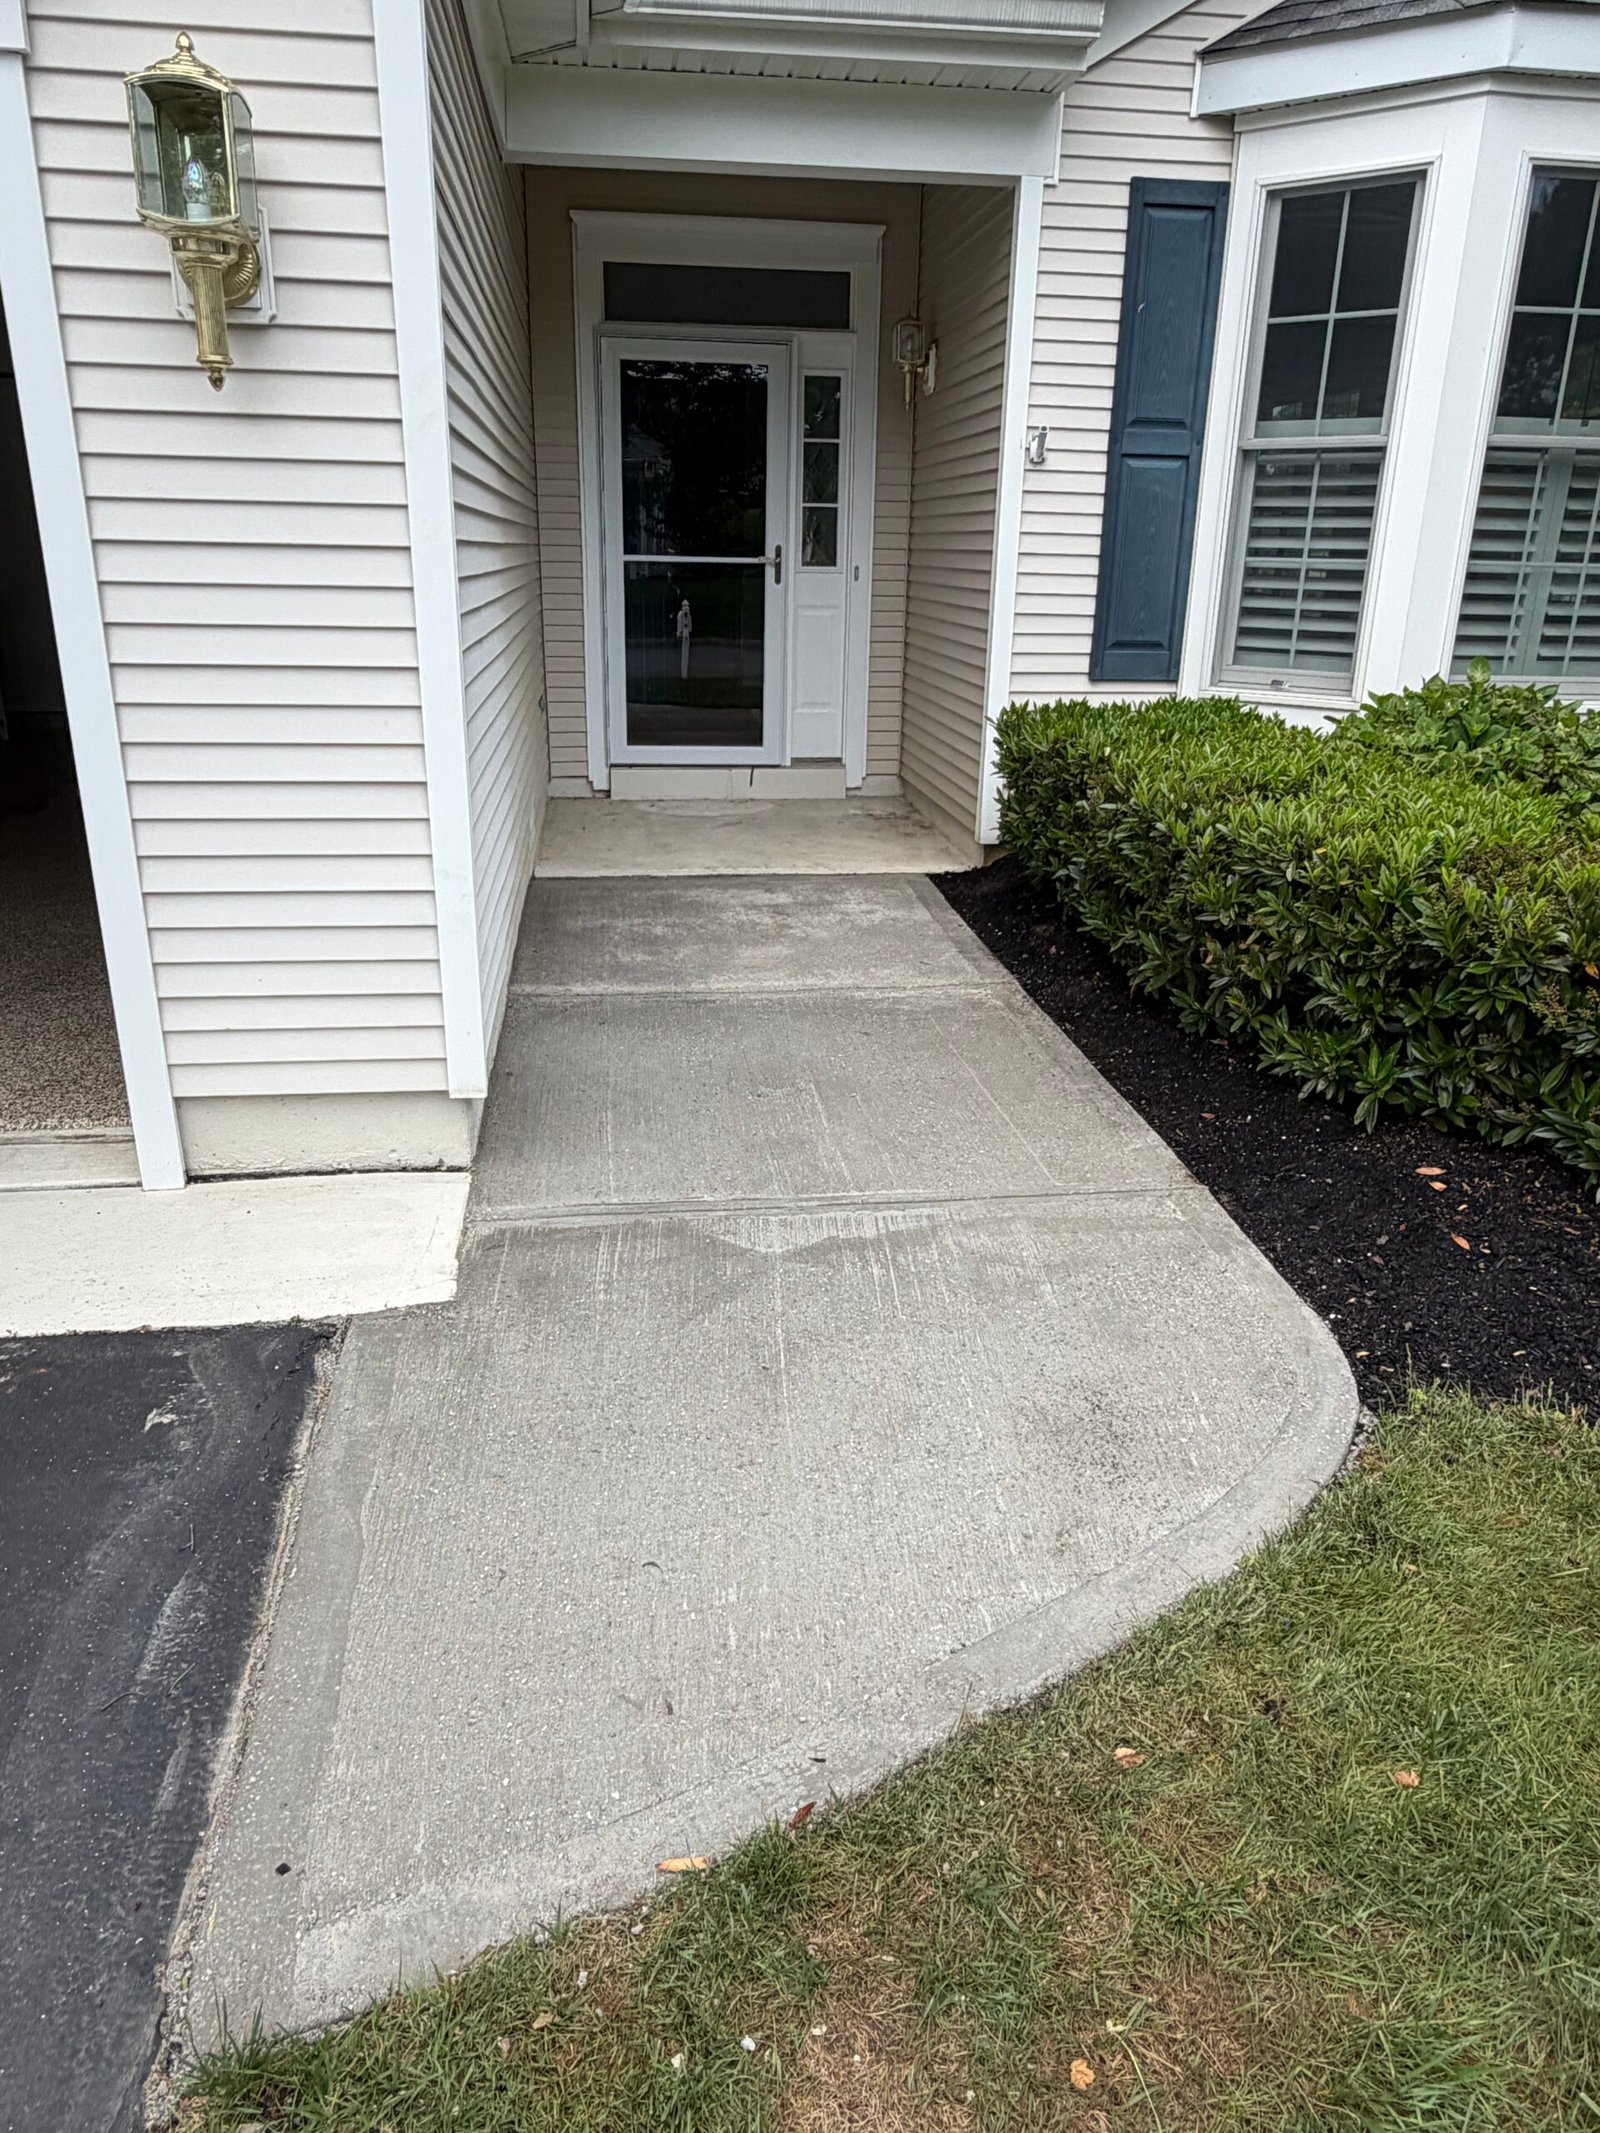
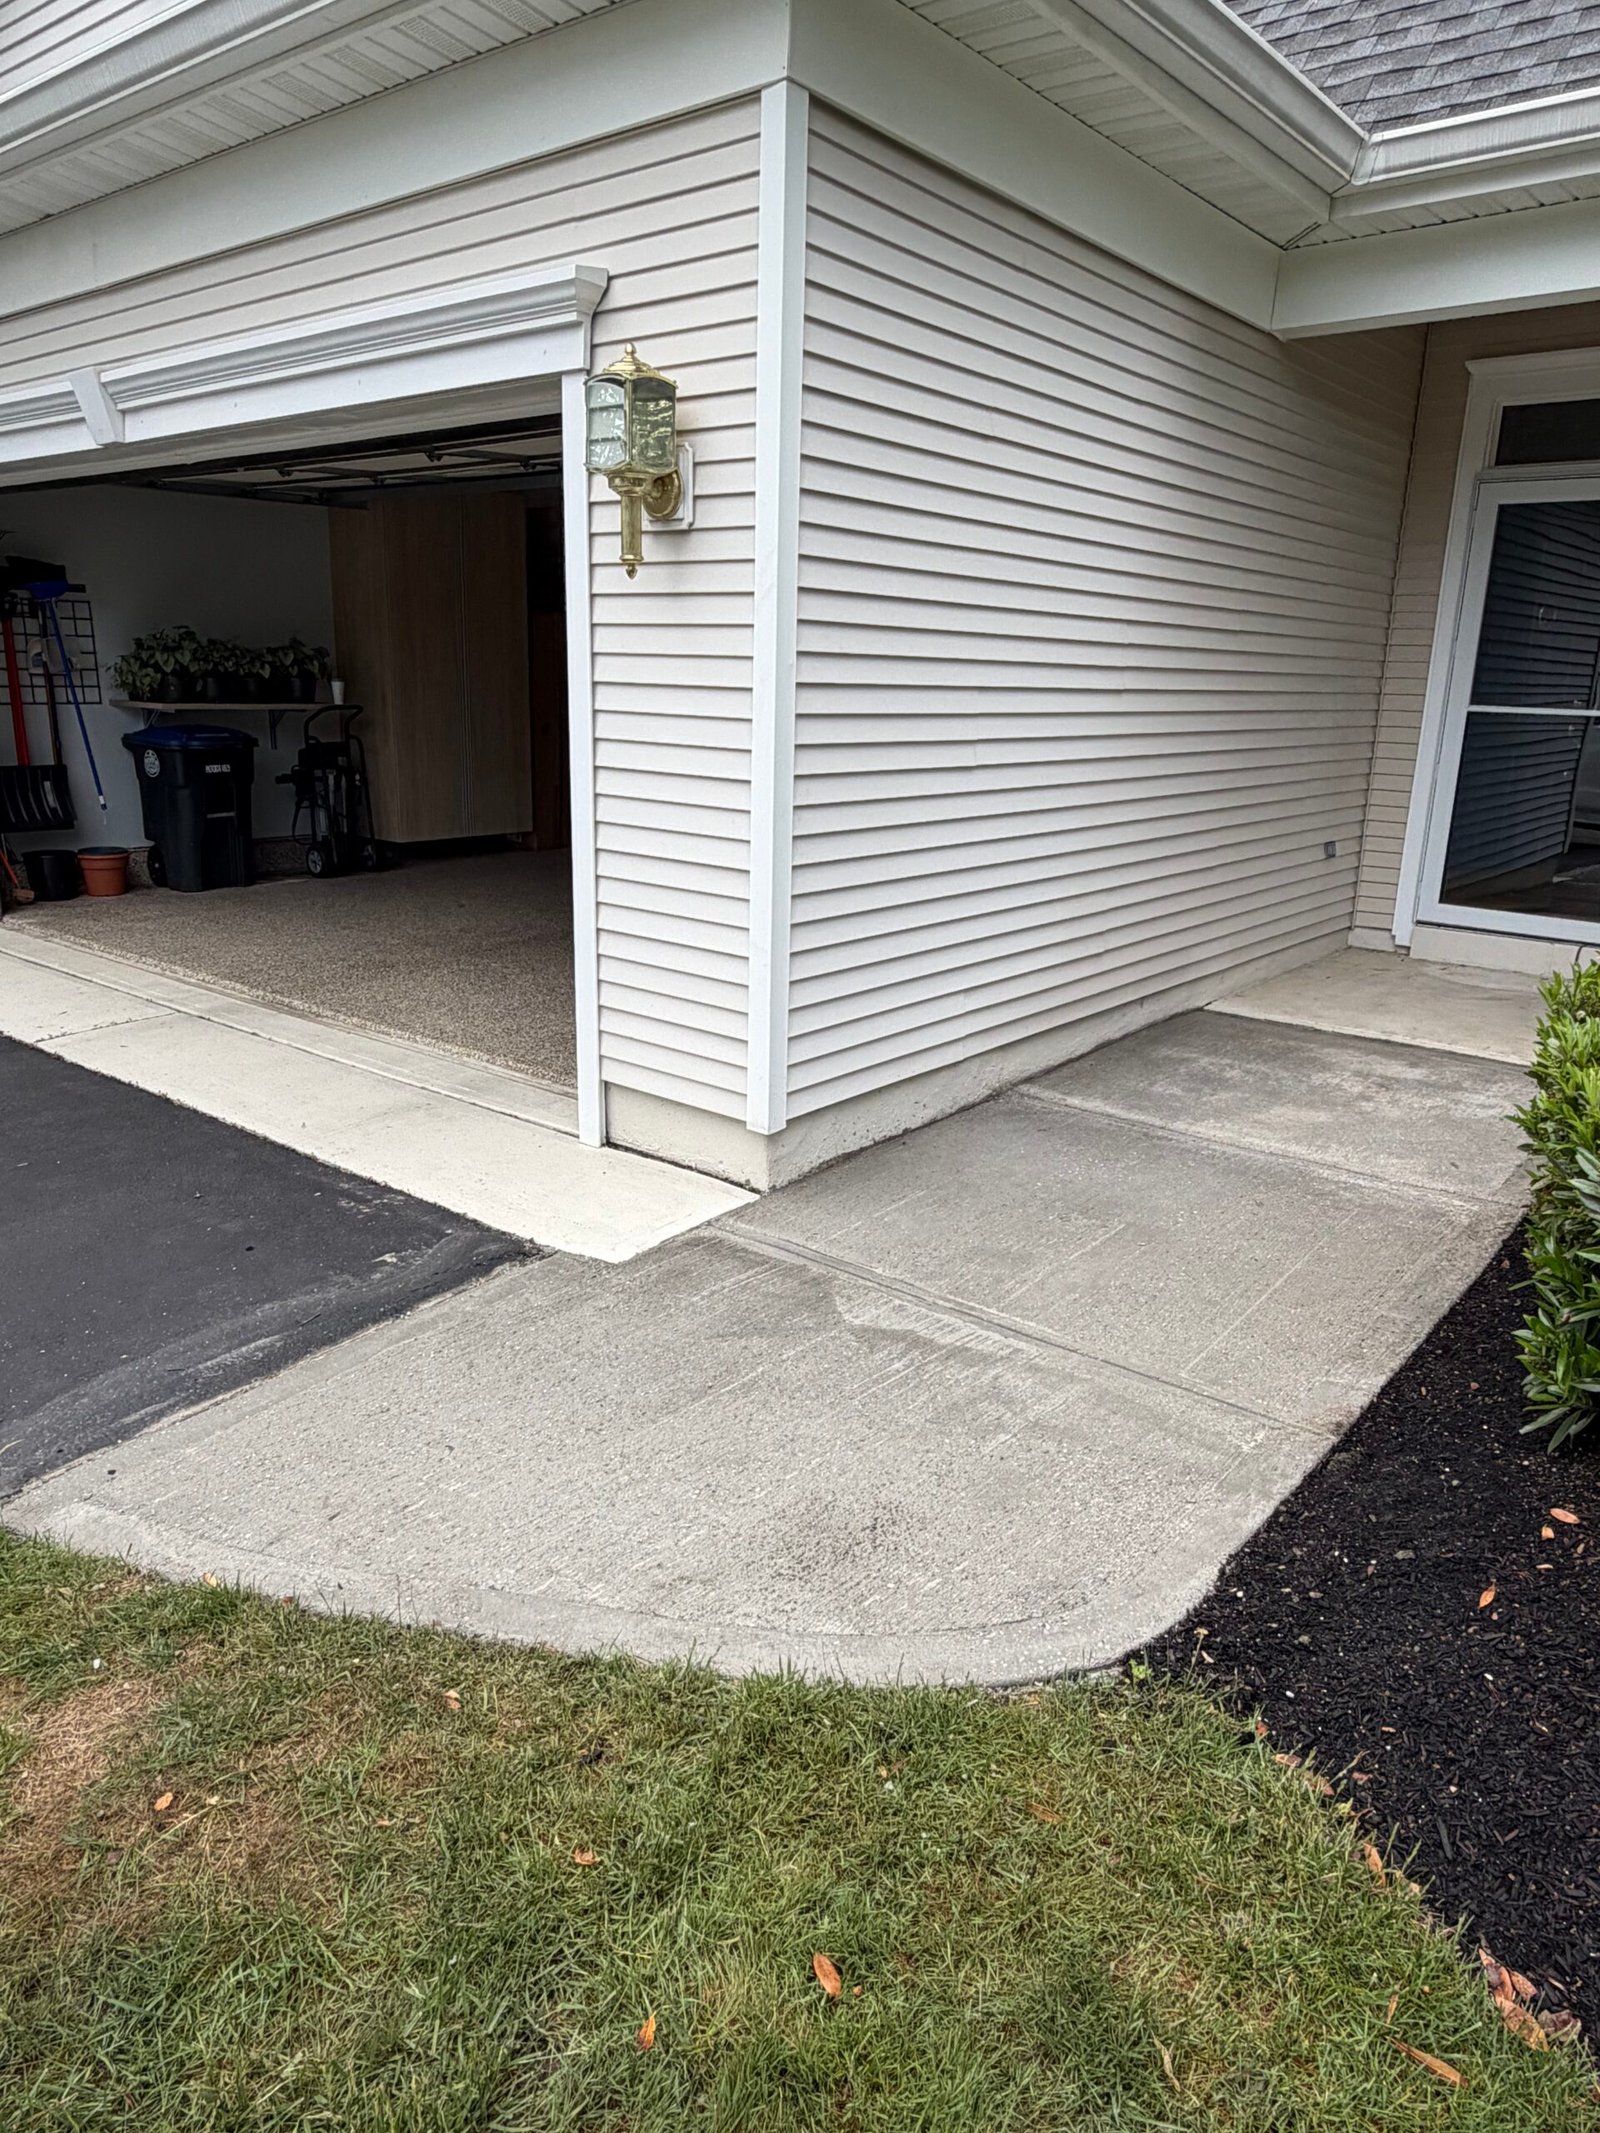
The final views show a clean, light-colored walking surface leading from the driveway to the front door. The curved outer edge follows the lawn, while the straight section sits between the house and planting bed.
The completed walkway brings the garage corner and front entrance together with a consistent appearance. The two final photographs record the finished result used in the before-and-after comparison above.