Phone:
(701)814-6992
Physical address:
6296 Donnelly Plaza
Ratkeville, Bahamas.

Phone:
(701)814-6992
Physical address:
6296 Donnelly Plaza
Ratkeville, Bahamas.
Rectangular tile across the kitchen working wall
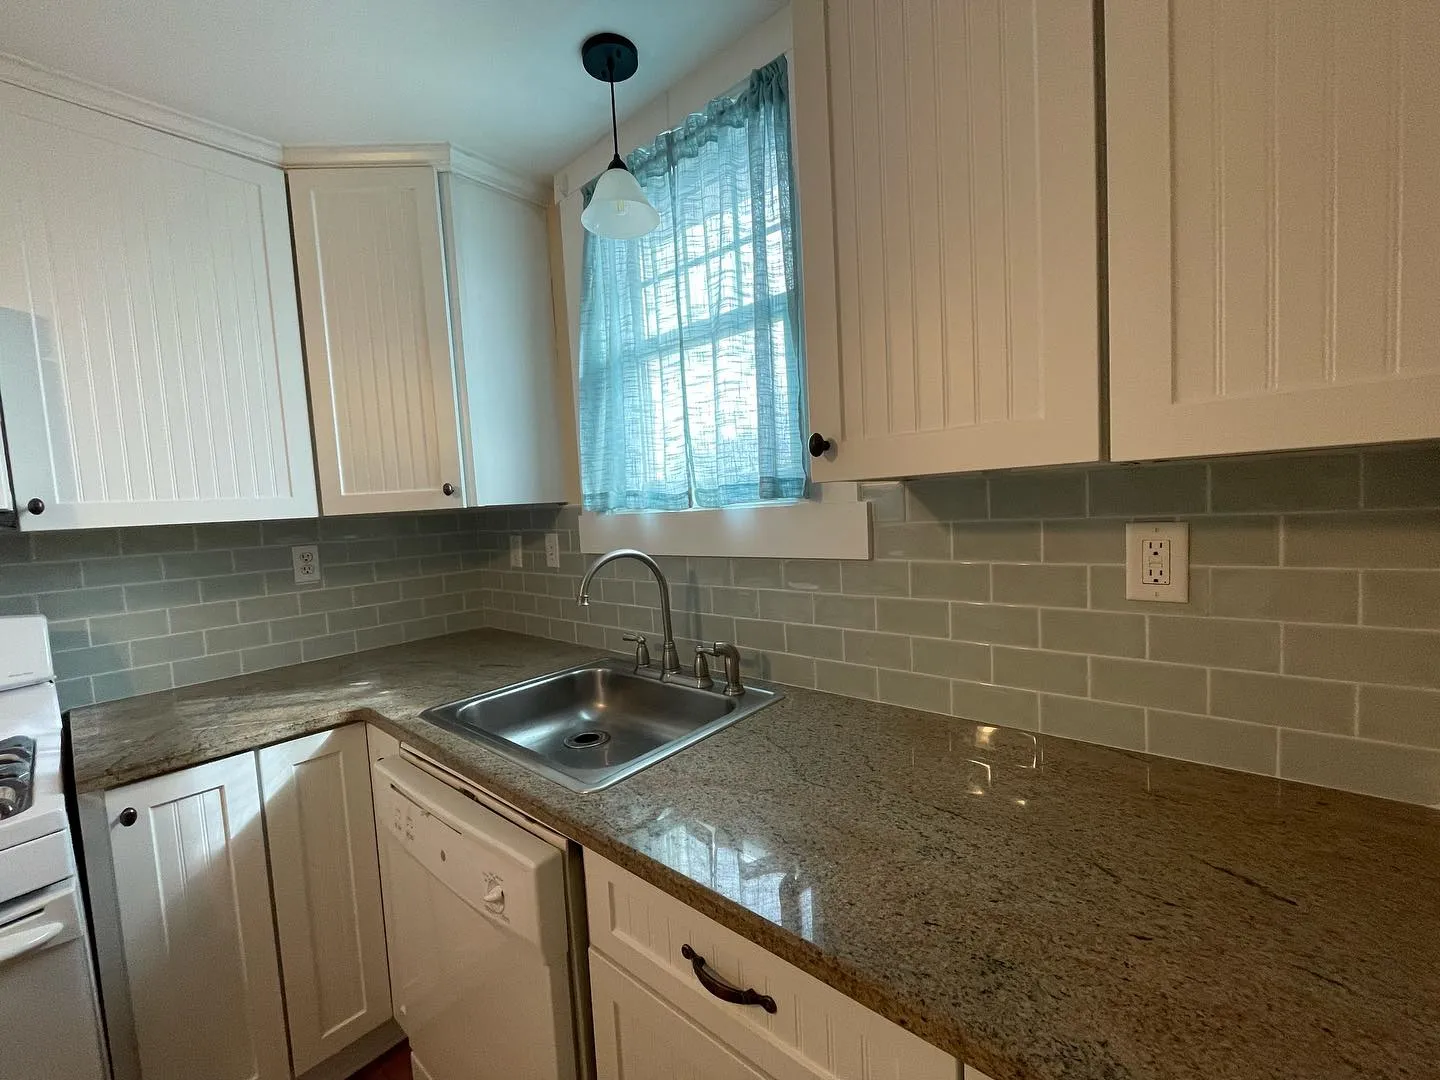
Nashkov Group Construction LLC installed a new tile backsplash in this kitchen. Gray-blue rectangular tiles now run behind the range, around the counter corner and along the sink wall, bringing a coordinated finish between the white cabinets and countertop.
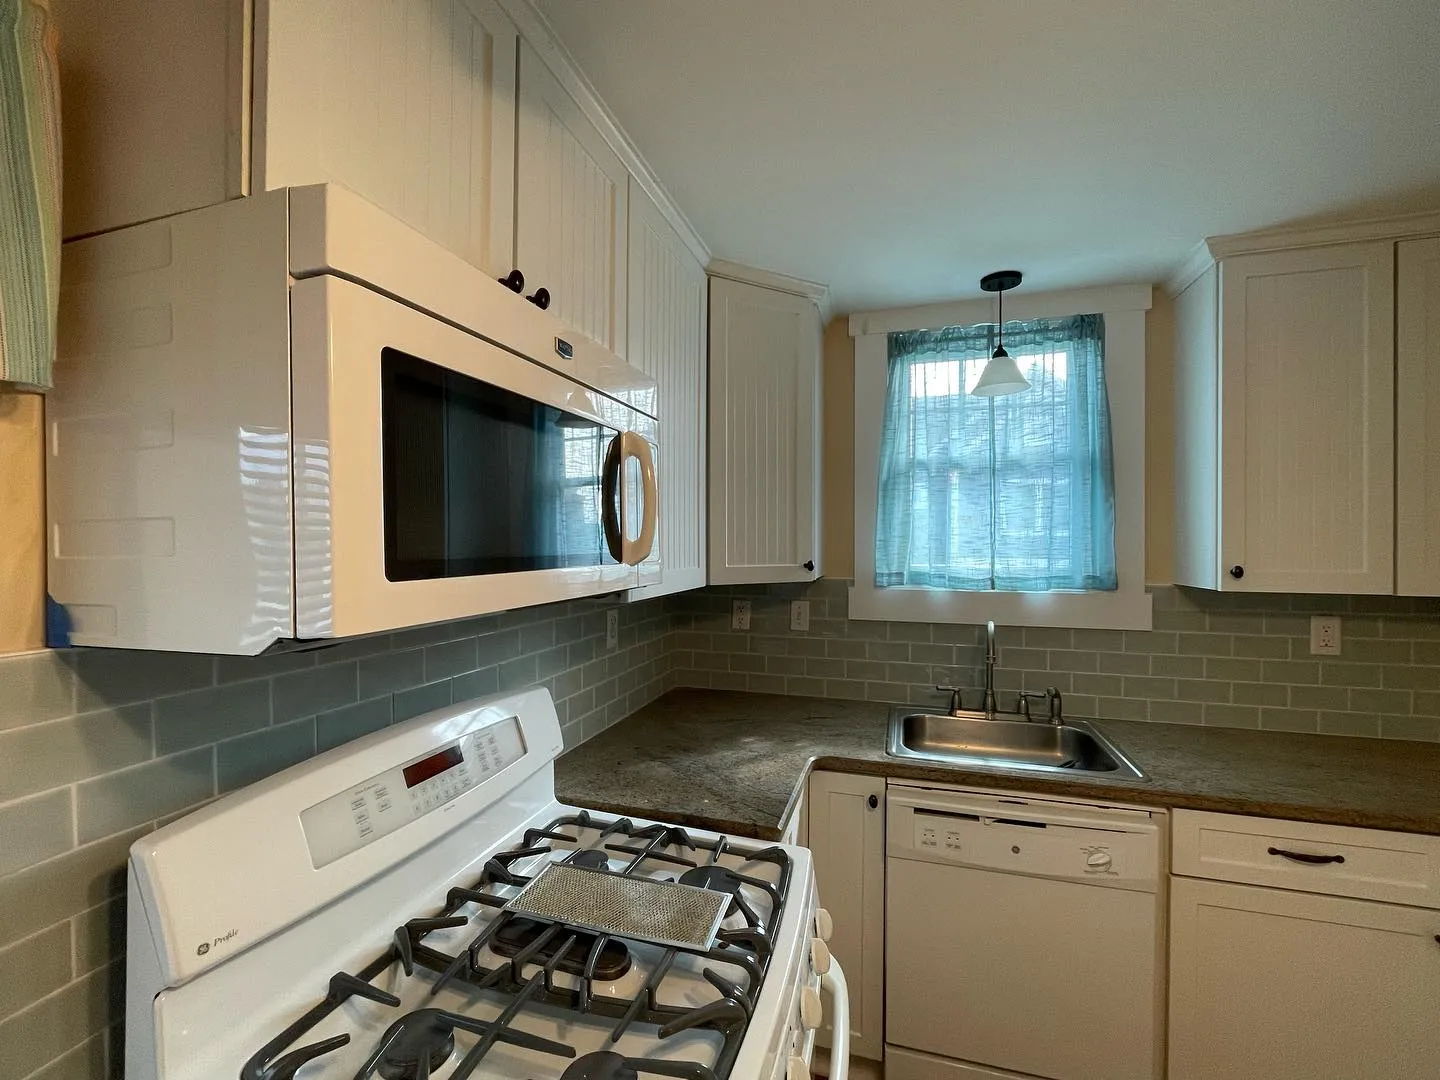 AFTER
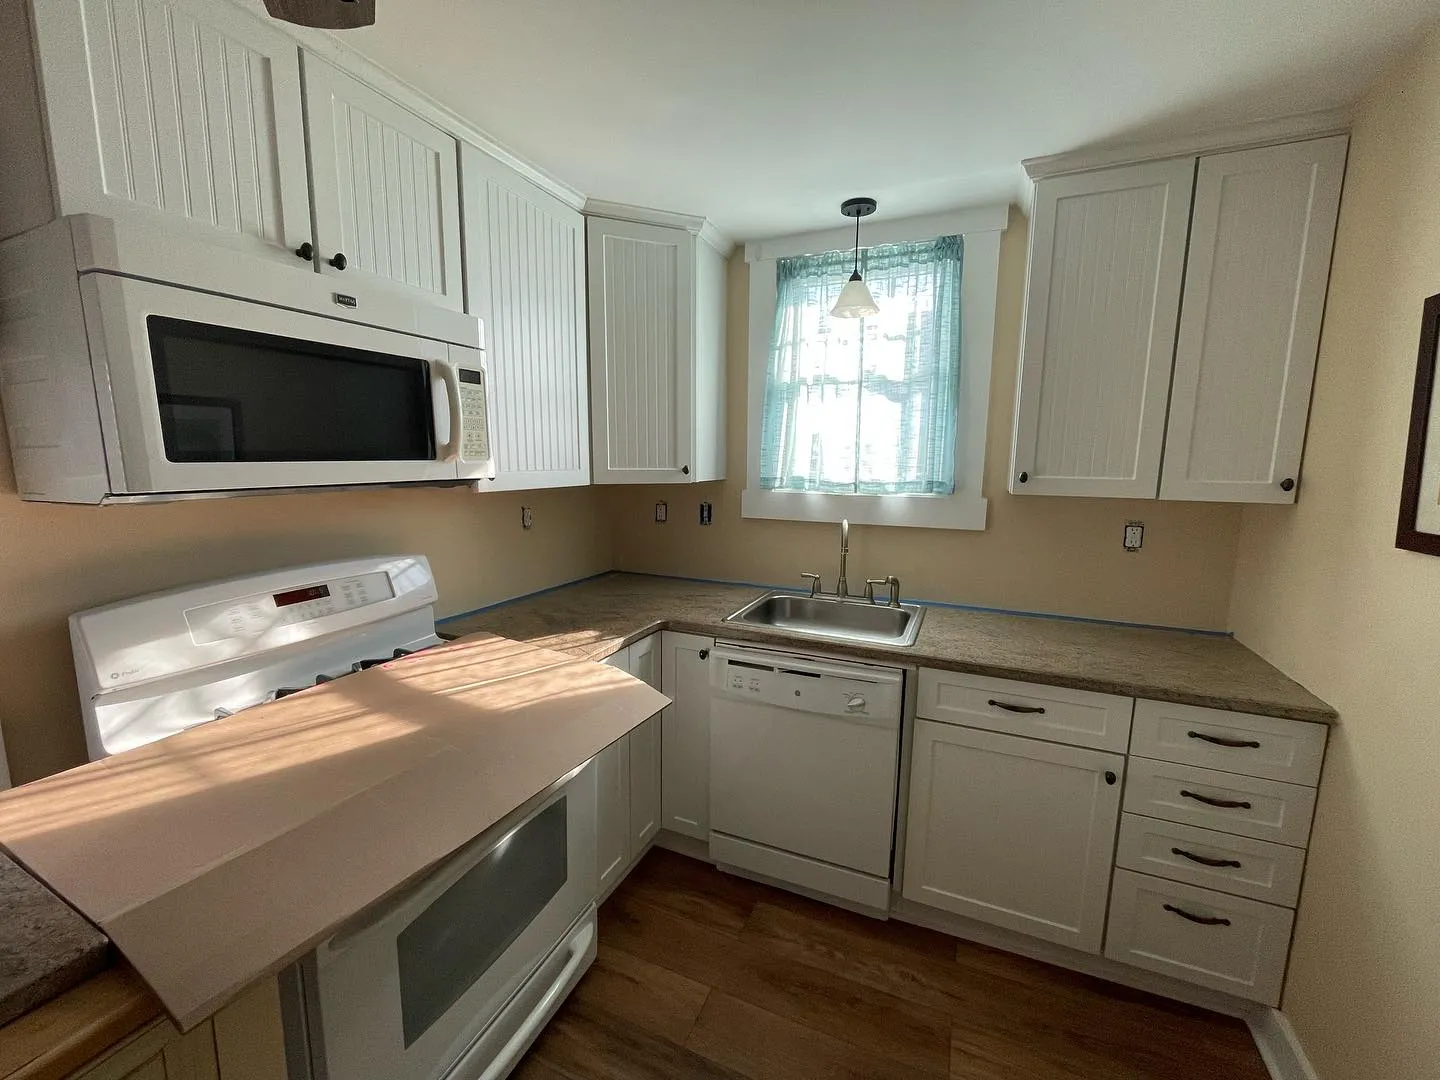 BEFORE
Move the slider to compare the earlier kitchen with the finished work. The stage photographs below include the preparation views and closer details.
Explore the starting conditions, the work stages and the completed finishes. Select a photograph to view the full image, then browse with the arrows, keyboard or a swipe.
Stage 01
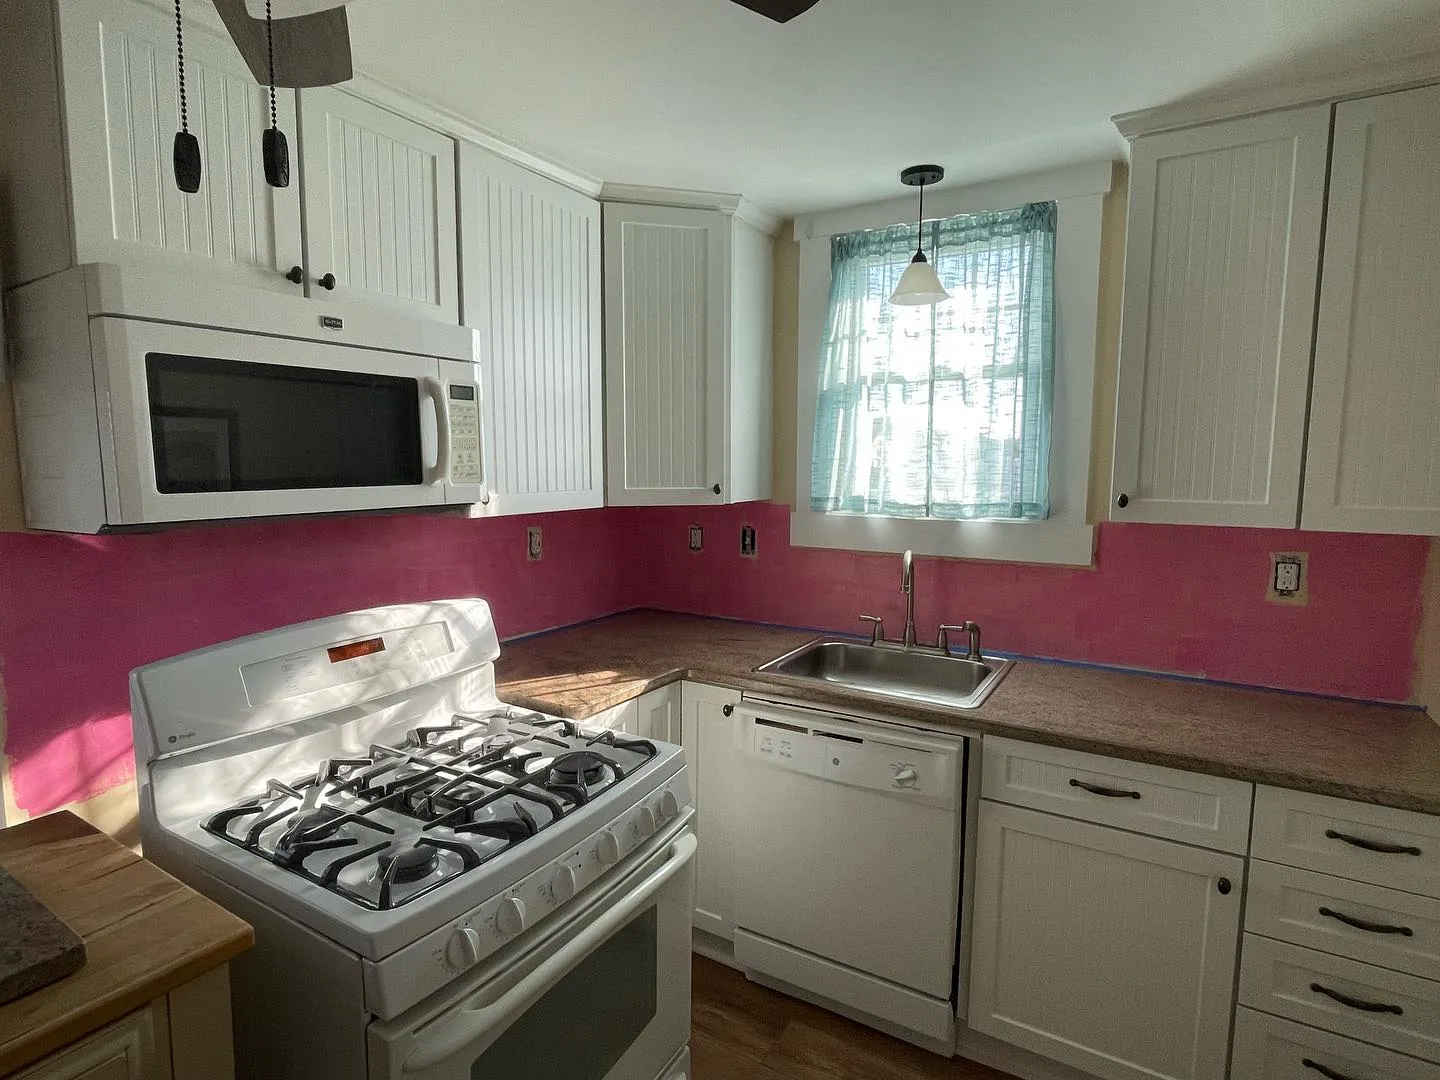
The earlier kitchen photograph shows a pink wall finish between the countertop and the white upper cabinets. The preparation-stage view records the wall area before the new tile, with the microwave set aside.
These starting views define the surfaces that receive the backsplash around the cooking area and sink.
Stage 02
Gray-blue rectangular tiles were fitted across the working wall. The layout continues behind the range, around the counter corner and beneath the upper cabinets beside the sink.
The wider finished views show the tile meeting the countertop and following the wall openings and outlet positions.
Stage 03
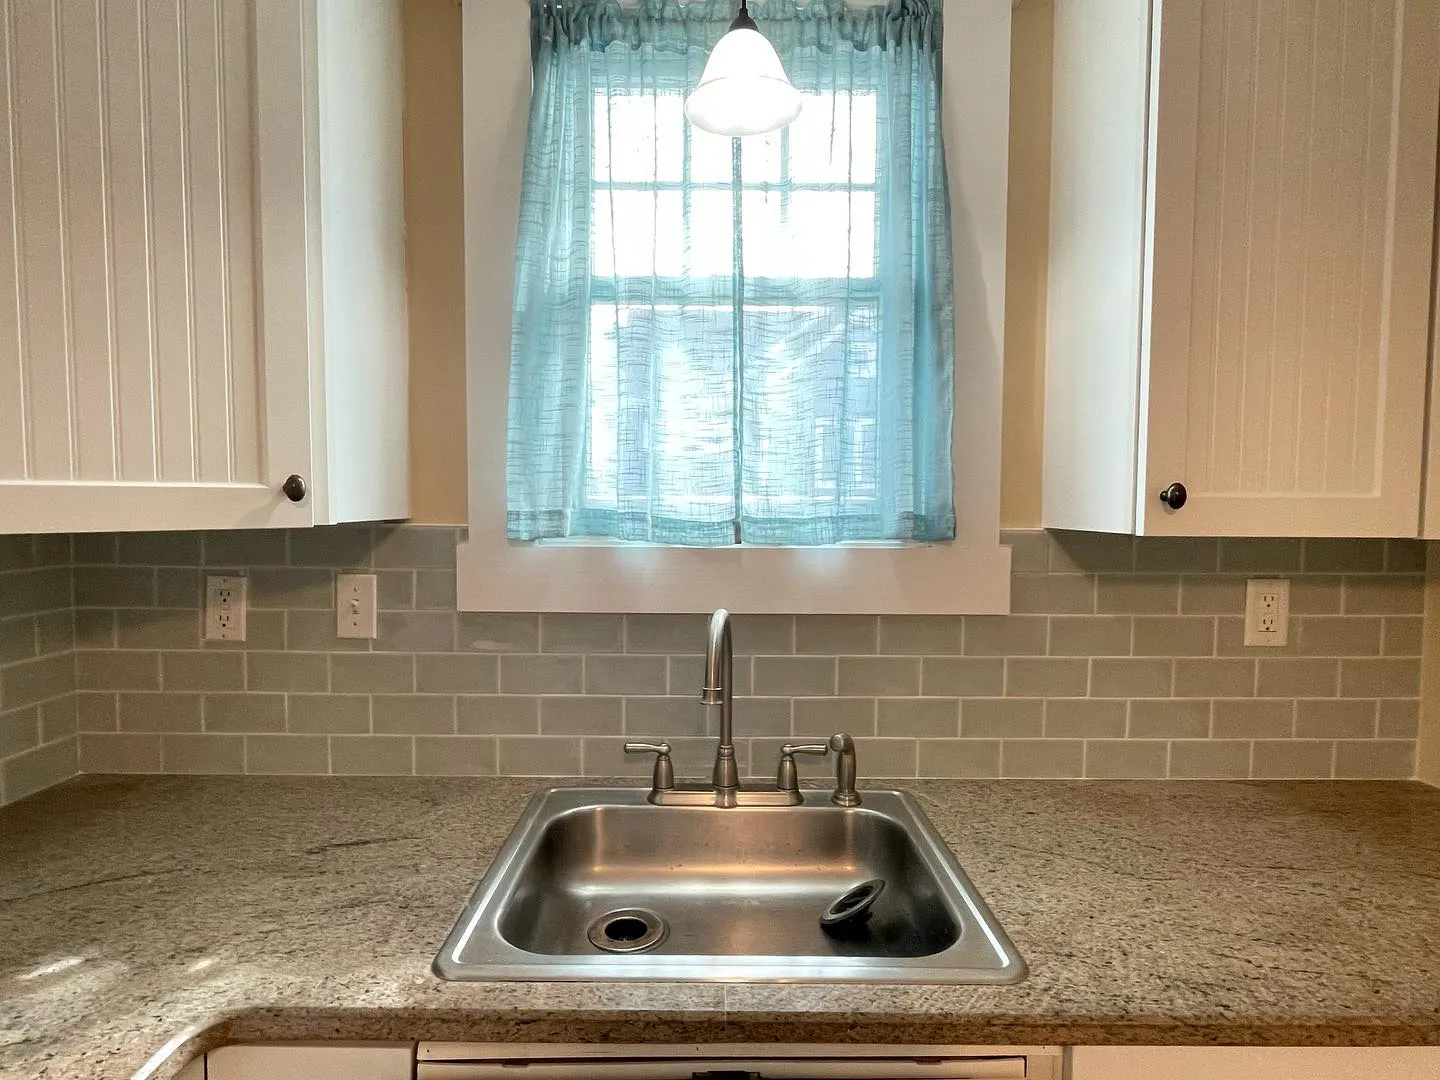
The closer sink view shows the completed tile pattern, joints and edges around the window trim and outlet plates. The tiled wall provides a coordinated finish above the countertop.
This final detail connects the sink area with the backsplash running around the rest of the kitchen working wall.
Planning a new kitchen backsplash? Send Nashkov Group Construction LLC photographs of the countertop and wall area, the tile style you have in mind and your property location. We can discuss the layout, scope and an on-site visit.
Discuss your backsplash project