Phone:
(701)814-6992
Physical address:
6296 Donnelly Plaza
Ratkeville, Bahamas.

Phone:
(701)814-6992
Physical address:
6296 Donnelly Plaza
Ratkeville, Bahamas.
Interior painting · Project story
A warm interior refresh for an enclosed sunroom. Neutral wall color, white window details and a light ceiling bring the seating area and entrance into one coordinated palette. Follow the starting room, work-area setup and finished views from the windows to the doorway.
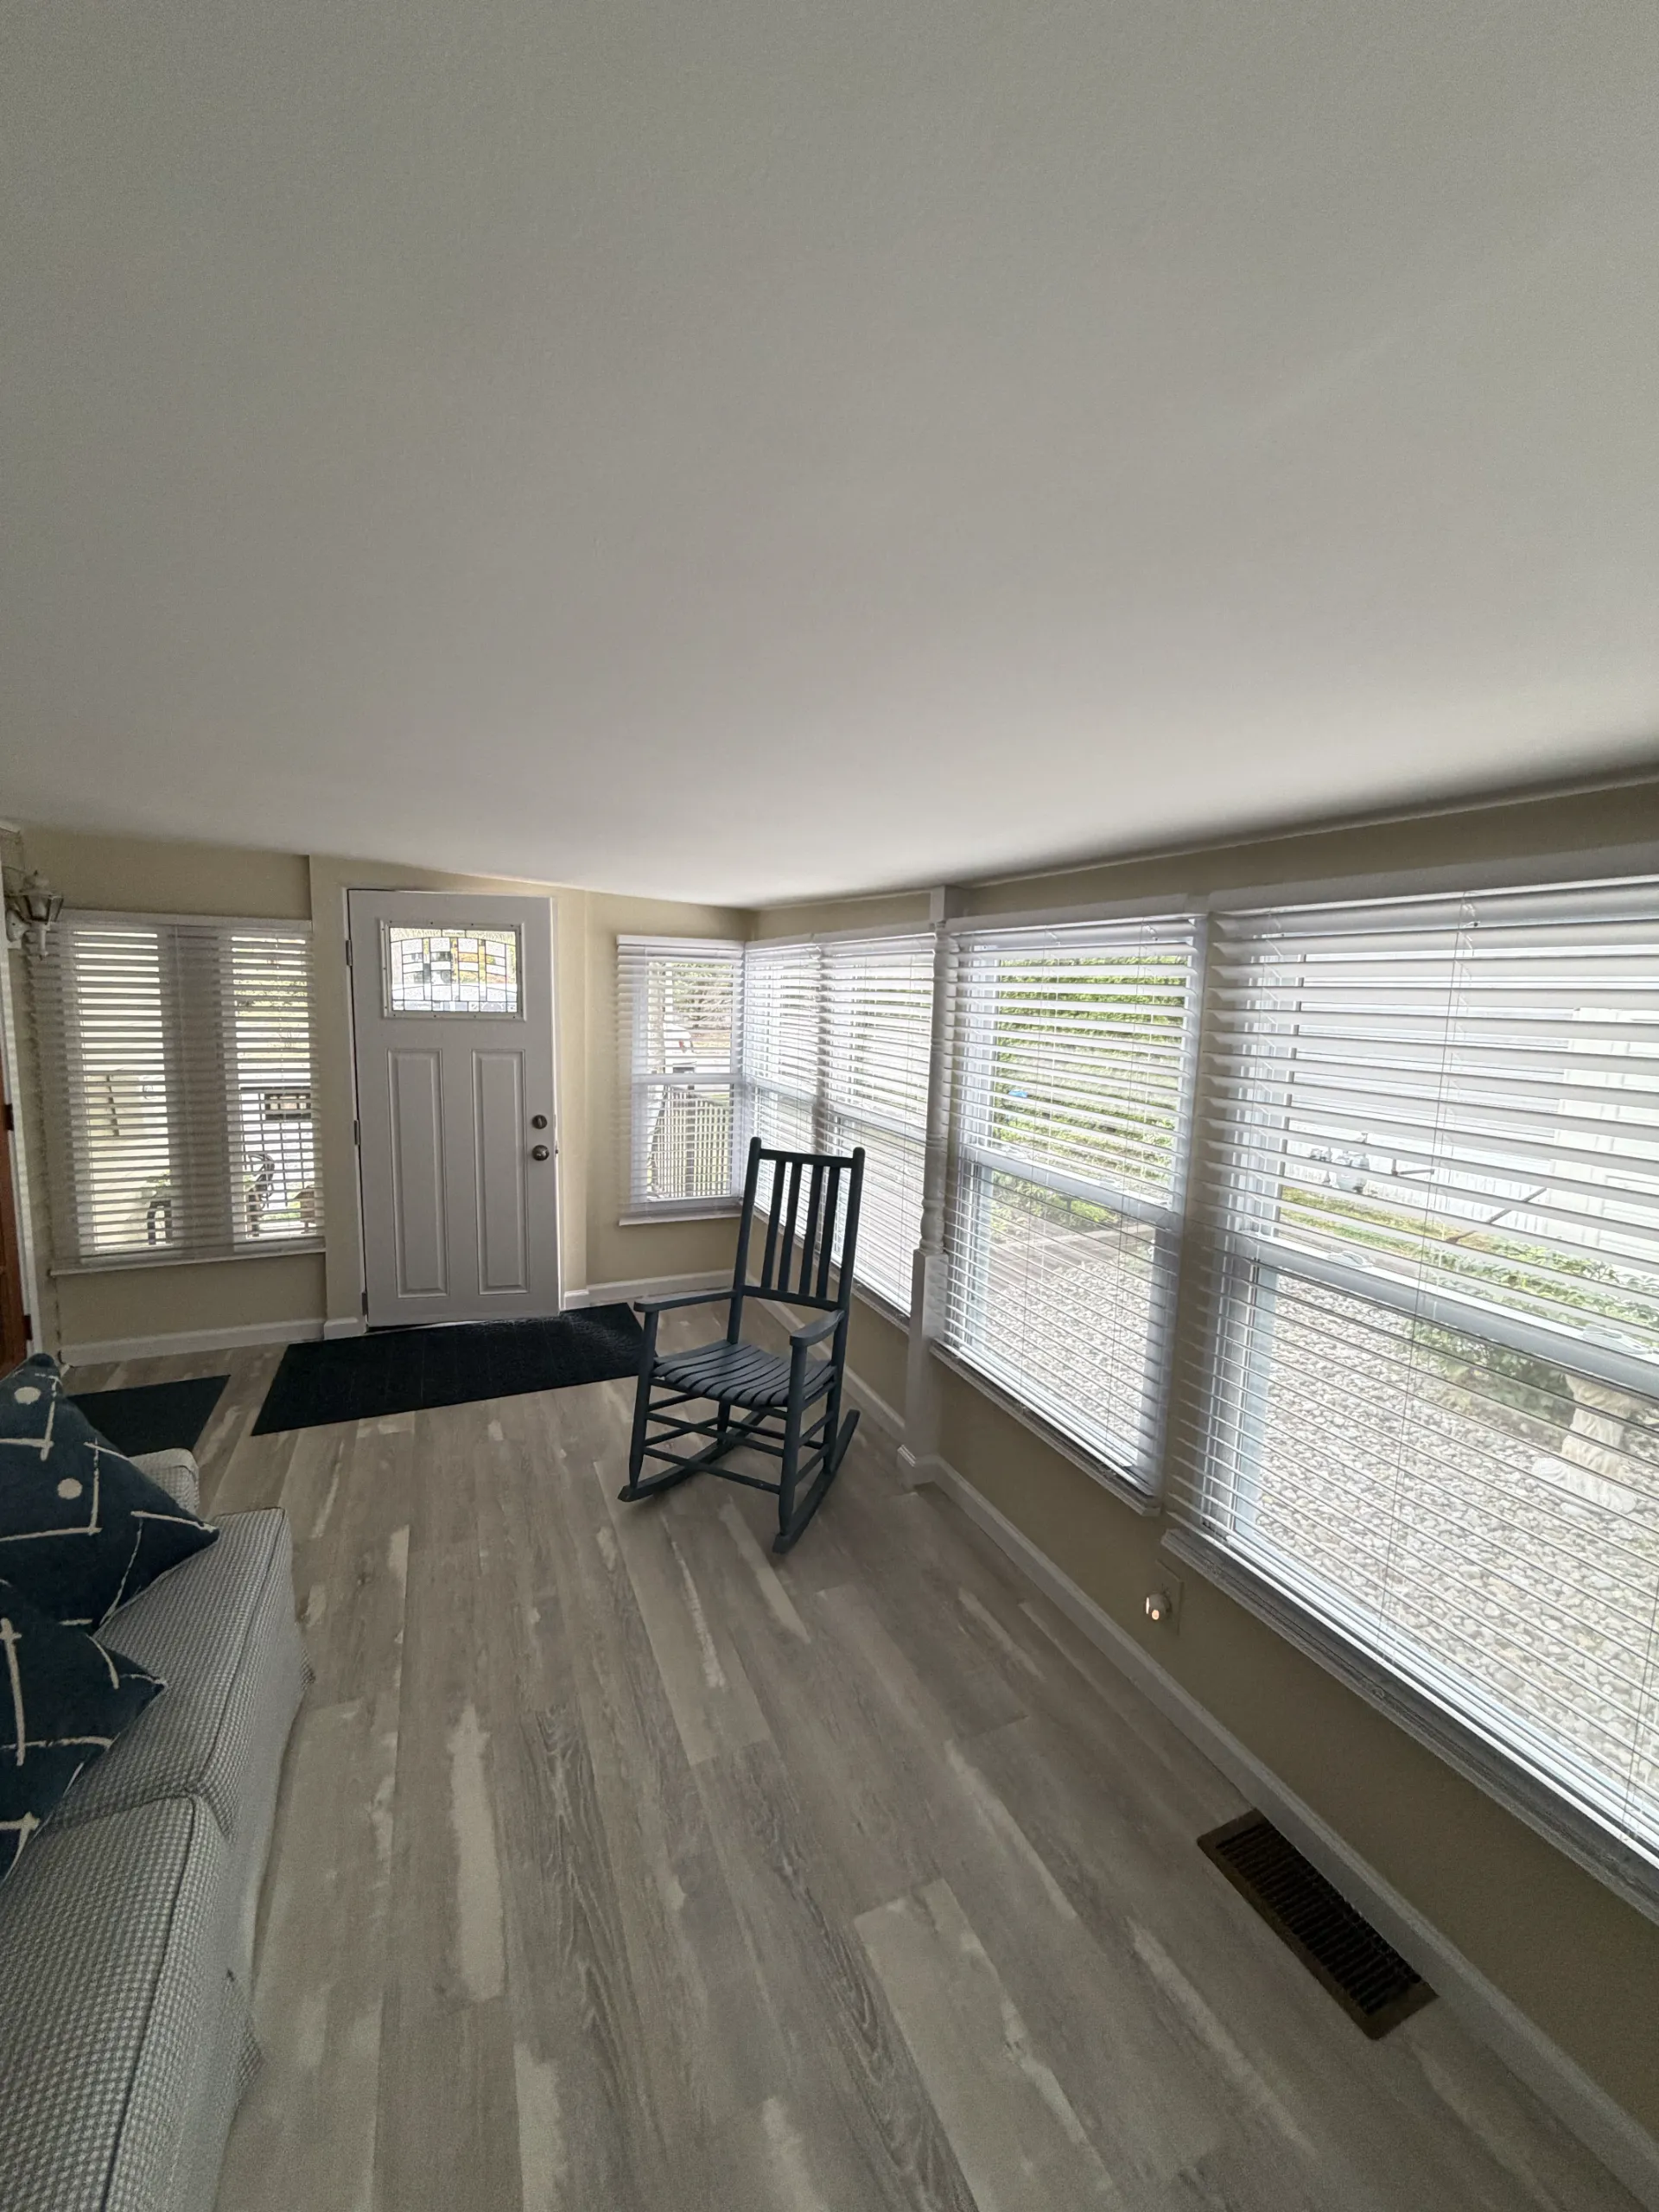 AFTER
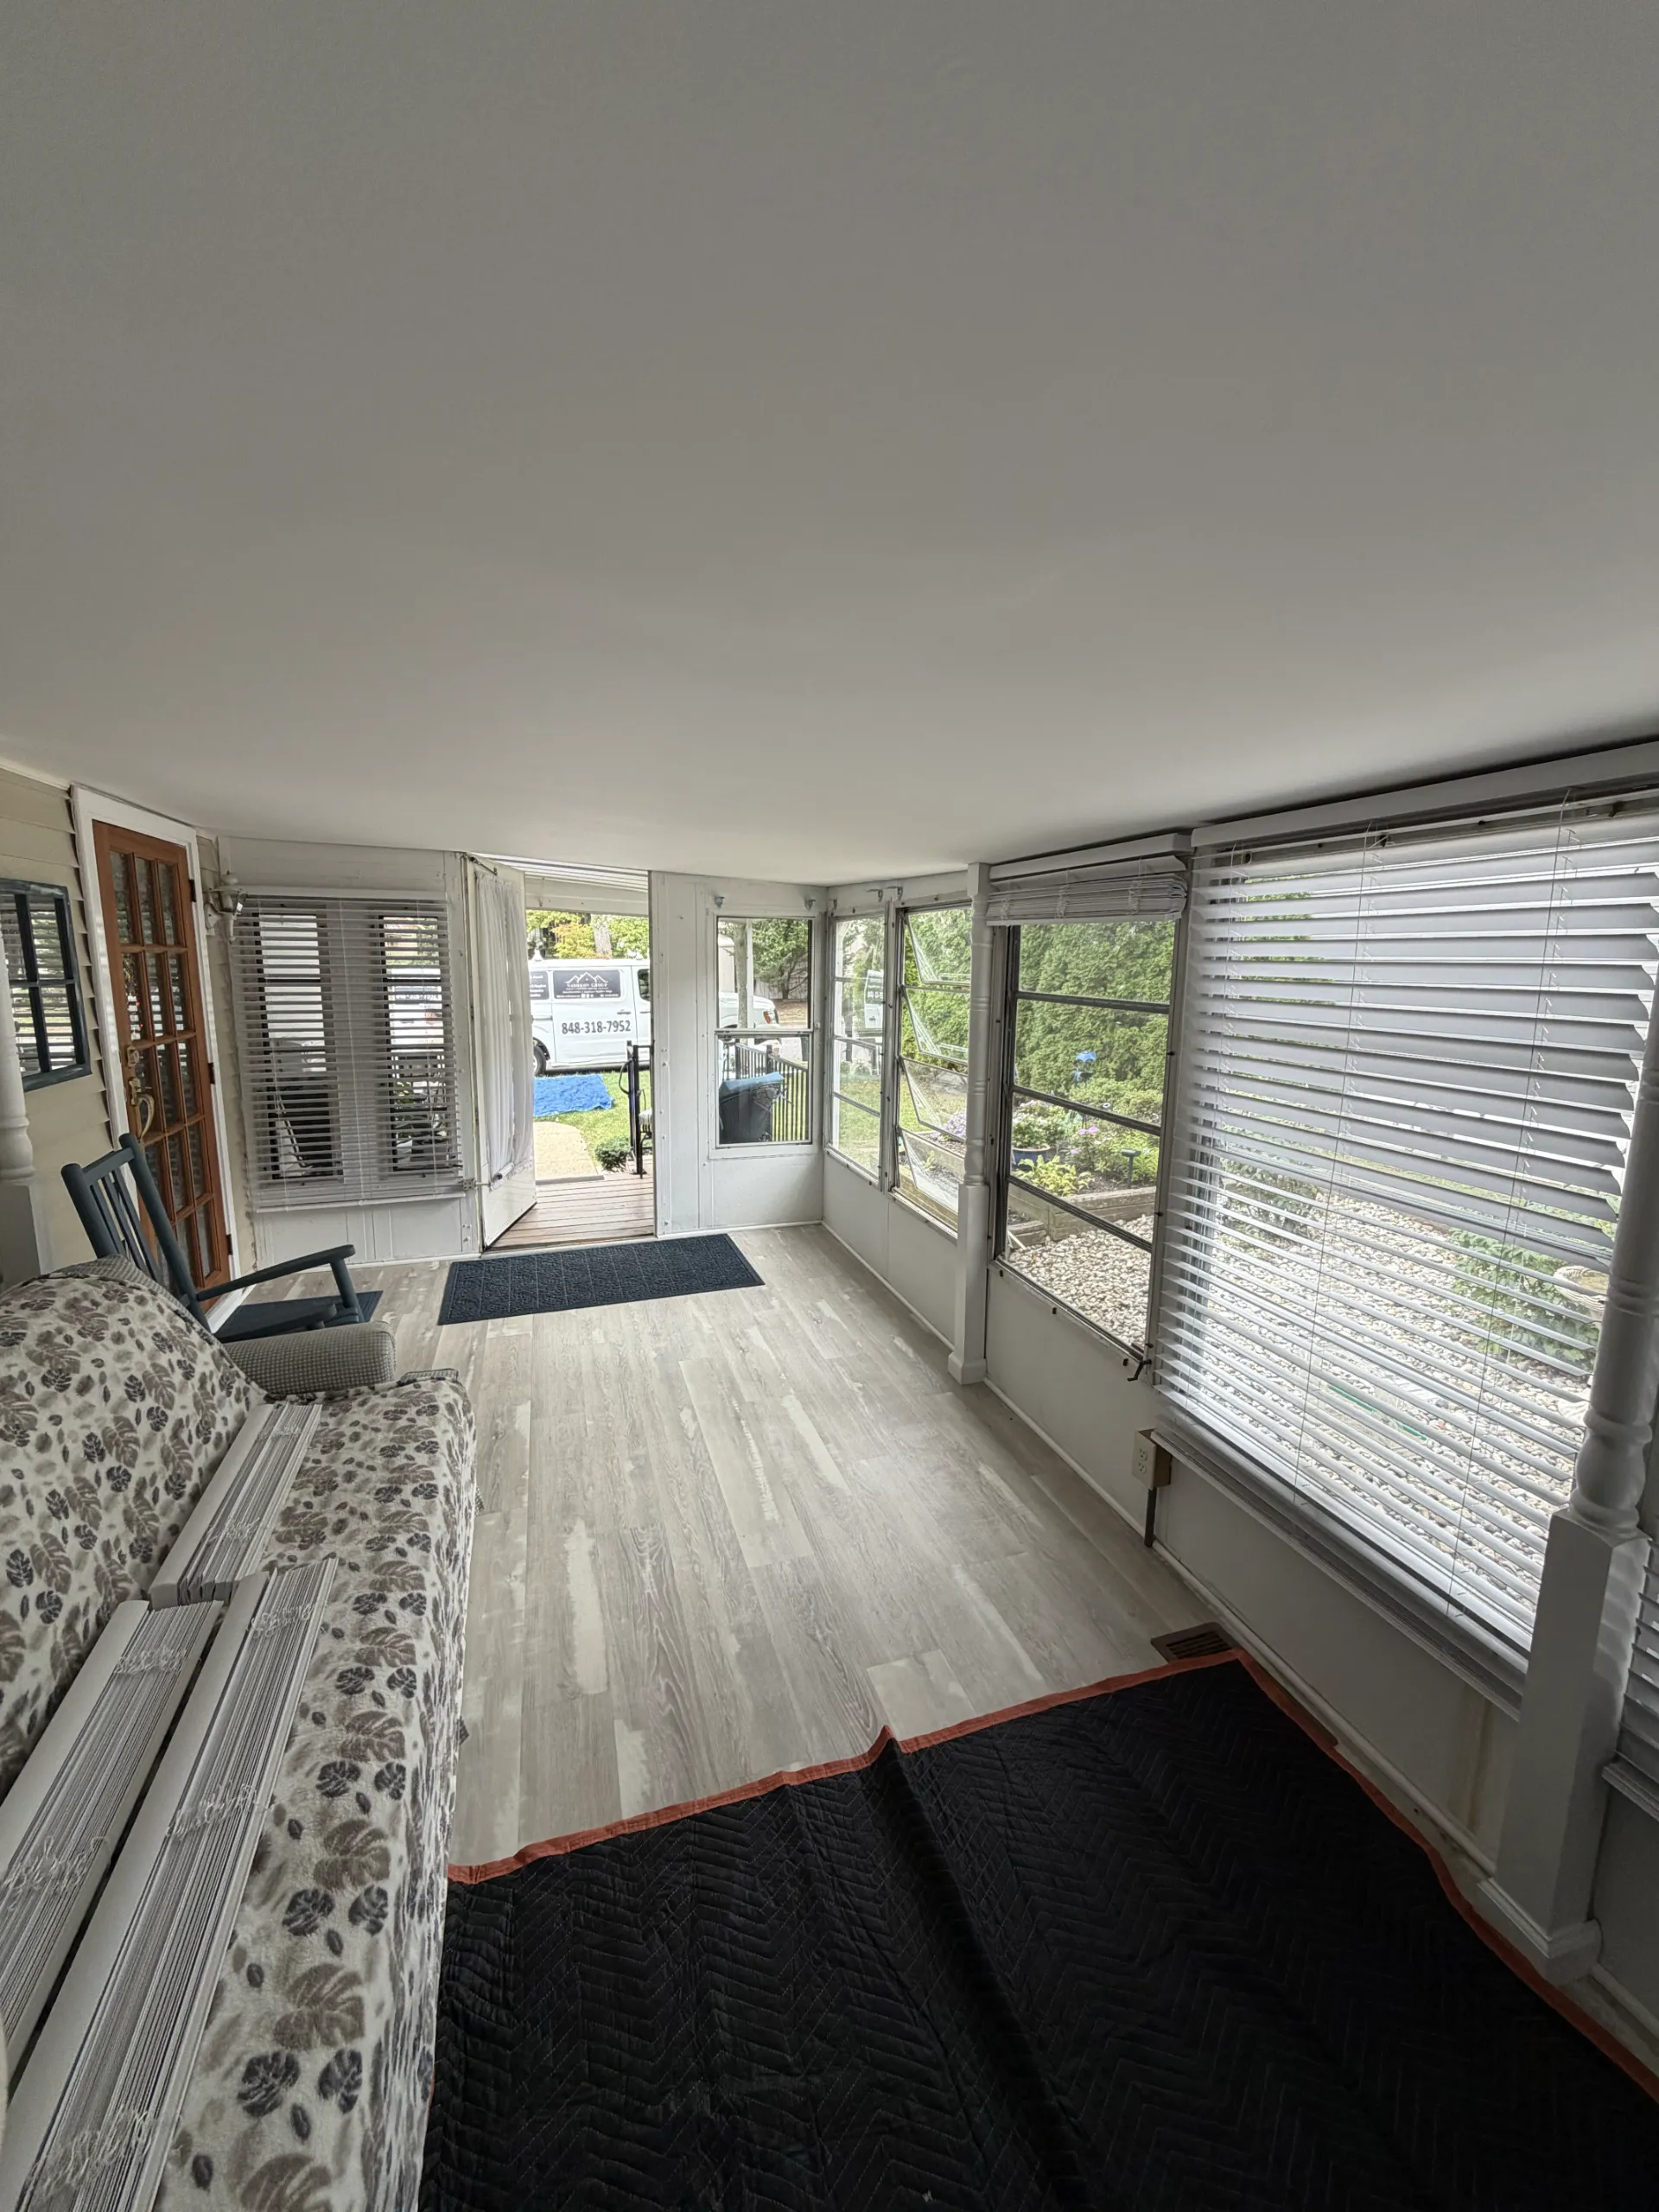 BEFORE
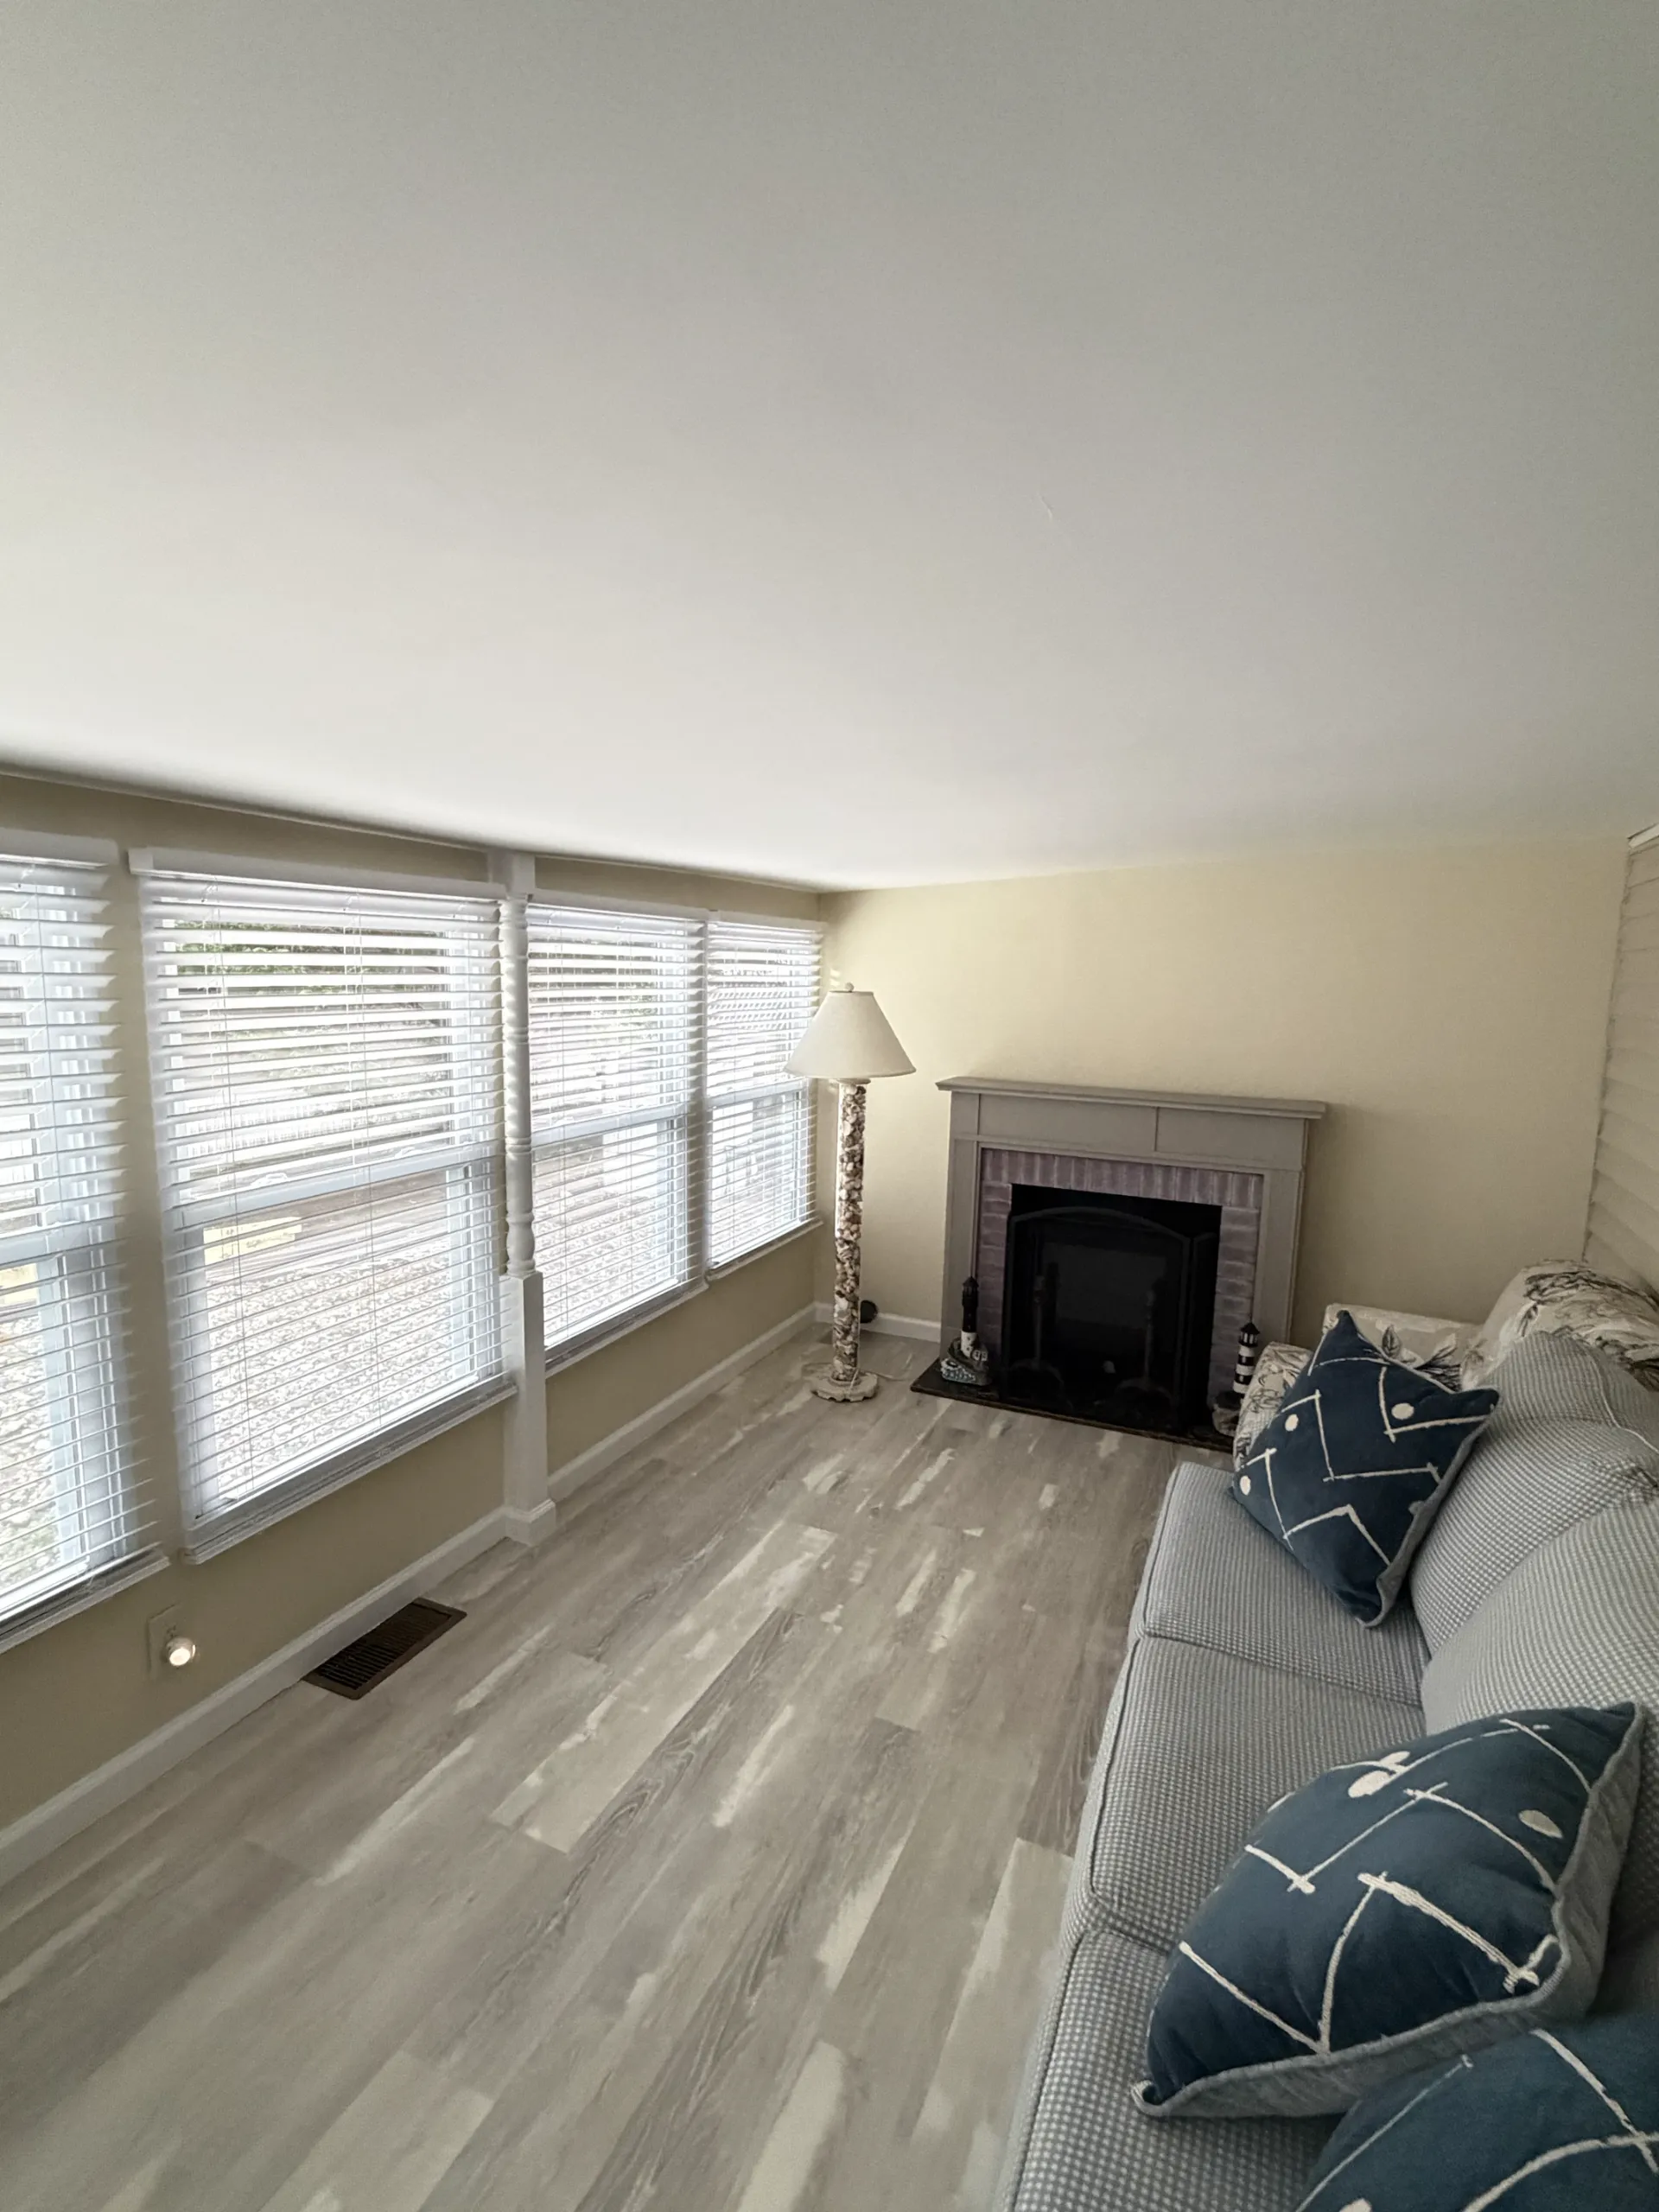 AFTER
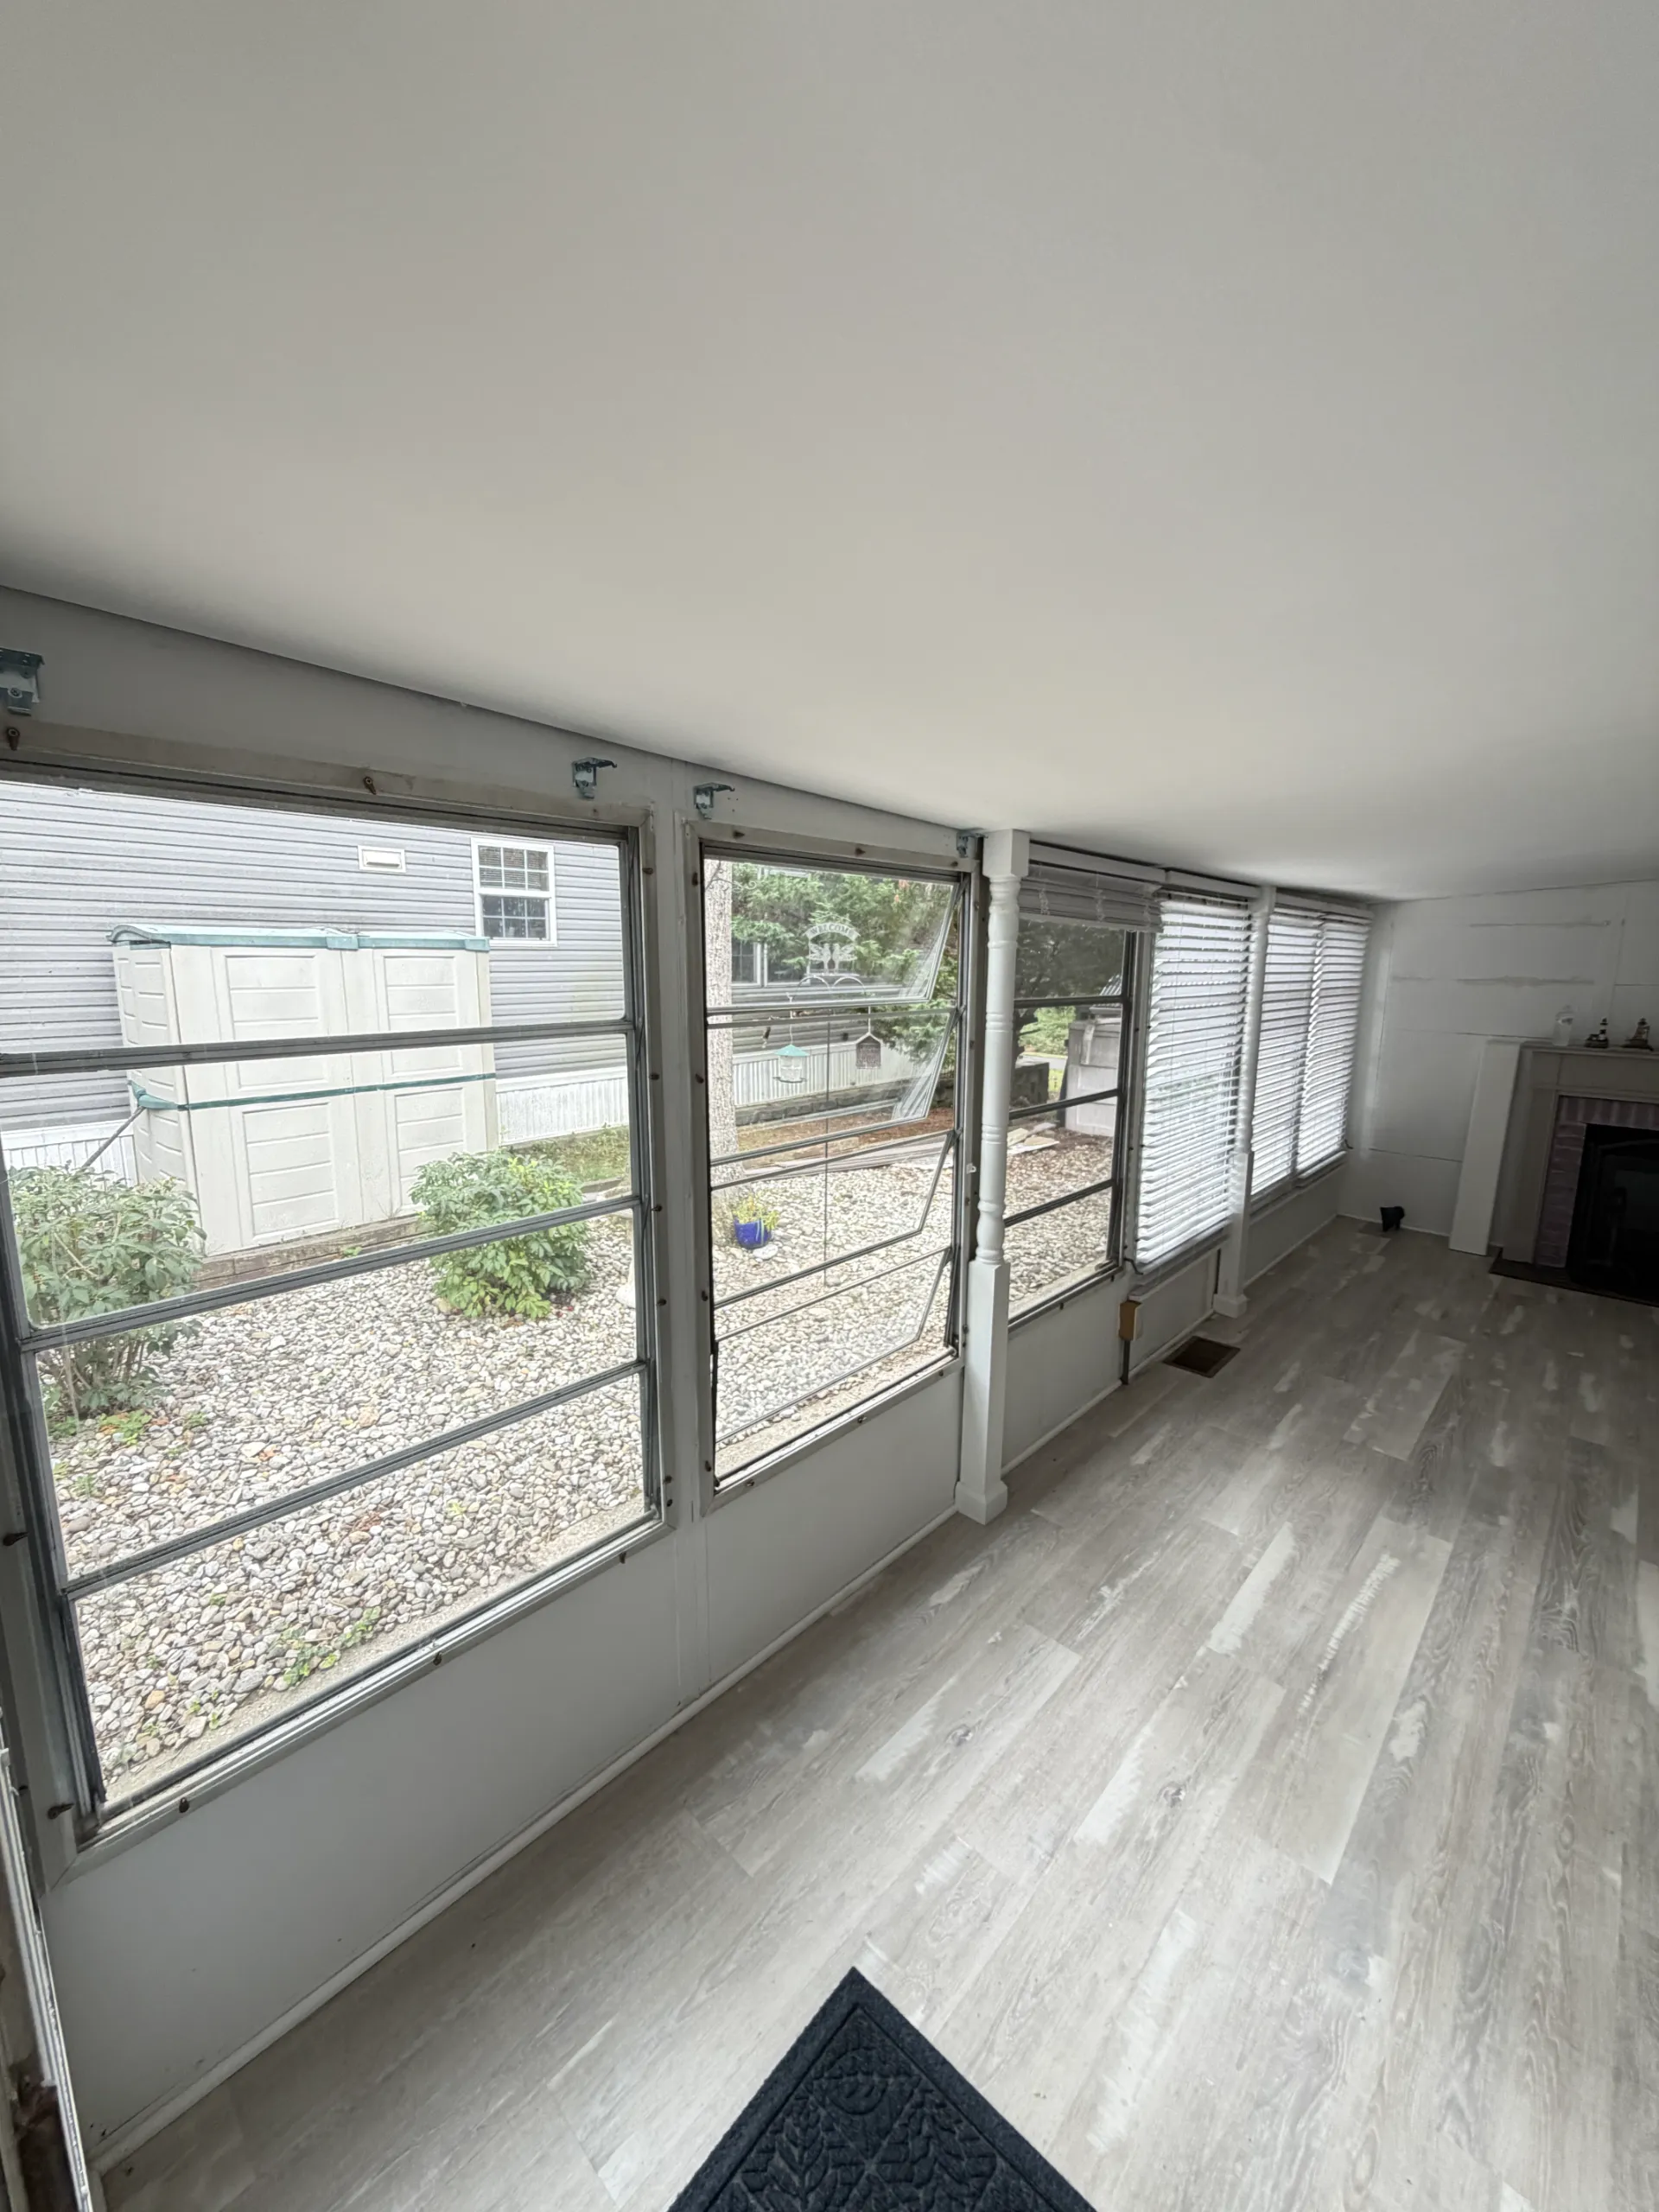 BEFORE
Move either slider to compare the starting room with the completed interior. The photographs were taken from slightly different positions and in different daylight, which also affects the appearance of the wall color.
The painting refresh gives the sunroom a warmer, more consistent appearance. Neutral color connects the wall areas around and below the windows with the fireplace end and entrance, while white details define the openings and lower edges.
In a room with so much glazing, the narrow painted sections make a visible difference. The completed views bring the wall color, light ceiling, window details and doorway together around the existing room layout.
Explore five stages with the starting room, work-area setup and completed wall, trim and entrance views. Select a photograph to open the gallery and browse all five images.
Stage 01
The starting view records a sunroom with long runs of windows, white lower wall panels and a fireplace at the far end. Narrow wall sections above and below the glazing make the painted edges a prominent part of the room.
This view establishes the original appearance of the window wall and its connection to the ceiling, baseboards and seating end before the warmer interior palette was introduced.
Stage 02
The entrance-side photograph shows the room at the start of the work. A padded covering lies over part of the floor, and loose blind components are set aside on the seating while the room is arranged for the refresh.
The window surrounds, lower panels and wall sections beside the door form the main visible painting areas in this part of the room. The preparation view provides a direct reference for the completed entrance shown later.
Stage 03
A warm neutral finish connects the wall below the windows with the larger area behind the fireplace. The lighter ceiling and white window details frame the new wall color throughout the seating area.
The finished view shows how the palette works with the room’s daylight and furnishings. The painted wall areas give the space a more coordinated appearance from the long window wall to the far corner.
Stage 04
White window details, door casing and baseboards give definition to the warm wall finish. At the entrance, the light neutral door sits within a white surround that connects with the adjoining windows.
The closer photograph brings these junctions together: the wall around the doorway, the ceiling line above it and the lower trim beside the floor. The result carries the same palette through the smaller details.
Stage 05
The completed view looks along the windows toward the entrance, showing the warm wall color, white details and light ceiling as one interior. The room’s long glazed side and doorway now share a consistent finish.
Together, the final photographs show the refresh from the fireplace end to the entry. The seating, existing floor and daylight place the painting work in the context of the room as it is used.
Warm neutral walls and contrasting white details bring the sunroom into a coordinated interior. The final views show how the finish works across the long window wall, around the seating area and beside the entrance.
Planning to refresh a sunroom, living room or other interior space? Send photographs, your property location and the surfaces you would like to update. Nashkov Group can help define the preparation, colors and painting scope.
Discuss your interior painting project