All installations & assembly projects

Home Installations & Assembly

Furniture Assembly & Room Setup

Separate panels, frames and fittings brought together as useful furniture for the home. Follow the assembly of a tall storage chest, a bedside table, a wide dresser, a fireplace TV stand and a dining table, from the starting components to the assembled pieces.

Before & after

Move the sliders to compare the starting assembly stages with the completed furniture. The photographs below follow each piece through its own part of the job.

Fireplace console: parts to assembled furniture

After: The assembled fireplace TV stand with its electric flame display and colored shelf lighting on. AFTER
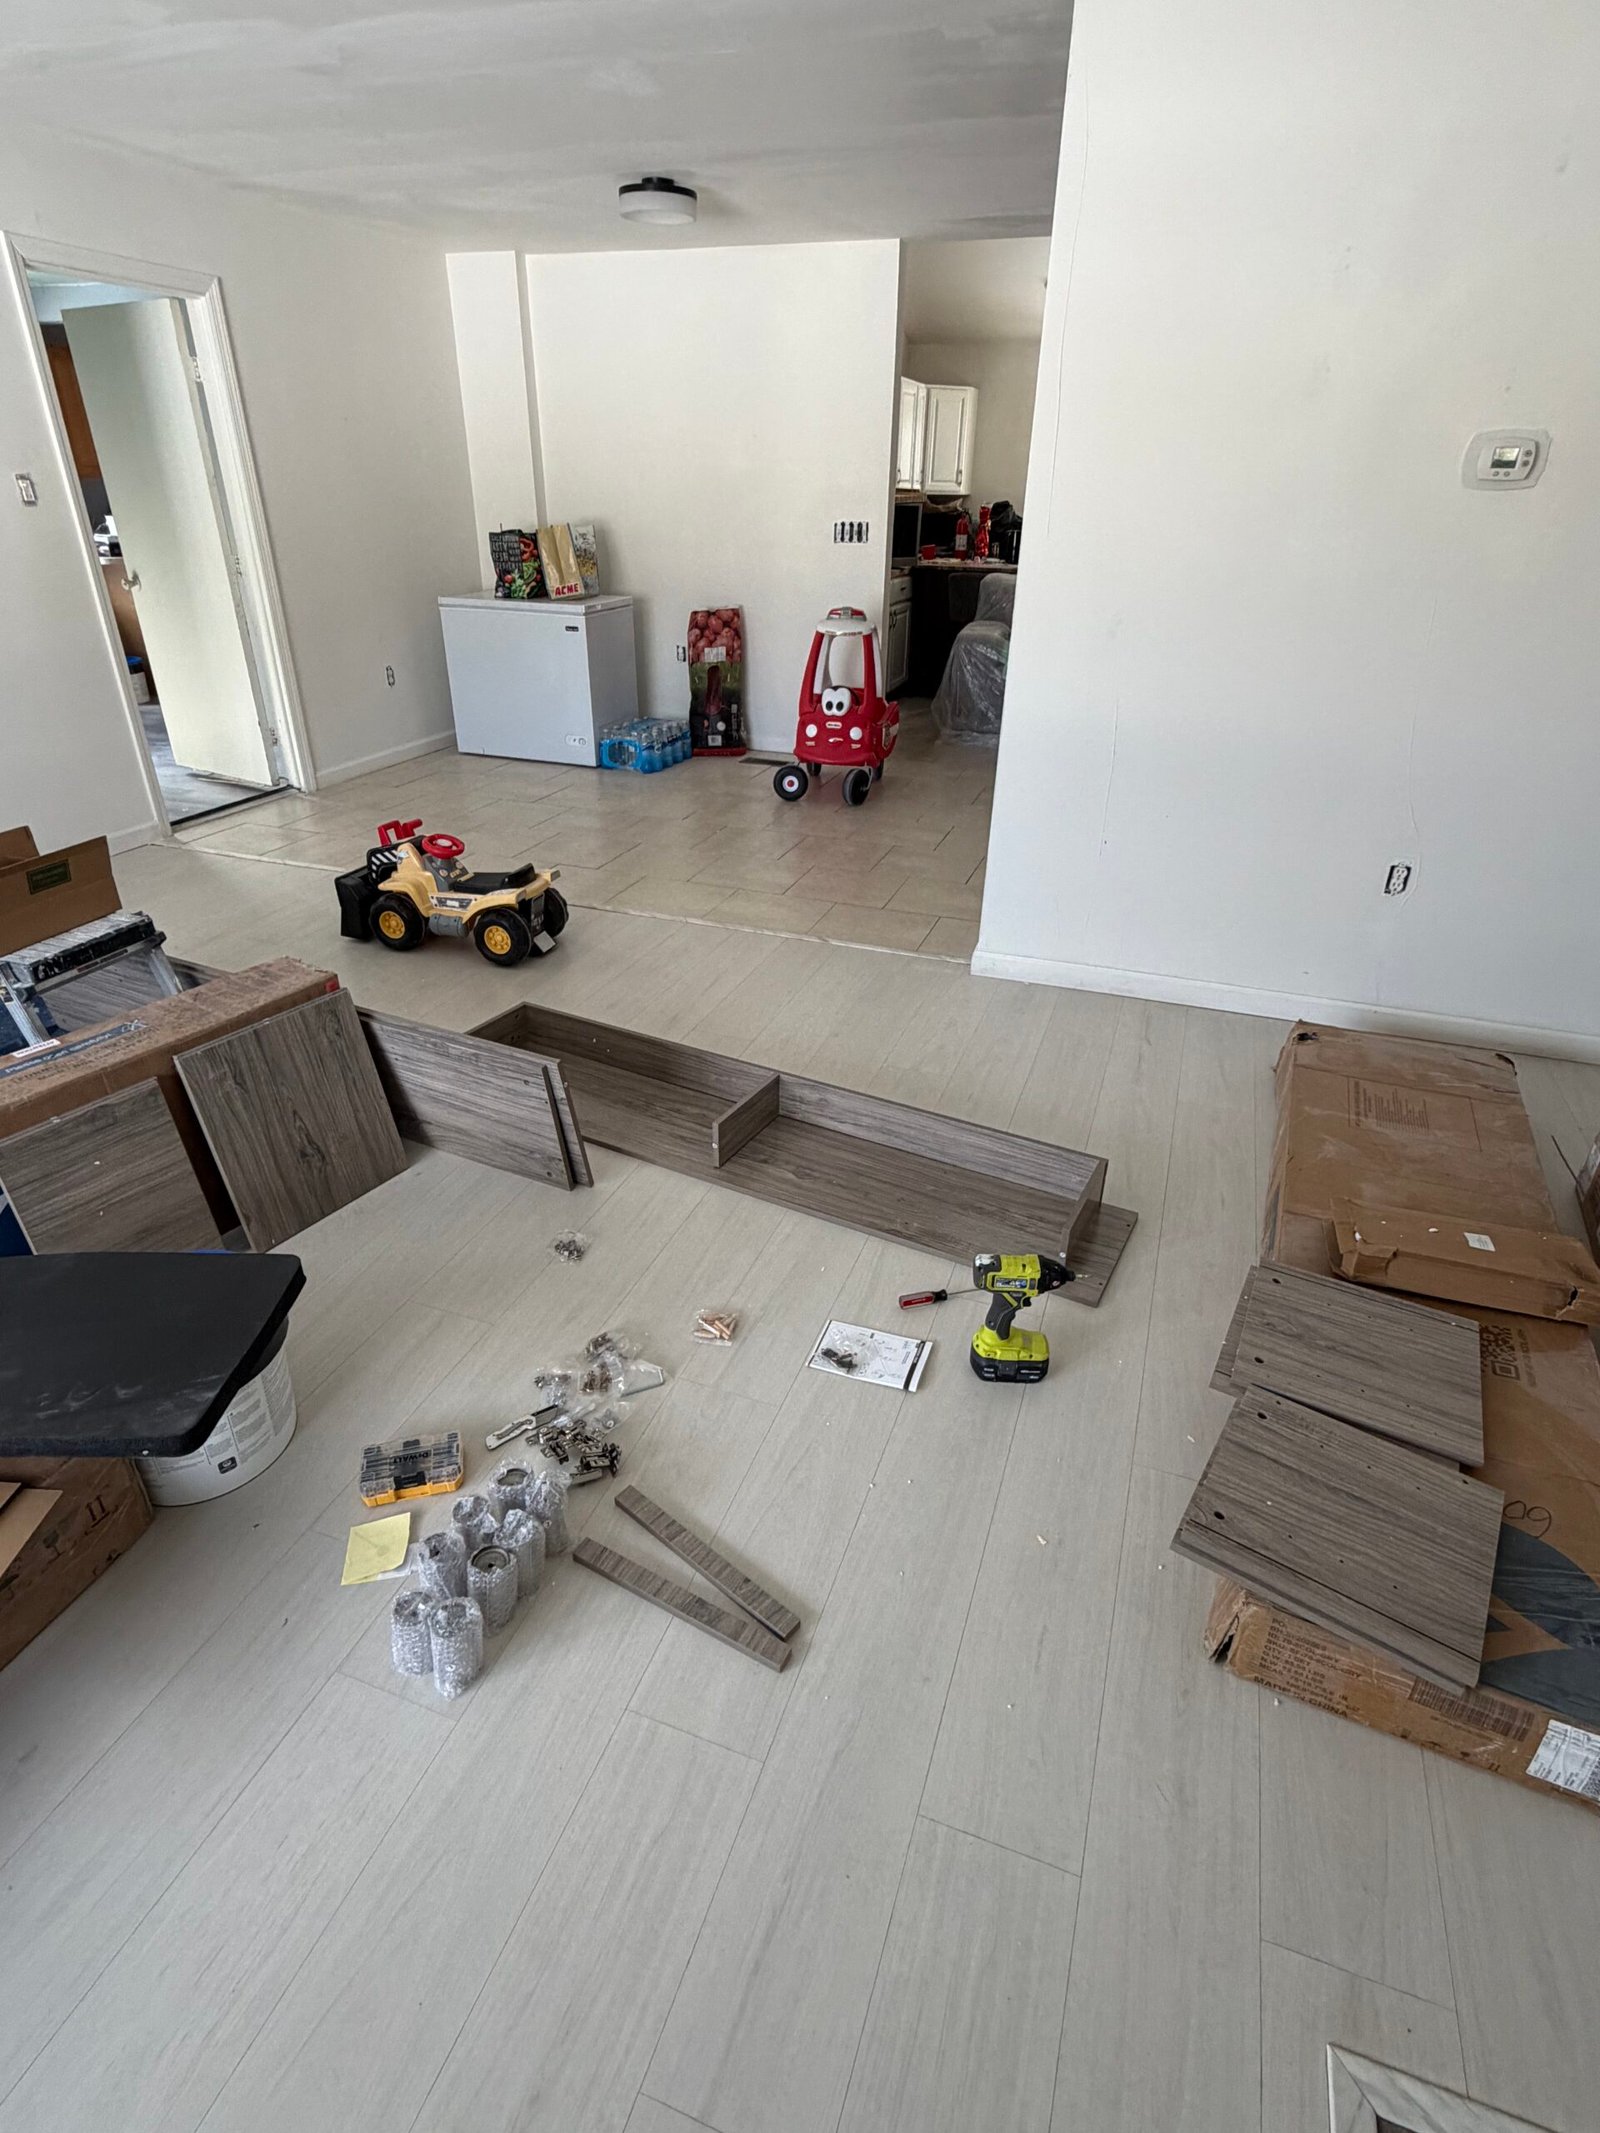
Before: The fireplace TV stand panels and fittings laid out before the console was assembled. BEFORE
Before: separate panels and fittings. After: the assembled fireplace TV stand with its display and shelf lighting on.

Dresser: assembly to the finished piece

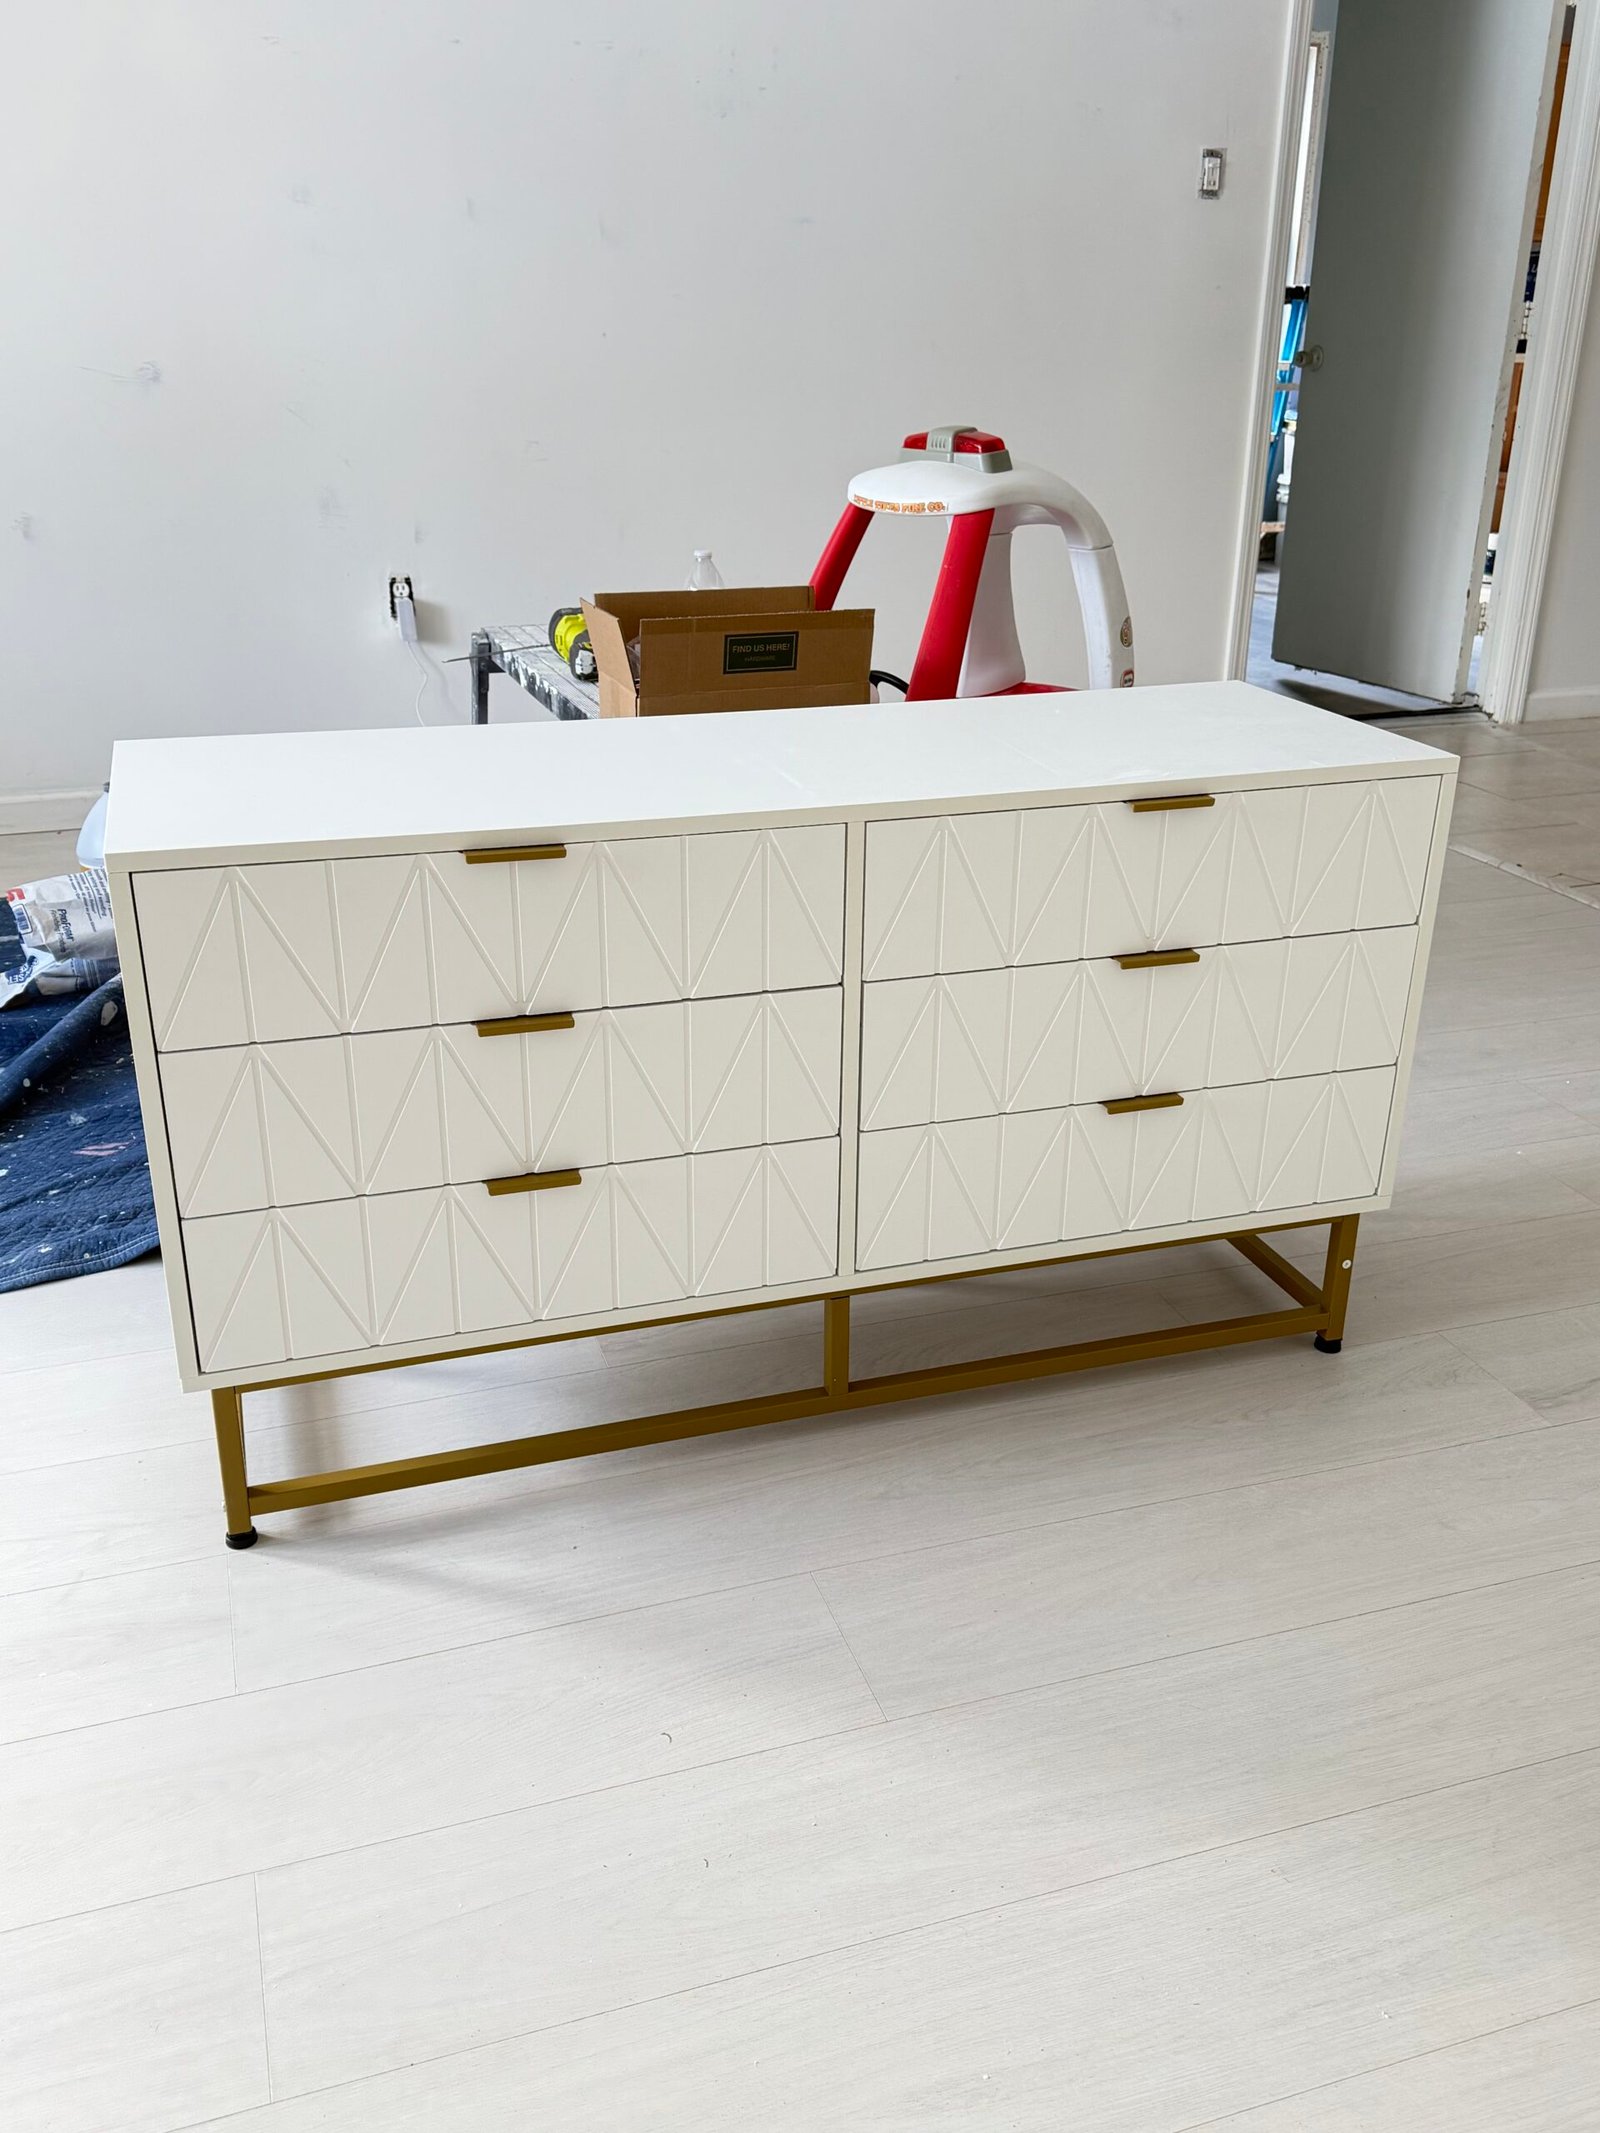
After: The completed white dresser with fitted drawers, gold-tone handles and a raised base. AFTER
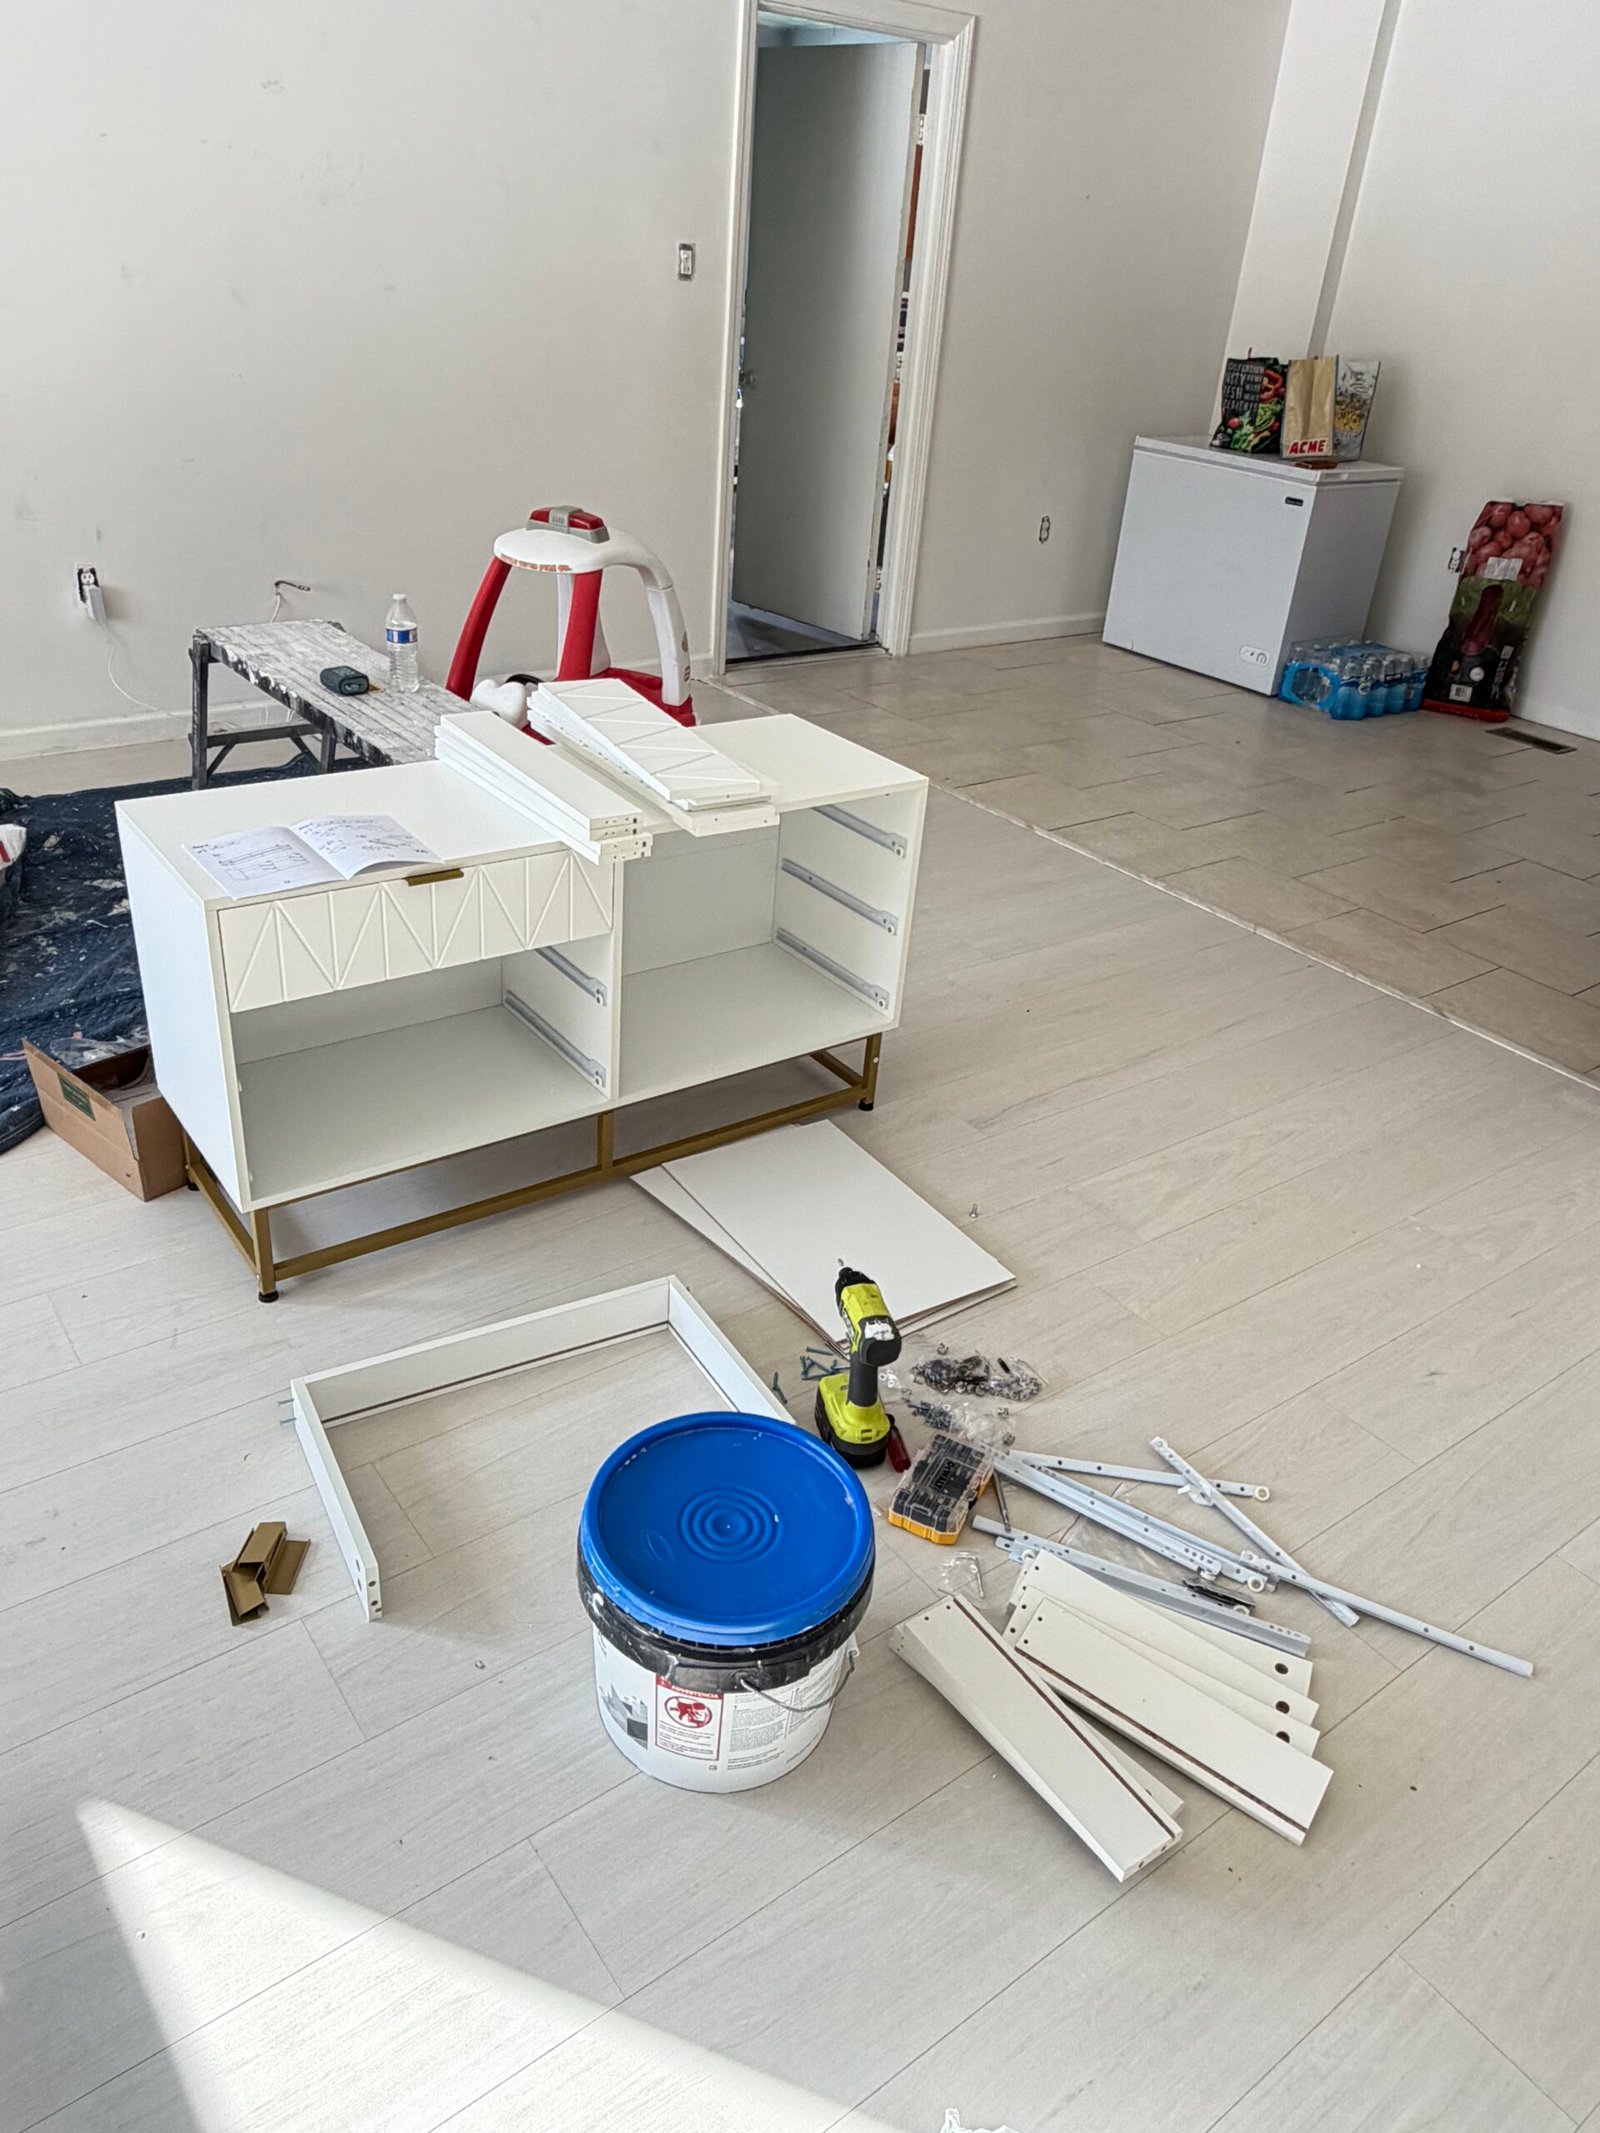
Before: The wide dresser during assembly, with its cabinet body built and loose drawer parts nearby. BEFORE
Before: the dresser during assembly. After: the completed dresser with fitted drawers, handles and base.

What we assembled

  • Tall storage chest assembly and placement.
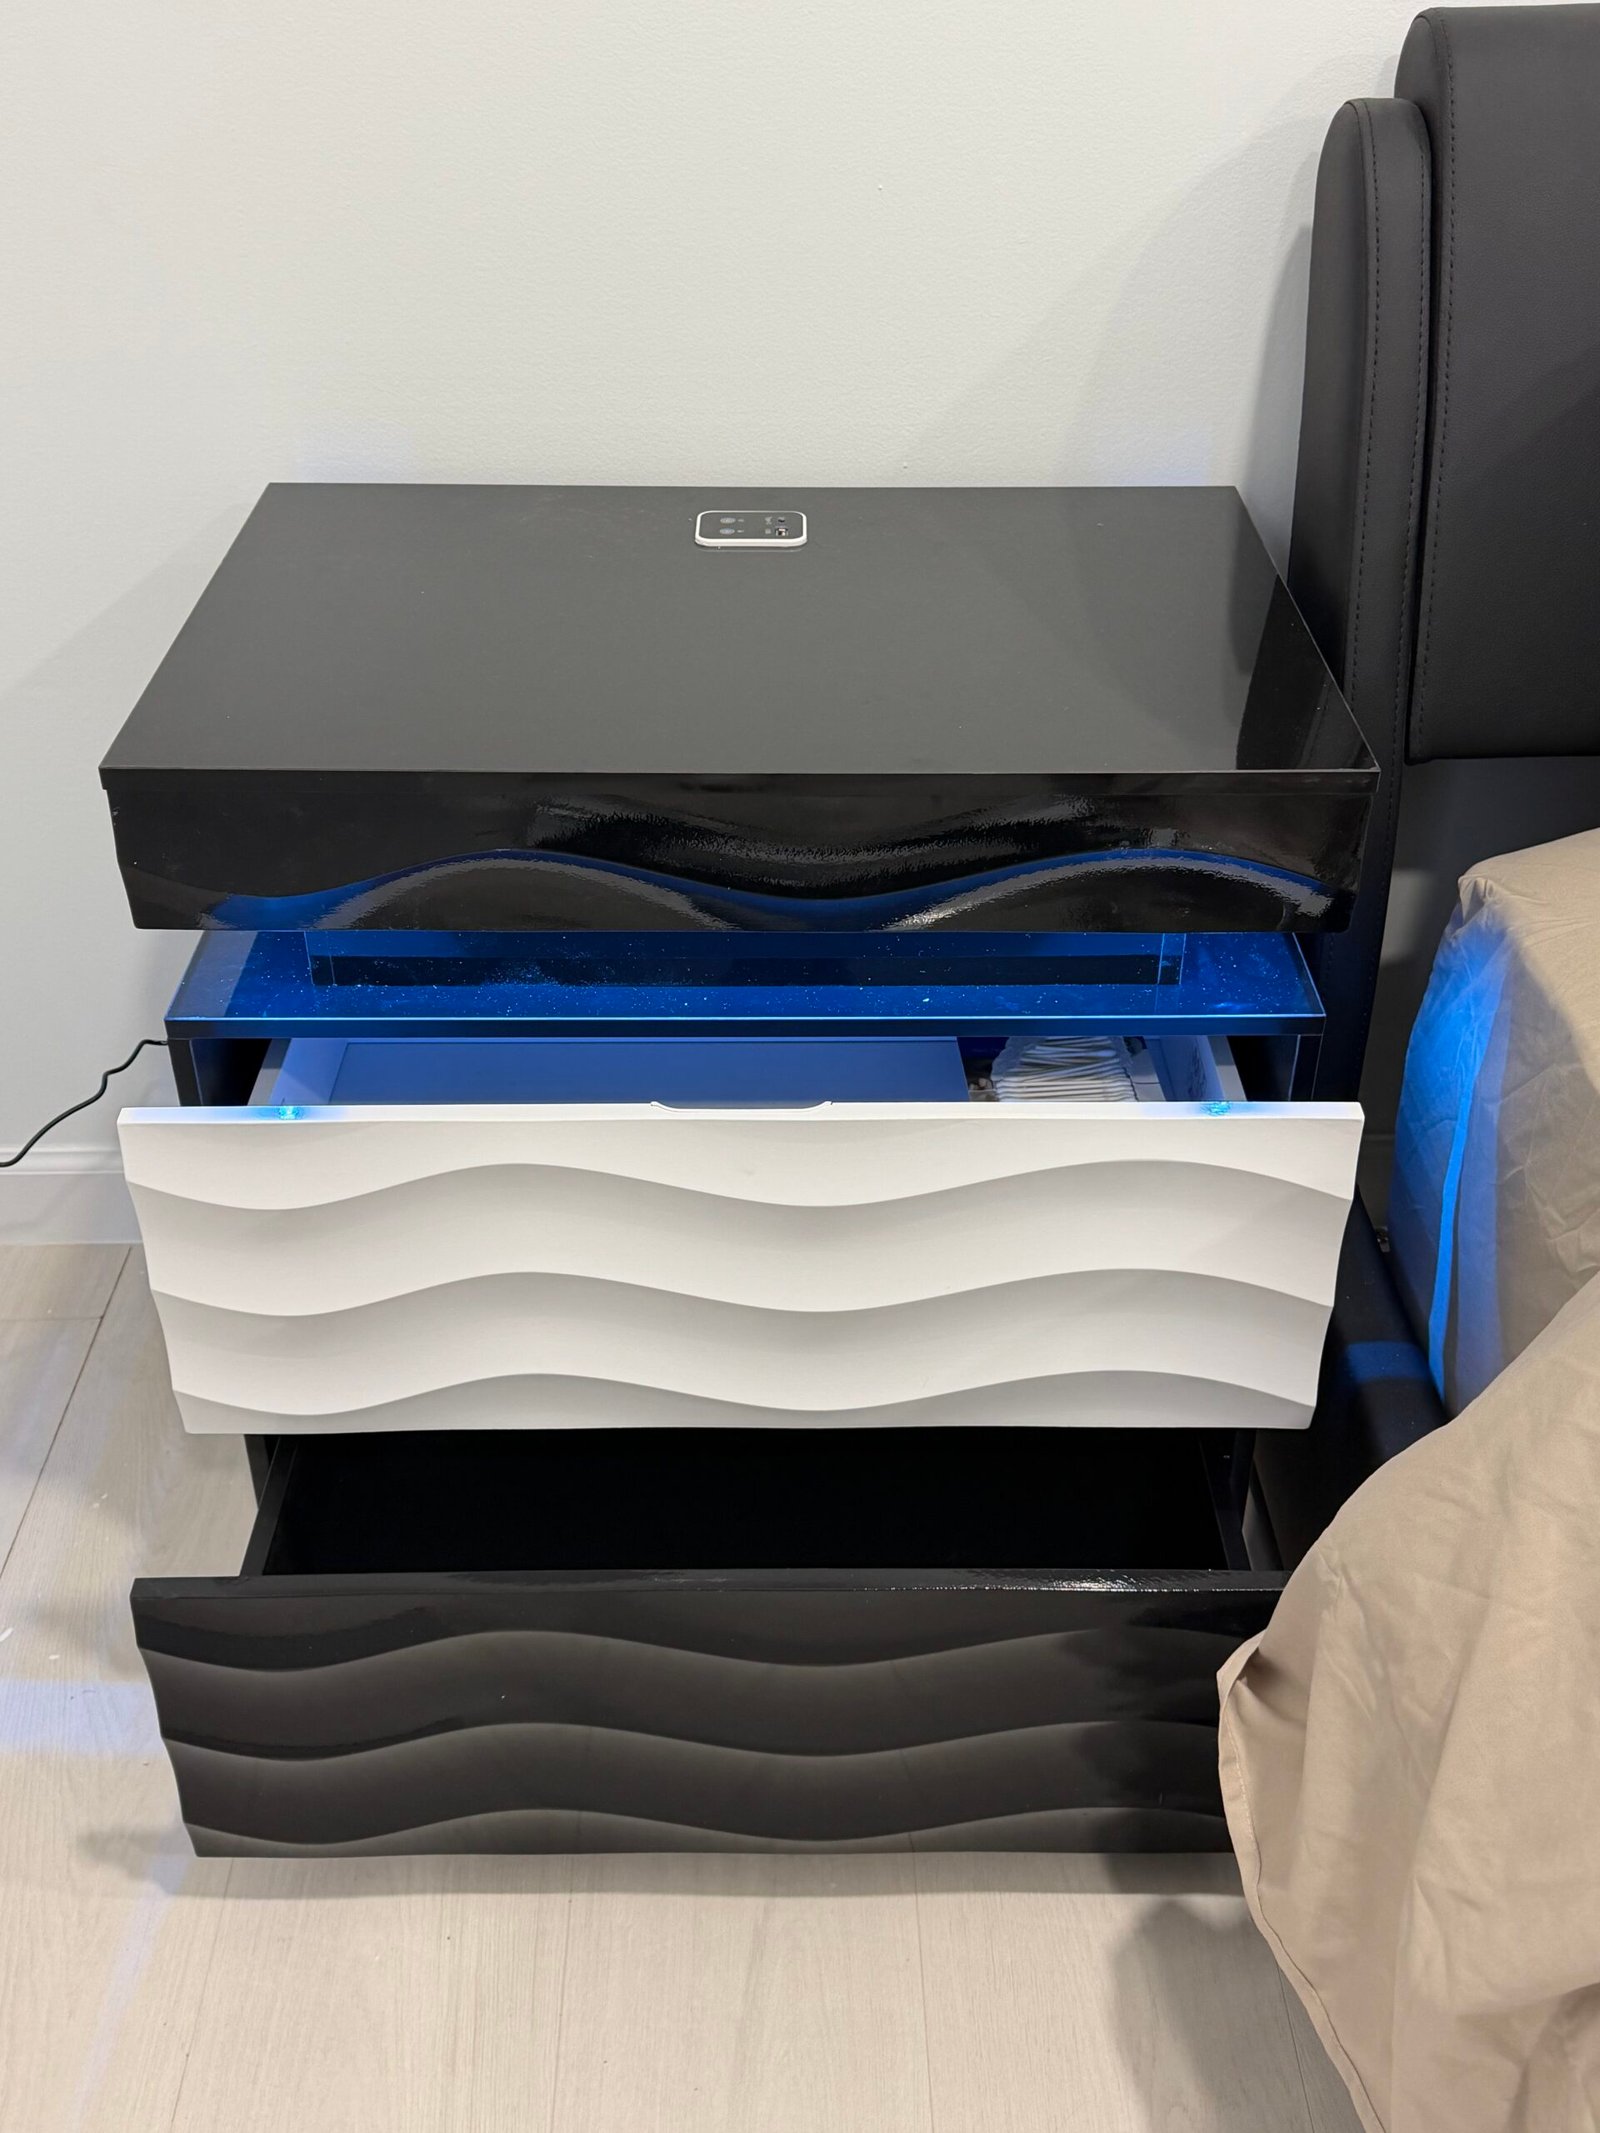
  • Black-and-white bedside table with fitted drawers.
  • Wide white dresser with handles and raised base.
  • Fireplace TV stand and its supplied furniture features.
  • Dining table top and support assembly.
  • Drawers, fronts, bases and hardware brought together across the selected pieces.

The work, step by step

Stage 01

Unpacking & arranging the components

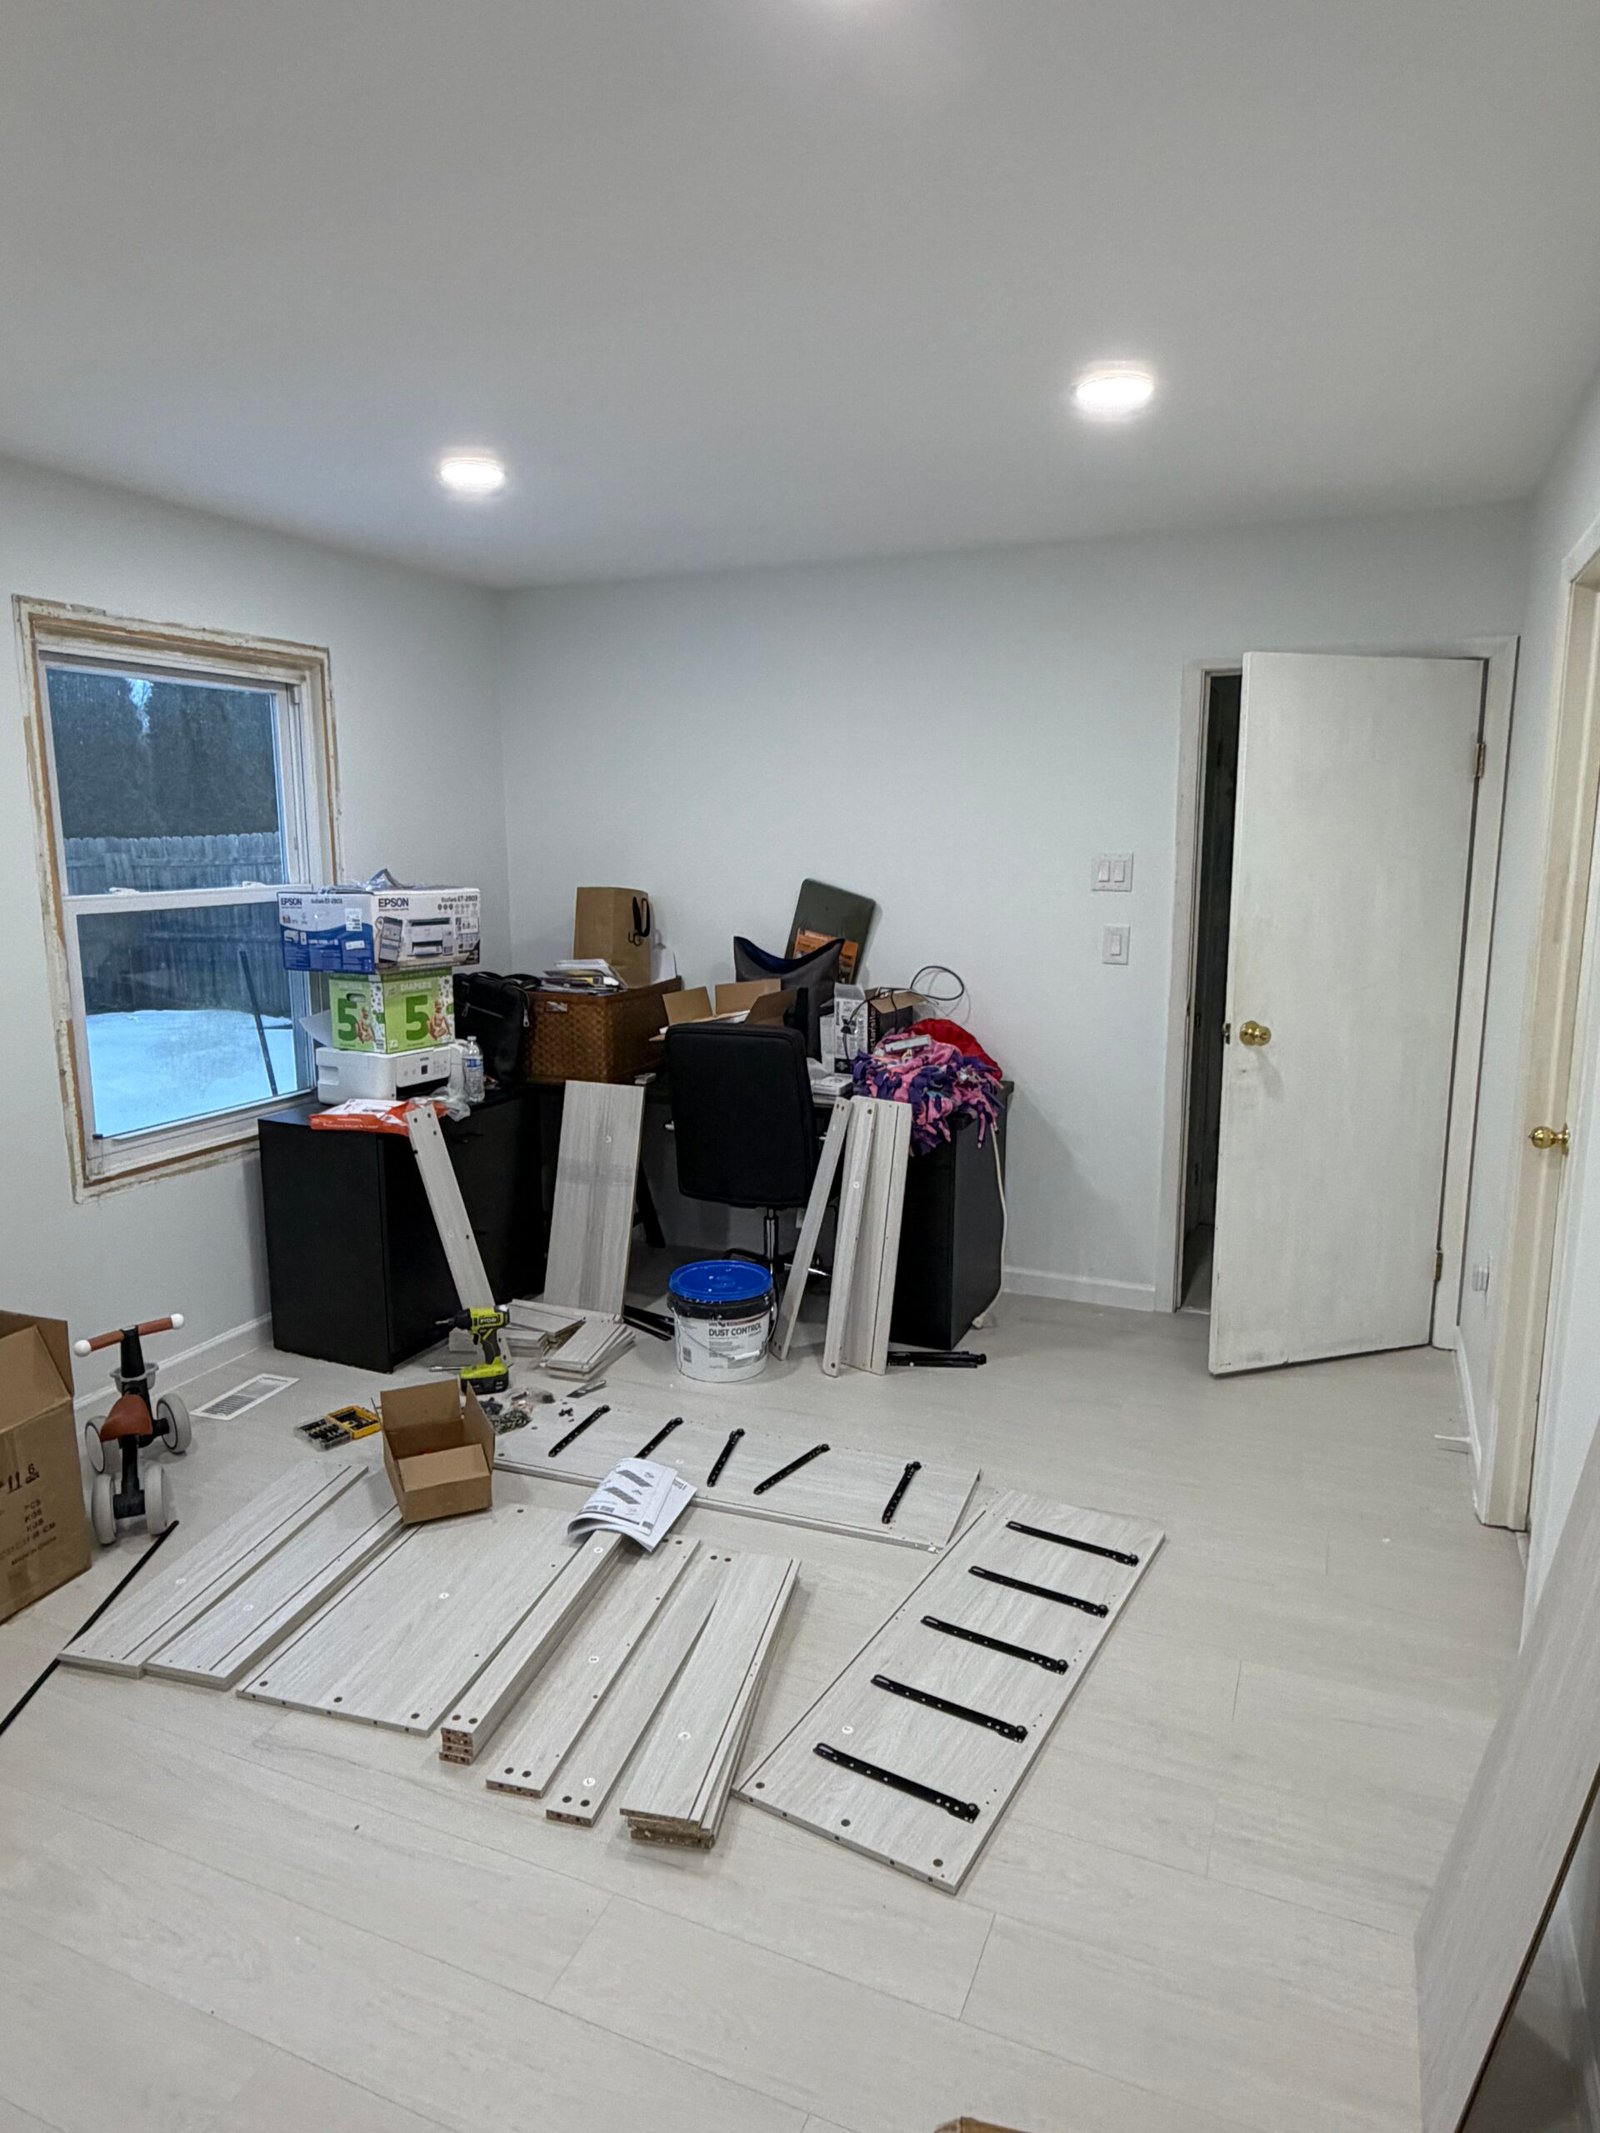
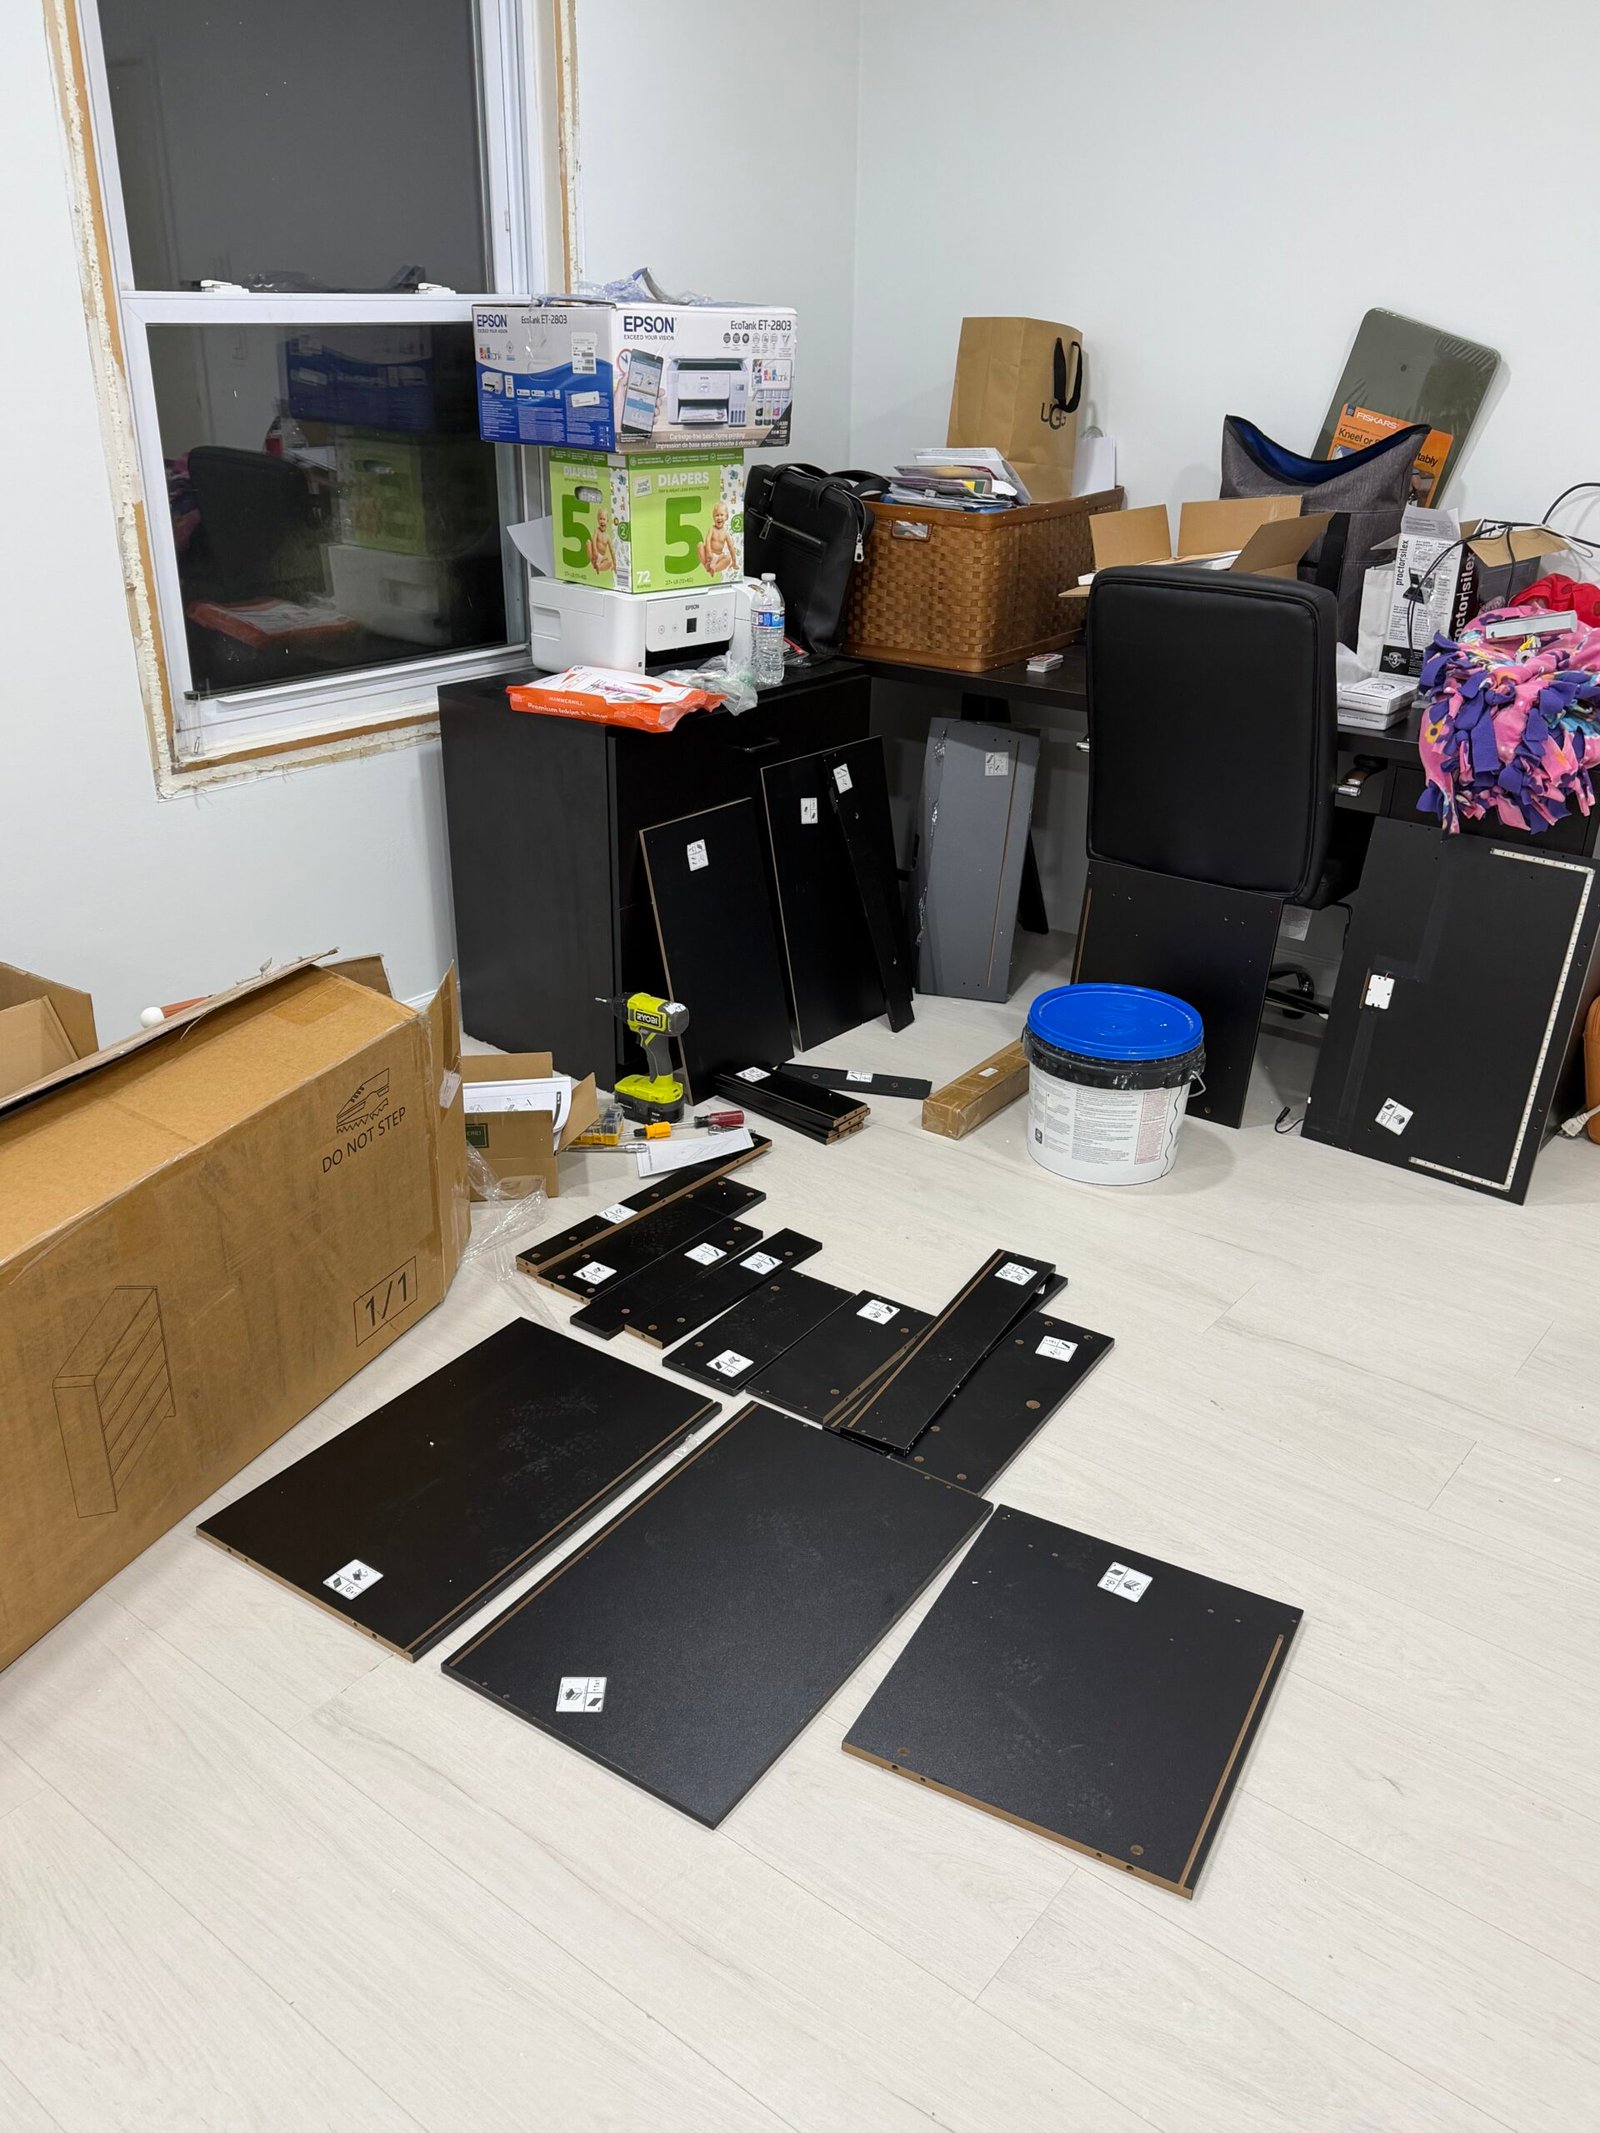
The starting views show the furniture as separate frame pieces, cabinet panels and fittings. Components were arranged by item so the storage furniture and the other pieces could be assembled in a clear sequence within the rooms.
Stage 02

Assembling the tall storage chest

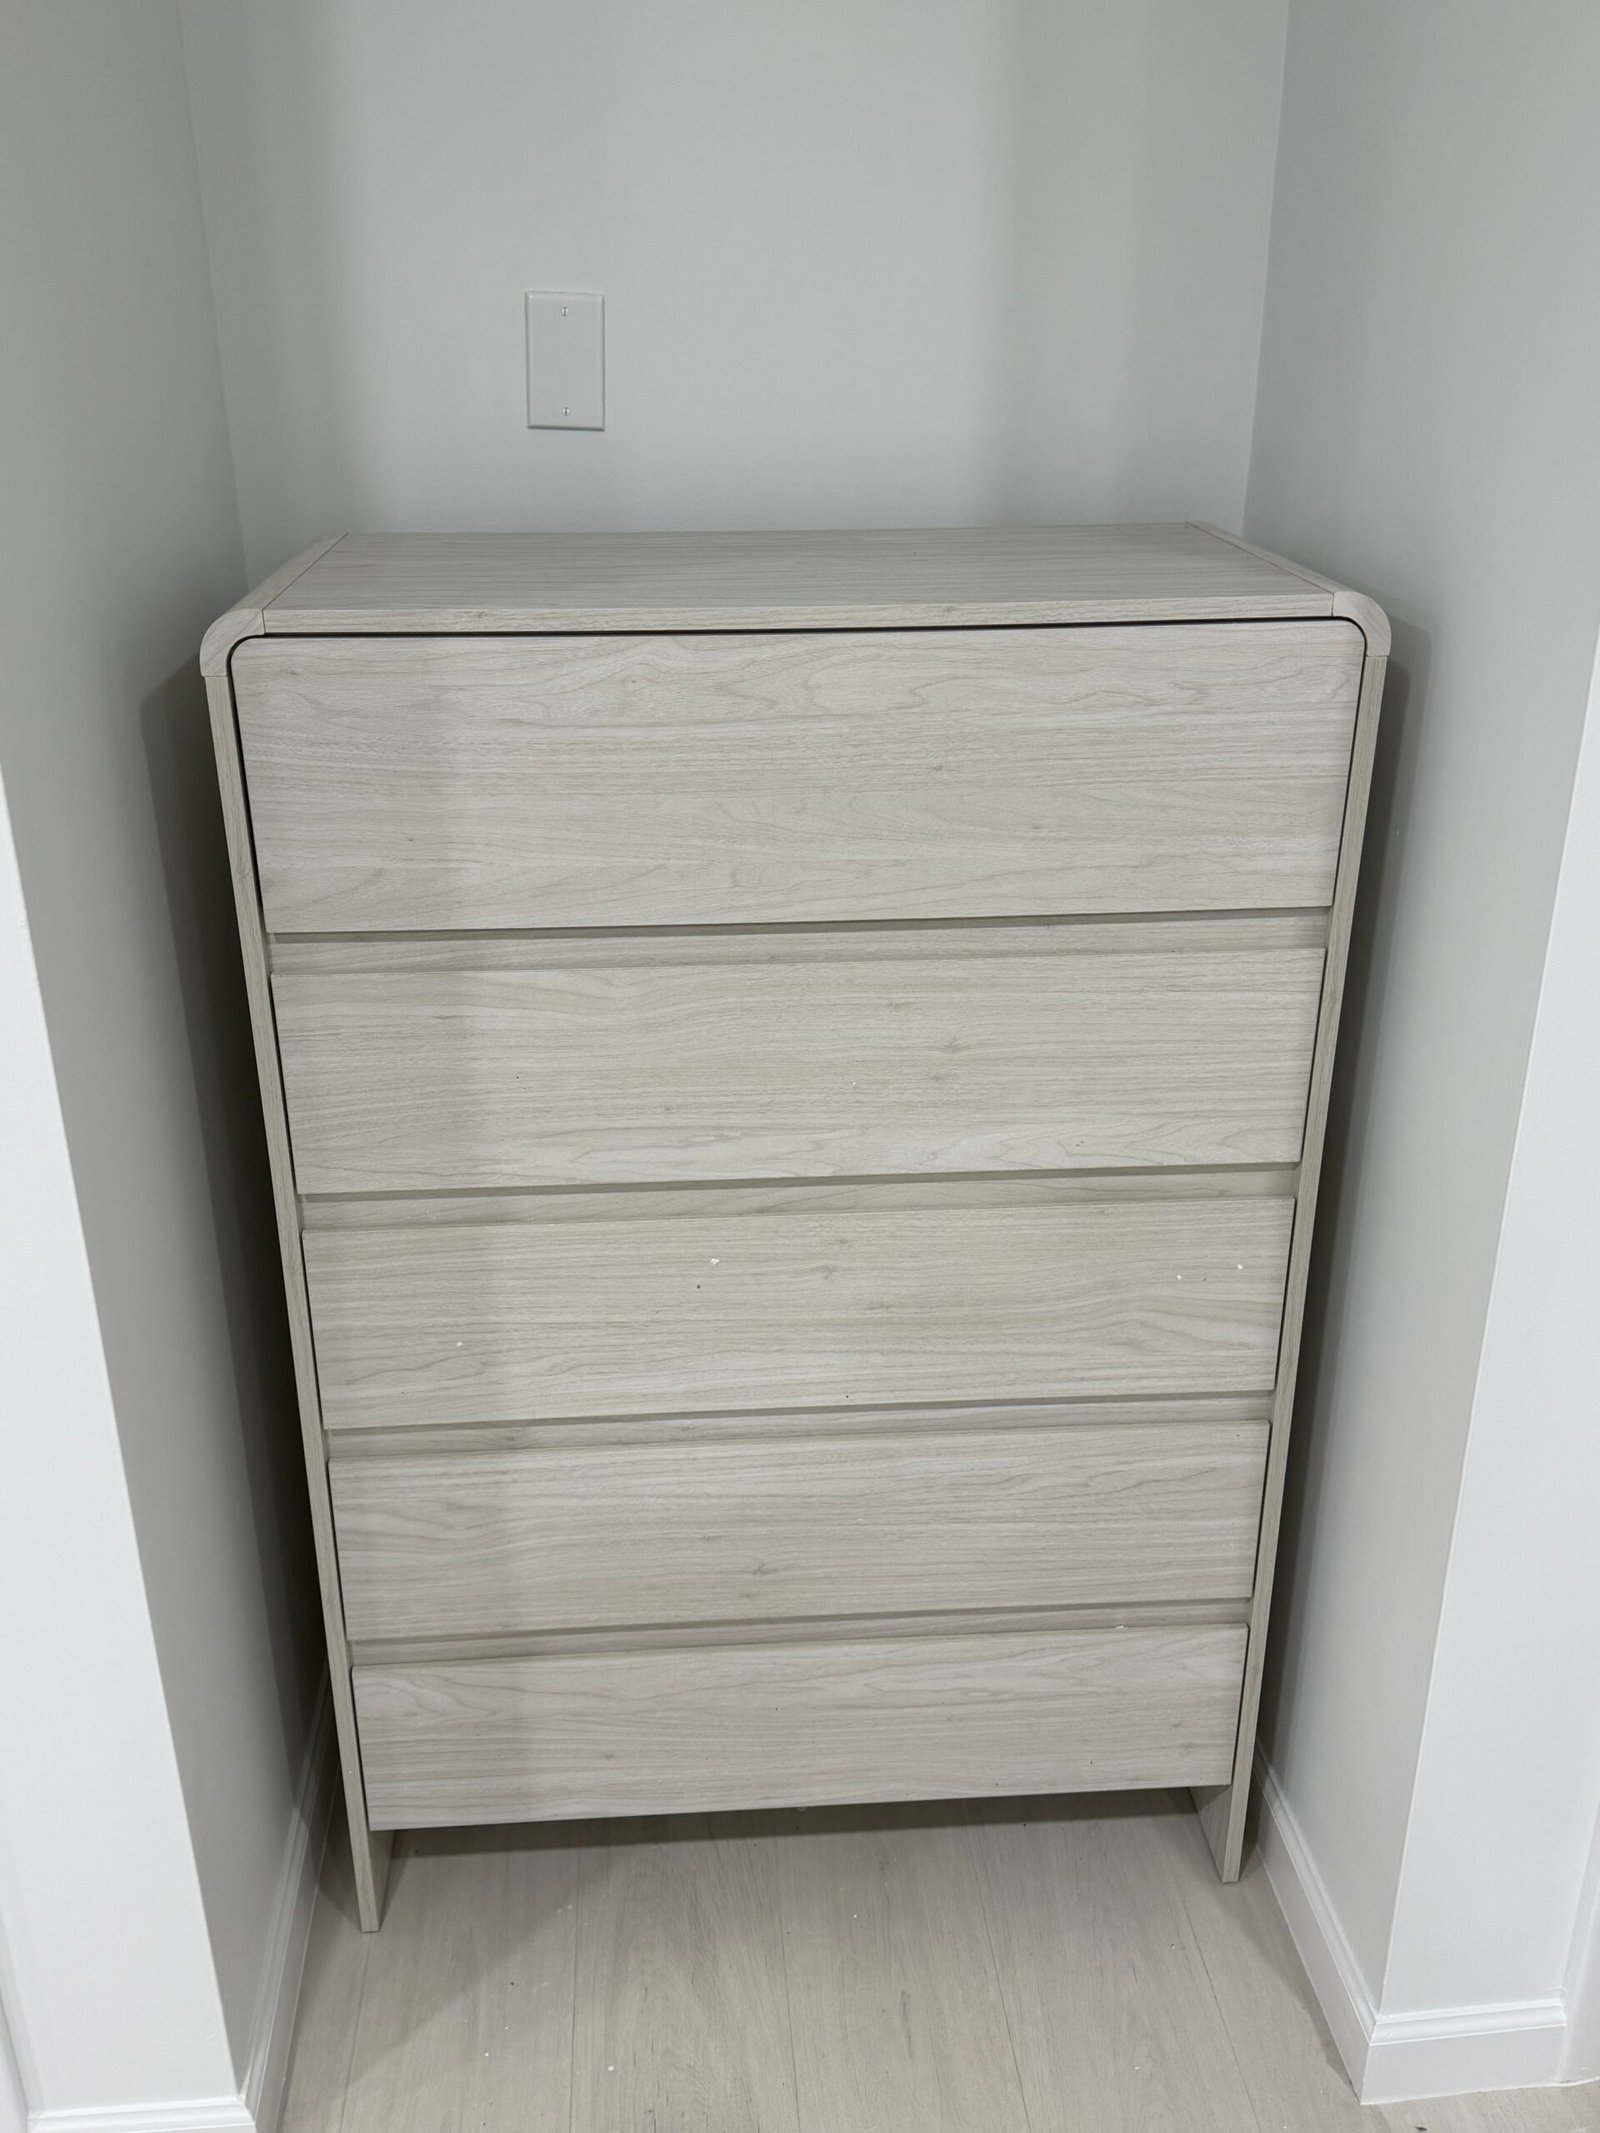
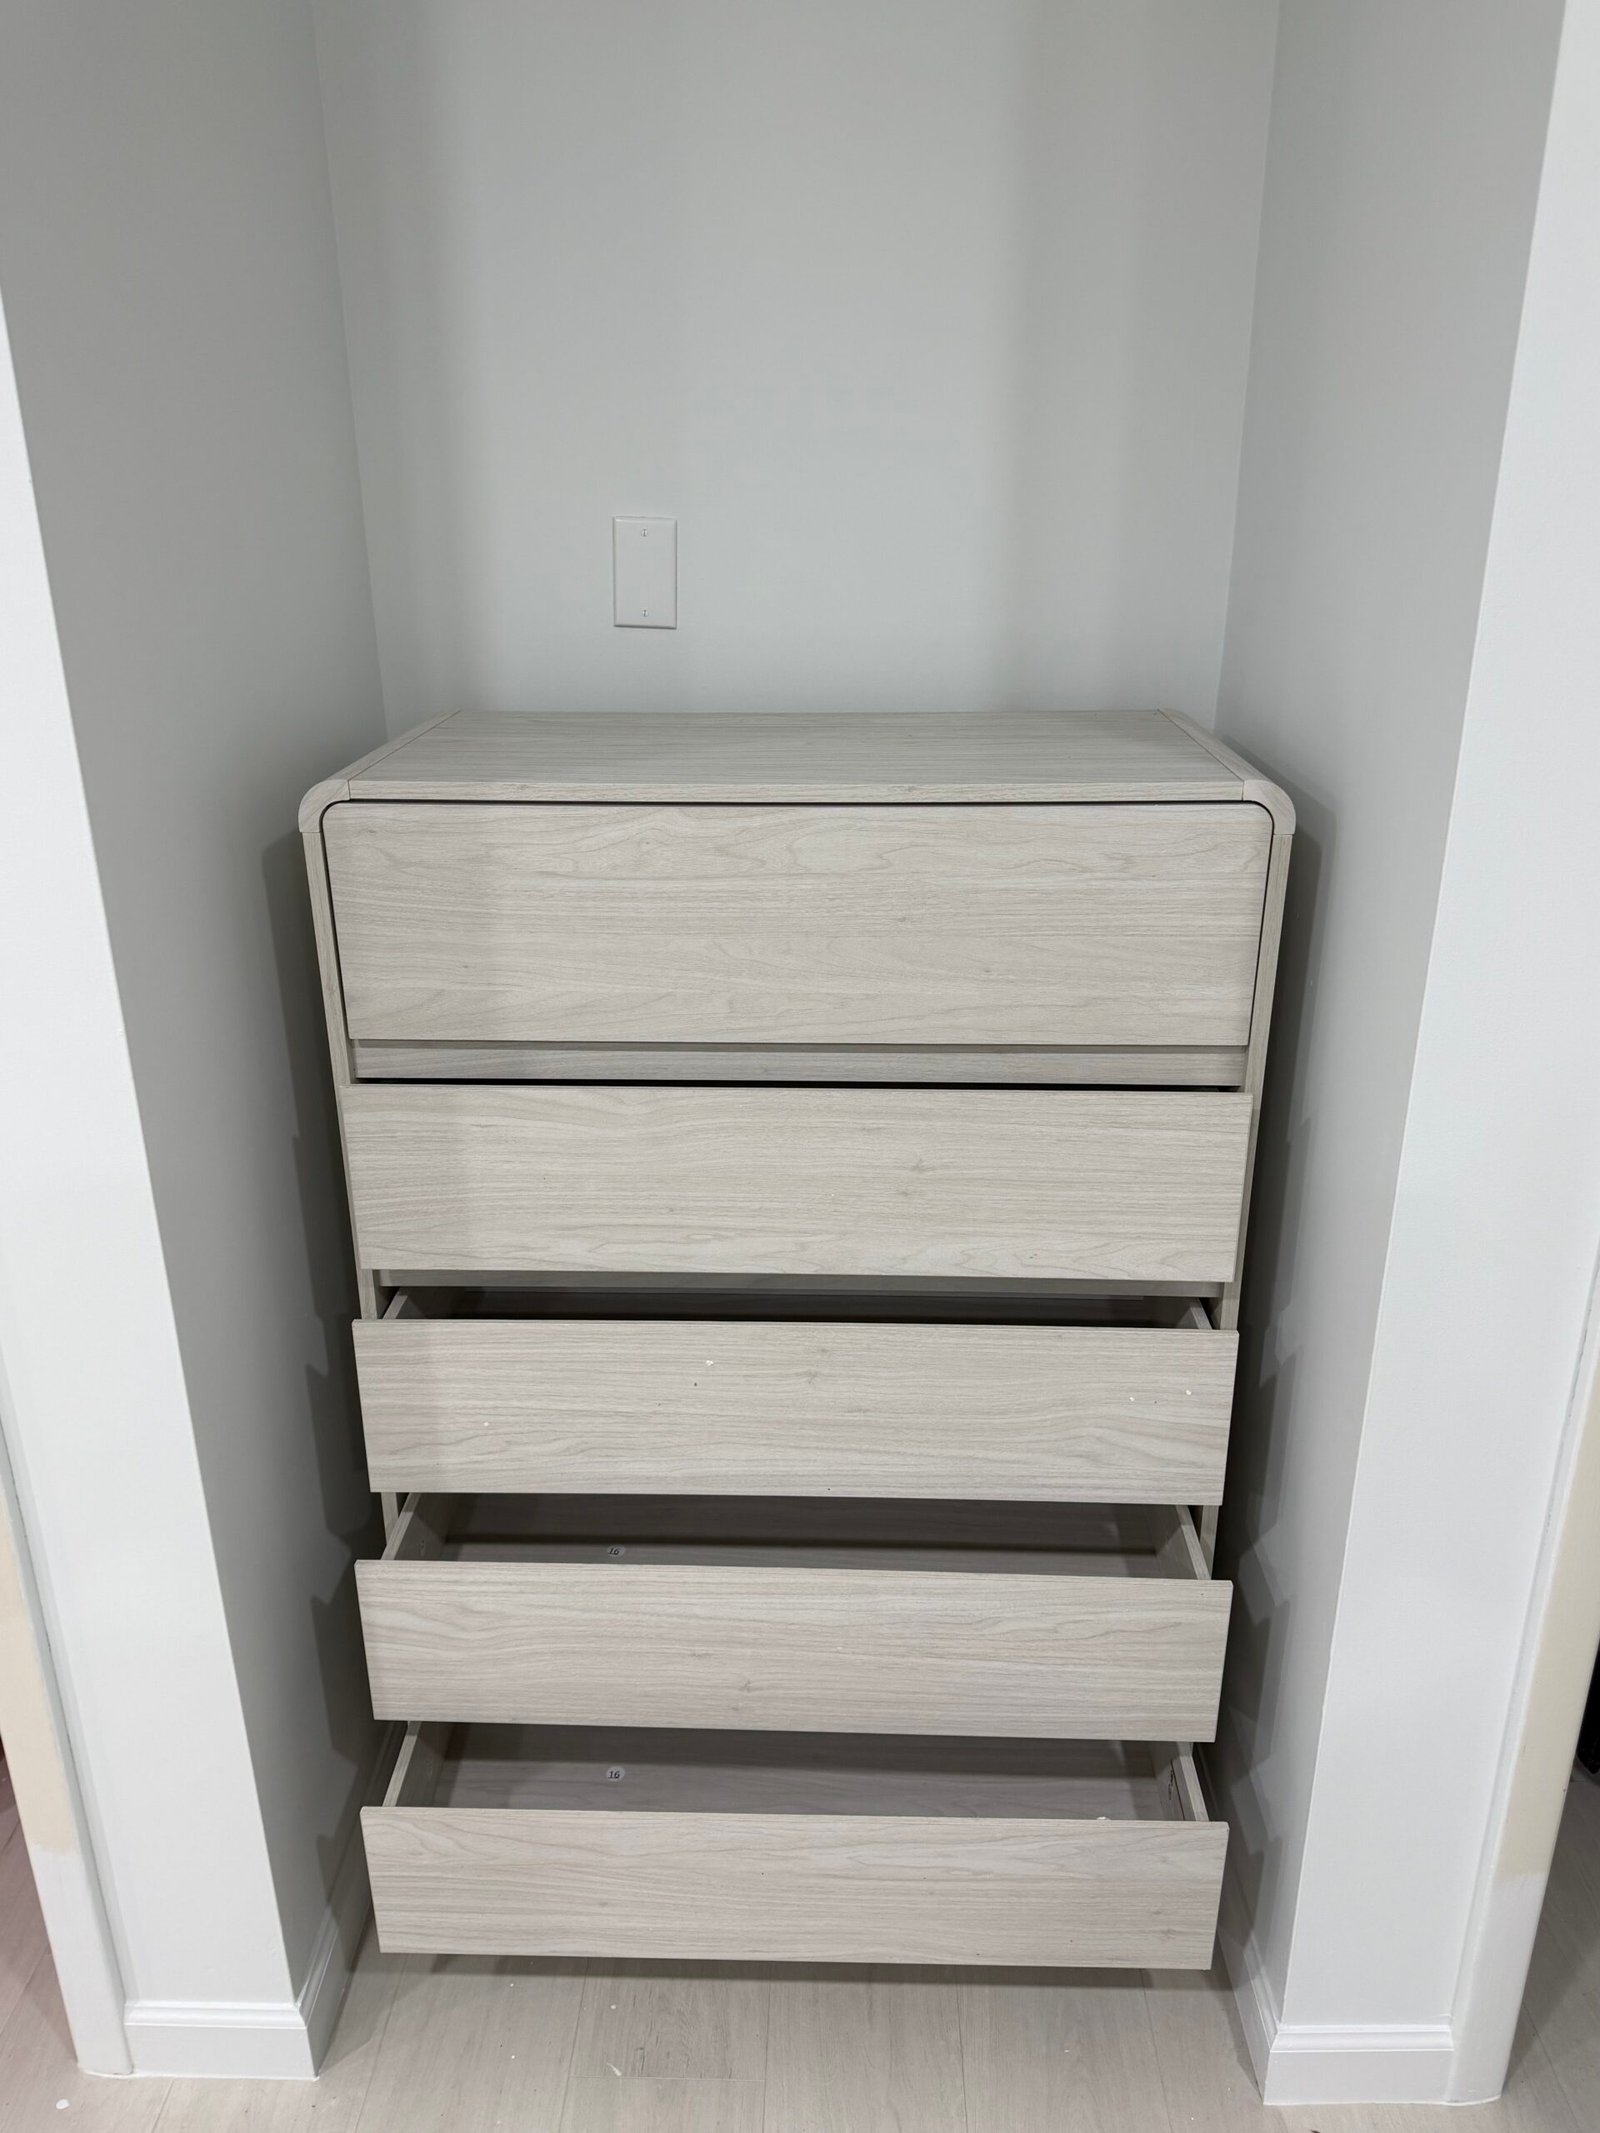
The slim storage chest was put together and positioned in the room. The finished views show the light drawer fronts closed and the drawers partly open, recording the assembled storage arrangement in its compact recess.
Stage 03

Building the bedside table & fitting its drawers

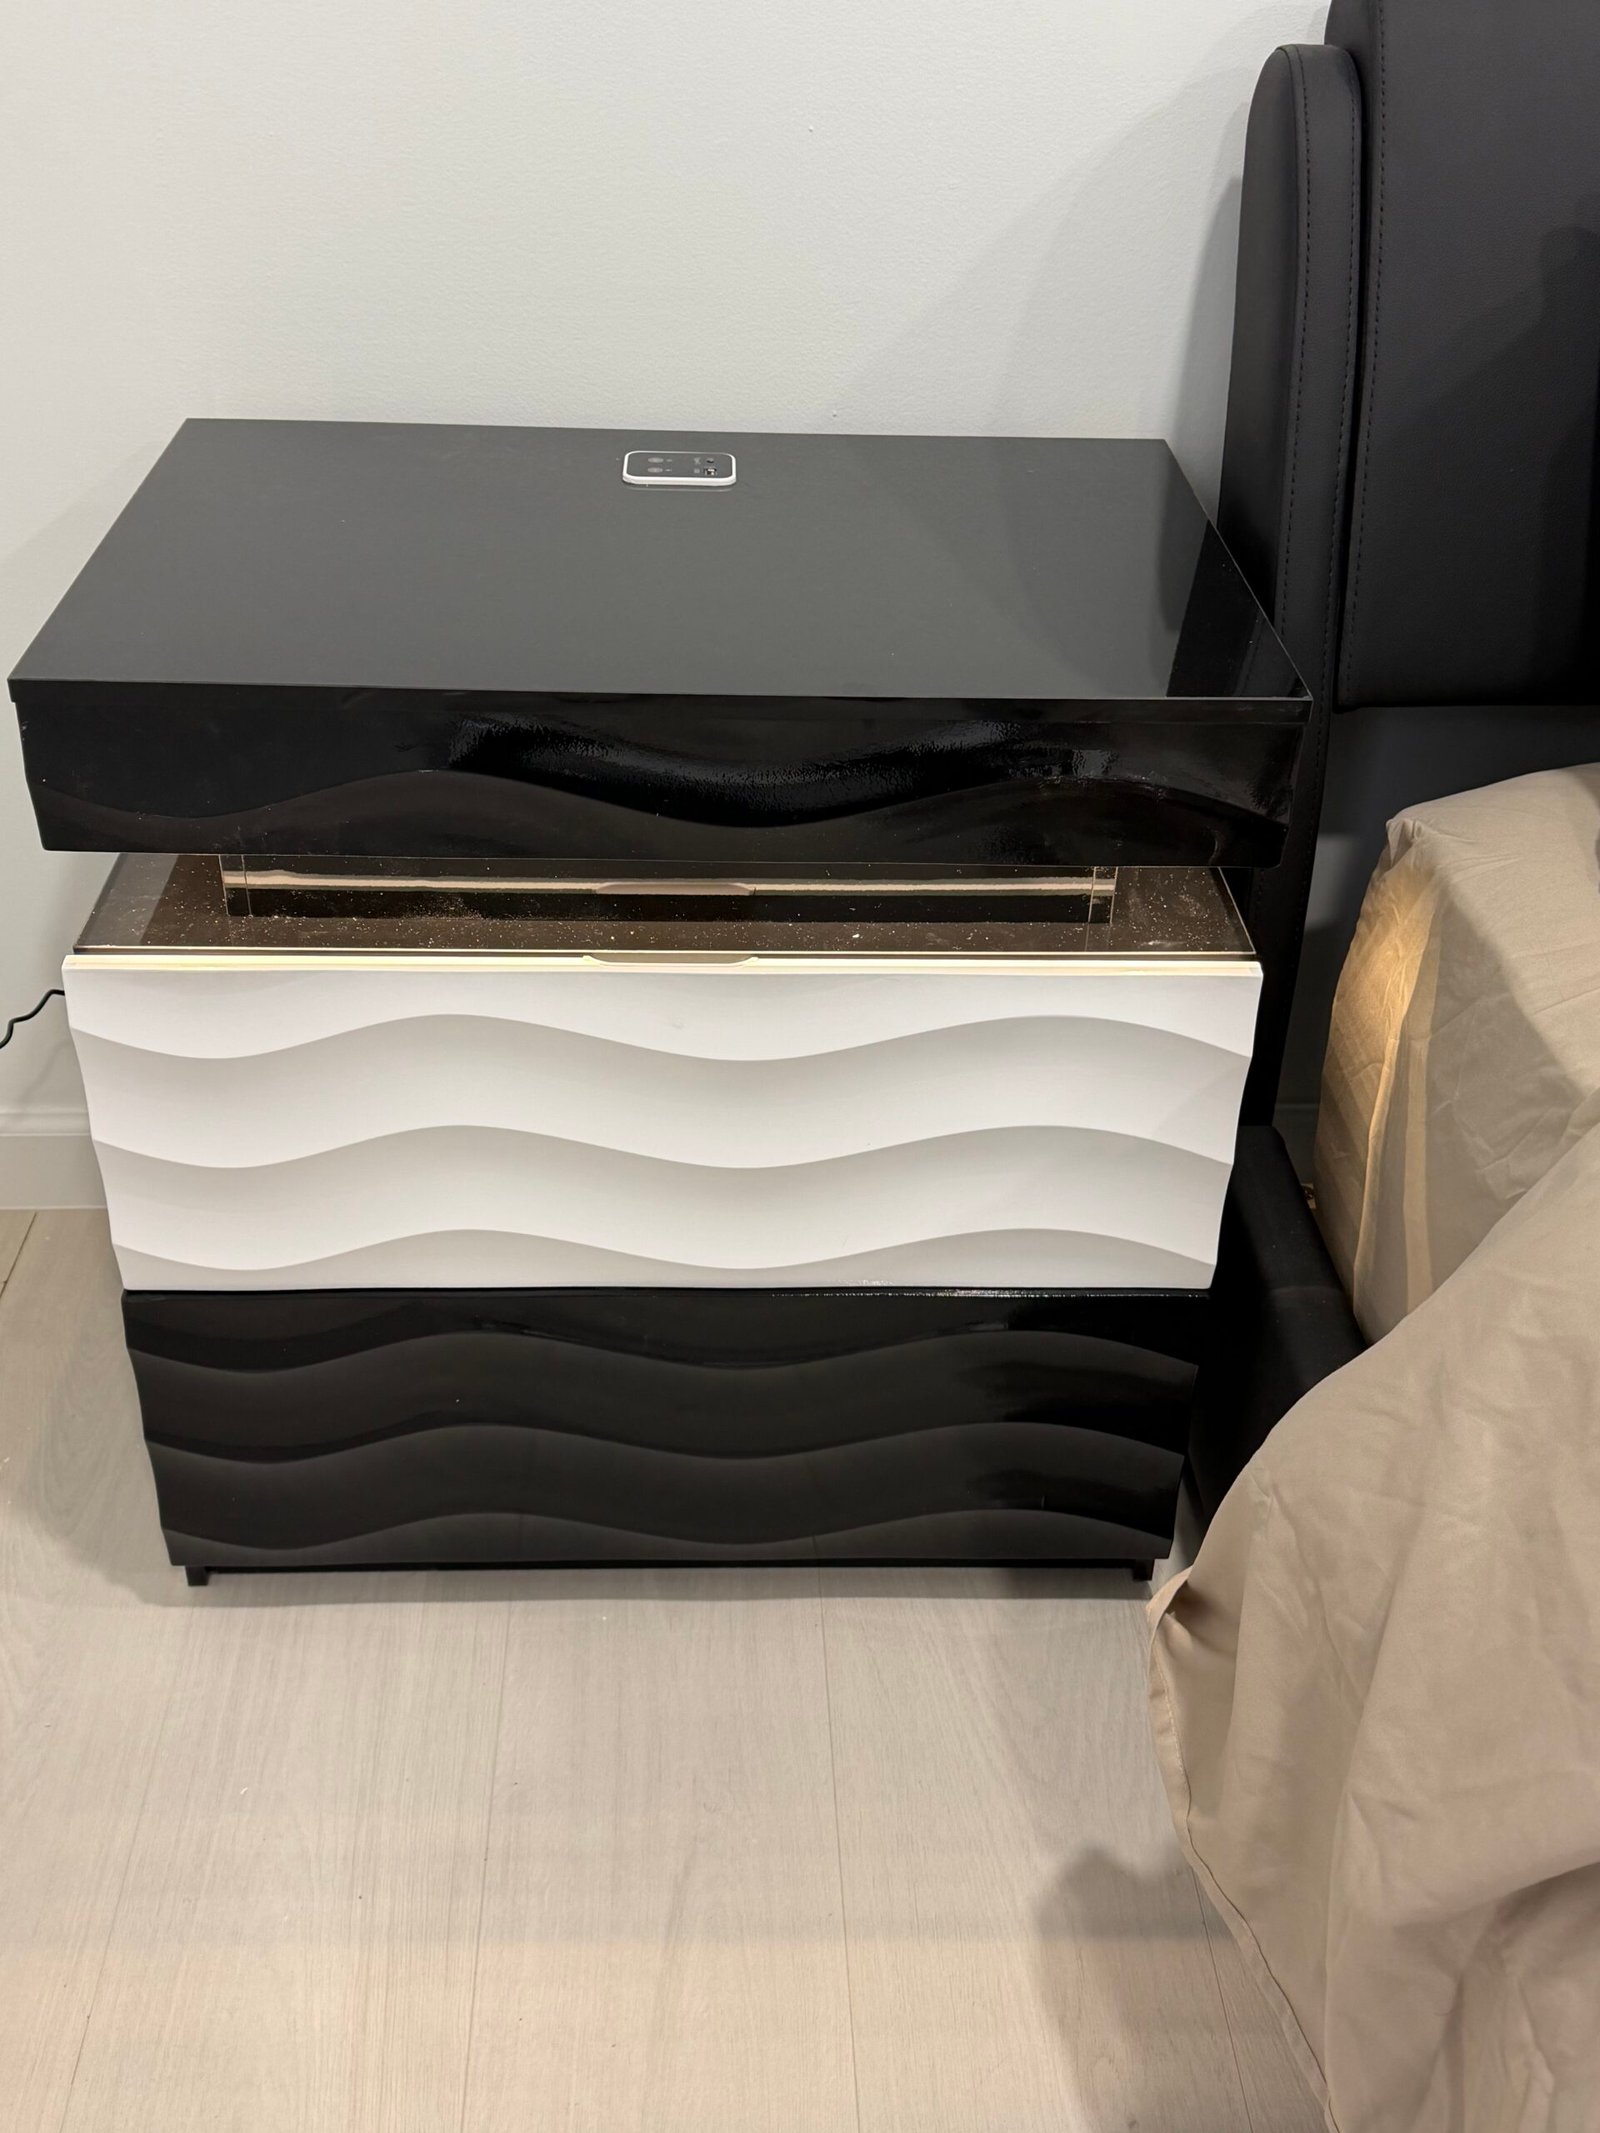
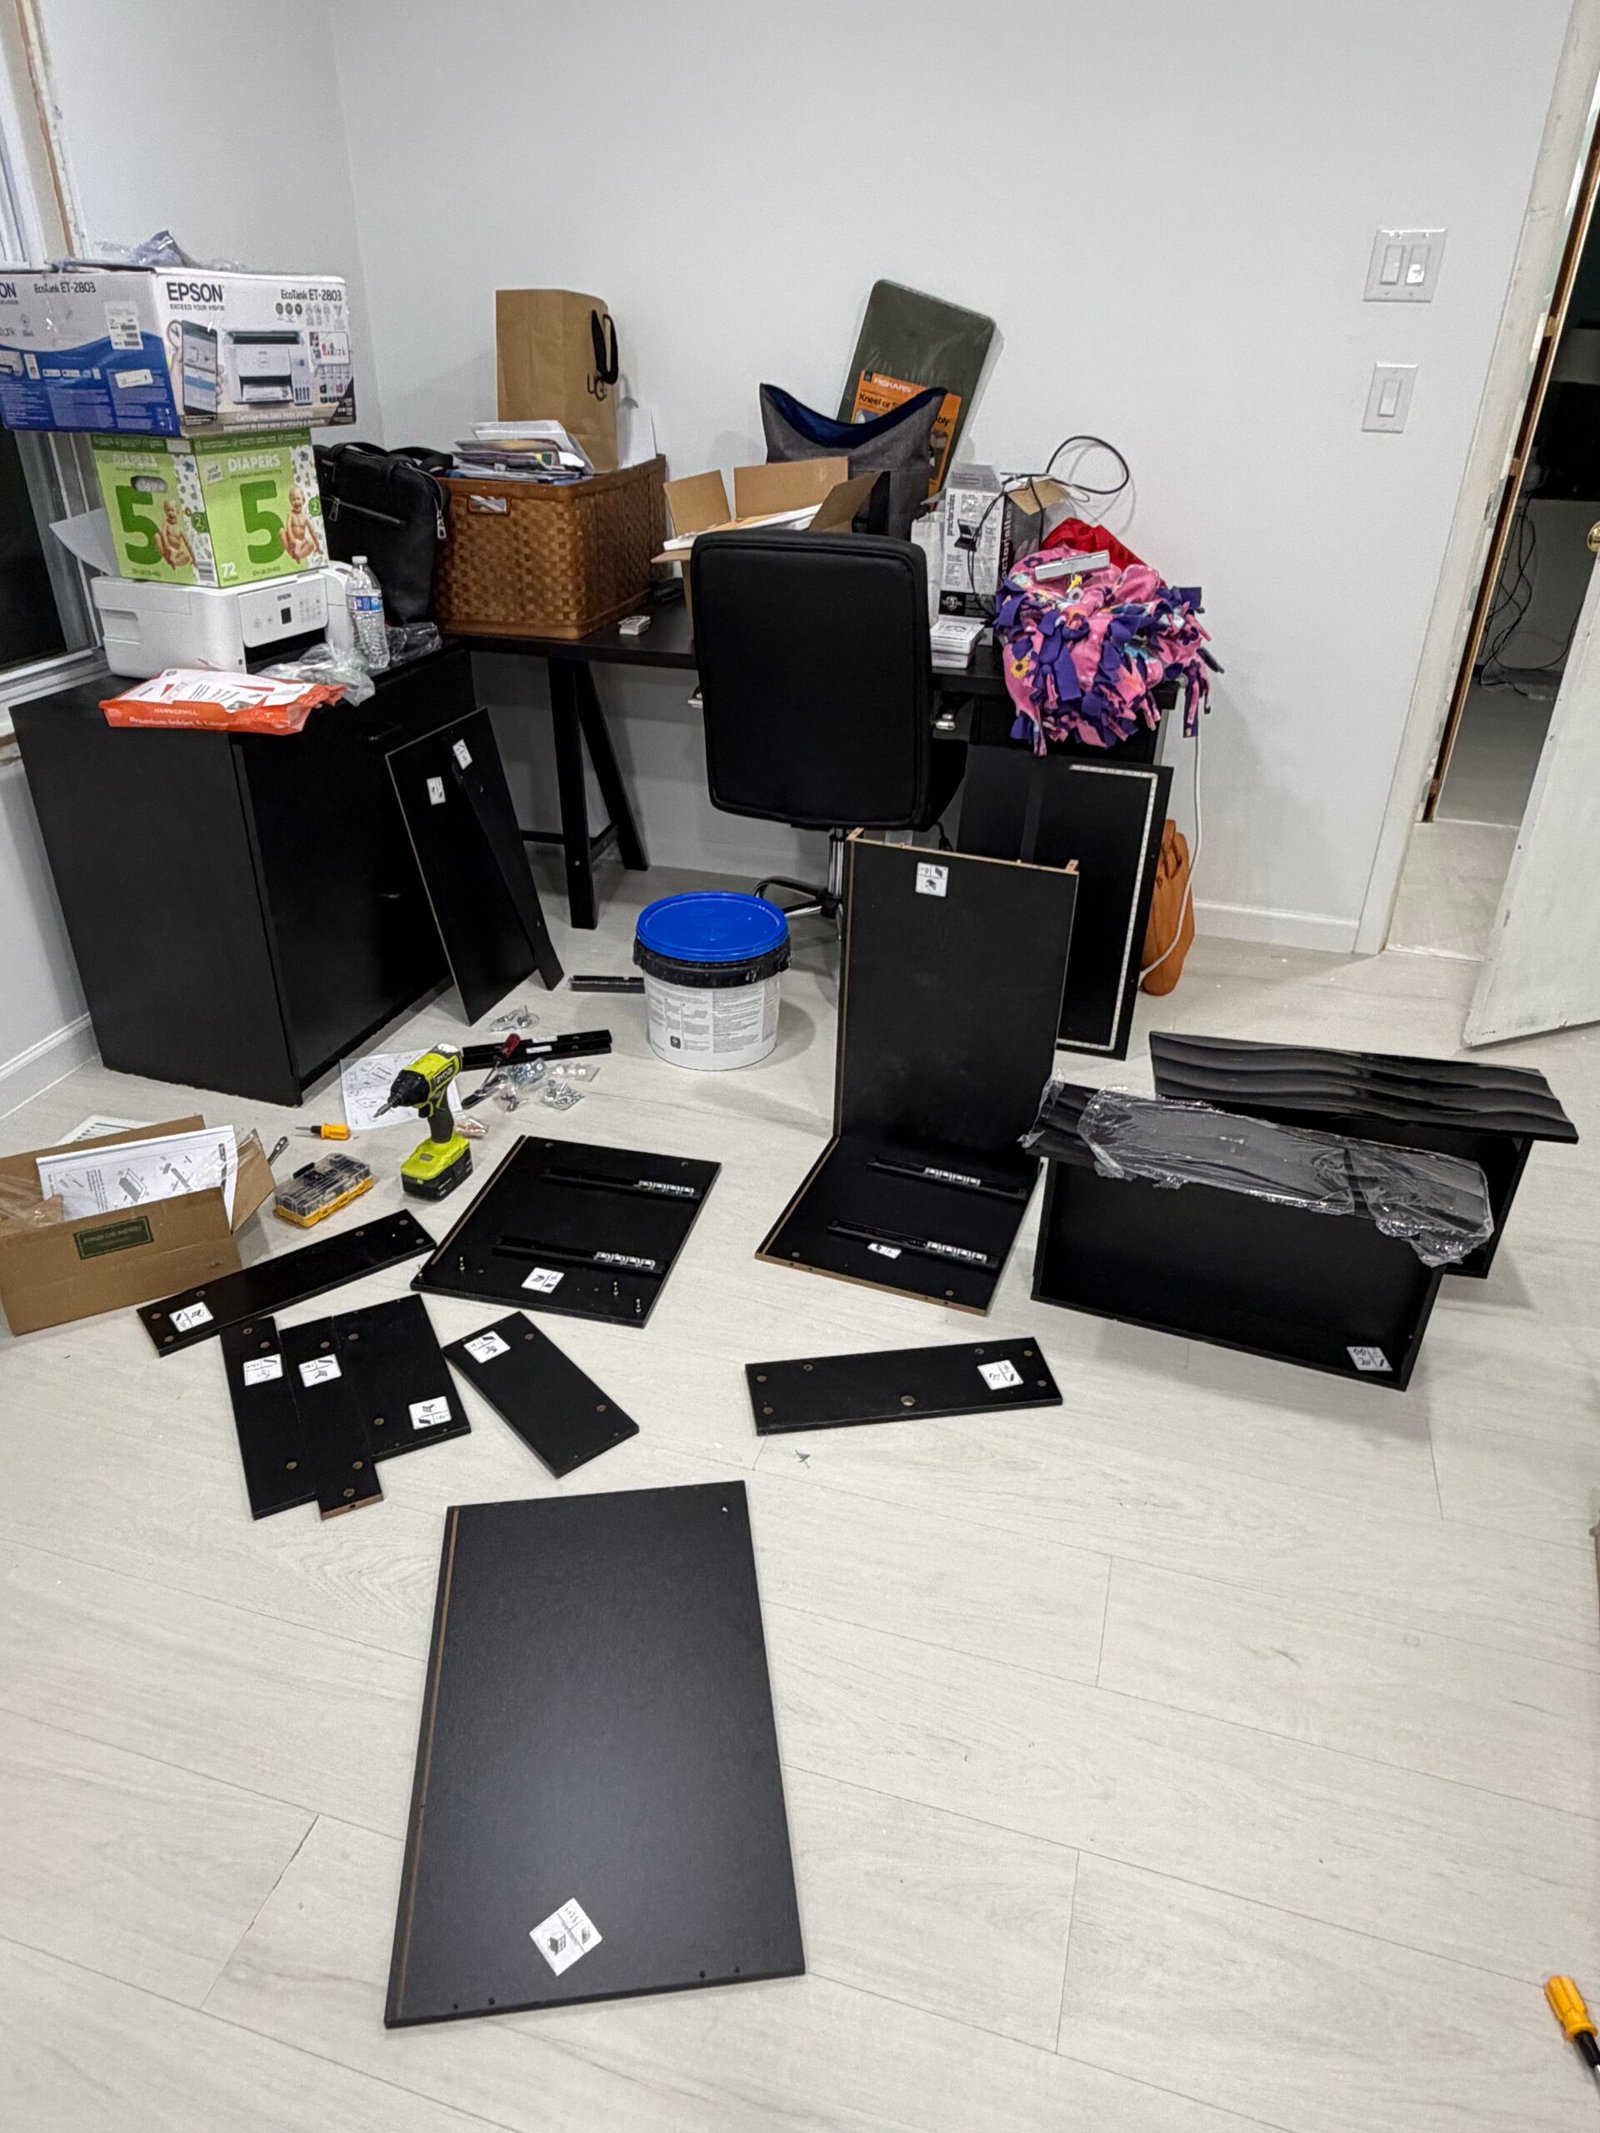
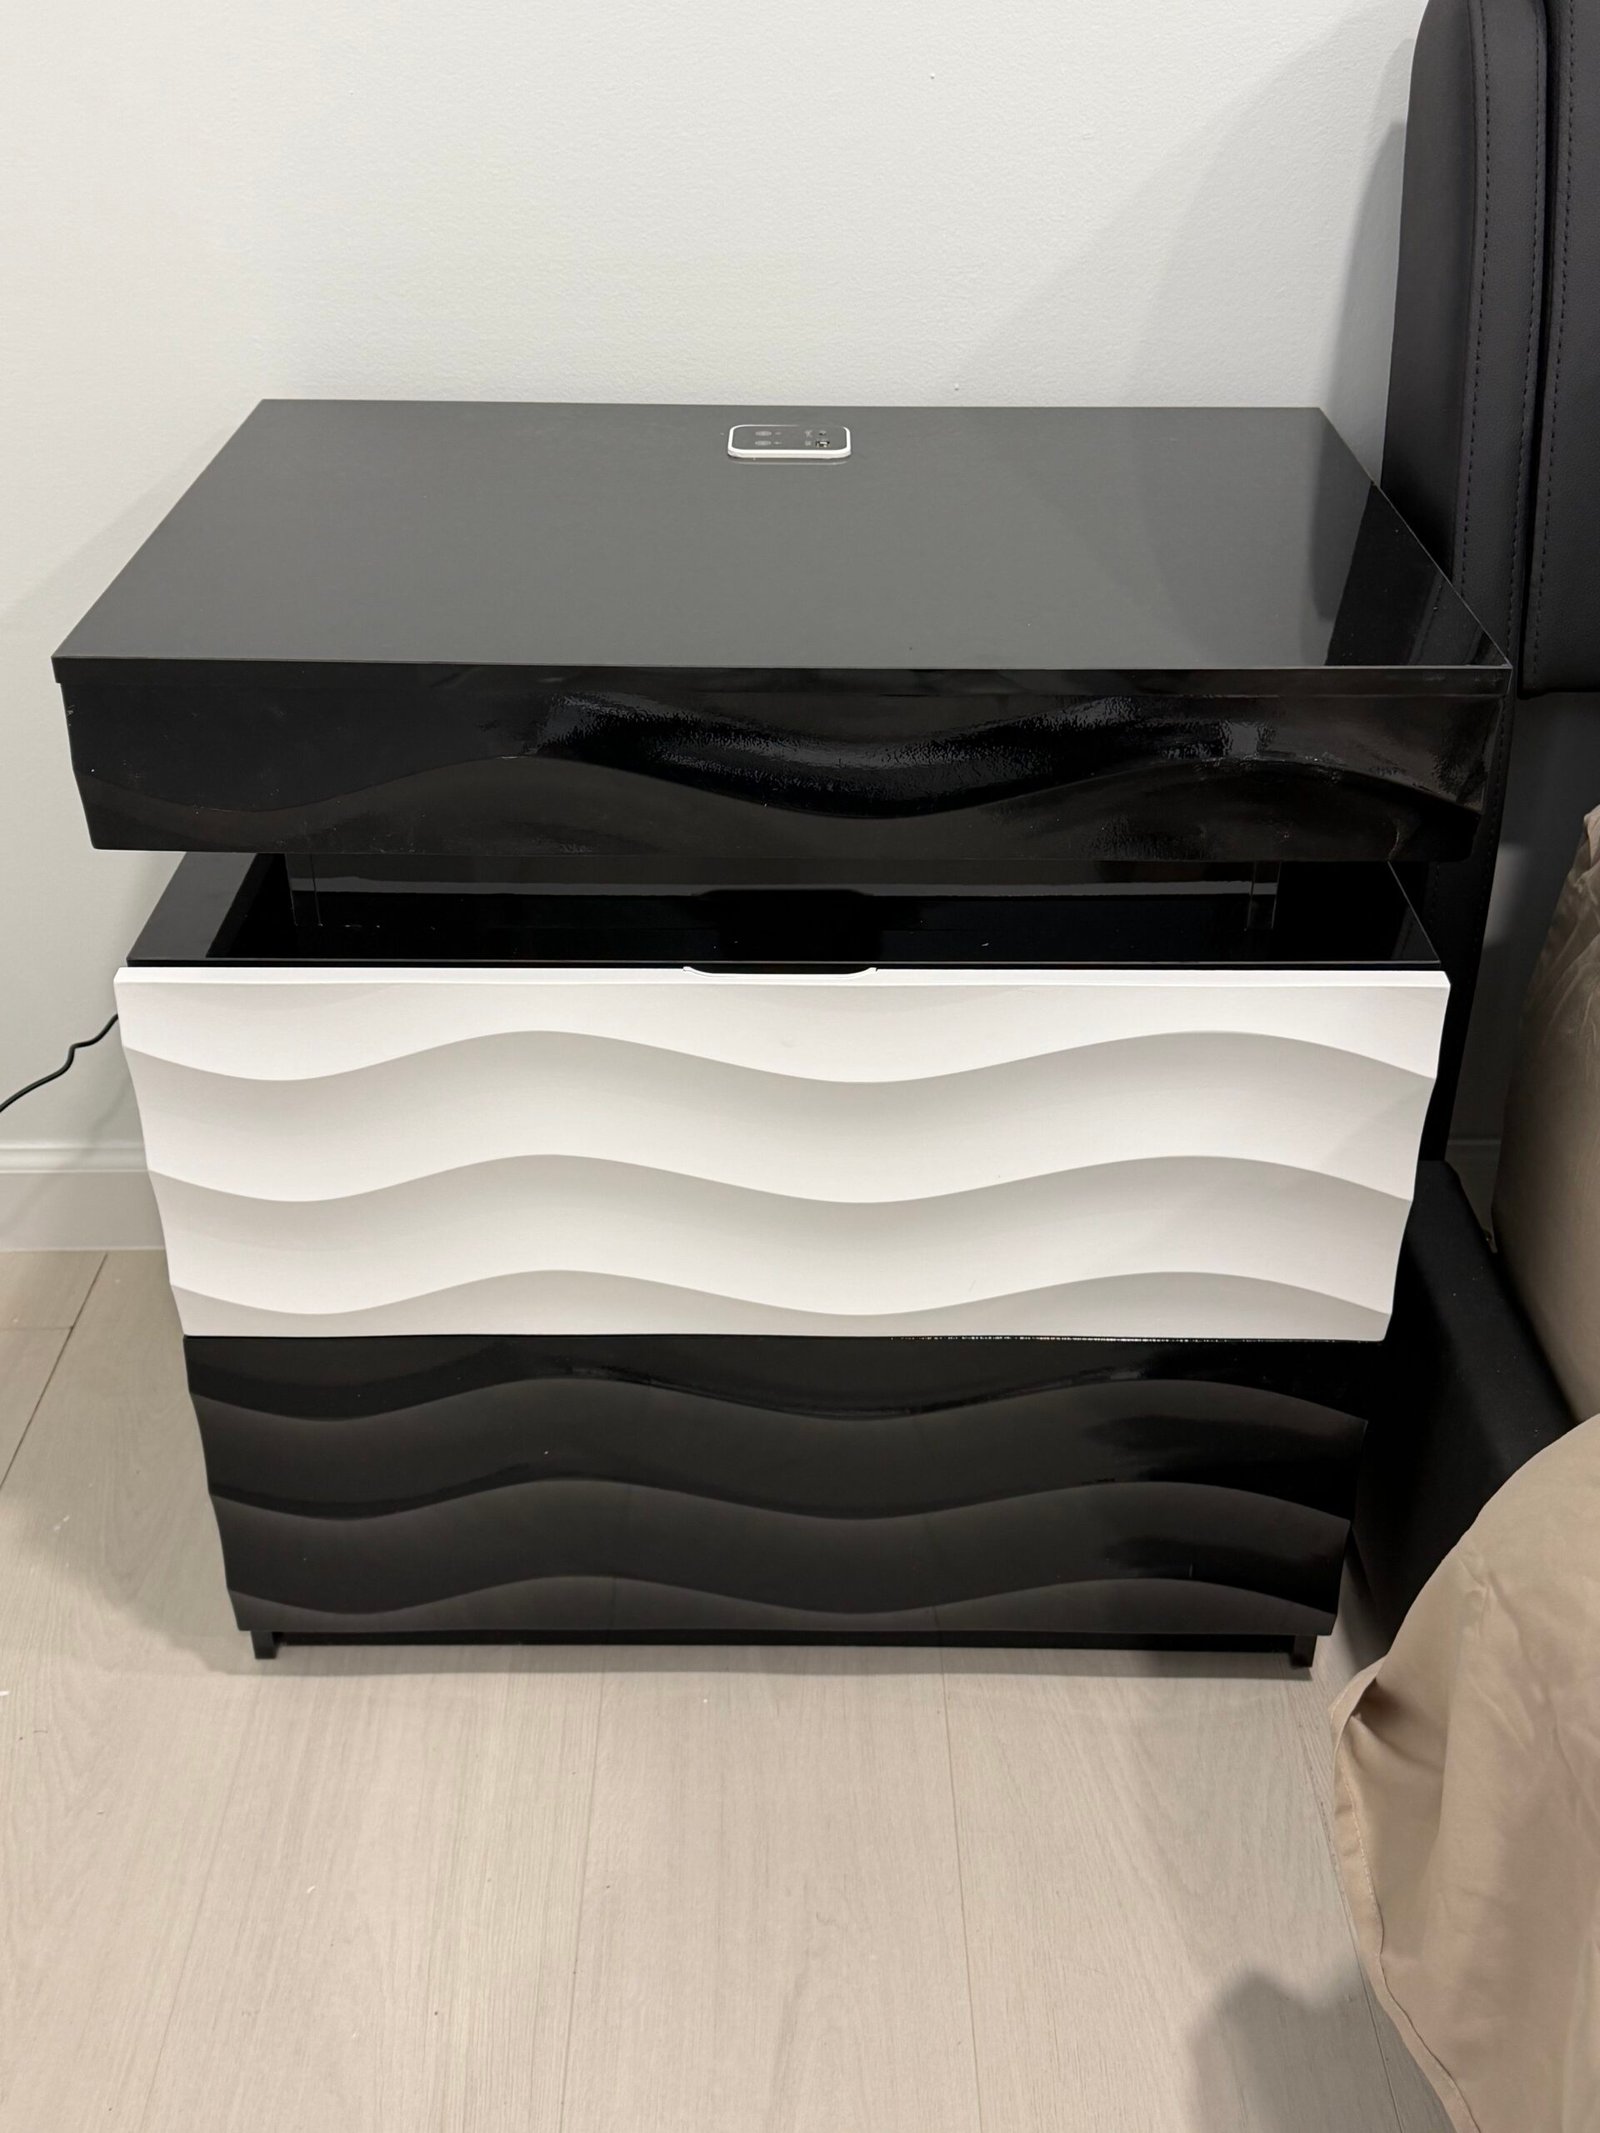
The dark panels and drawer components became a black-and-white bedside table. Its sculpted fronts, storage drawers and top were brought together beside the bed. The open-drawer view also shows the integrated blue lighting supplied with the furniture.
Stage 04

Completing the wide dresser

The dresser progressed from an assembled cabinet body with loose parts nearby to the finished storage piece. The completed view shows the fitted drawers, aligned white fronts, gold-tone handles and raised base brought into one arrangement.

Stage 05

Assembling the fireplace TV stand

The wood-look panels, supports and fittings were assembled into the low media console. The completed view shows the cabinet fronts, open upper shelf and central electric fireplace together, with the flame display and colored shelf lighting switched on.

Stage 06

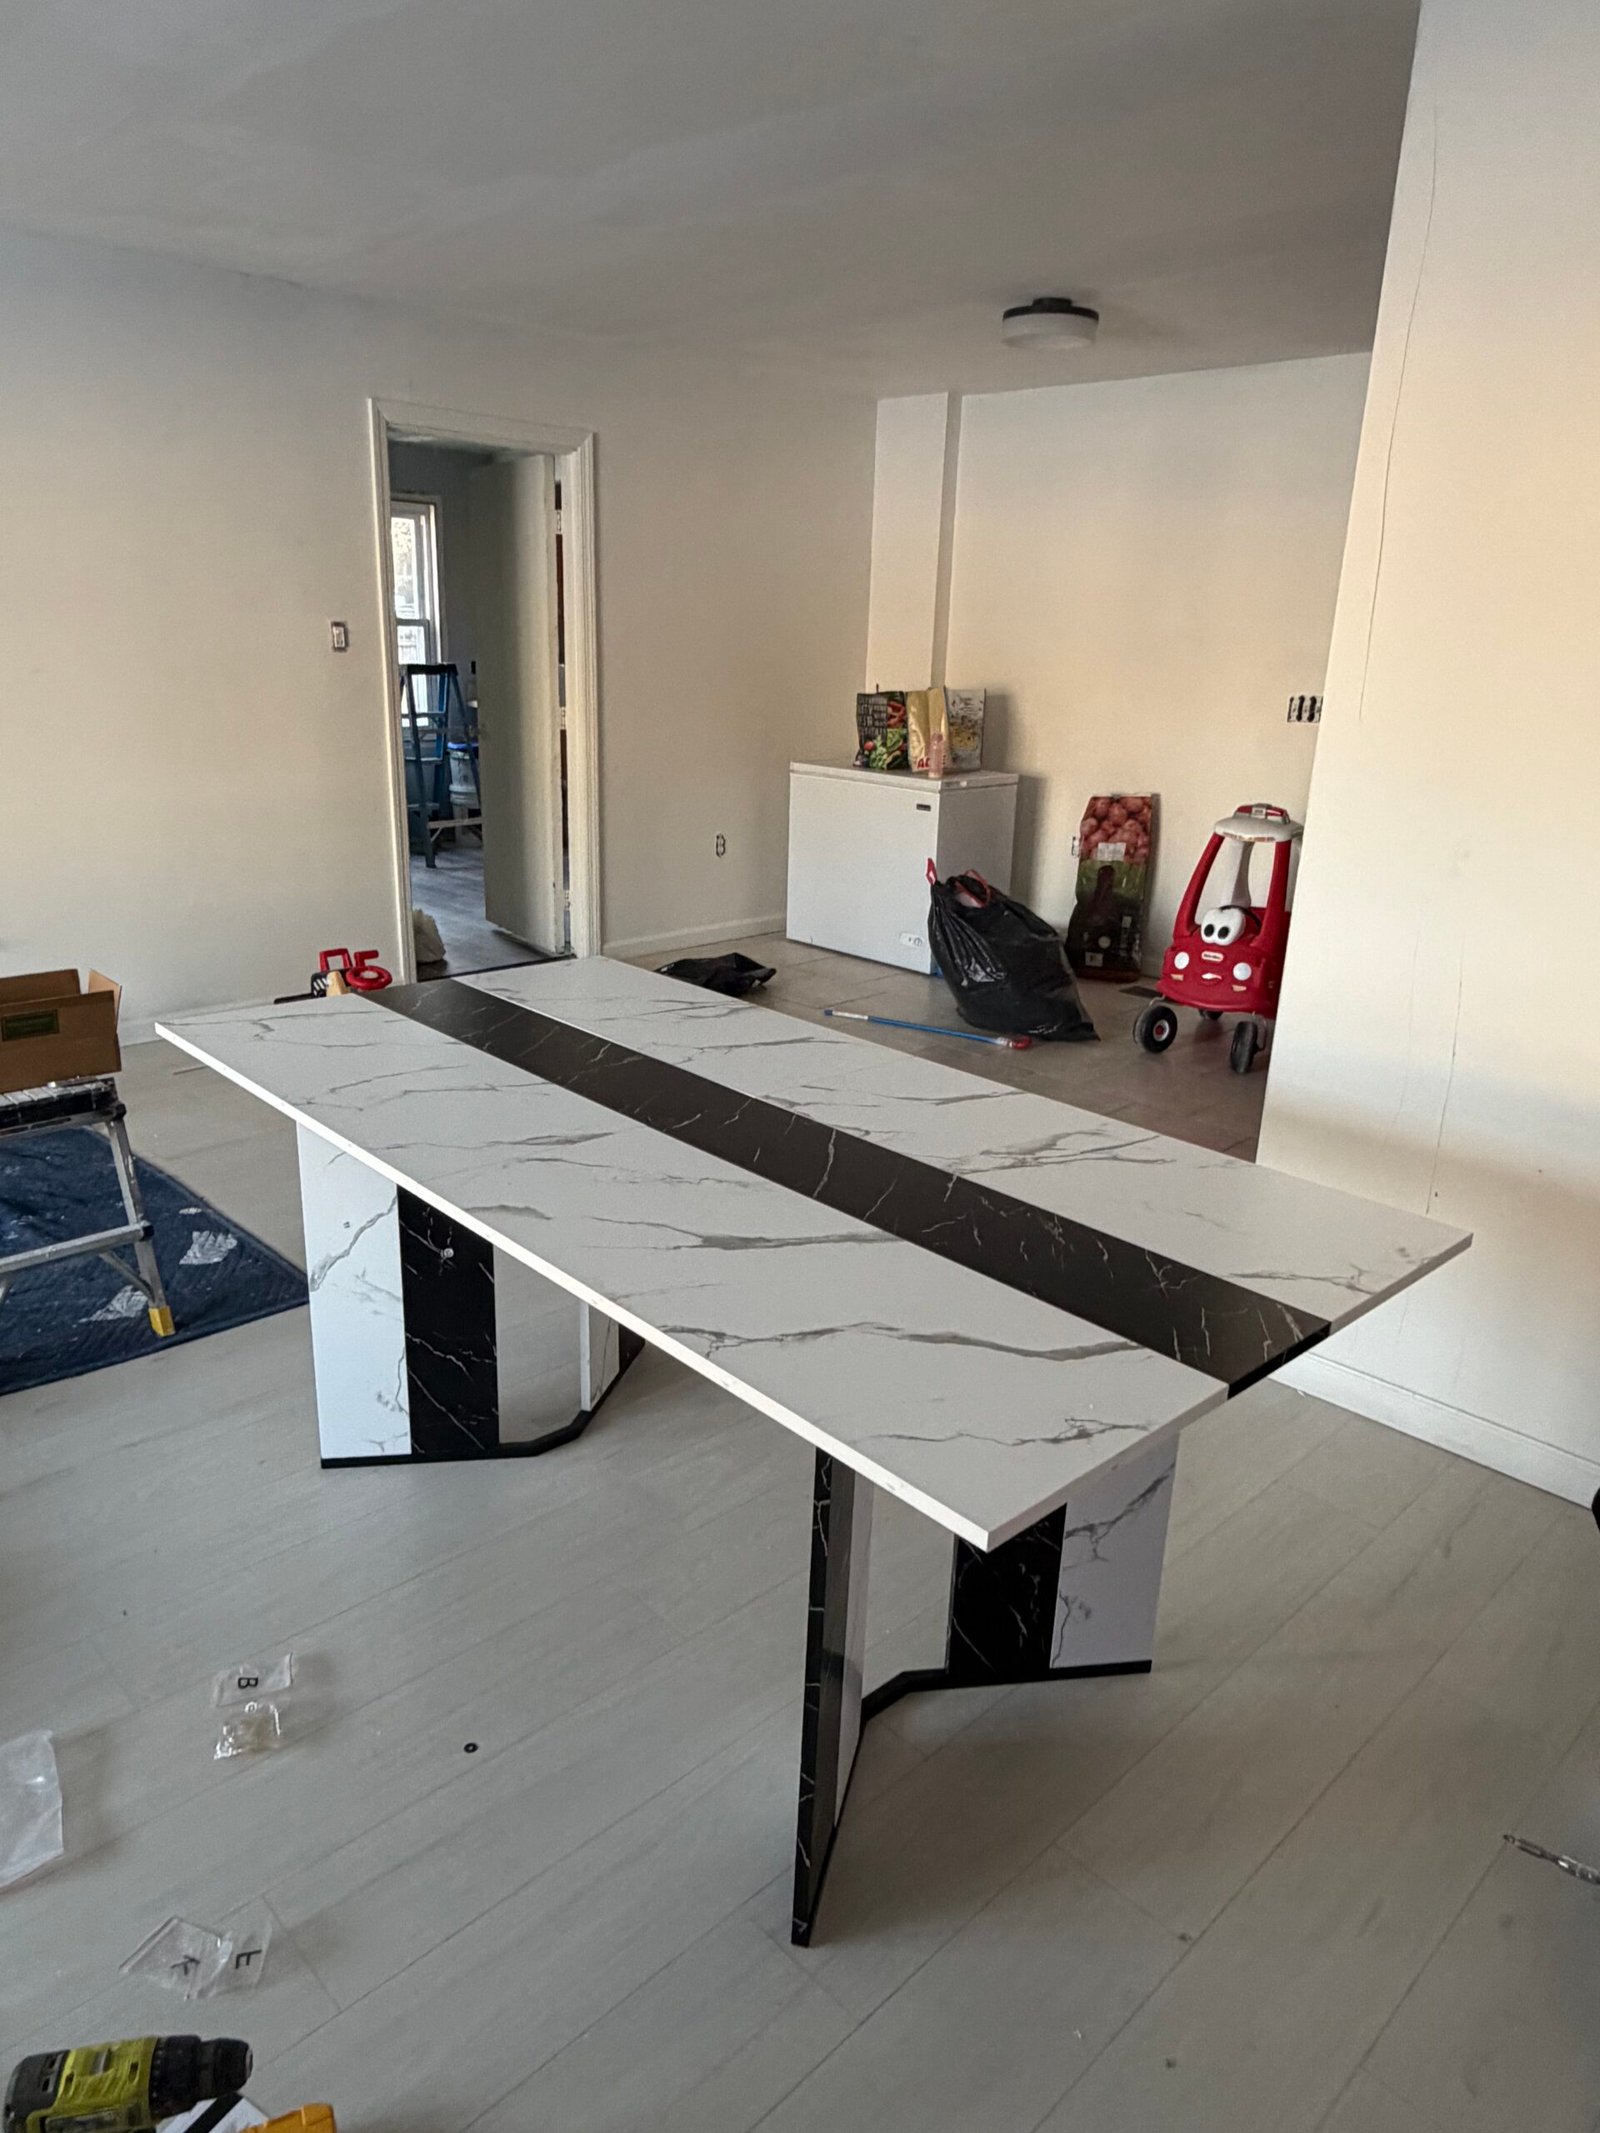
Putting the dining table together

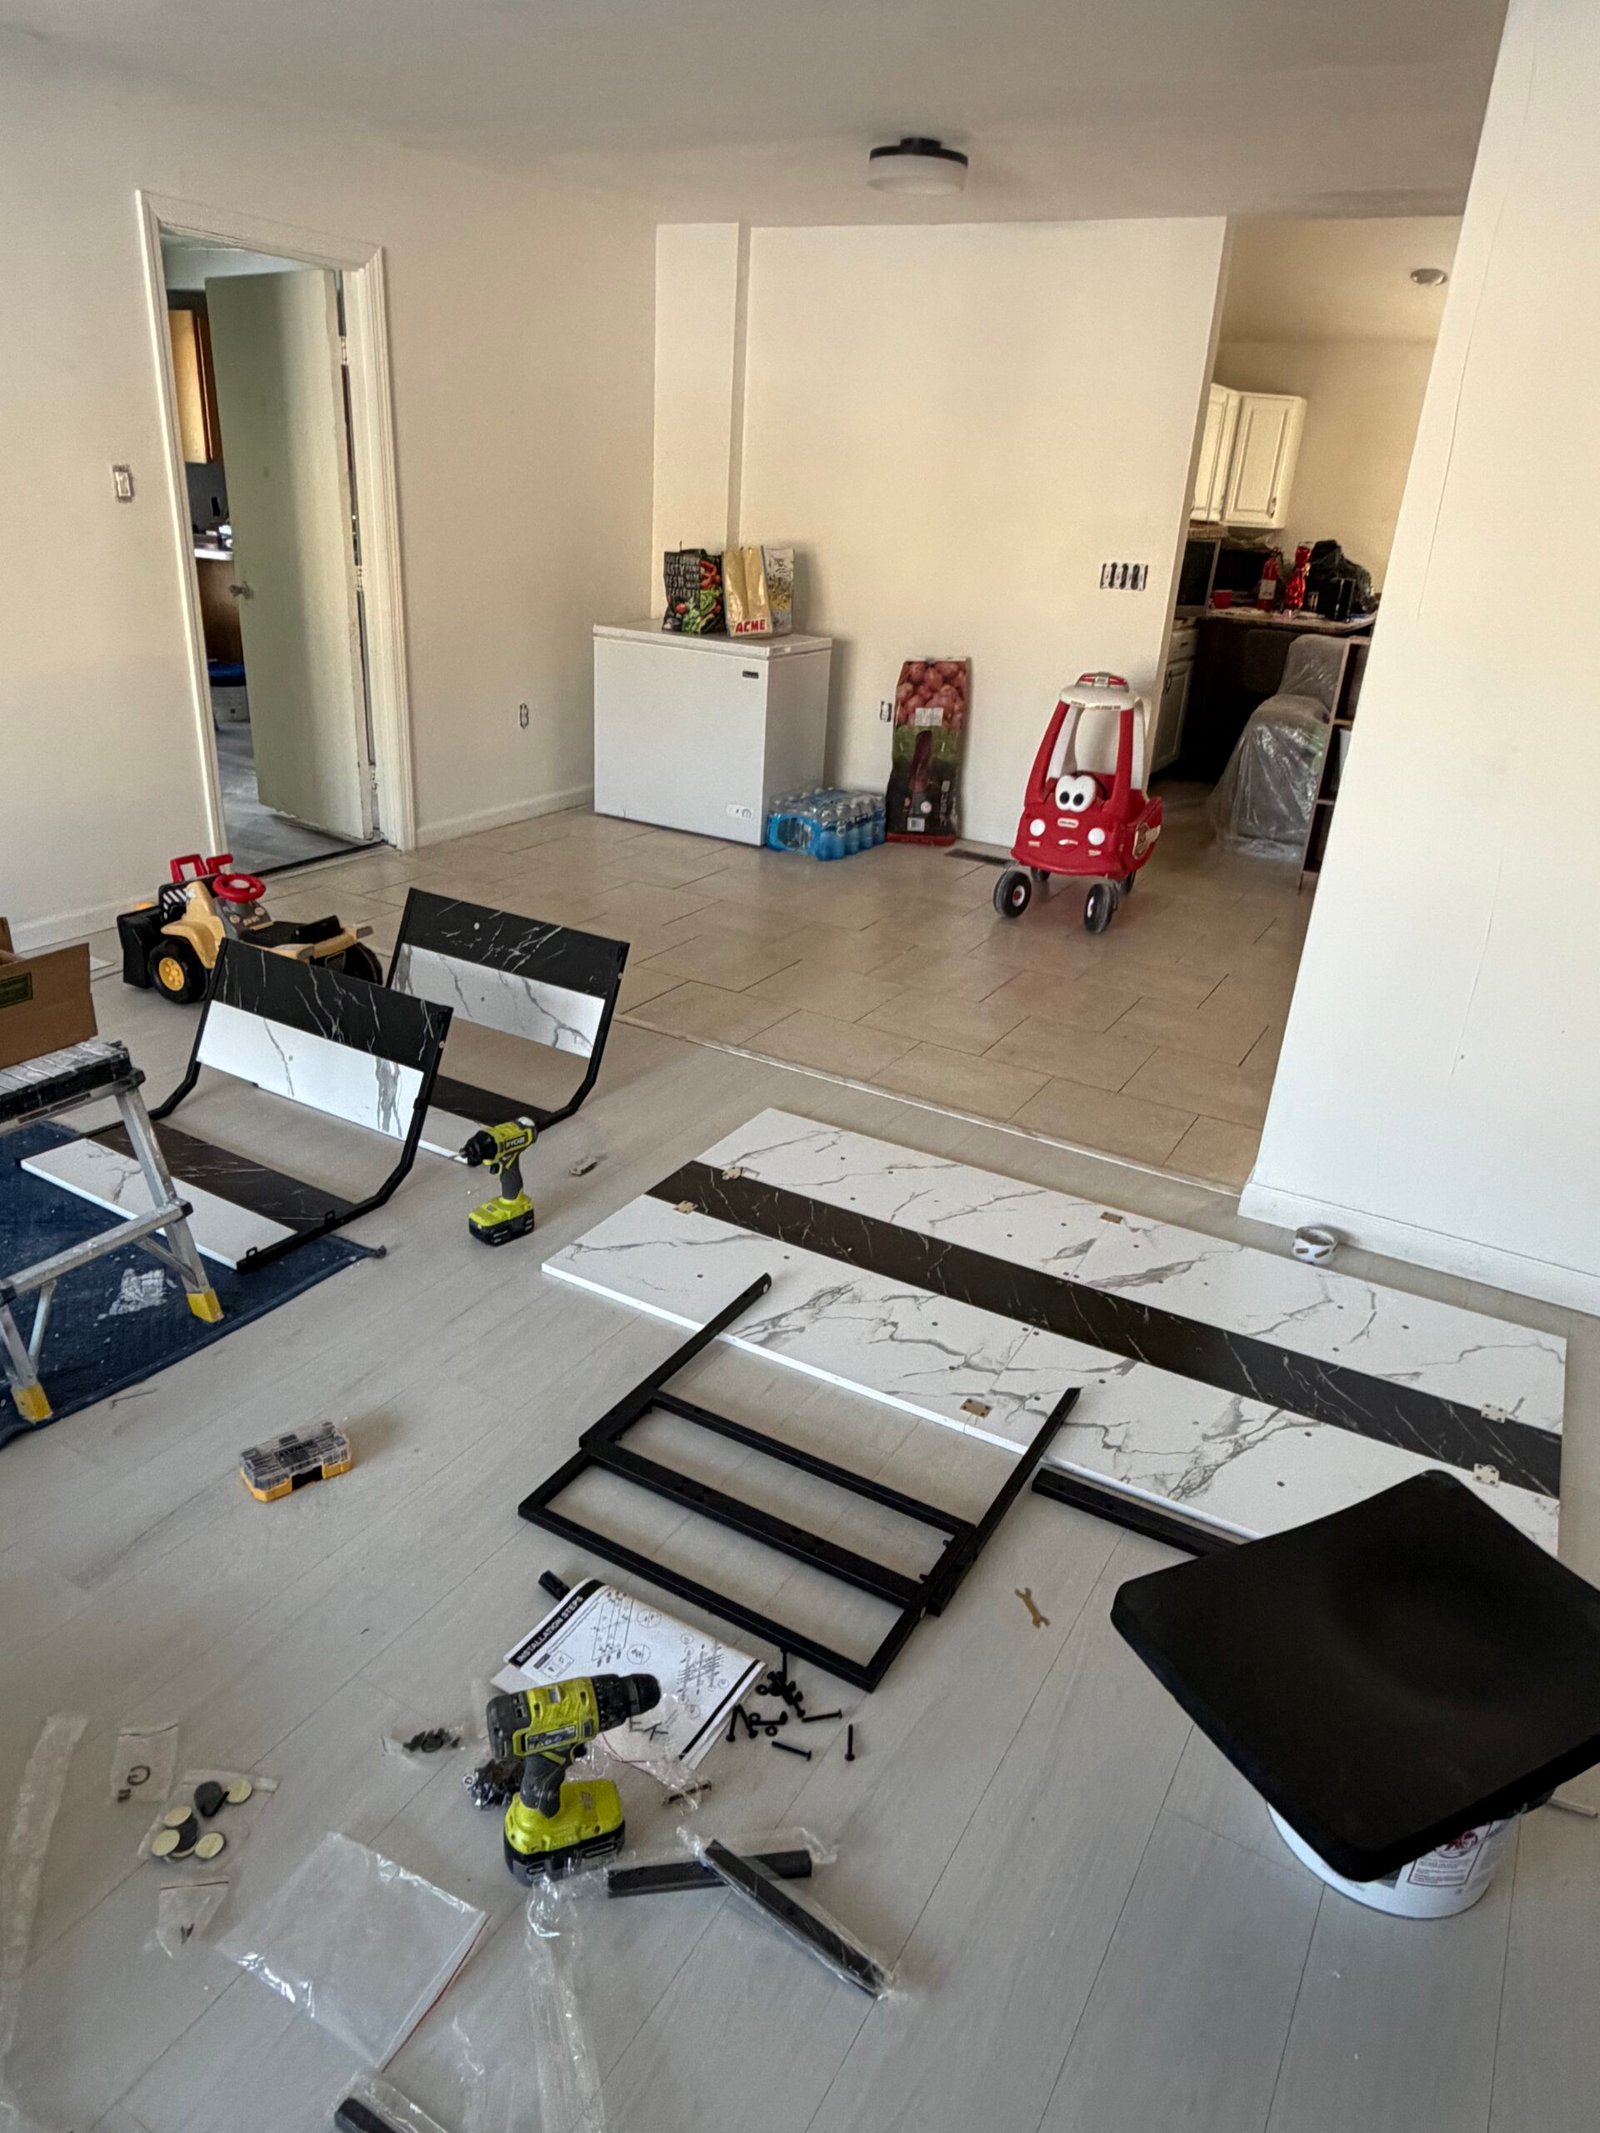
The table sections and supports were first laid out as separate components. The final photograph shows the assembled dining table, with its light patterned top, dark center detail and contrasting supports completing this group of furniture.
The finished pieces

The completed group adds several kinds of storage, a dining surface and a media console to the home. Light drawer fronts, a white dresser with gold-tone details, sculpted bedside storage and the fireplace display give each piece its own character. The finished photographs show the furniture after assembly, including the drawer arrangements and the supplied illuminated features.

Furniture assembly gallery

Use the arrow buttons or Left and Right keys to browse. On a phone, swipe left or right. Press Escape to close.

Plan a project like Furniture Assembly & Room Setup

Use the information and photographs on this page to explain the result you have in mind. Nashkov Group Construction LLC can discuss similar home improvements and how the scope would apply to your own property. A completed project is a useful reference, but the work at another home may require different preparation, materials or construction details.

From inspiration to your own project

Share your town and ZIP code, photographs of the existing area and the features you want to change. Identify any parts you want to retain and tell us whether materials have already been selected or purchased. Approximate measurements and access details help make the initial conversation more useful.

The condition of the property, the size of the work and the coordination needed with other trades determine the project scope. Any requirements for specialist review or local approvals should be discussed for the proposed changes. Materials, scheduling and pricing are agreed for the actual work rather than inferred from the photographs of a different project.

Discuss the next step

Contact the company to describe your priorities and arrange the appropriate review. The written scope should explain preparation, construction, finishing and any exclusions. If concealed damage or a requested change affects that scope, discuss the additional work before it proceeds.

Serving all of New Jersey

Nashkov Group Construction LLC serves homeowners throughout New Jersey, including North Jersey, Central Jersey, South Jersey and the Jersey Shore. Our business is based in Toms River, NJ. Tell us your town, ZIP code and project details so we can discuss the scope and arrange the next step.

Browse all 21 counties and 564 municipalities →

Counties we serve

+1 848-318-7952 info@nashkovgroup.com

NASHKOV GROUP

Let’s talk about
your home.

Request a free consultation. Tell us what you have in mind, and we’ll get in touch.

Enter a phone number or email — at least one is required.

We’ll use your details to respond to this request.

Prefer email? info@nashkovgroup.com