Phone:
(701)814-6992
Physical address:
6296 Donnelly Plaza
Ratkeville, Bahamas.

Phone:
(701)814-6992
Physical address:
6296 Donnelly Plaza
Ratkeville, Bahamas.
A new tiled surface for the kitchen floor
Nashkov Group Construction LLC installed gray rectangular floor tile in this kitchen. An offset layout carries the tile pattern across the room and toward the adjoining doorway. The photographs show floor preparation in progress and the installed tile surface, while the wider kitchen renovation is still underway.
Move the slider to compare preparation in progress with the installed kitchen floor tile.
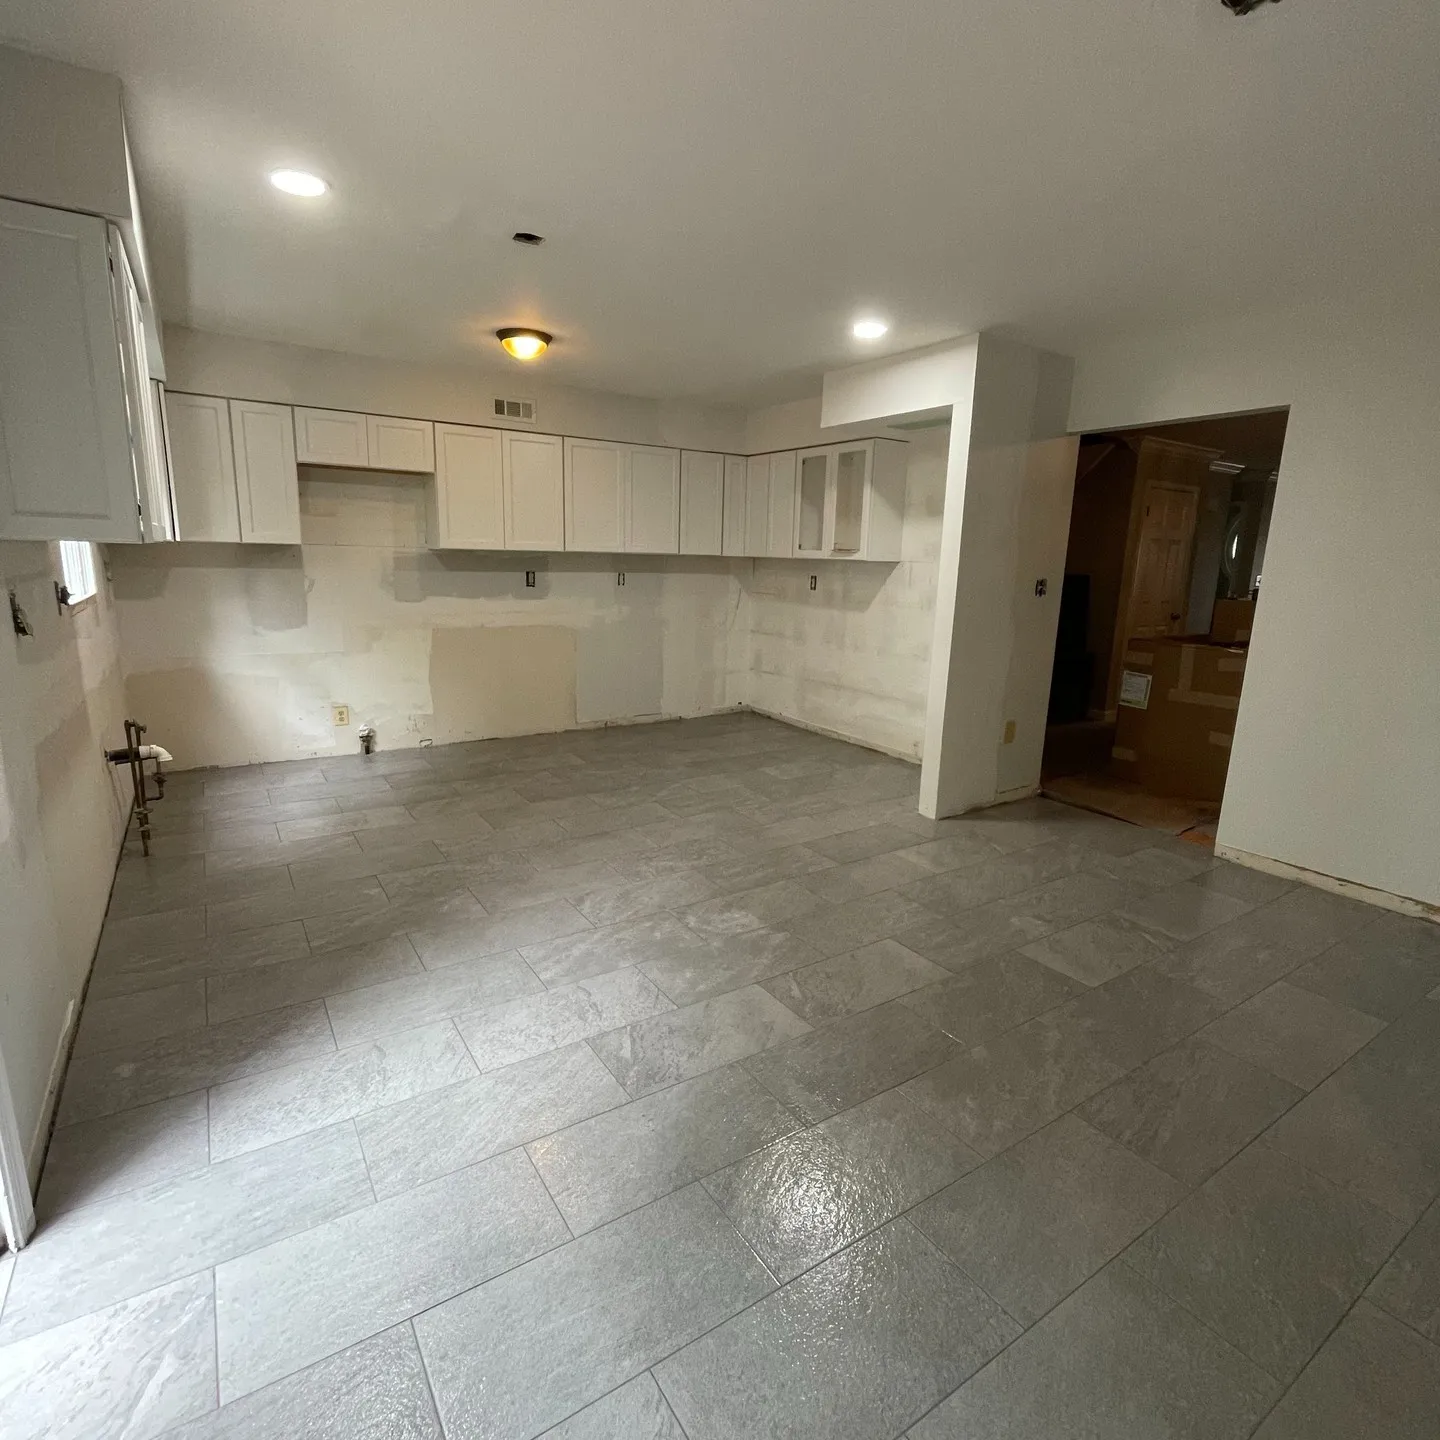 AFTER
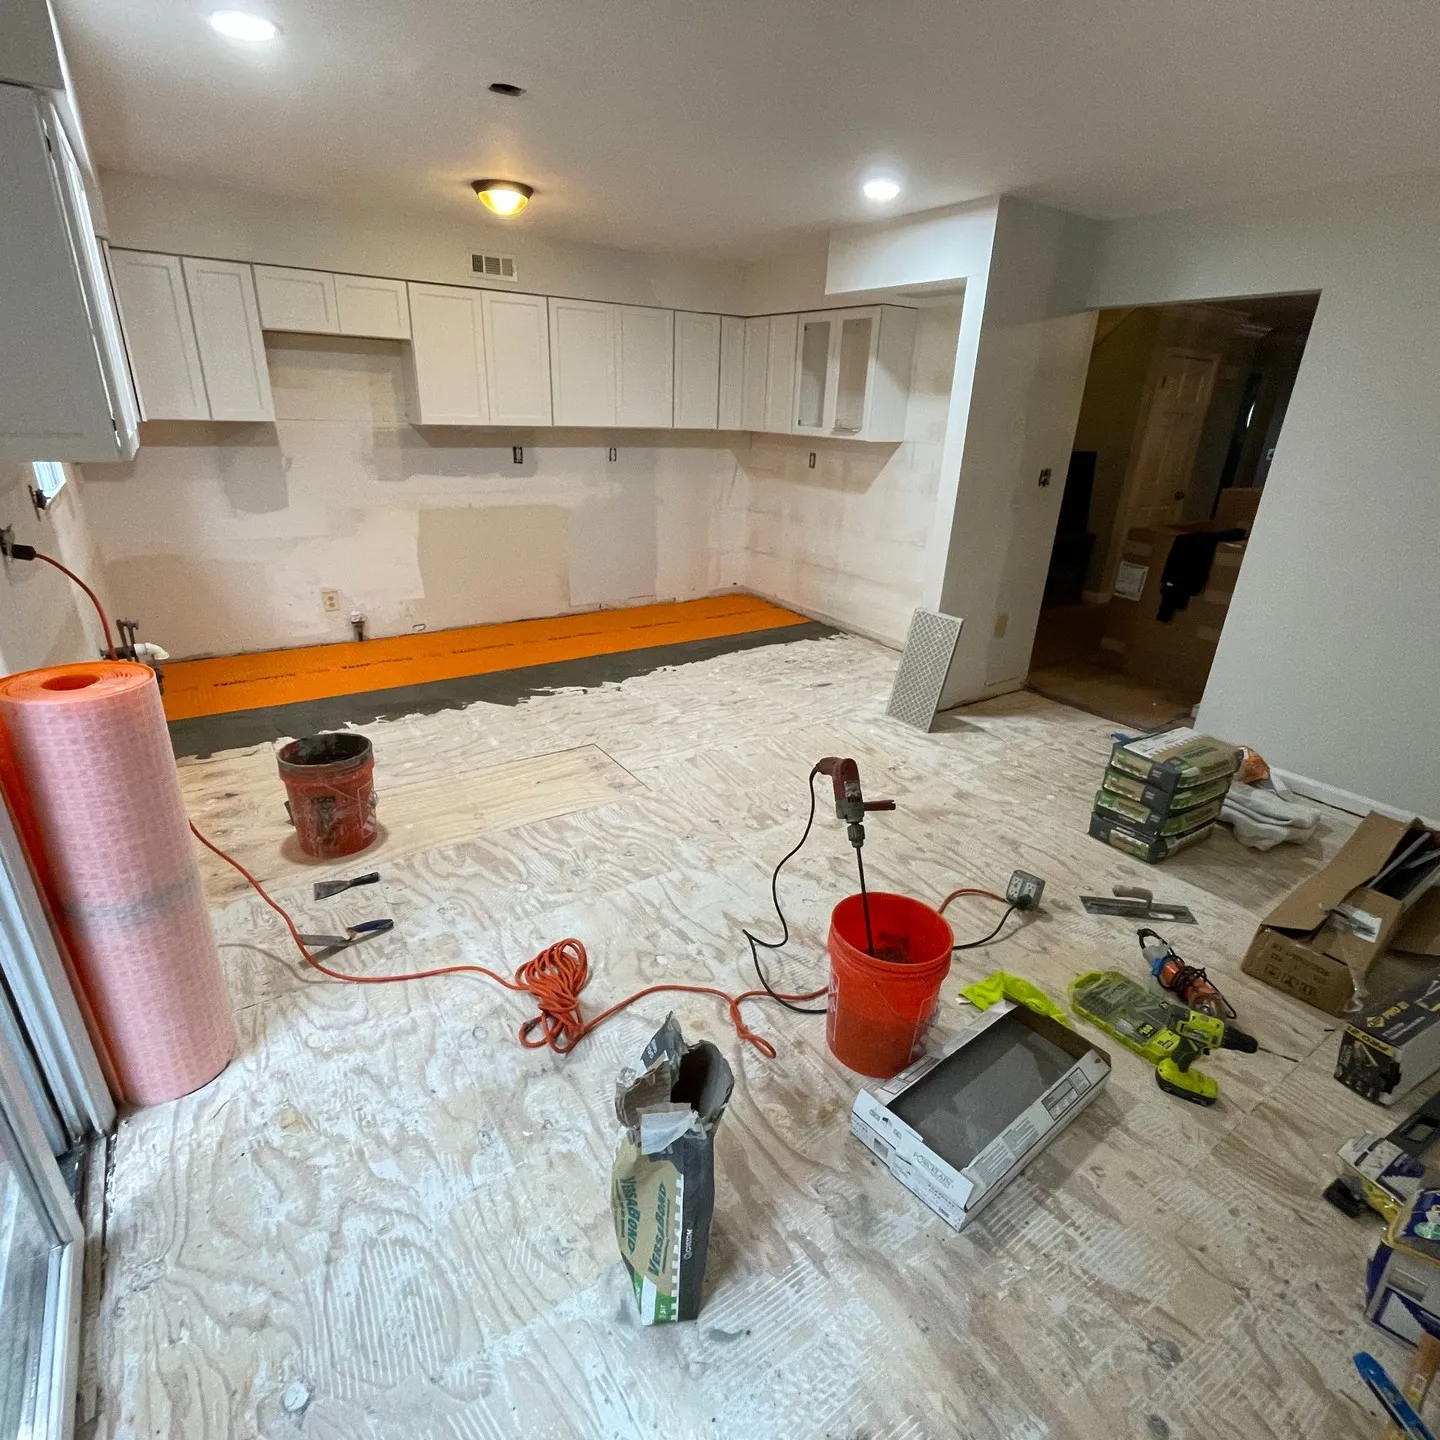 BEFORE
The project focused on installing a new tile finish across the kitchen floor. Gray rectangular pieces form staggered rows, with the layout fitted to the room perimeter and doorway.
Explore the preparation view, tile layout and installed floor. Select a photograph to see the full image; use the arrows, your keyboard or a swipe to browse the gallery.
Stage 01
The earlier photograph shows an exposed work area beneath the installed upper cabinets. Mortar ridges are visible across much of the floor, with orange underlayment along the far wall. Tools and tile-setting materials remain in the room.
This is a preparation view taken during the renovation. It records the floor before the gray tile finish covered the visible kitchen area.
Stage 02
Gray rectangular tiles were laid across the kitchen floor in staggered rows. The offset joints create a continuous pattern through the open floor area, with the tile direction carried toward the adjoining doorway.
The layout includes fitted pieces along the wall line and around the projecting wall beside the doorway. These perimeter cuts connect the main tile field to the shape of the room.
Stage 03
The later photograph shows the gray tile surface extending across the visible kitchen floor. Subtle variation between the rectangular tiles and the repeating joint pattern define the new finish.
The surrounding walls, plumbing connections and cabinet area remain part of the ongoing kitchen renovation. This view documents the result of the floor tile installation.