Phone:
(701)814-6992
Physical address:
6296 Donnelly Plaza
Ratkeville, Bahamas.

Phone:
(701)814-6992
Physical address:
6296 Donnelly Plaza
Ratkeville, Bahamas.
Floor repair & tile · Project story
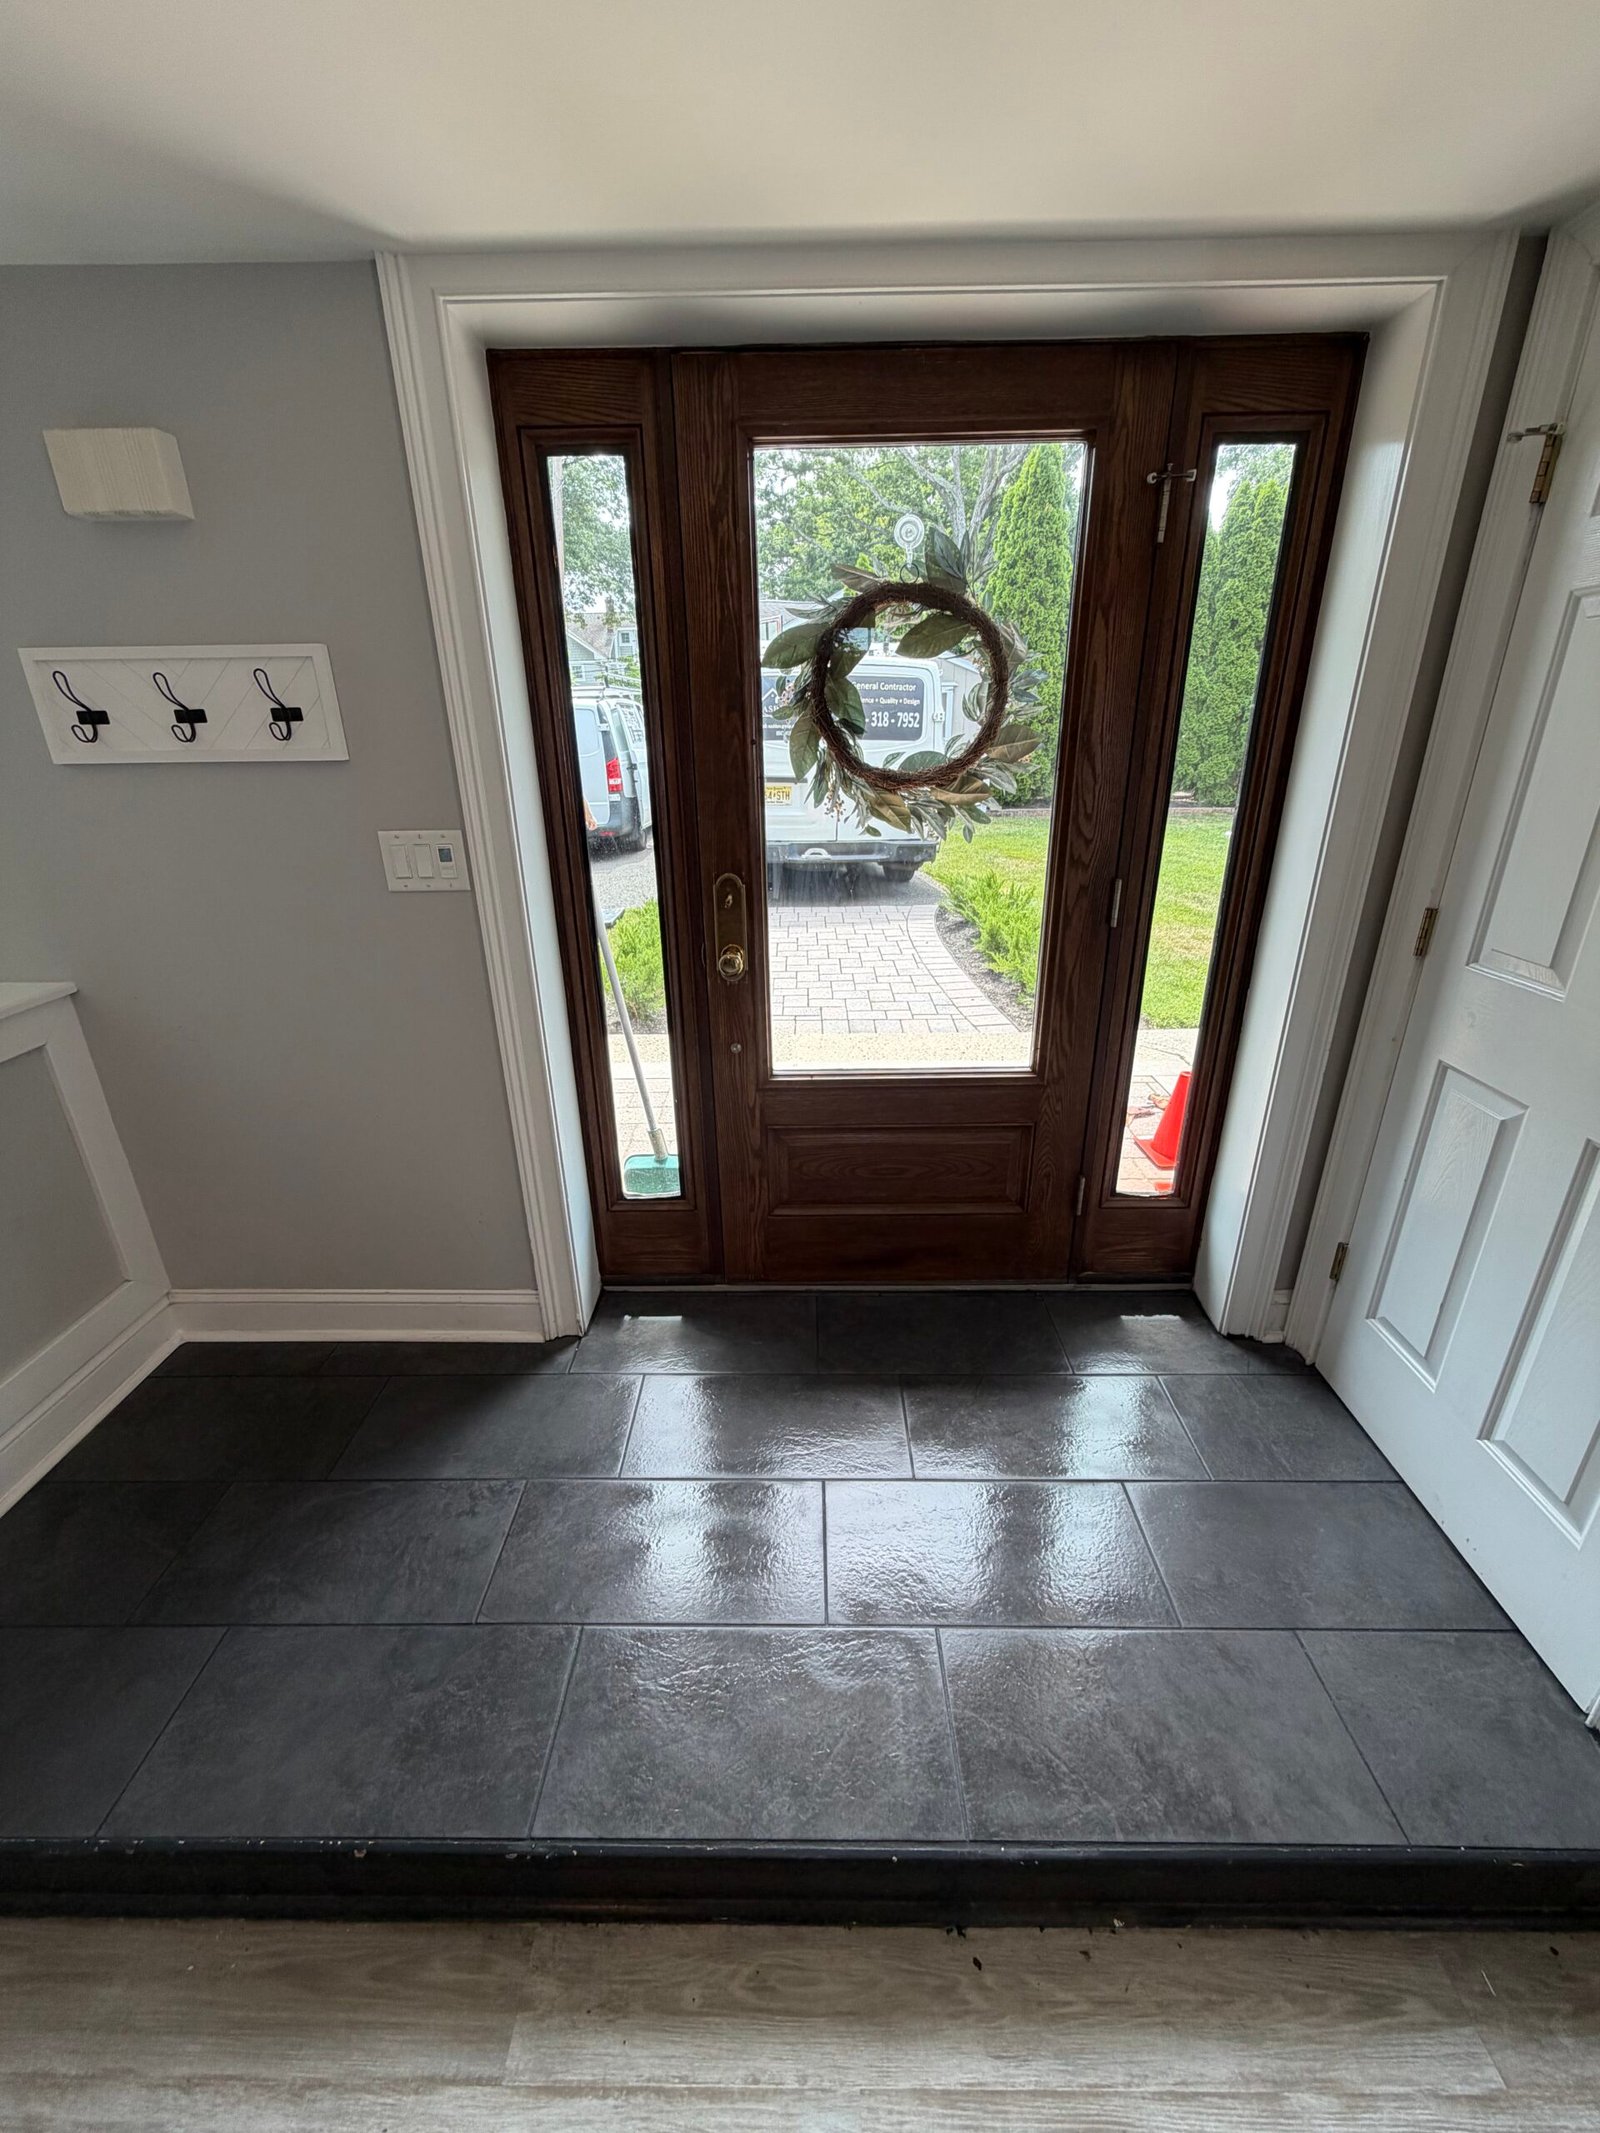
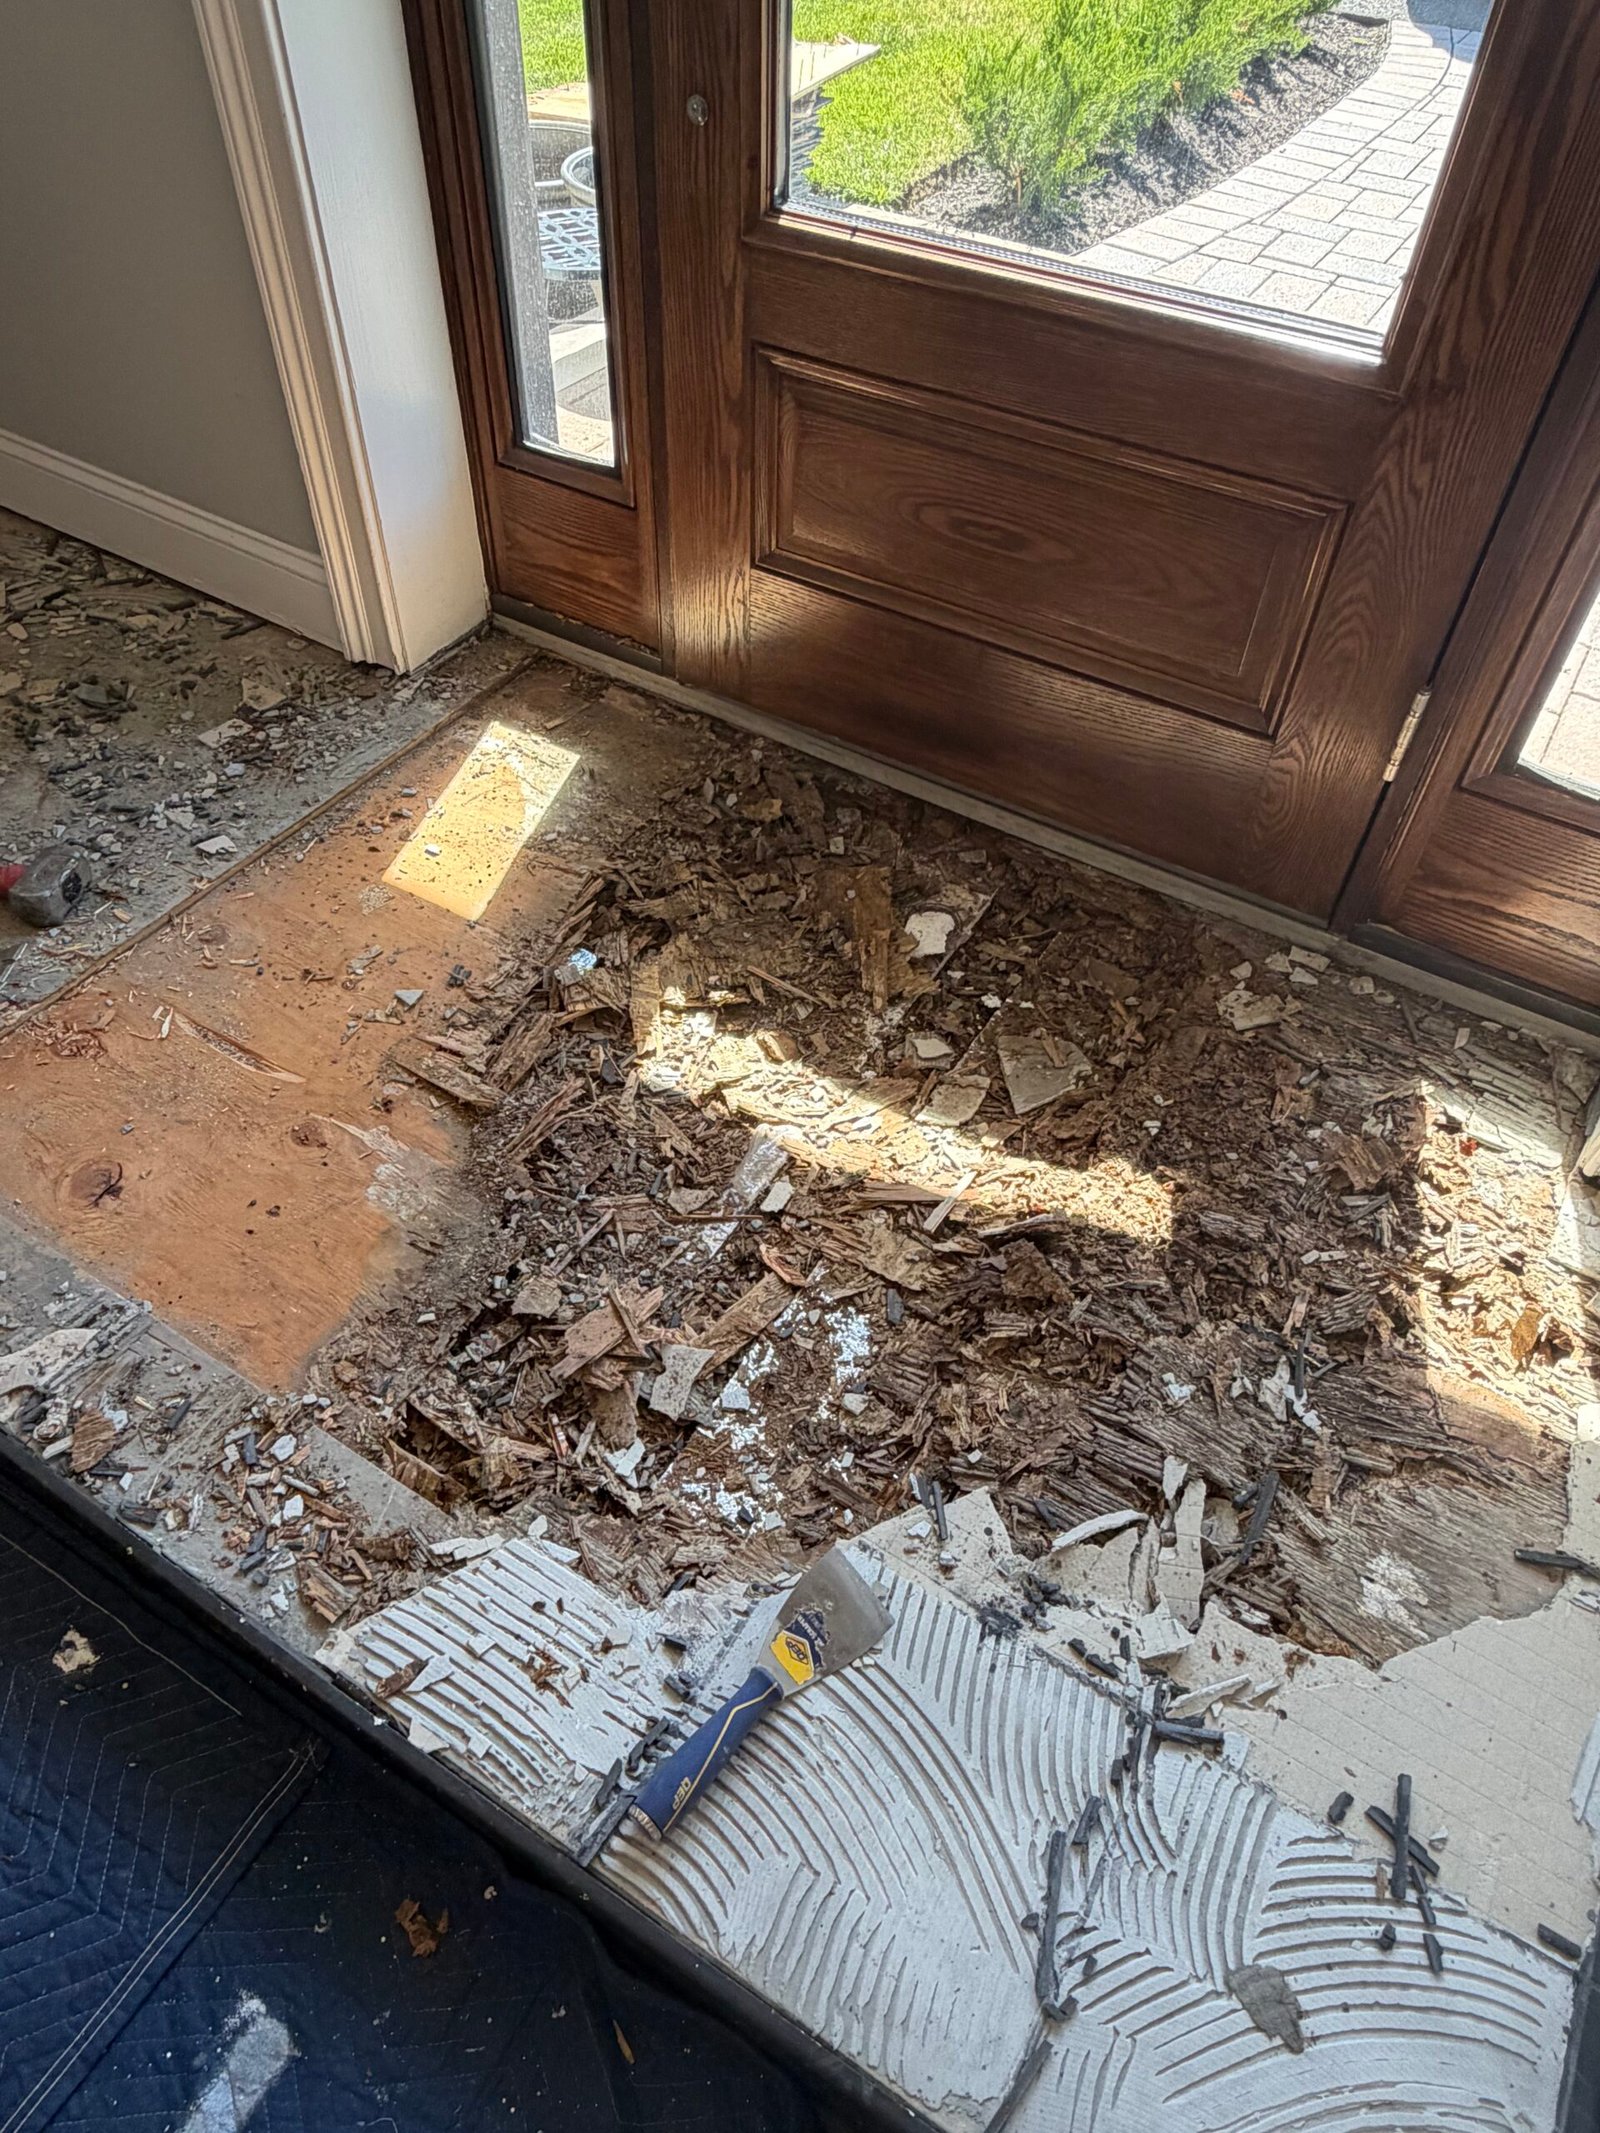
An entry floor renewed from the damaged layers below to the dark tile above. Removal exposed deterioration near the front-door threshold, followed by a rebuilt base, tile underlayment and a new finished surface. Follow the work from the original entrance to the completed floor.
 AFTER
 BEFORE
 AFTER
 BEFORE REPAIR
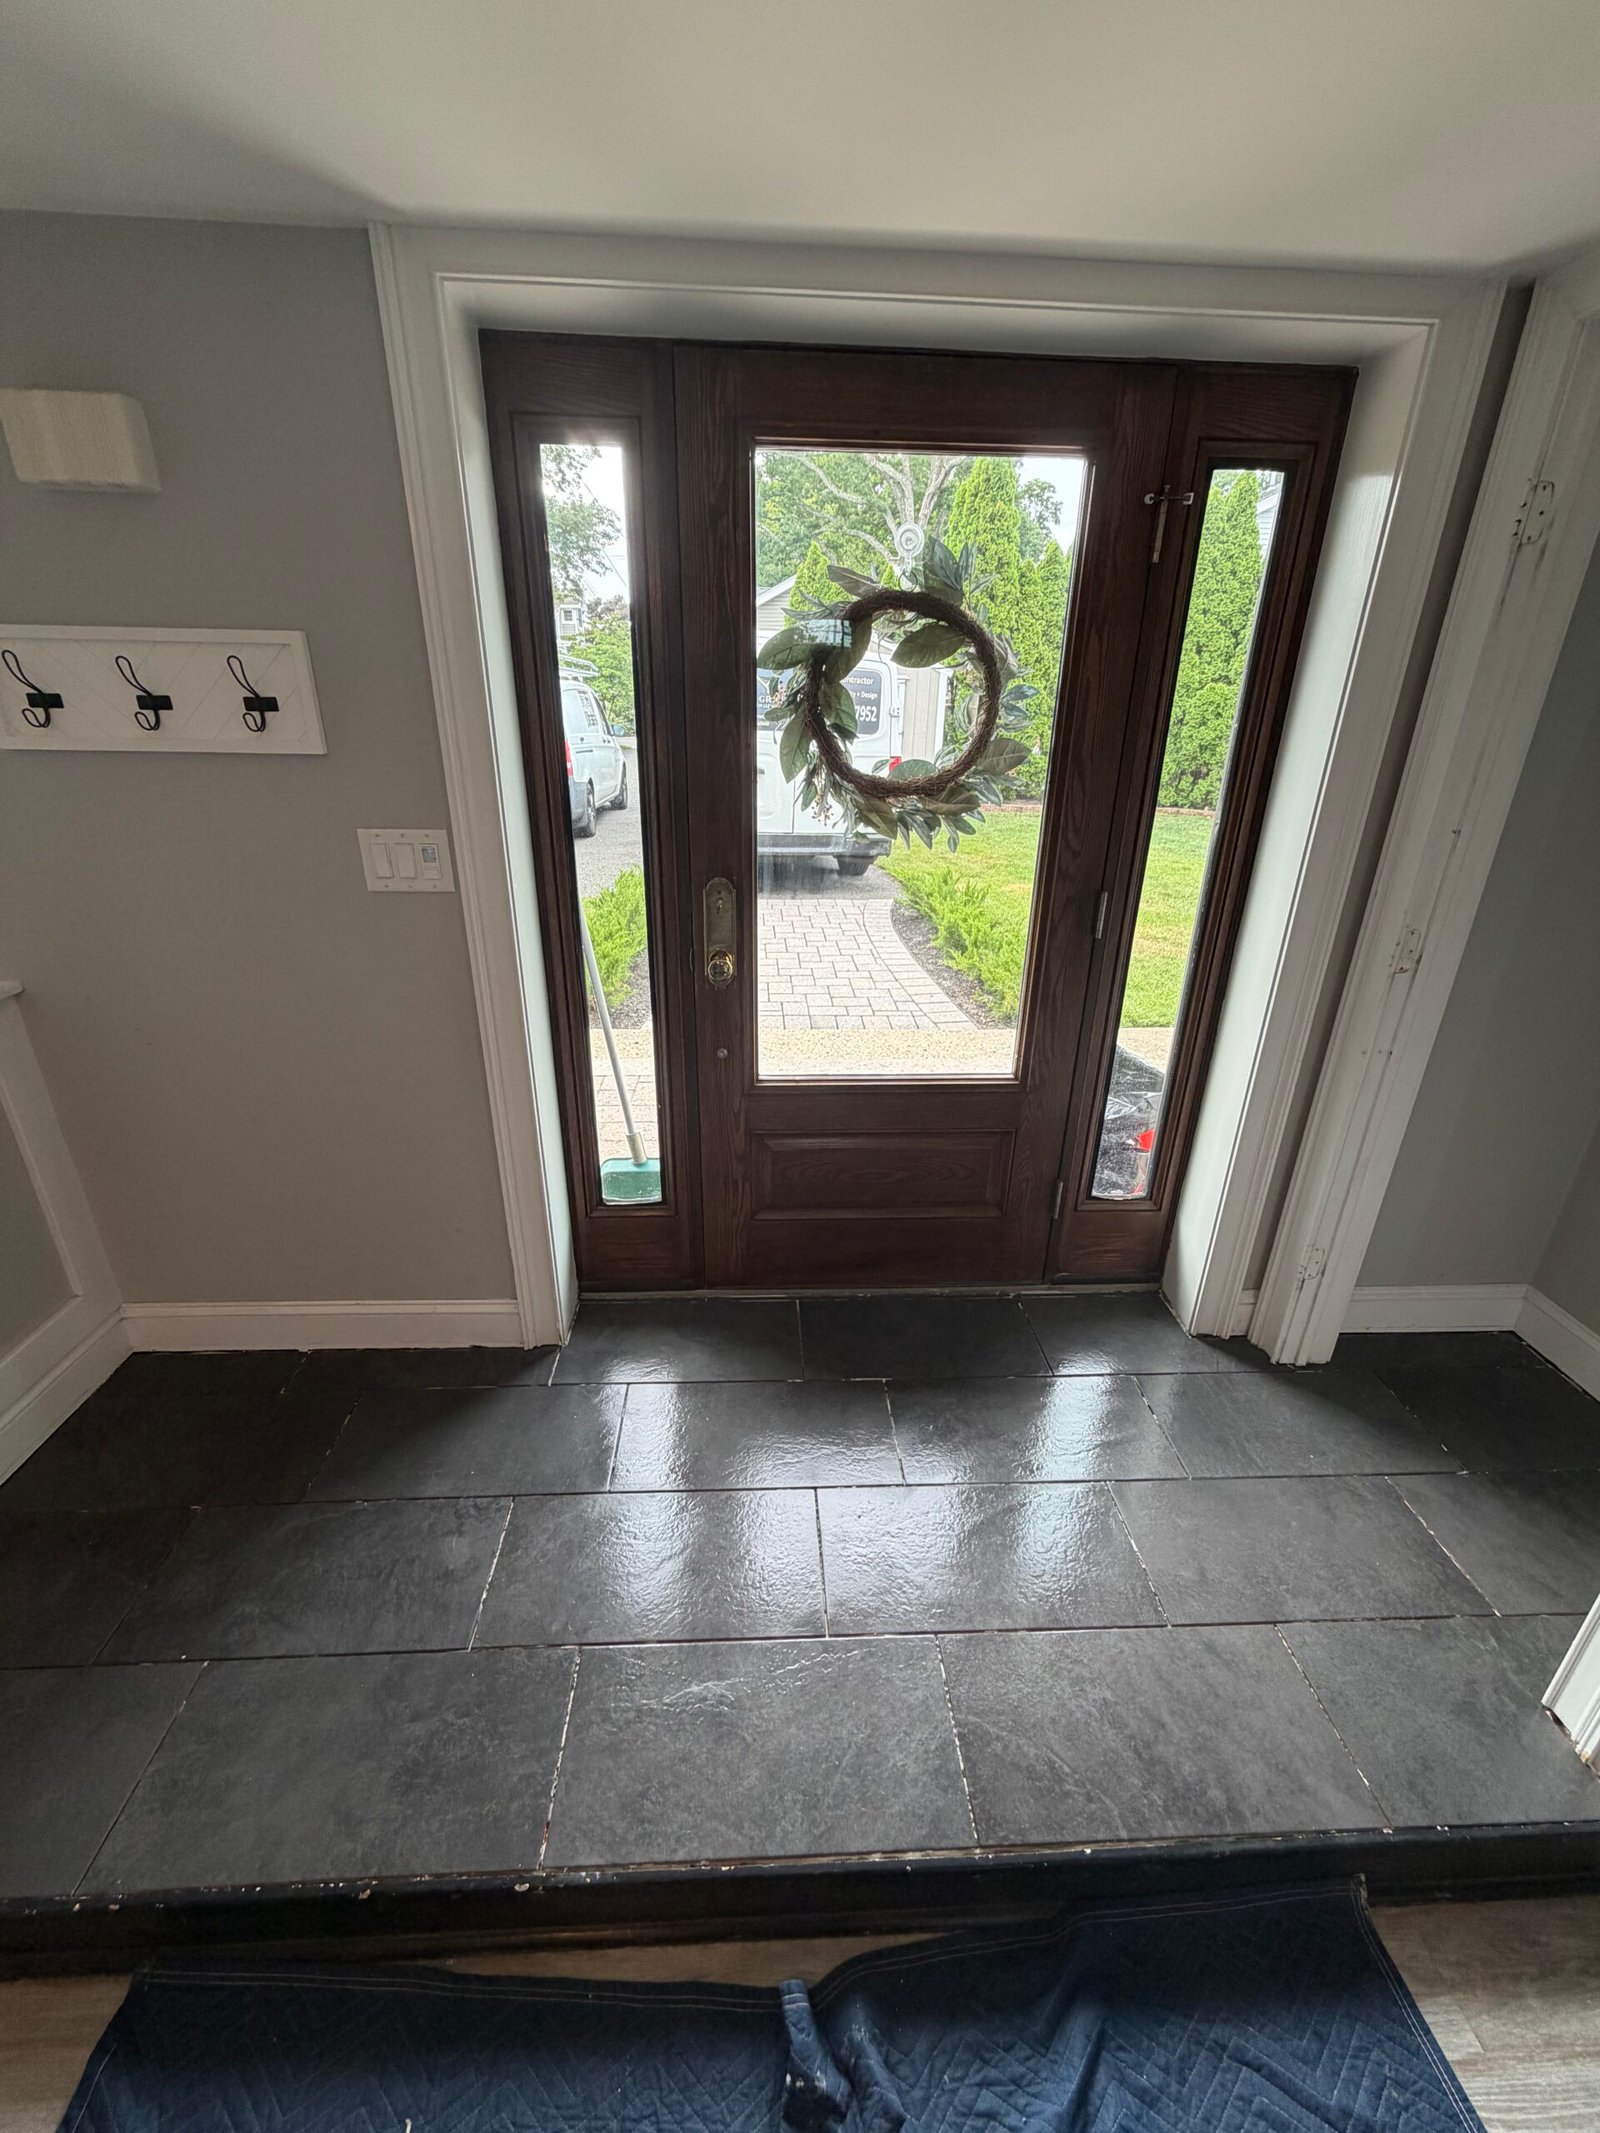
Move the sliders to compare the original entrance and the exposed repair area with the finished tile. In the second comparison, the starting photo was taken after removal had begun. Positions and daylight differ between photographs.
The original entry tile was lifted and deteriorated material beneath it was opened and removed. The exposed views show the damaged layers near the door before the base was cleared and rebuilt for a new surface.
The repair continues through gray base preparation, orange tile underlayment and dark floor tiles. Finished joints and perimeter details complete the entry, connecting it with the doorway and the existing step down to the room.
Explore eight stages with 22 selected photographs and a video of the exposed threshold area. Select a stage photograph to open the full gallery.
Stage 01
The starting view shows the dark tiled entry area immediately inside the front door. The raised edge meets the lower room floor, while the door, side openings and surrounding trim define the perimeter of the work.
This establishes the original surface and layout before the tile was lifted and the condition underneath became visible.
Stage 02
The existing tile and deteriorated material beneath it were removed from the main entry area. The opened views show broken floor layers and the progression of removal toward the front-door threshold.
Protective coverings separate the work area from the adjoining floor. Opening the surface makes the damage below accessible for the next stage of the repair.
Stage 03
Closer photographs record the deteriorated material along the lower edge of the door and within the exposed floor. These views show why the work involved the base beneath the tile as well as the visible surface.
The video follows the opened area at the threshold before rebuilding. It provides a closer look at the exposed layers and damaged wood recorded during removal.
This video could not be played here. Open the original video.
Below the finished surface
The clip follows the deterioration revealed at the front-door threshold after the tile and damaged layers were opened. It belongs to the inspection stage, before base rebuilding and the new tile installation.
Stage 04
The main entry area was cleared so the remaining base, floor build-up and perimeter could be addressed. The wider photograph connects the opened area with the door and the retained tile at the side.
The adjoining-floor detail shows the change between the work area and the surface that remains in place. These edges establish where the new build-up will meet the surrounding entrance.
Stage 05
Gray base material was placed and worked across the prepared entry area. The photographs follow the filling from one side toward the threshold, with the front edge and side junctions forming the limits of the work.
The later view shows the filled surface before the tile layers were added. This stage rebuilds the base that will sit beneath the underlayment and new tile finish.
Stage 06
Orange tile underlayment was fitted across the rebuilt entry area. The material follows the floor outline around the door and side openings, with the perimeter visible before the tiles cover it.
These views connect the repaired base with the next layer of the installation. The new tile layout then develops across the same defined entry surface.
Stage 07
Dark tiles were laid across the entry, with cuts fitted around the doorway and perimeter. Spacers and leveling clips remain visible along the joints while the installation is in progress.
The sequence moves from the partially covered underlayment to the main tile field in place. The joint lines and front edge establish the layout seen in the completed entrance.
Stage 08
The final views show the dark tile after joint finishing and cleanup. The surface extends across the repaired entry area and meets the door surround, side openings and front edge.
The completed floor brings the repair below and the tile above into one finished entrance. Wider and side views show its connection with the surrounding room and the existing change in floor level.
Browse all 22 stage photographs with the gallery arrows, your keyboard or a swipe on your phone.
The completed dark tile covers the repaired entry area, with the joints and front edge bringing the finish together around the doorway. The project sequence shows the preparation below the surface as well as the final appearance.
Planning a floor repair, tile replacement or a new surface for your home? Share photographs, your property location and the areas that need attention. Nashkov Group can help define the preparation, installation and finishing scope.
Discuss your flooring project