Phone:
(848)318-7679
Physical address:
954 Vaughn Ave, Toms River 08753

Phone:
(848)318-7679
Physical address:
954 Vaughn Ave, Toms River 08753
Project story · Outdoor structures
A worn garden shed was brought back into shape through a full exterior renovation. Follow the transformation from a deteriorated roof and damaged doors to renewed roof decking, new front siding, a shingled roof and a coordinated white exterior.
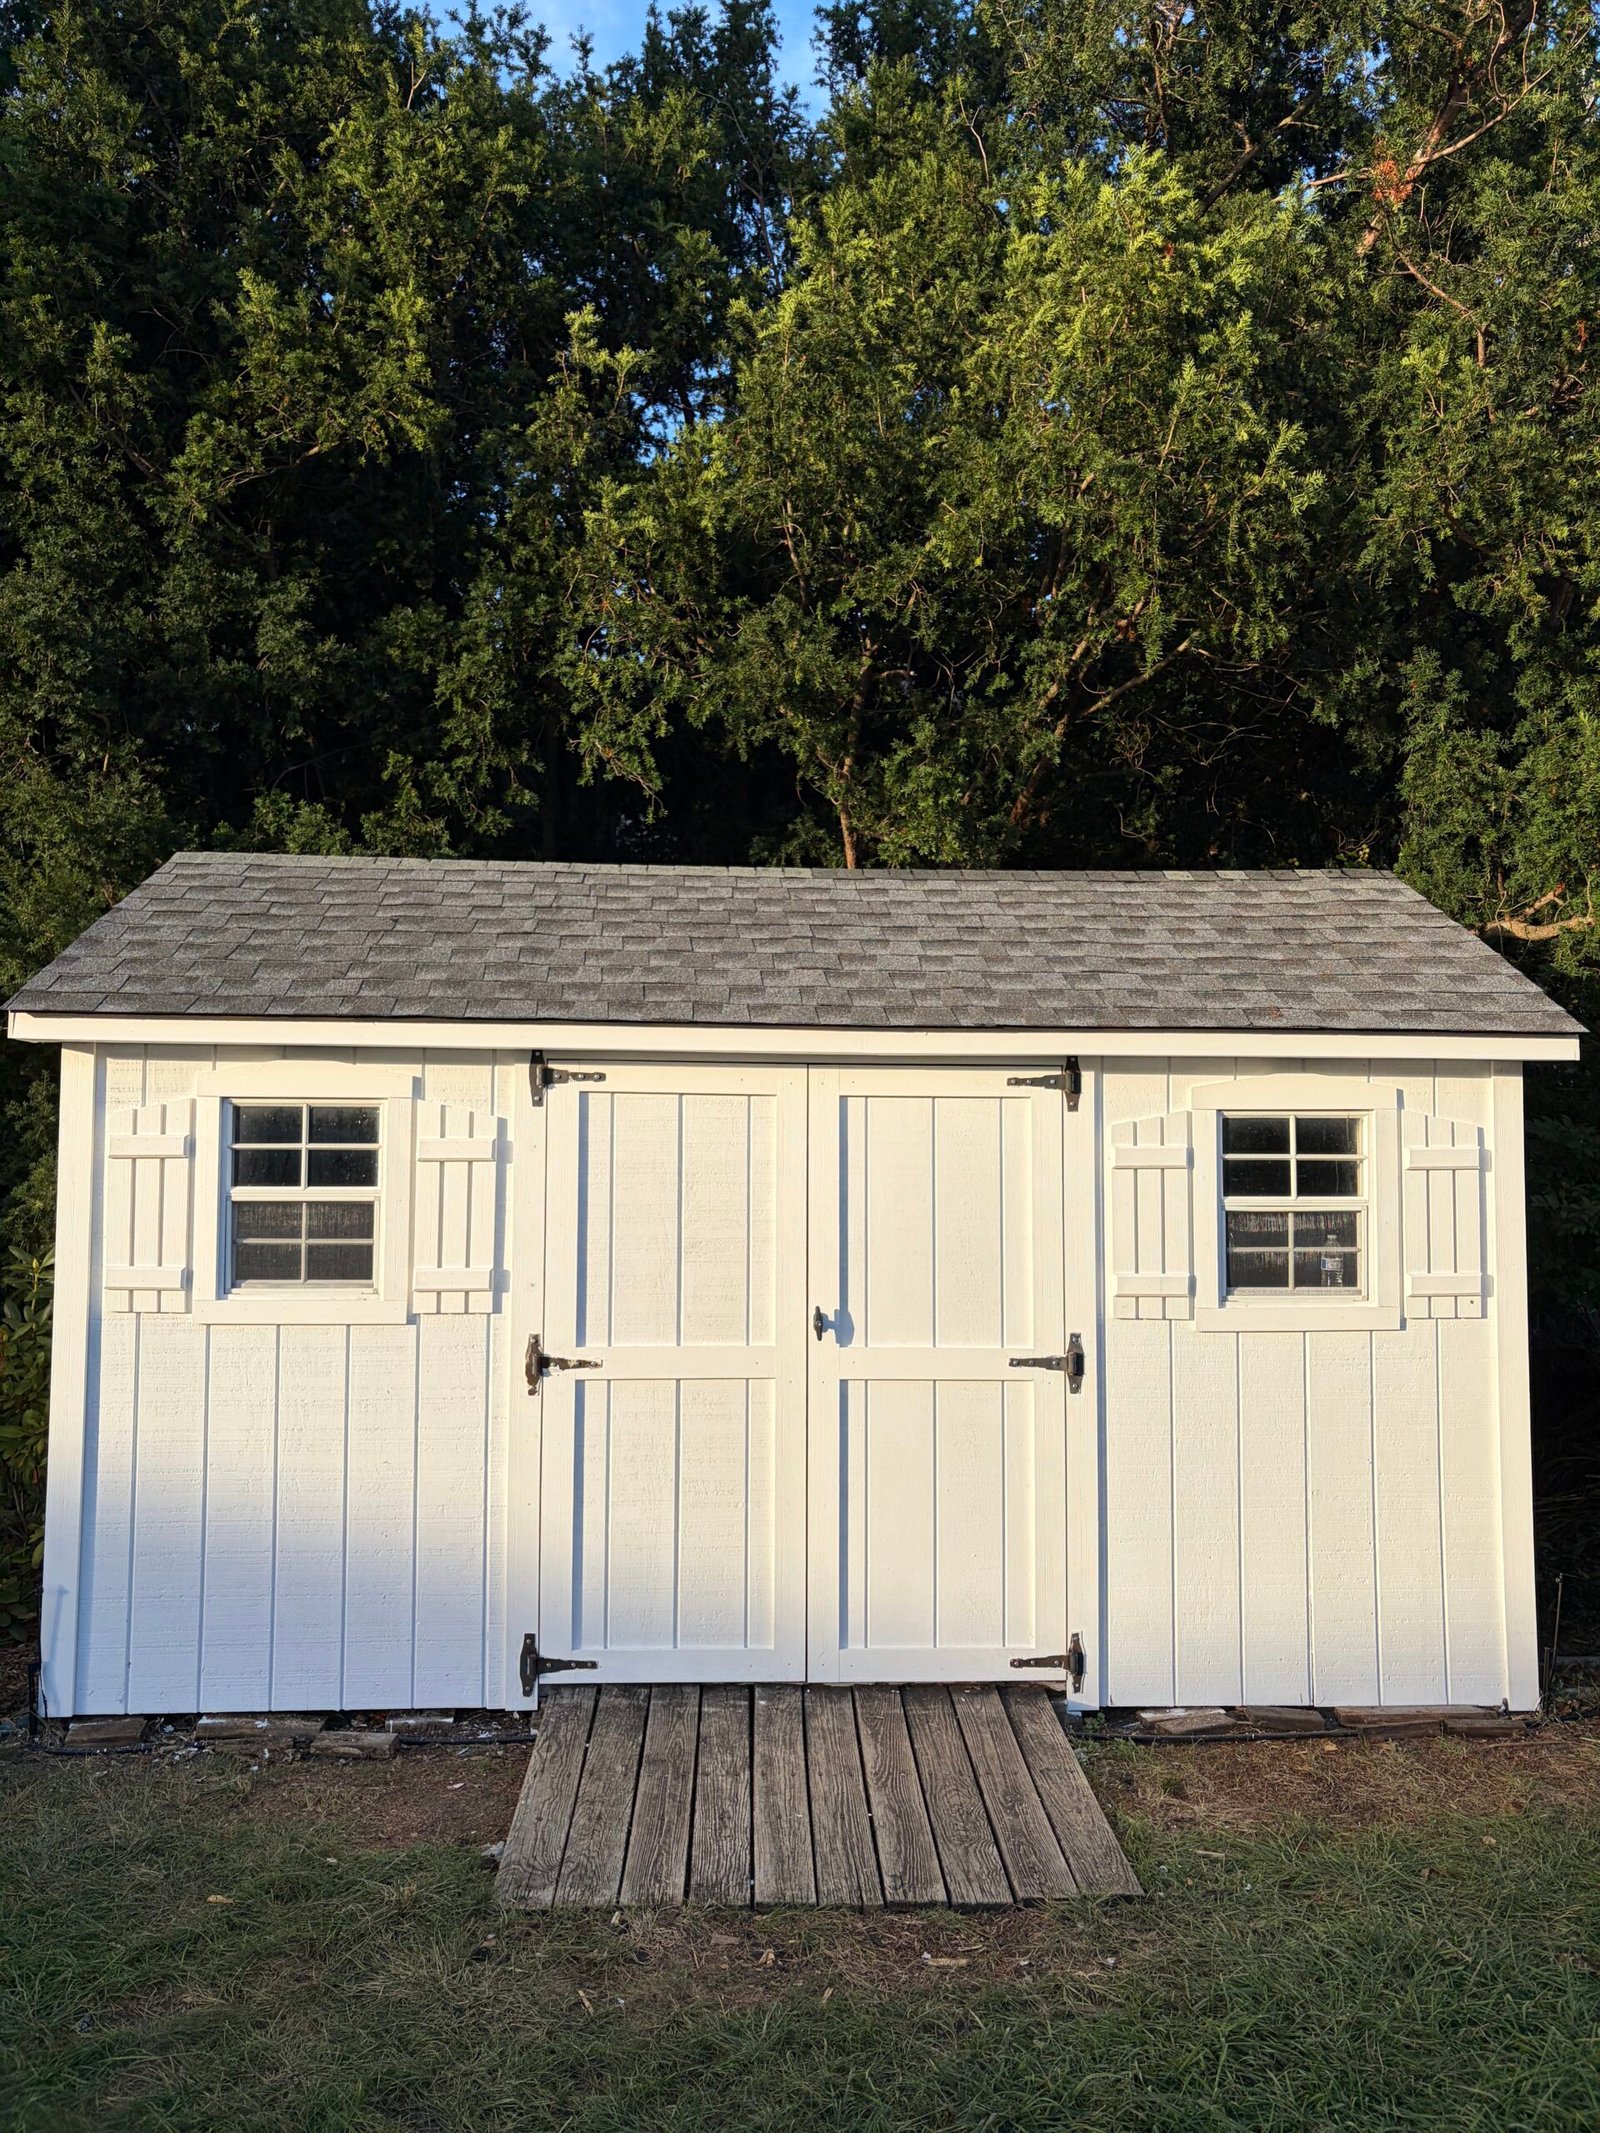 AFTER
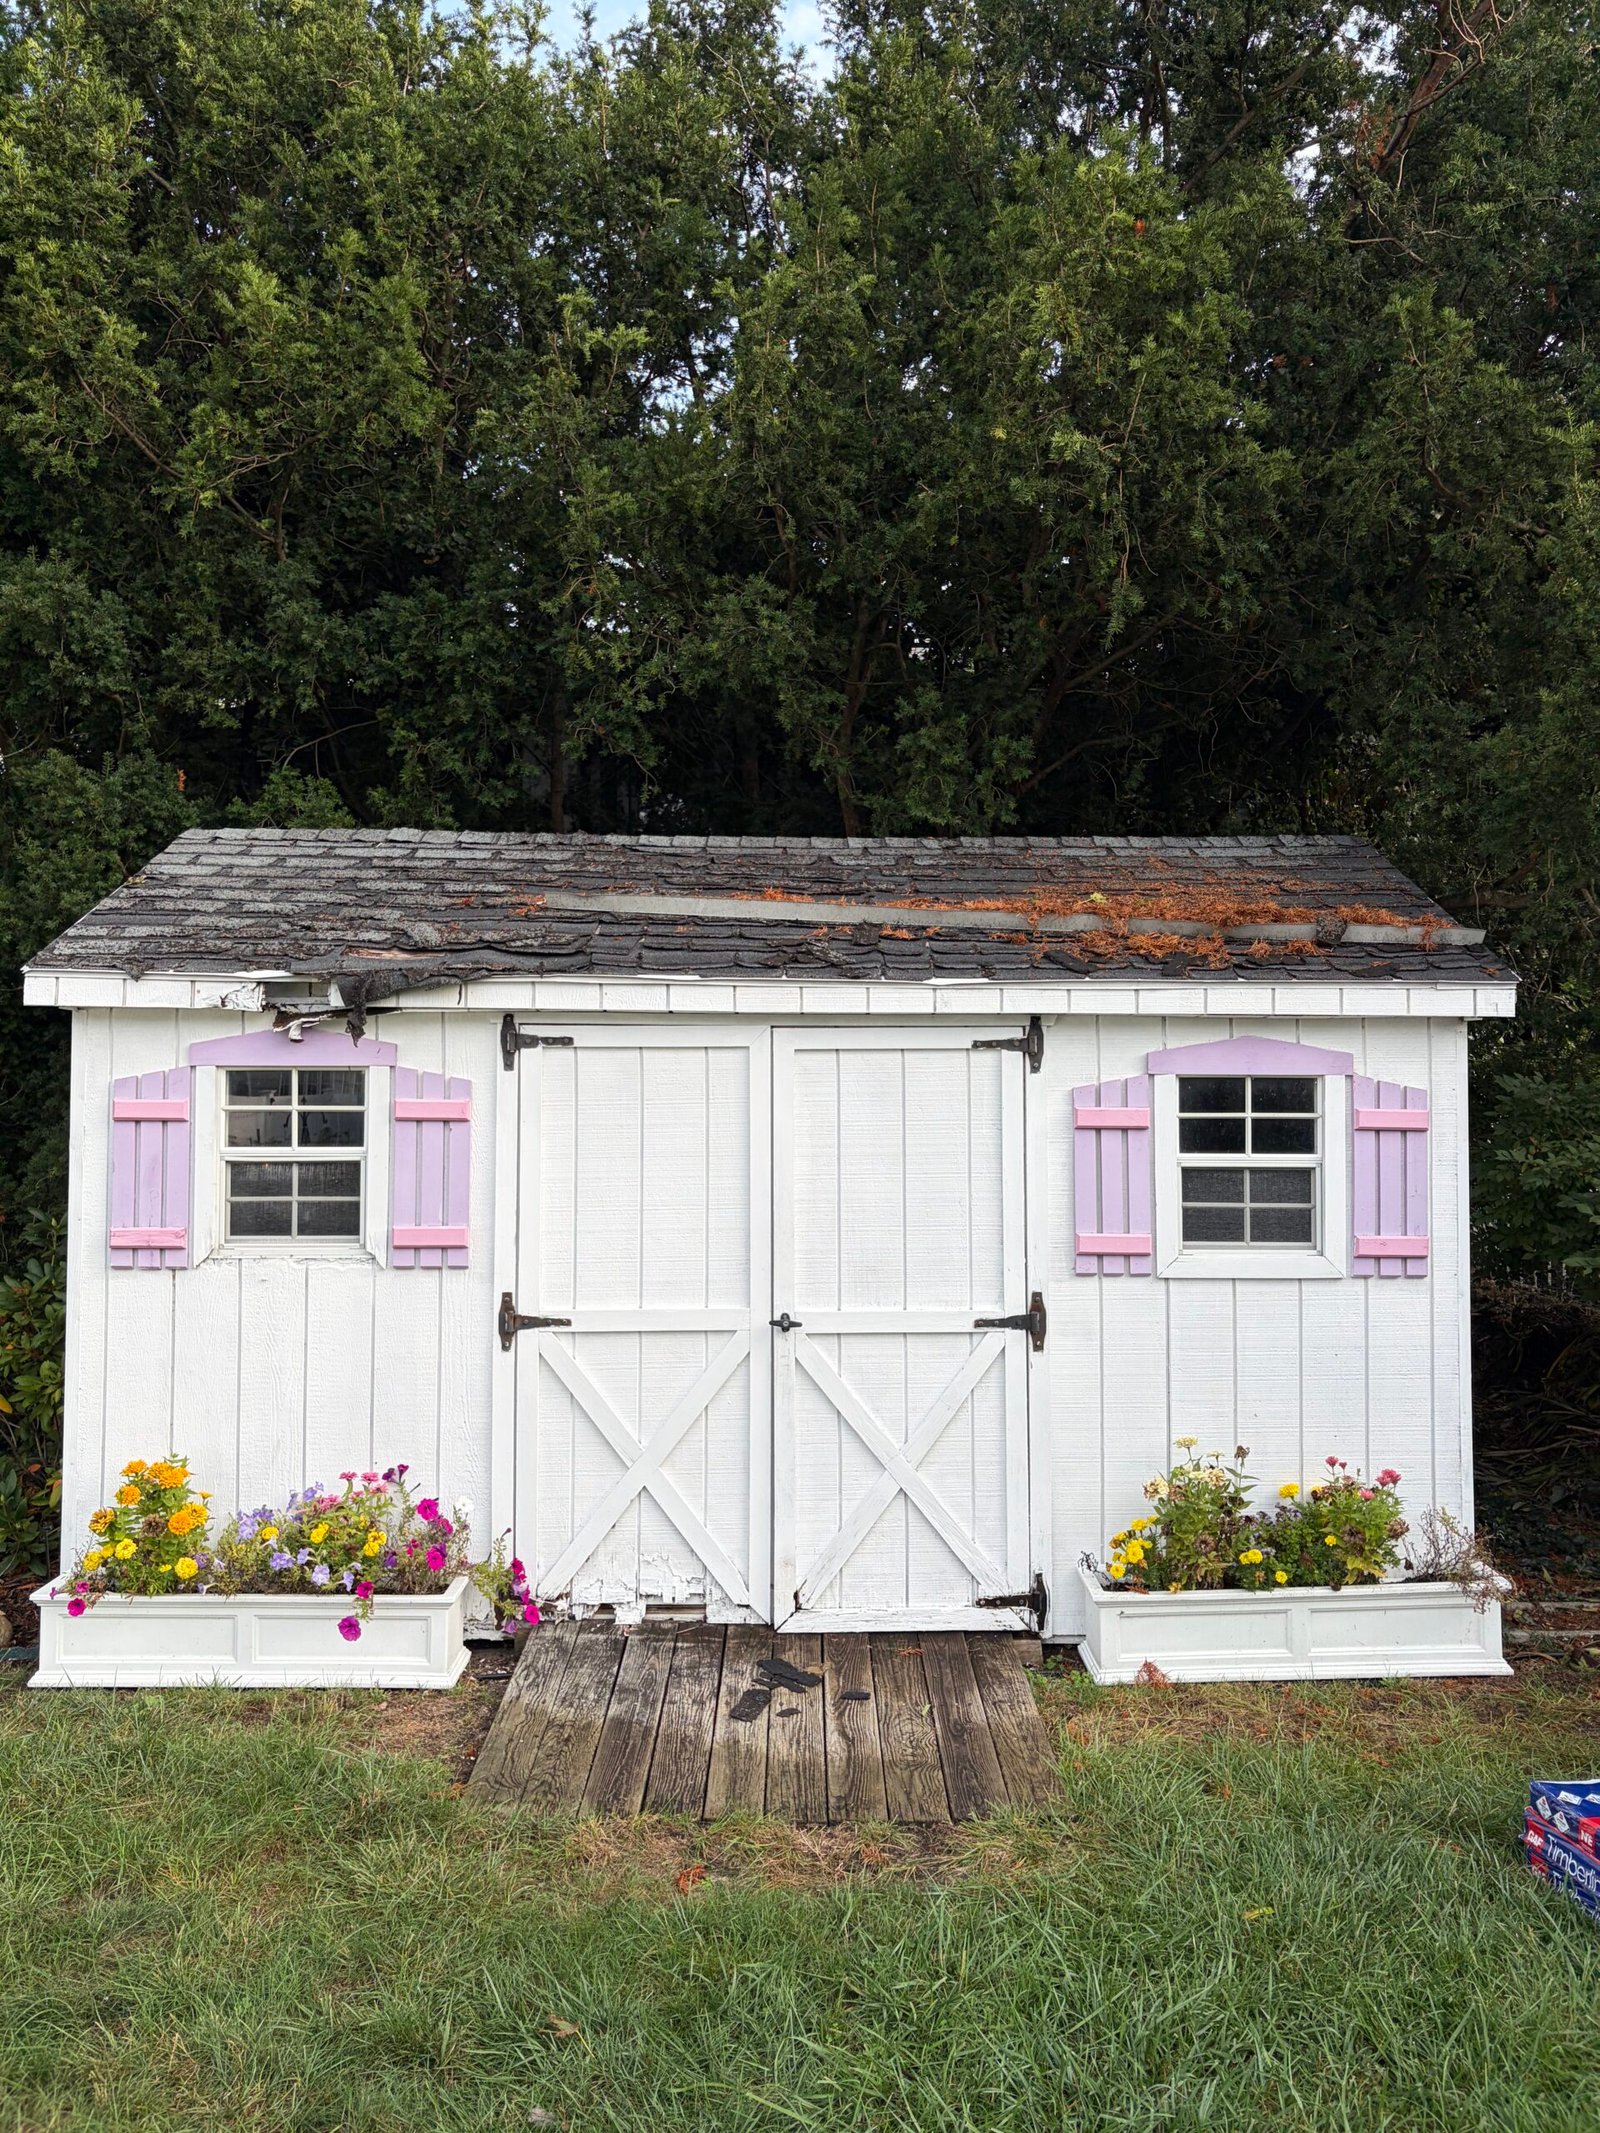 BEFORE
A complete exterior transformation
The roof and front elevation were addressed together: worn materials came off, the underlying construction was exposed and new surfaces were built up in sequence. The final roof, siding, doors and trim give the shed a consistent appearance.
Explore all 16 photographs and three short videos below. Each clip sits beside the stage it documents, from the starting condition to roof removal and later roof-edge preparation.
Follow the renovationThe renovation brought the roof, front enclosure and finishing details into one project.
Stage 01
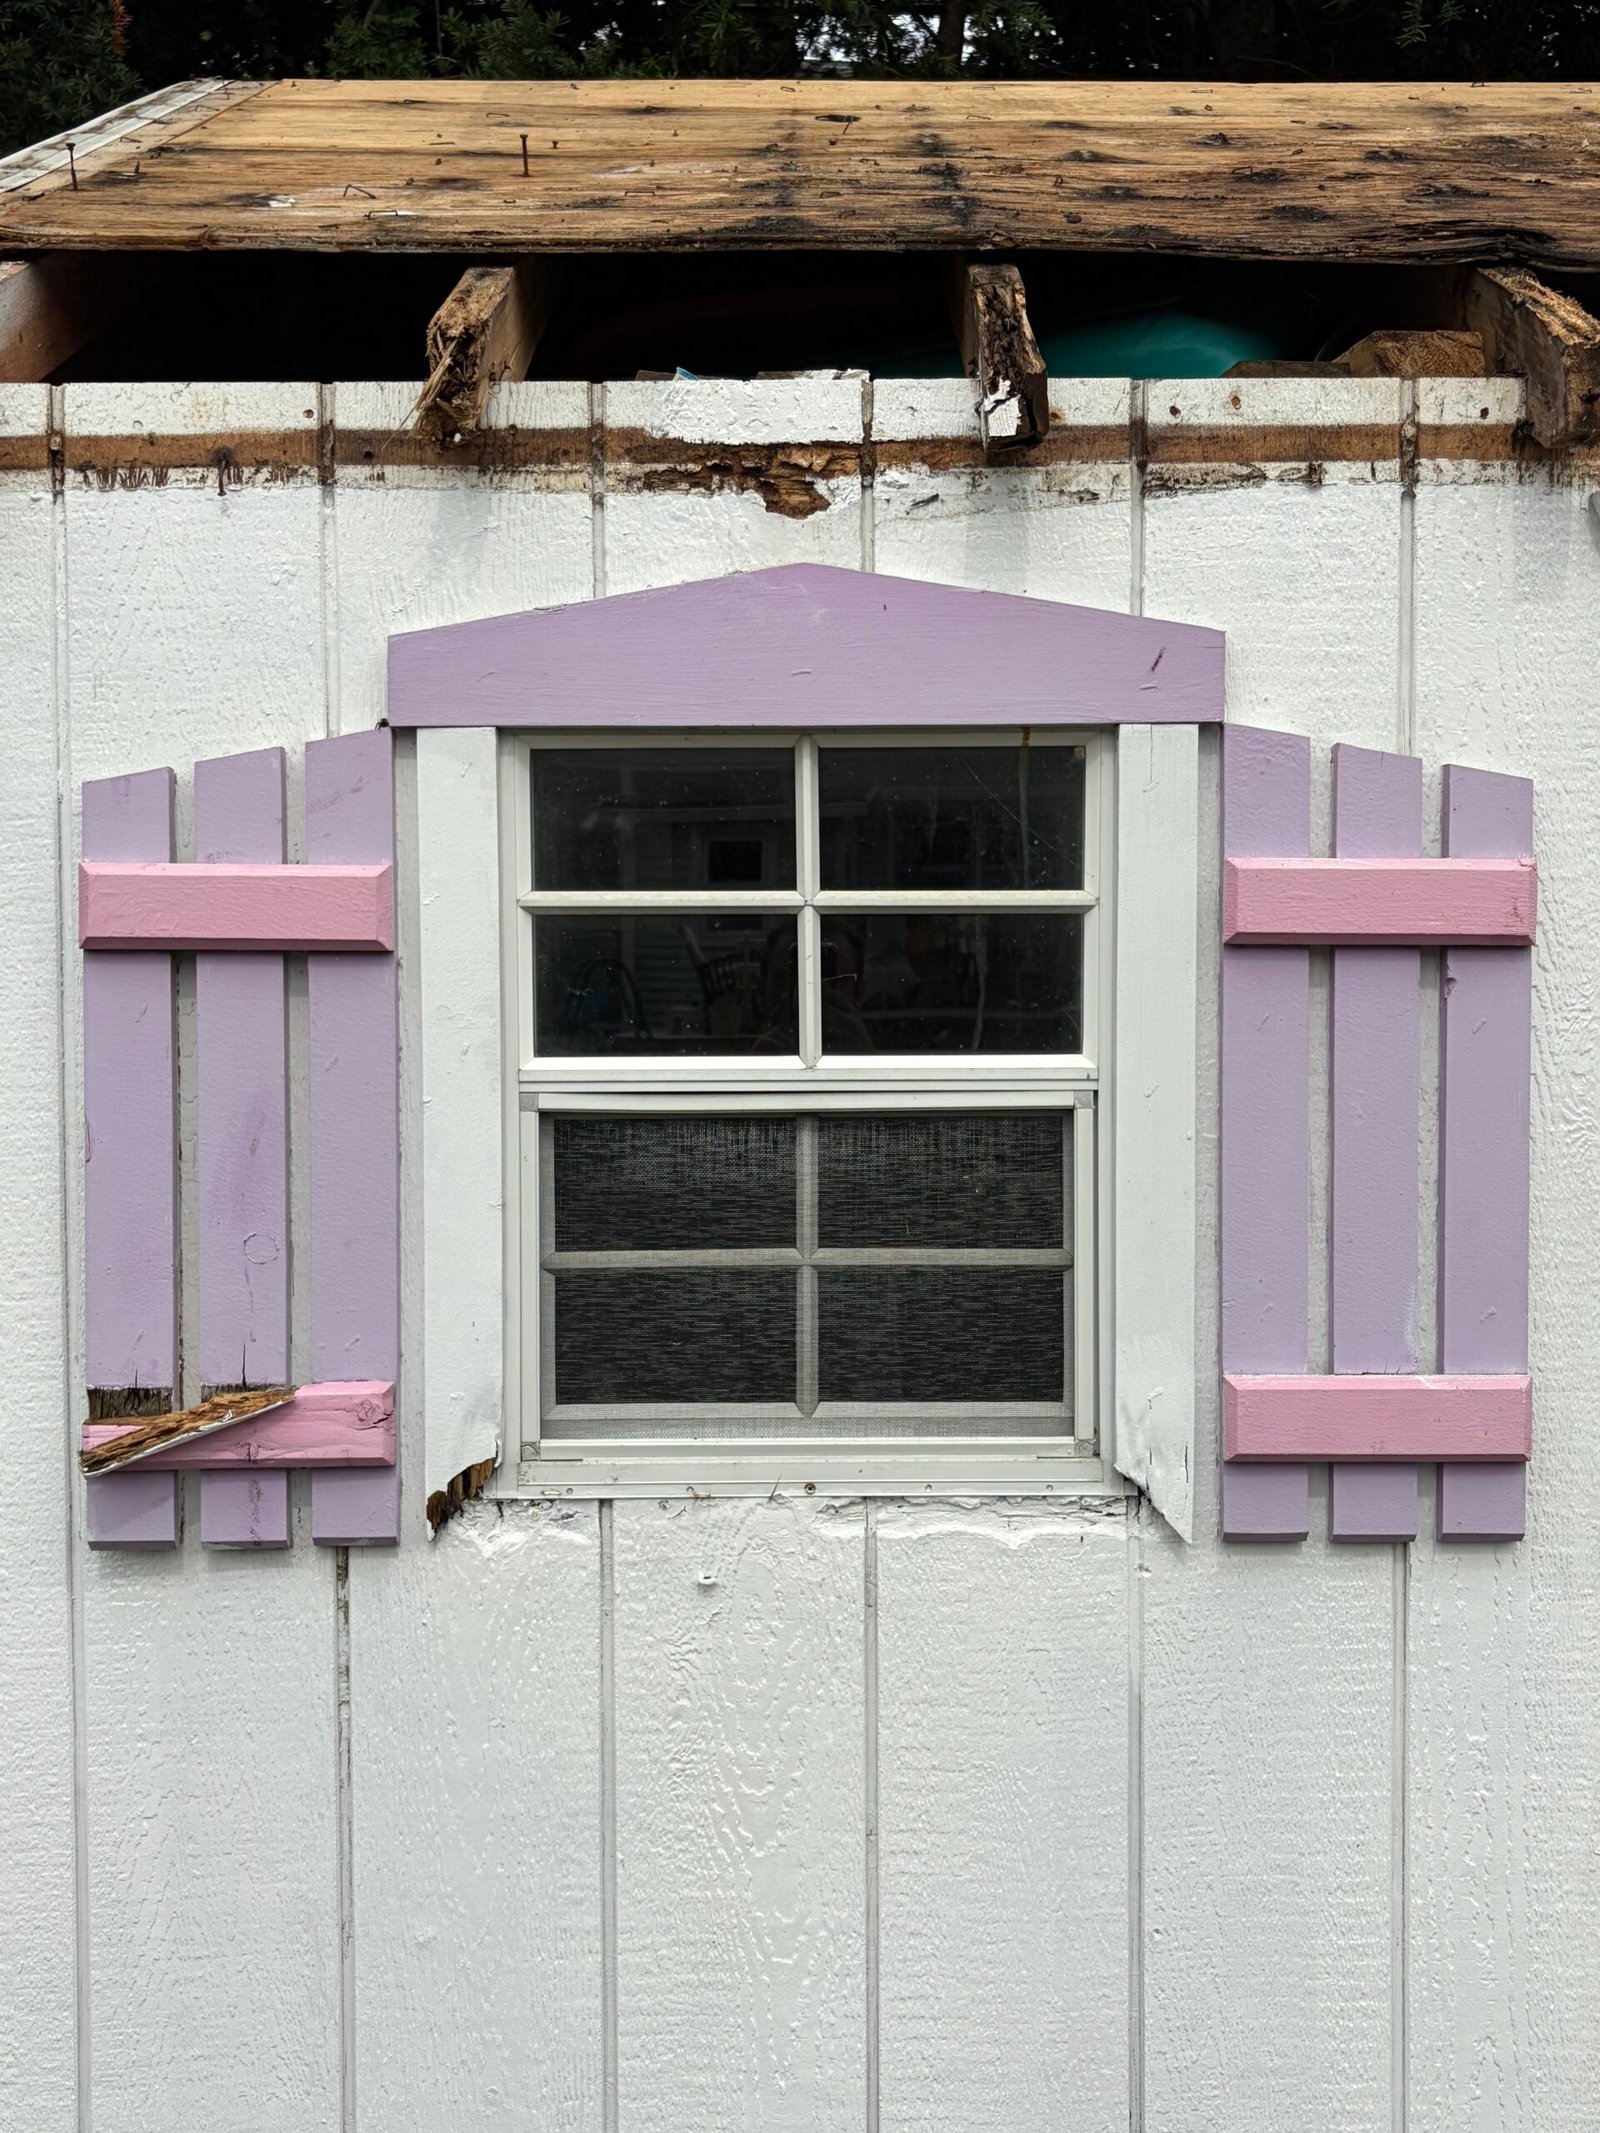
The shed started with a weathered roof, damaged door bottoms and an exterior that needed more than a fresh coat of paint. The front and side views establish the existing condition before the structure was opened up.
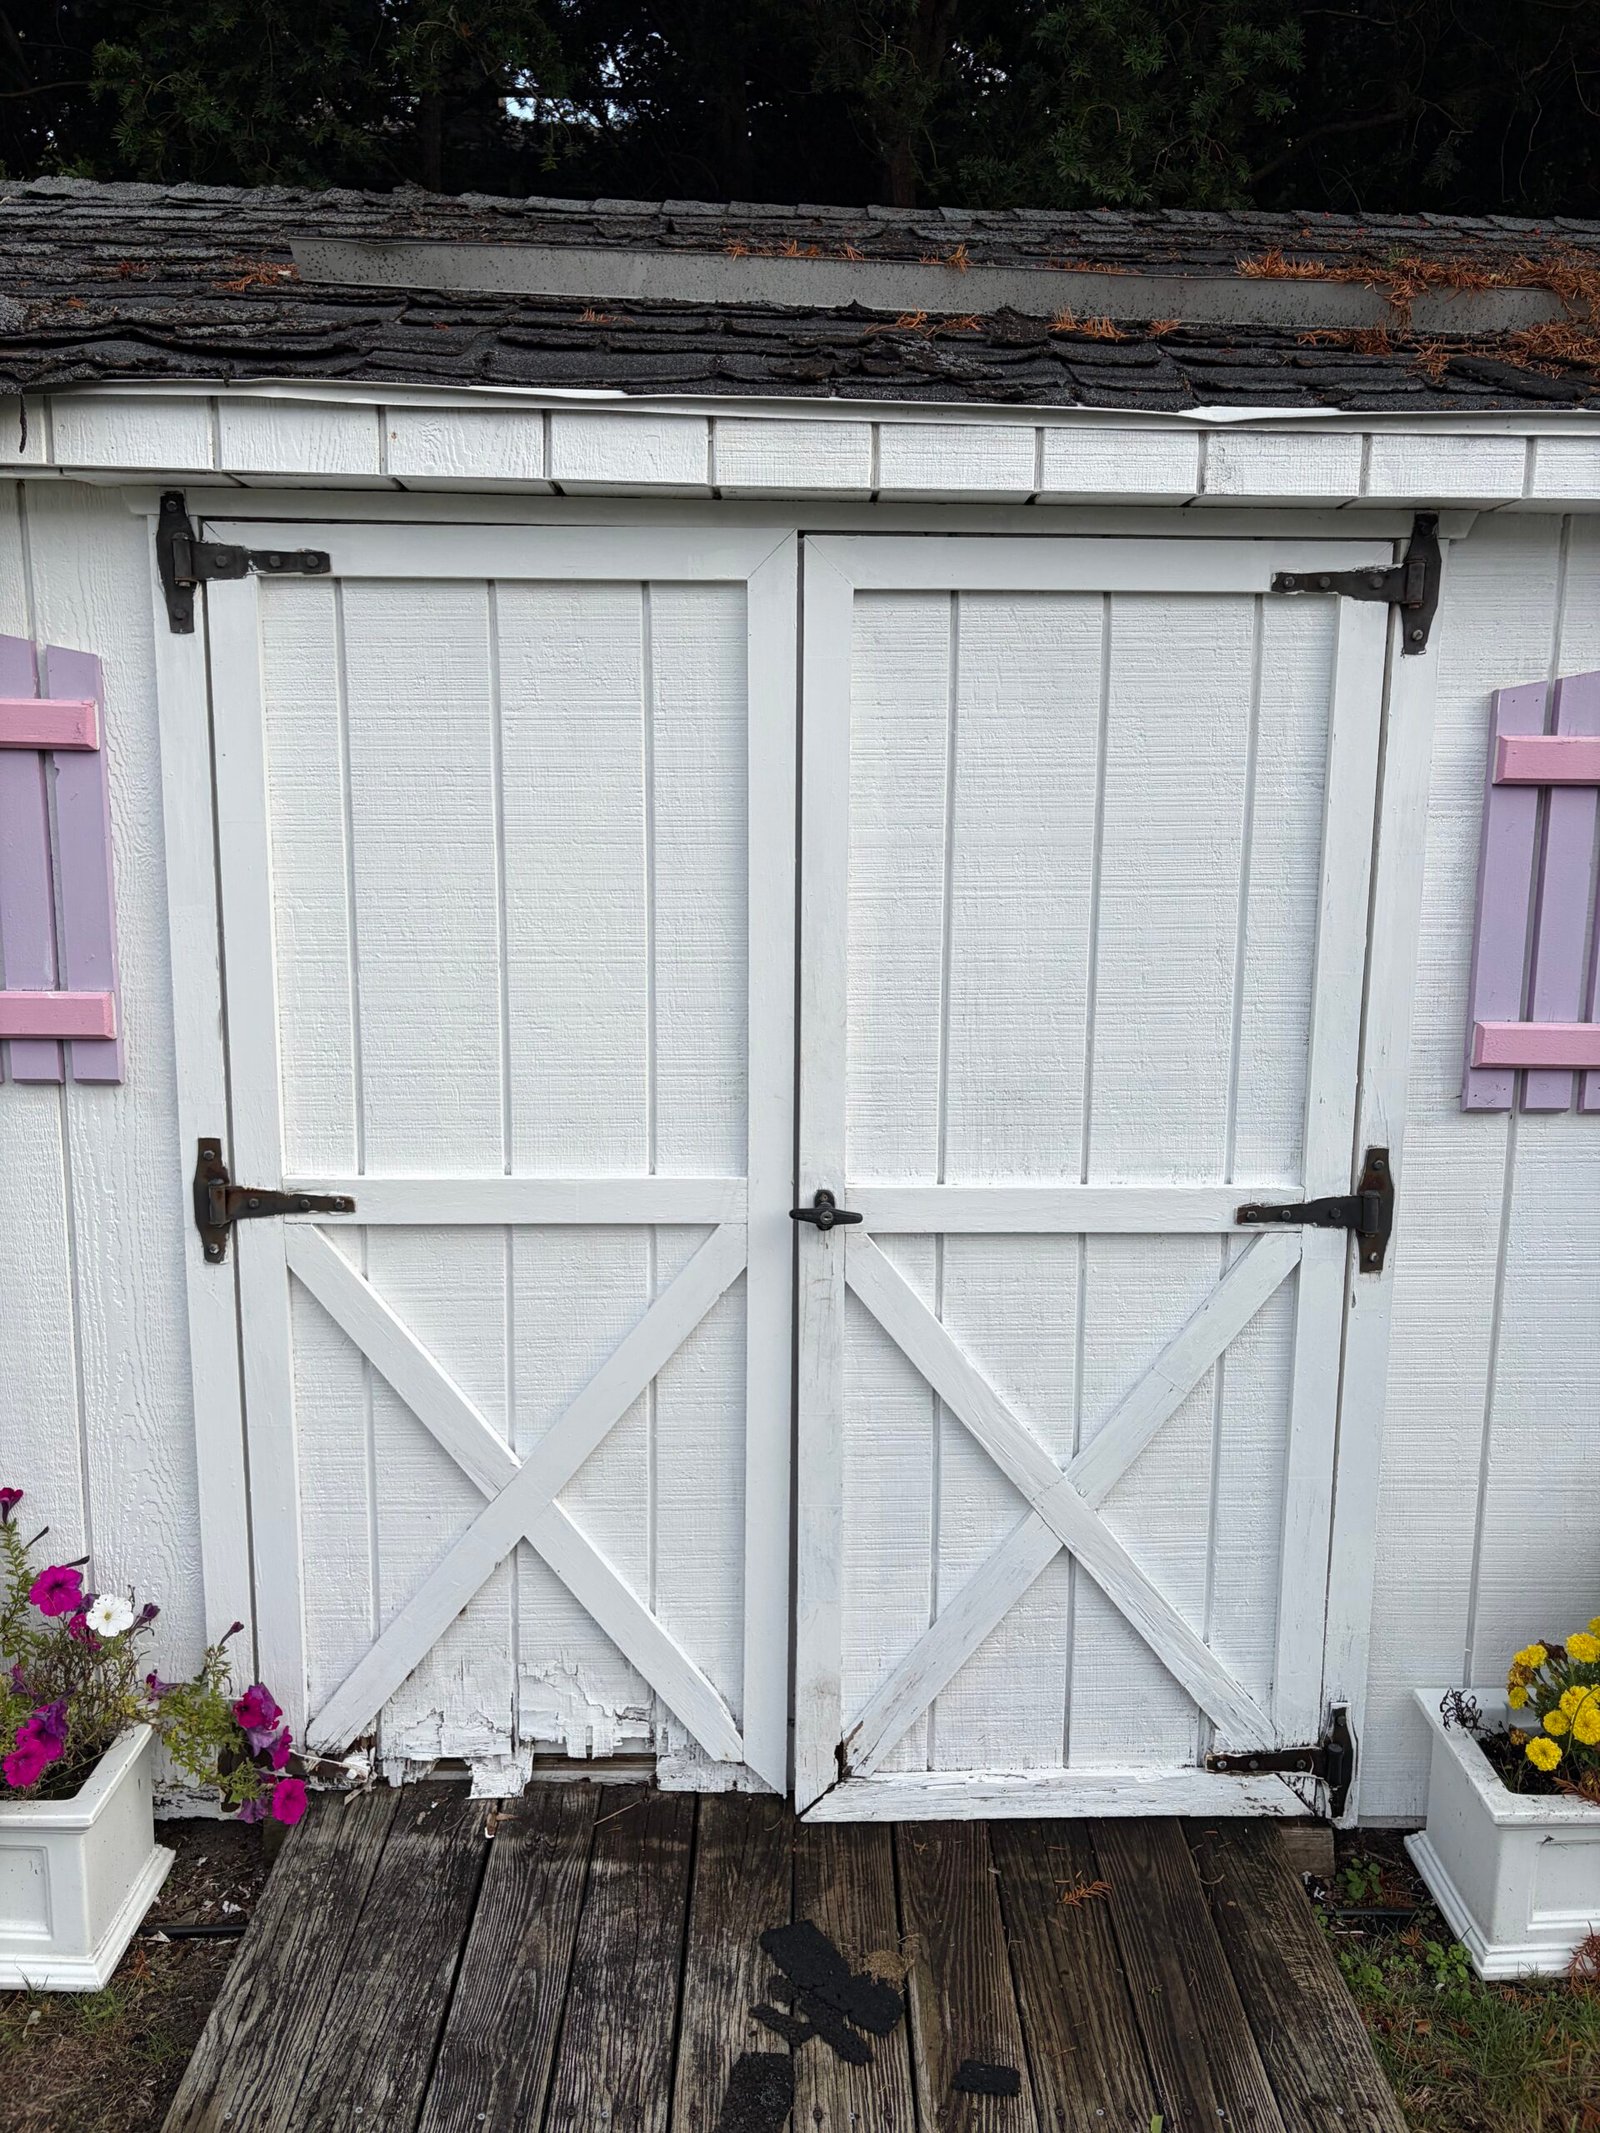
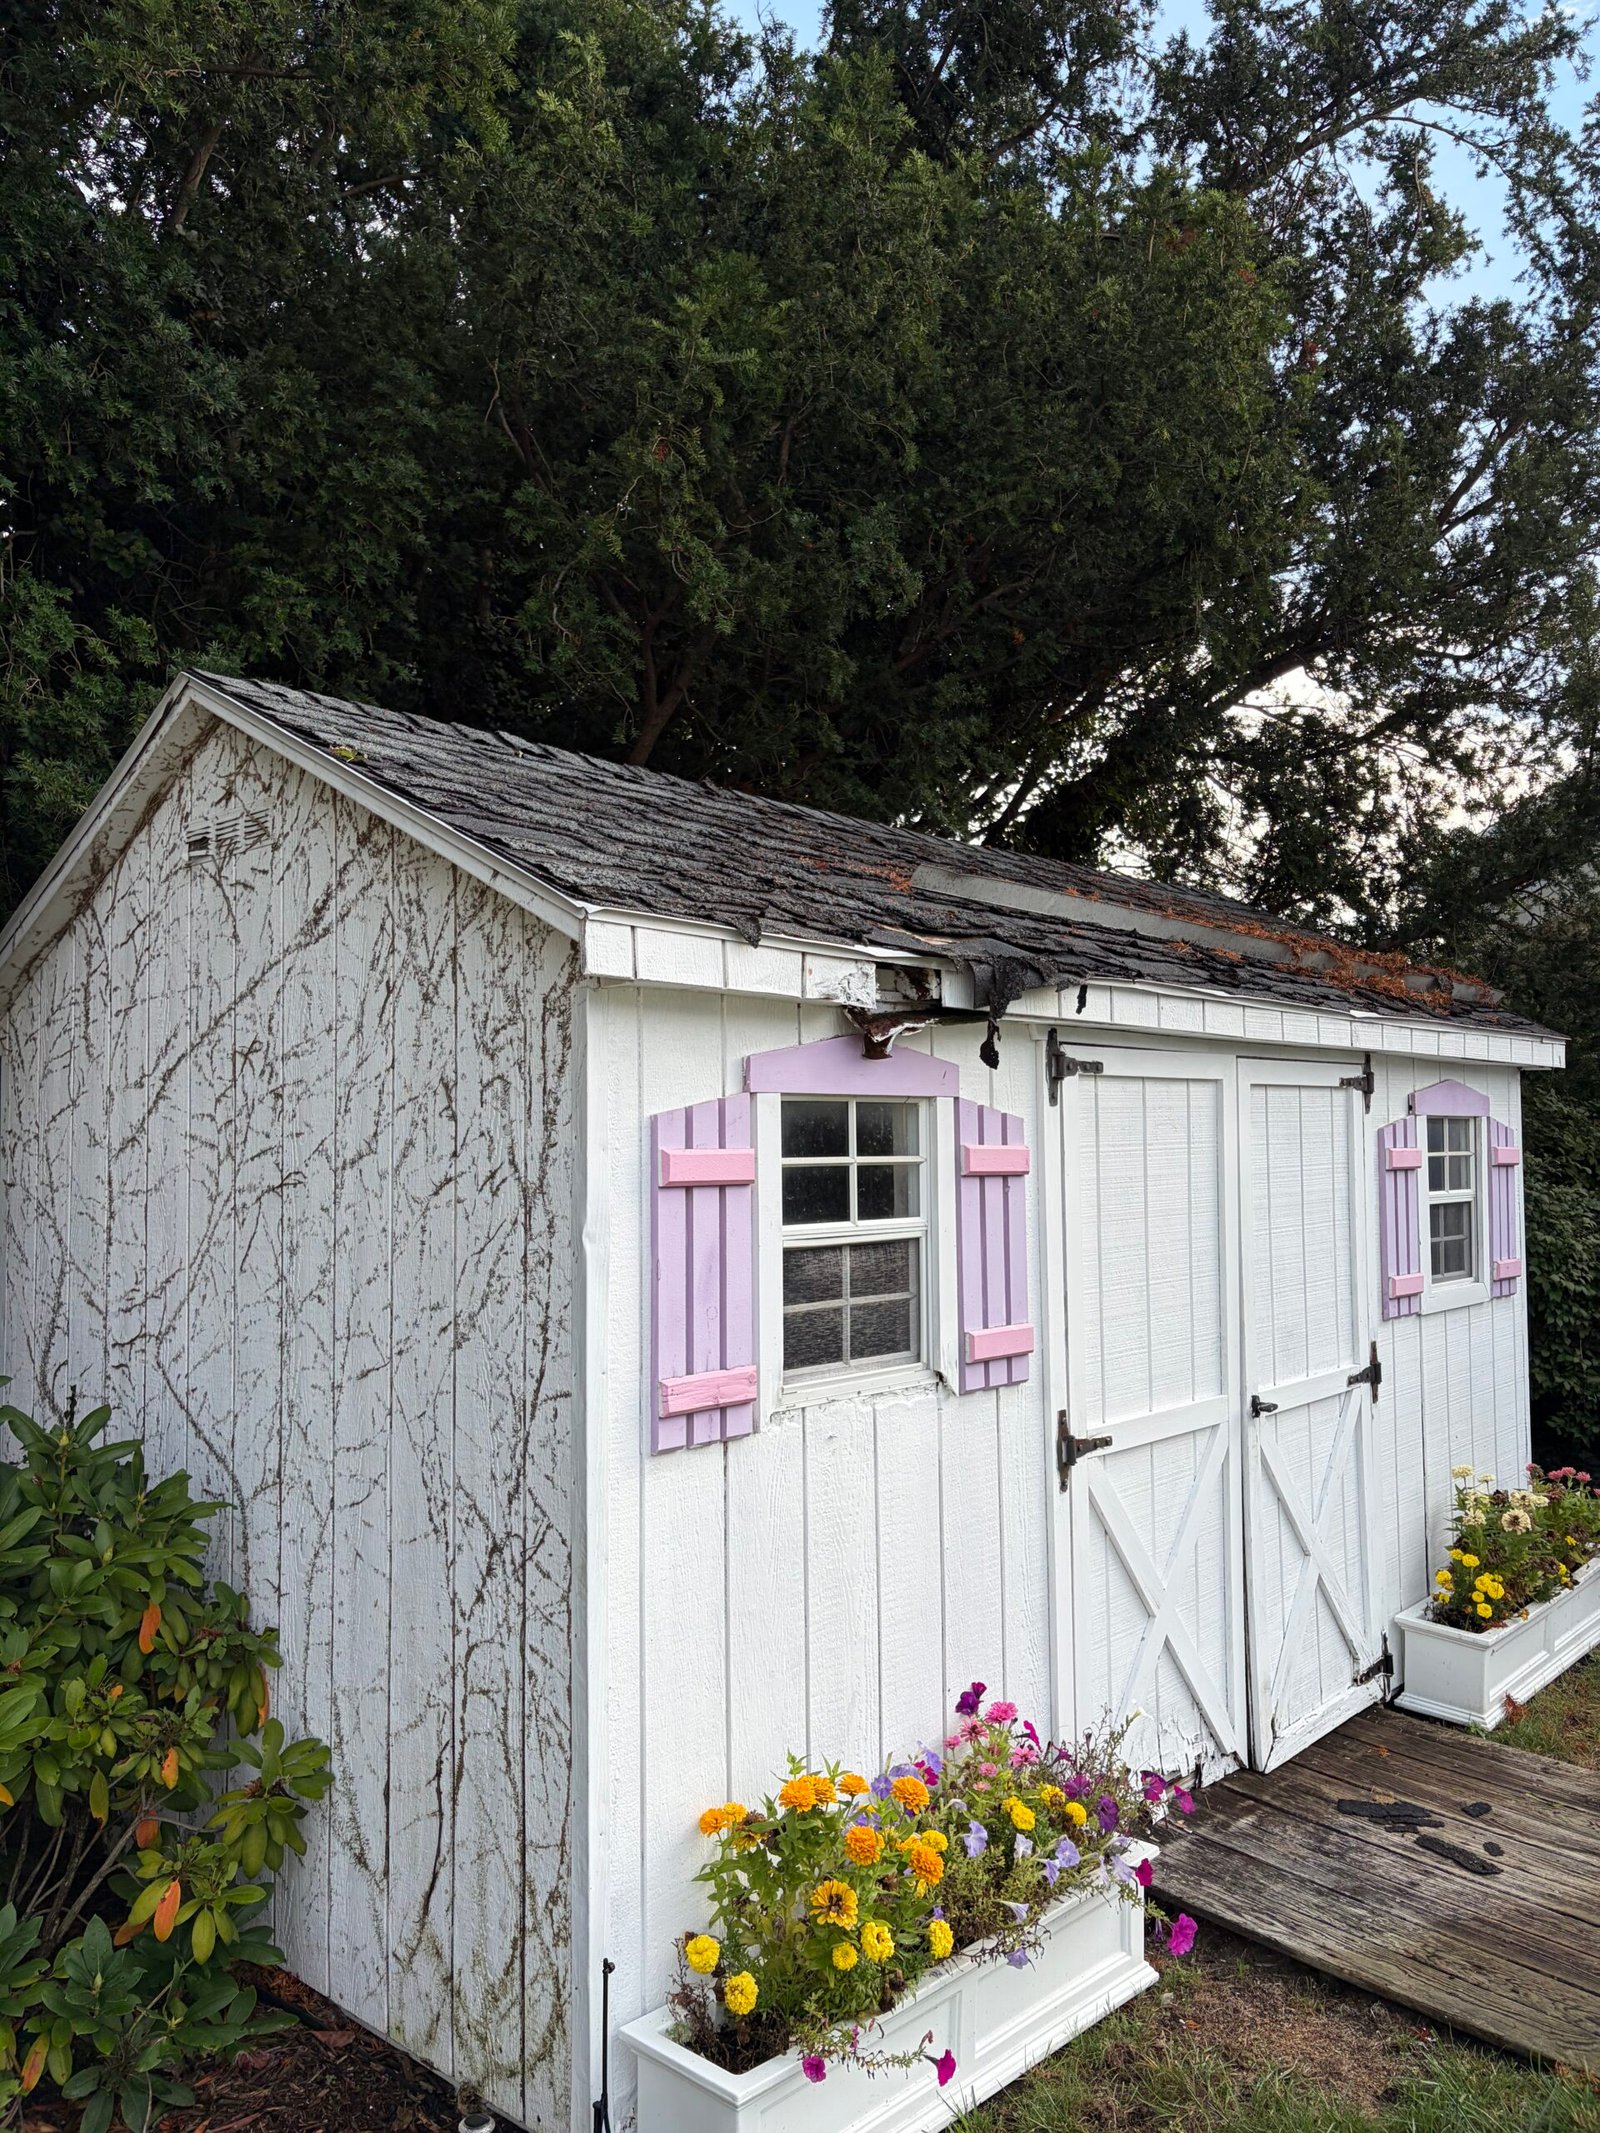
This video could not be played here. Open the MP4 video.
Project video
A short look at the original shed, including the worn roof and front elevation before removal work began.
Stage 02
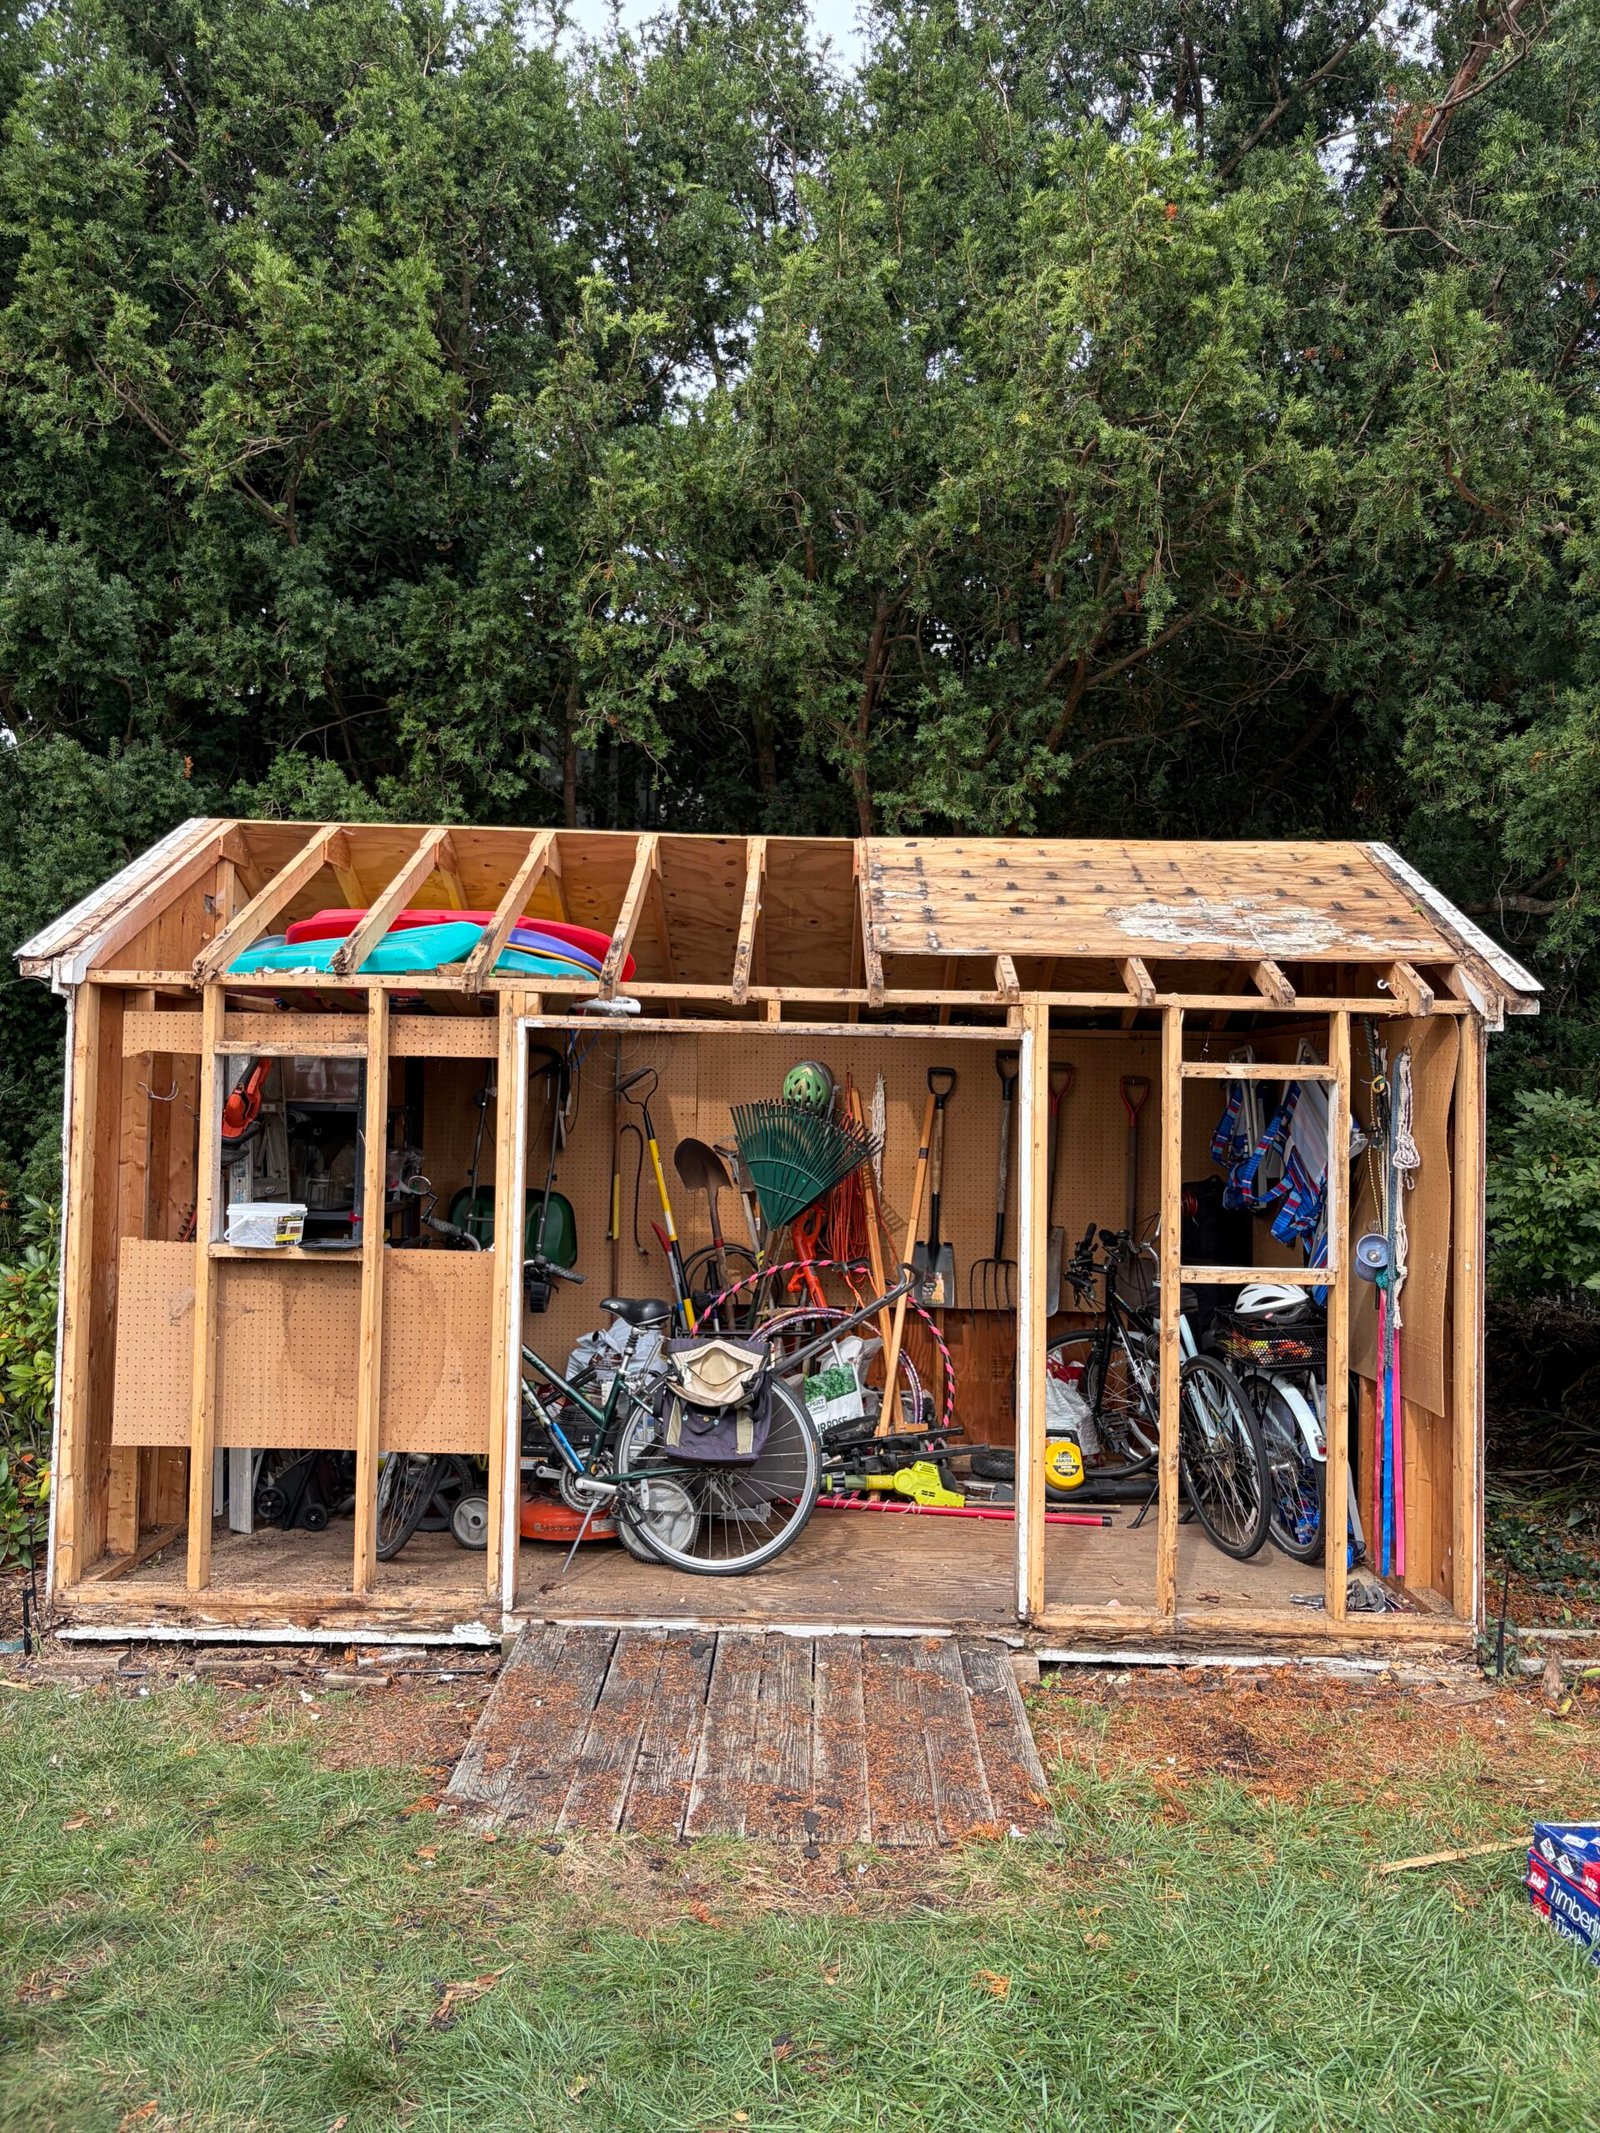
The old roof covering and damaged edge materials were removed first. Opening the roof perimeter exposed the construction beneath, while removal of the front doors and cladding created access for the next part of the renovation.

This video could not be played here. Open the MP4 video.
Project video
This clip follows the early roof-removal stage and shows the exposed construction before the new roof deck and finishes were completed.
Stage 03
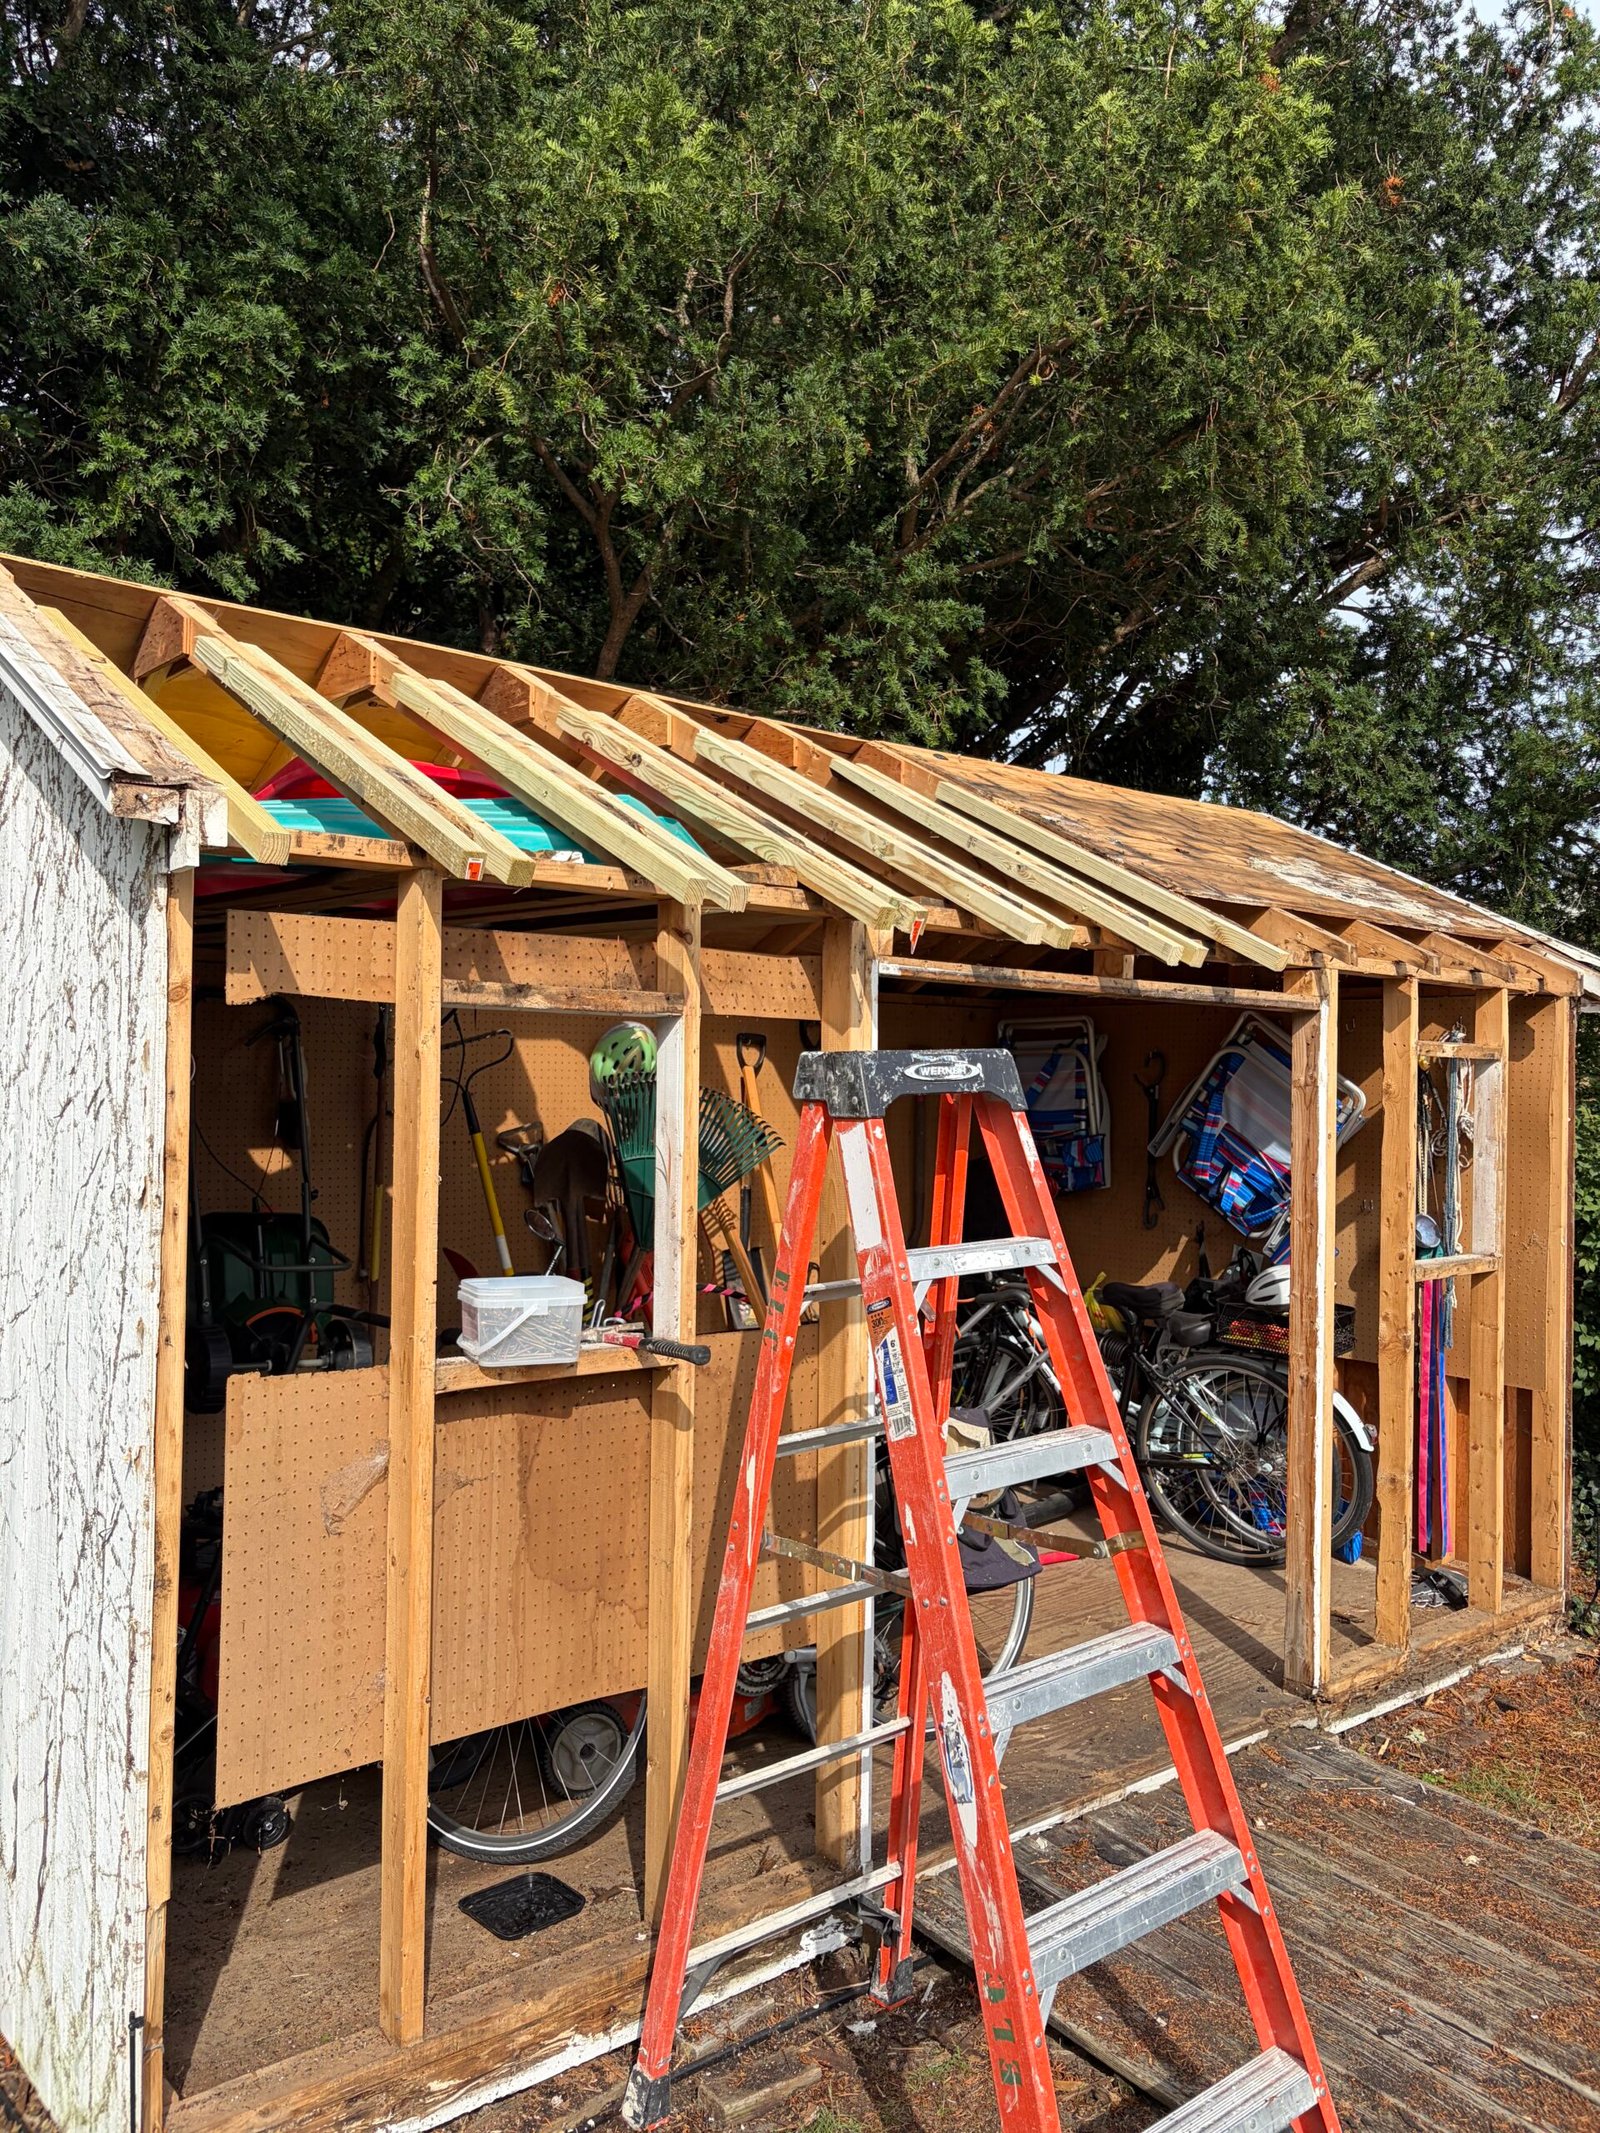
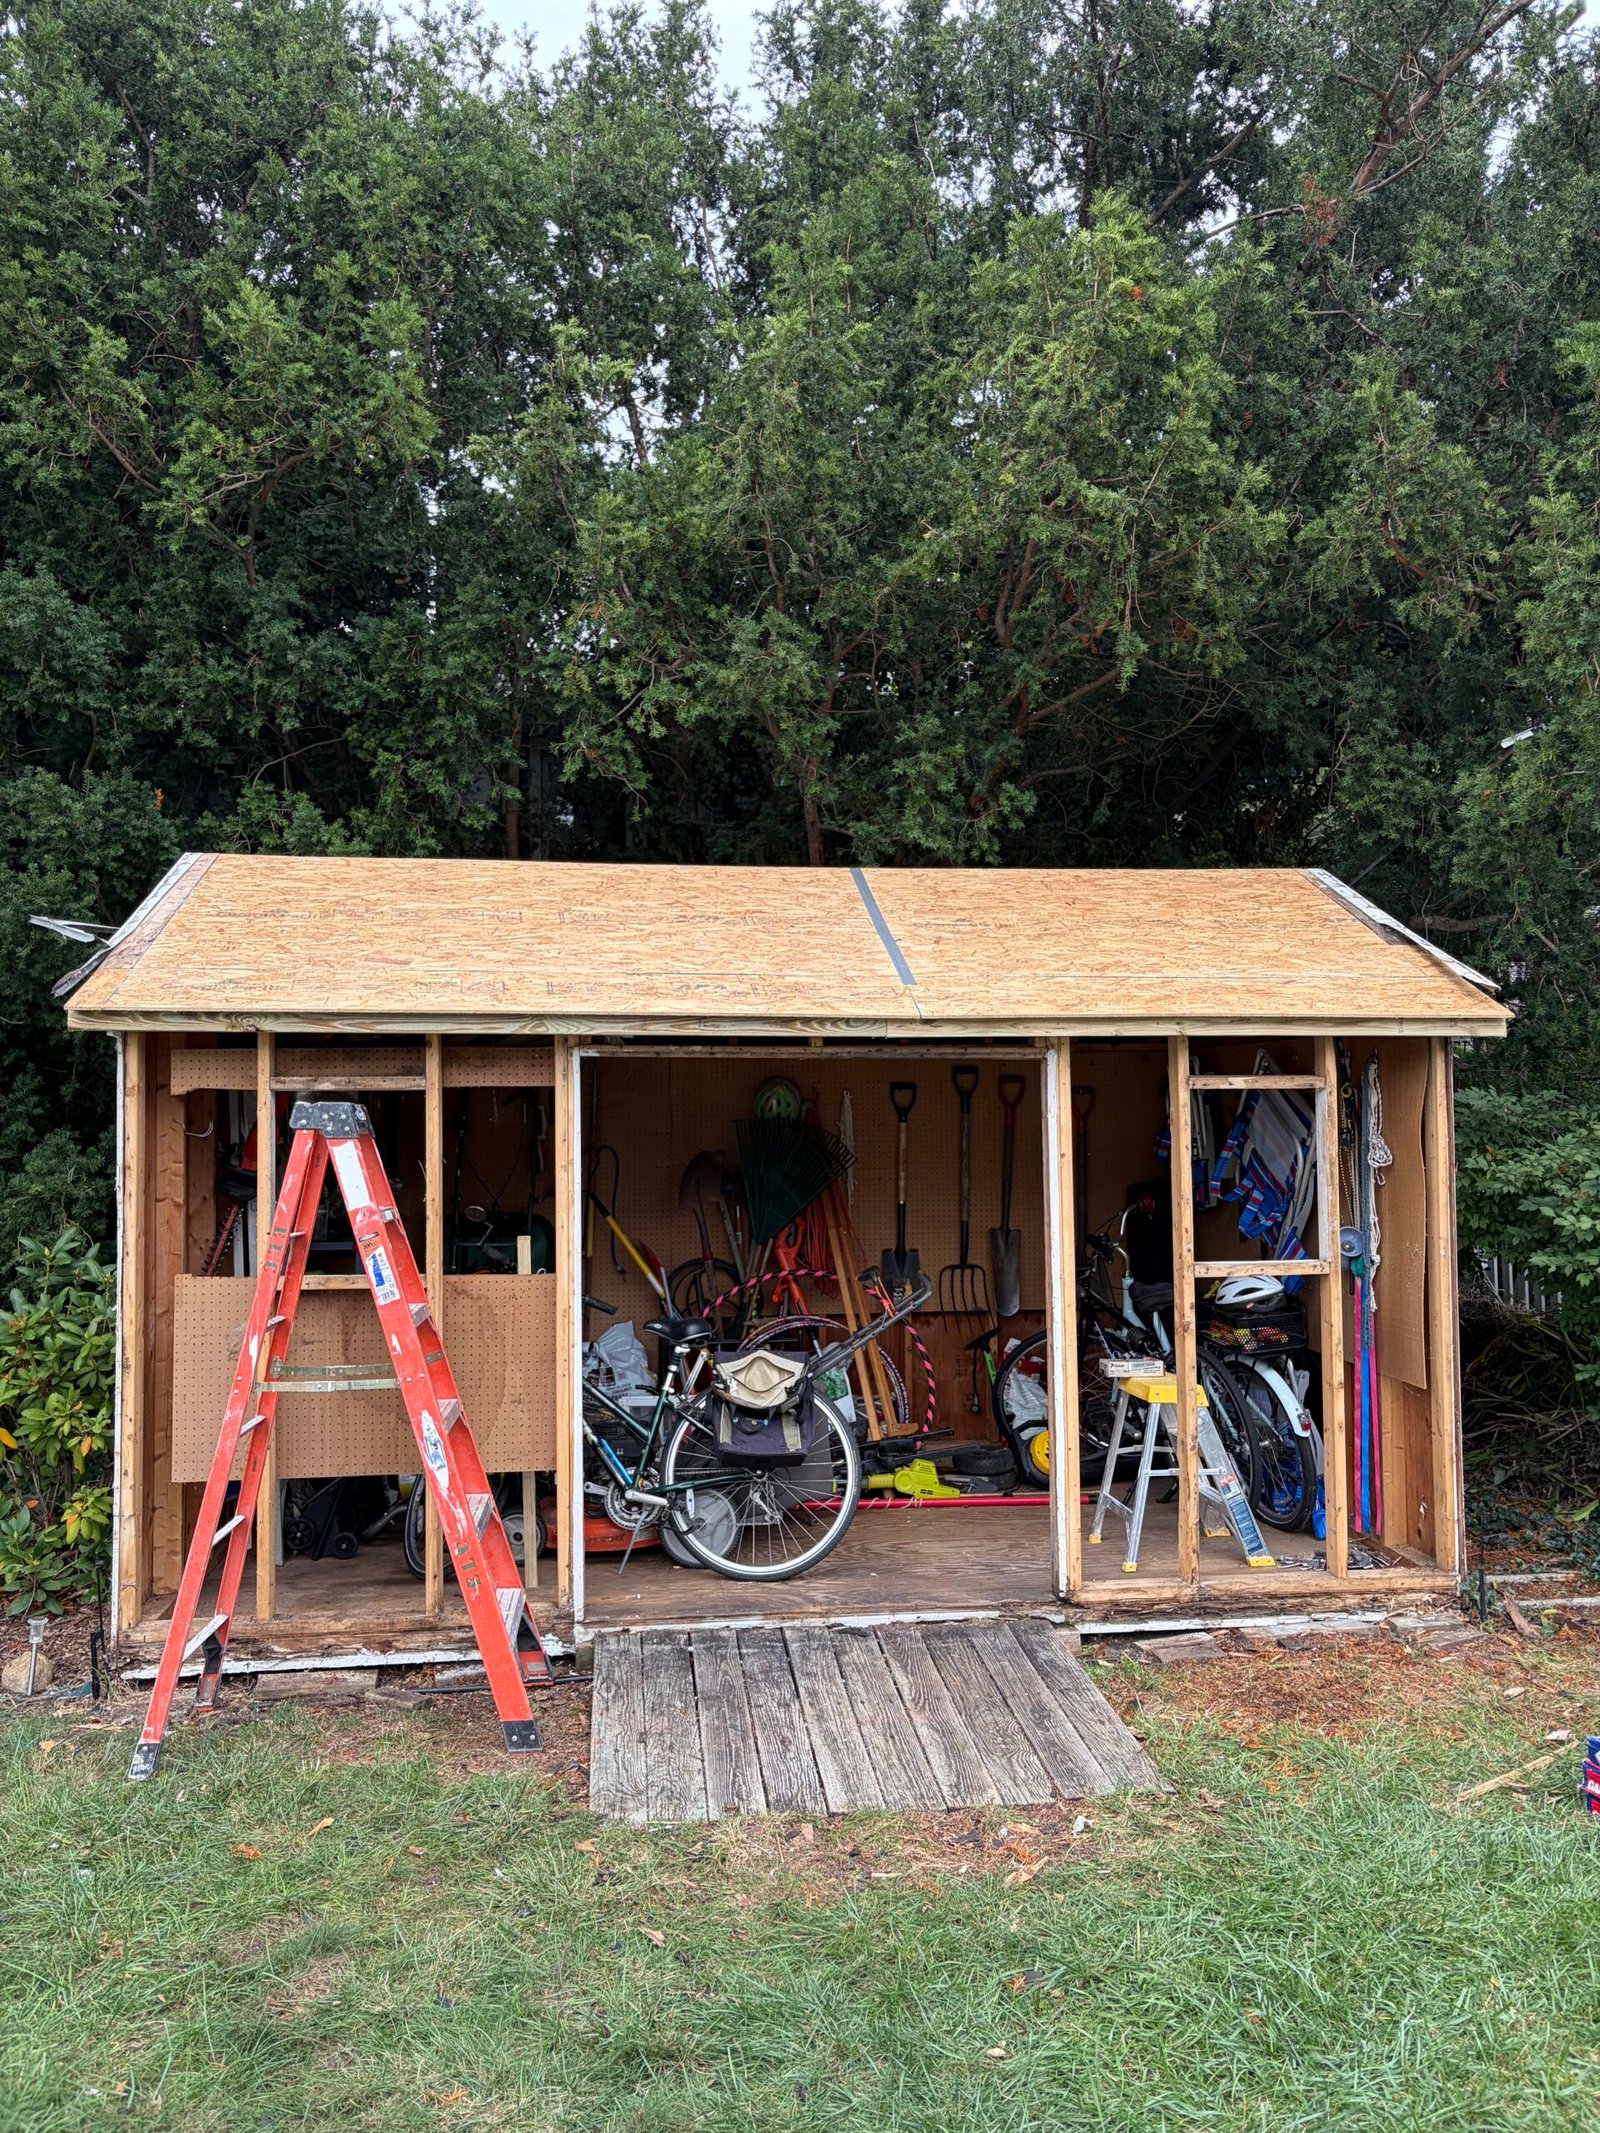
With the front elevation stripped back, the wall studs, door opening and roof construction were visible. The work then progressed to fresh roof decking, creating a continuous surface for the roofing layers that would follow.
Stage 04
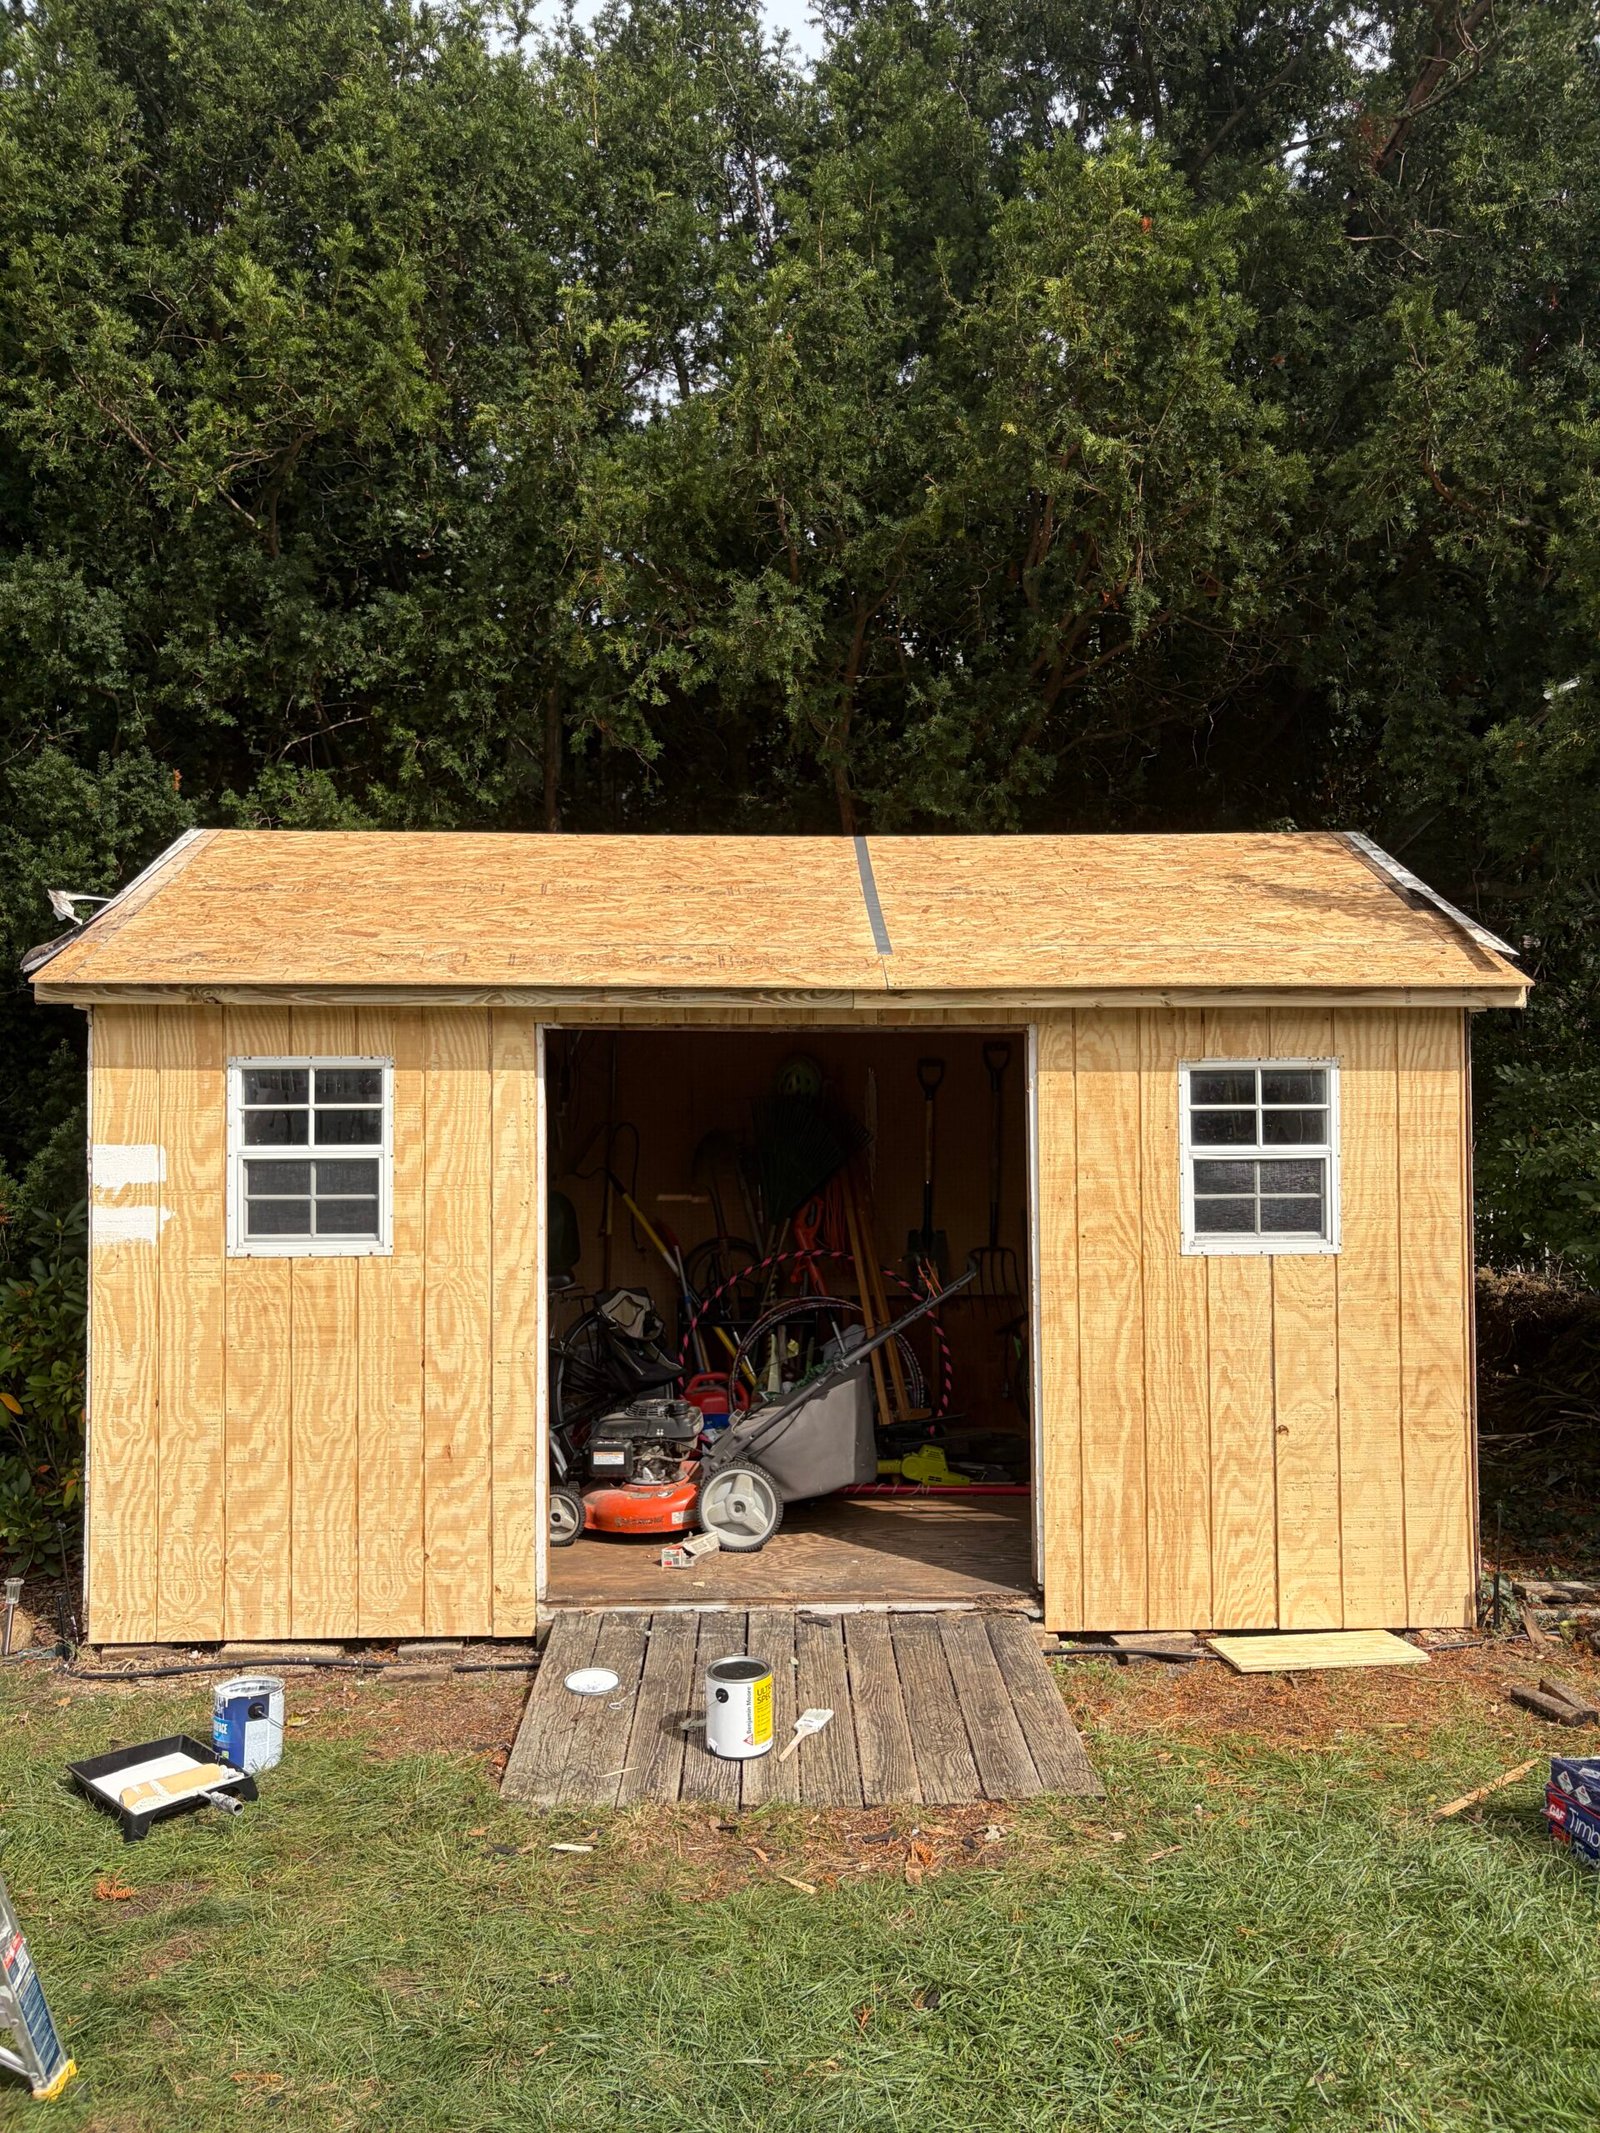
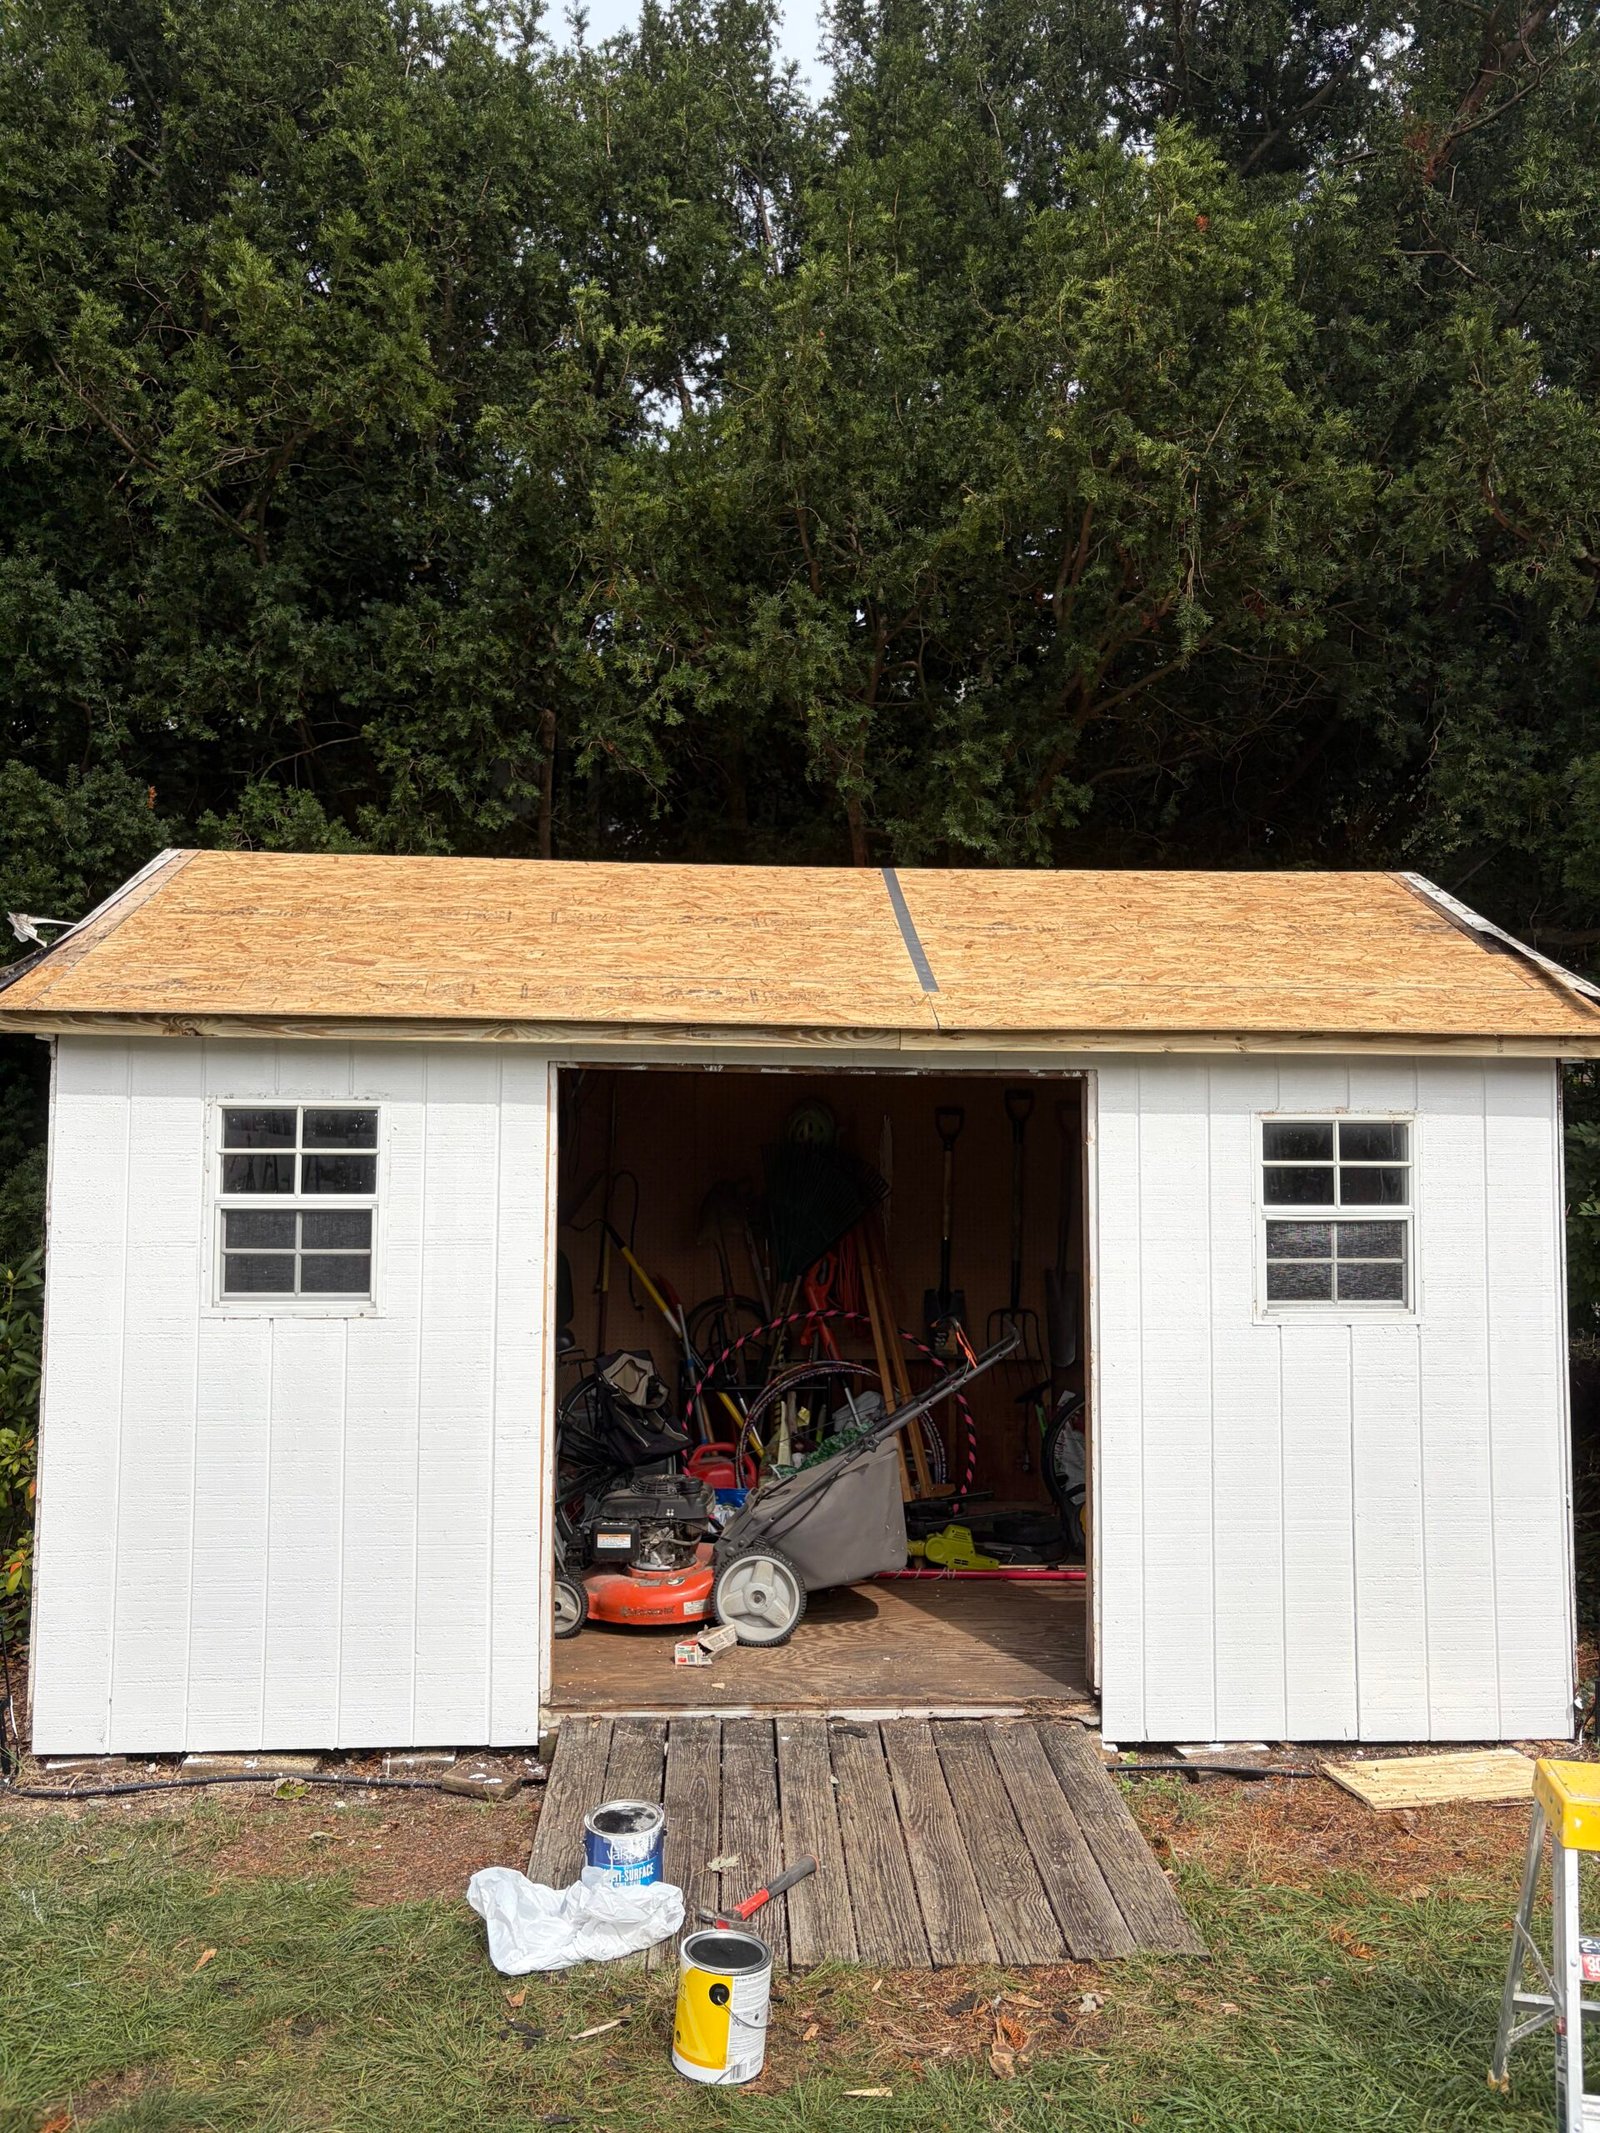
New vertical siding panels were fitted around the front windows and the double-door opening. The raw panel surfaces were then prepared and coated white, giving the front of the shed a cleaner, more consistent appearance before roofing and final trim were complete.
Stage 05
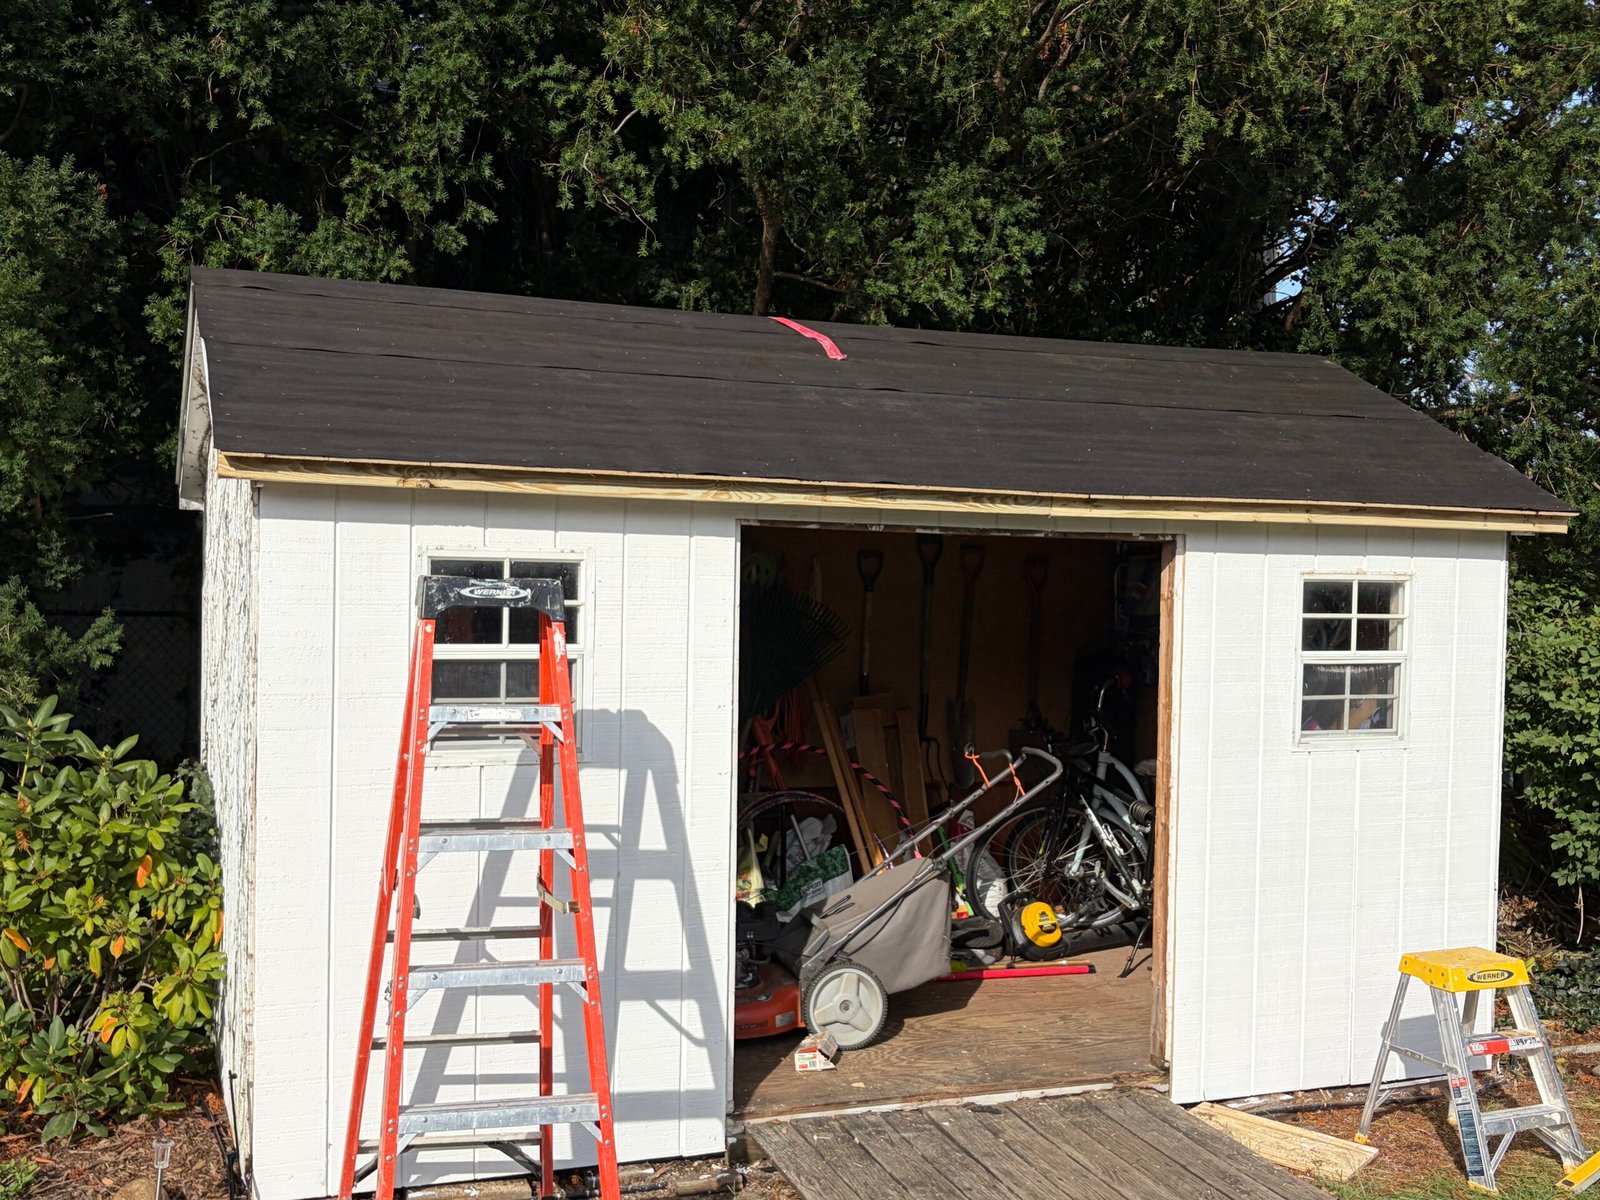
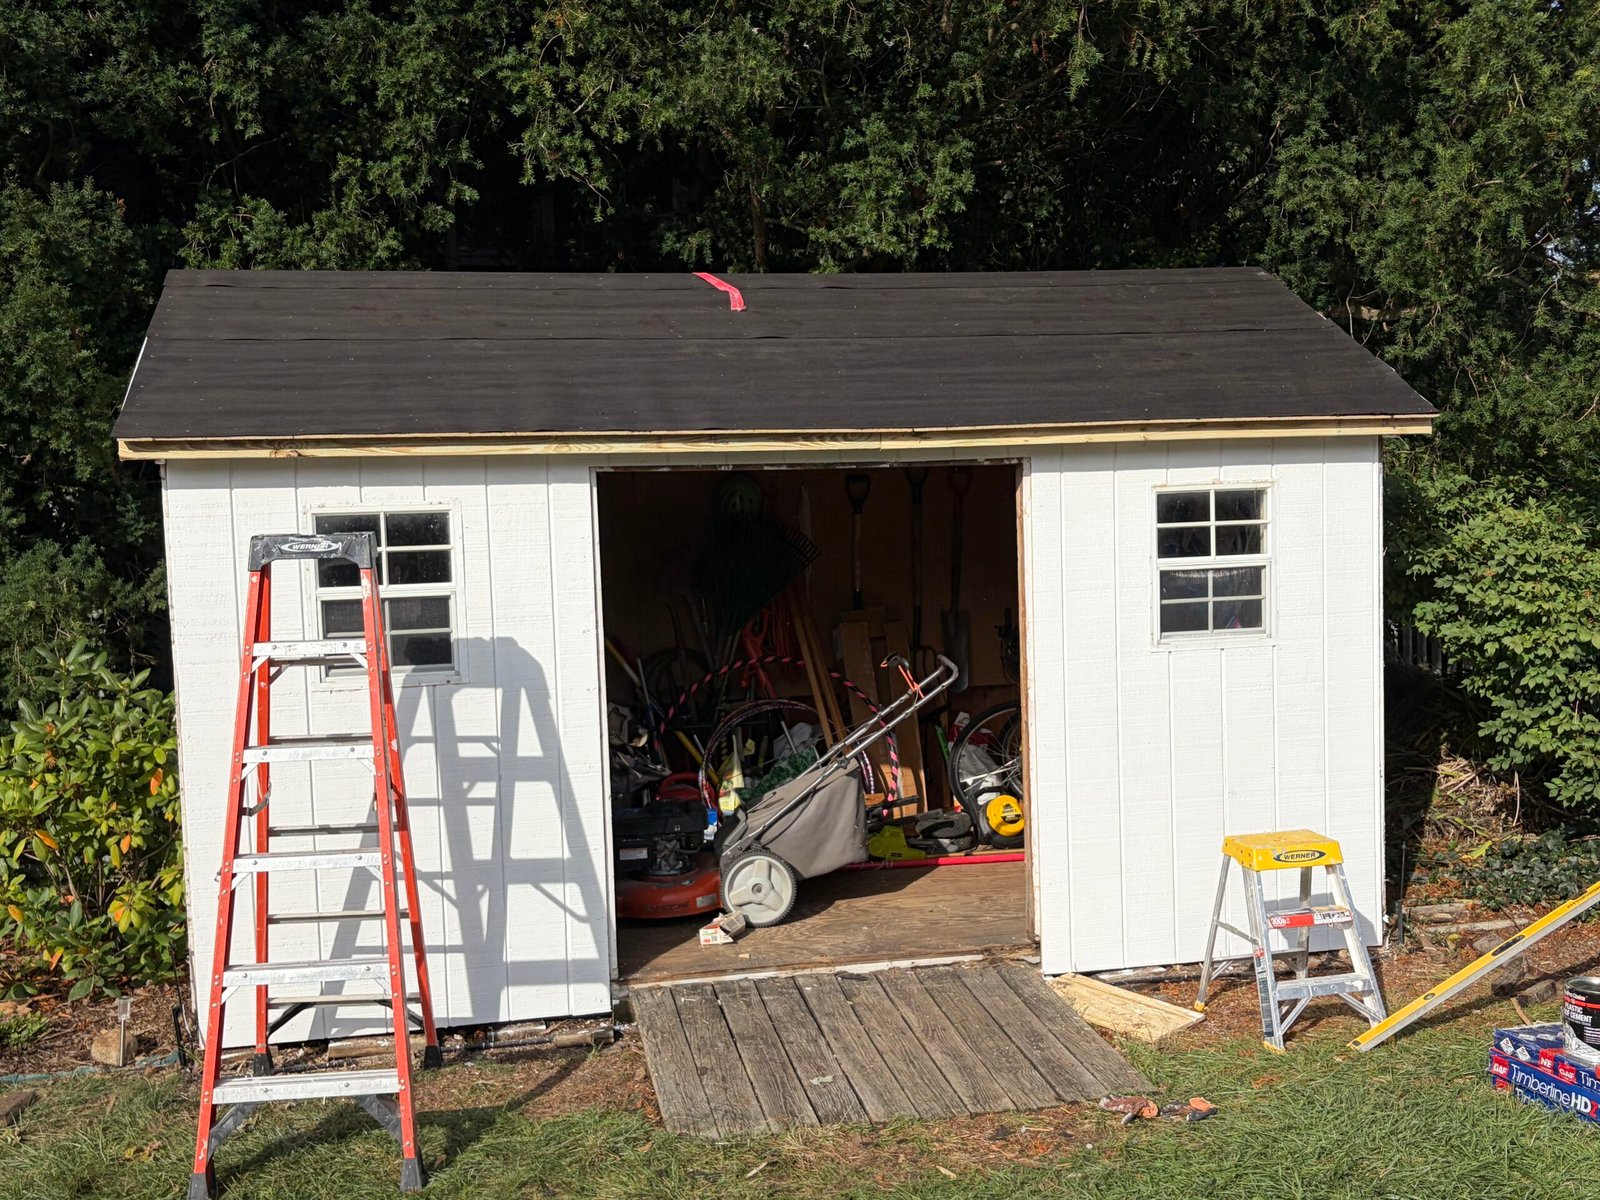
Work continued along the roof perimeter before underlayment was installed over the renewed deck. The photographs show this intermediate roofing stage from several angles, including the eave and front edge. These layers came before the final shingles and the completed door assembly.
This video could not be played here. Open the MP4 video.
Project video
With the front siding already coated white, work continues along the roof edge. This clip marks the transition from the renewed front wall to the next roofing layers.

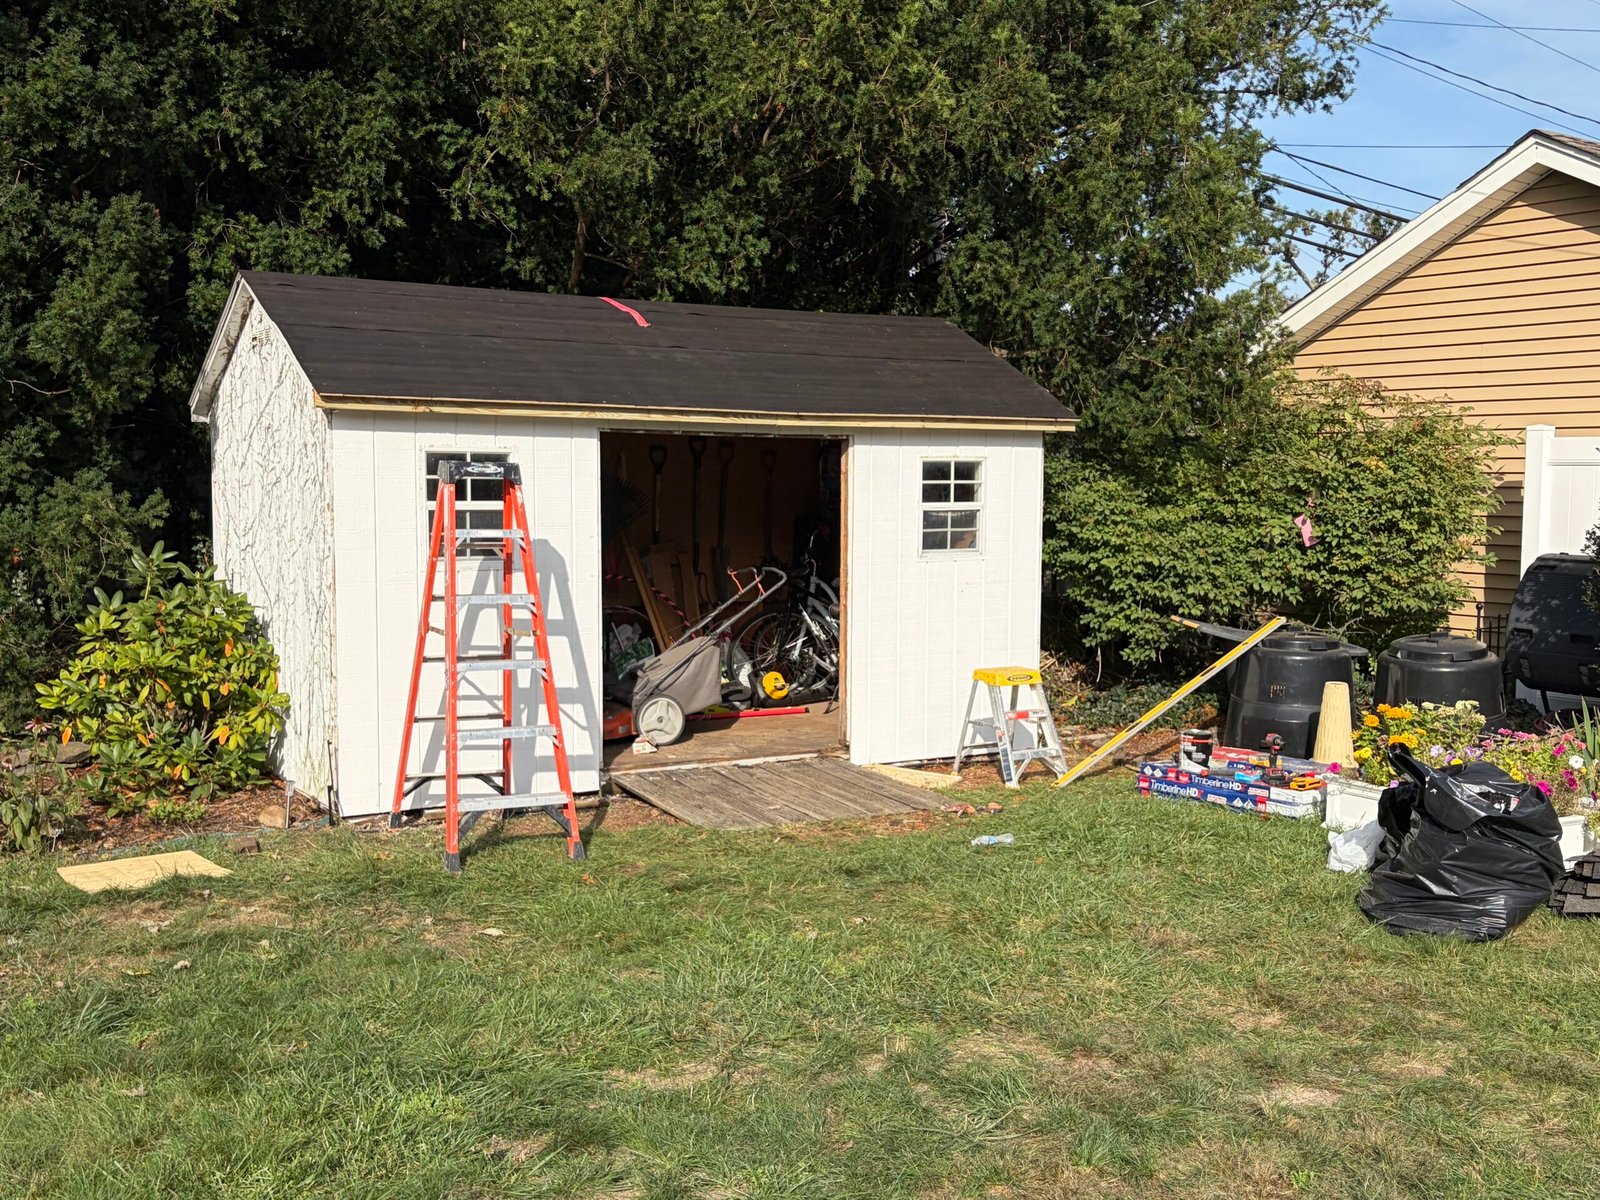
Stage 06
New shingles completed the roof covering. The double doors, trim, shutters and visible hardware were brought together in the final exterior, turning the worn shed into a coordinated garden outbuilding. The last photograph shows the completed result with the doors closed.

Share photographs of your shed, your property location and the changes you have in mind. We can help bring the roof, exterior repairs and finishing work into one coordinated renovation.
Discuss your shed project