Phone:
(701)814-6992
Physical address:
6296 Donnelly Plaza
Ratkeville, Bahamas.

Phone:
(701)814-6992
Physical address:
6296 Donnelly Plaza
Ratkeville, Bahamas.
Project story
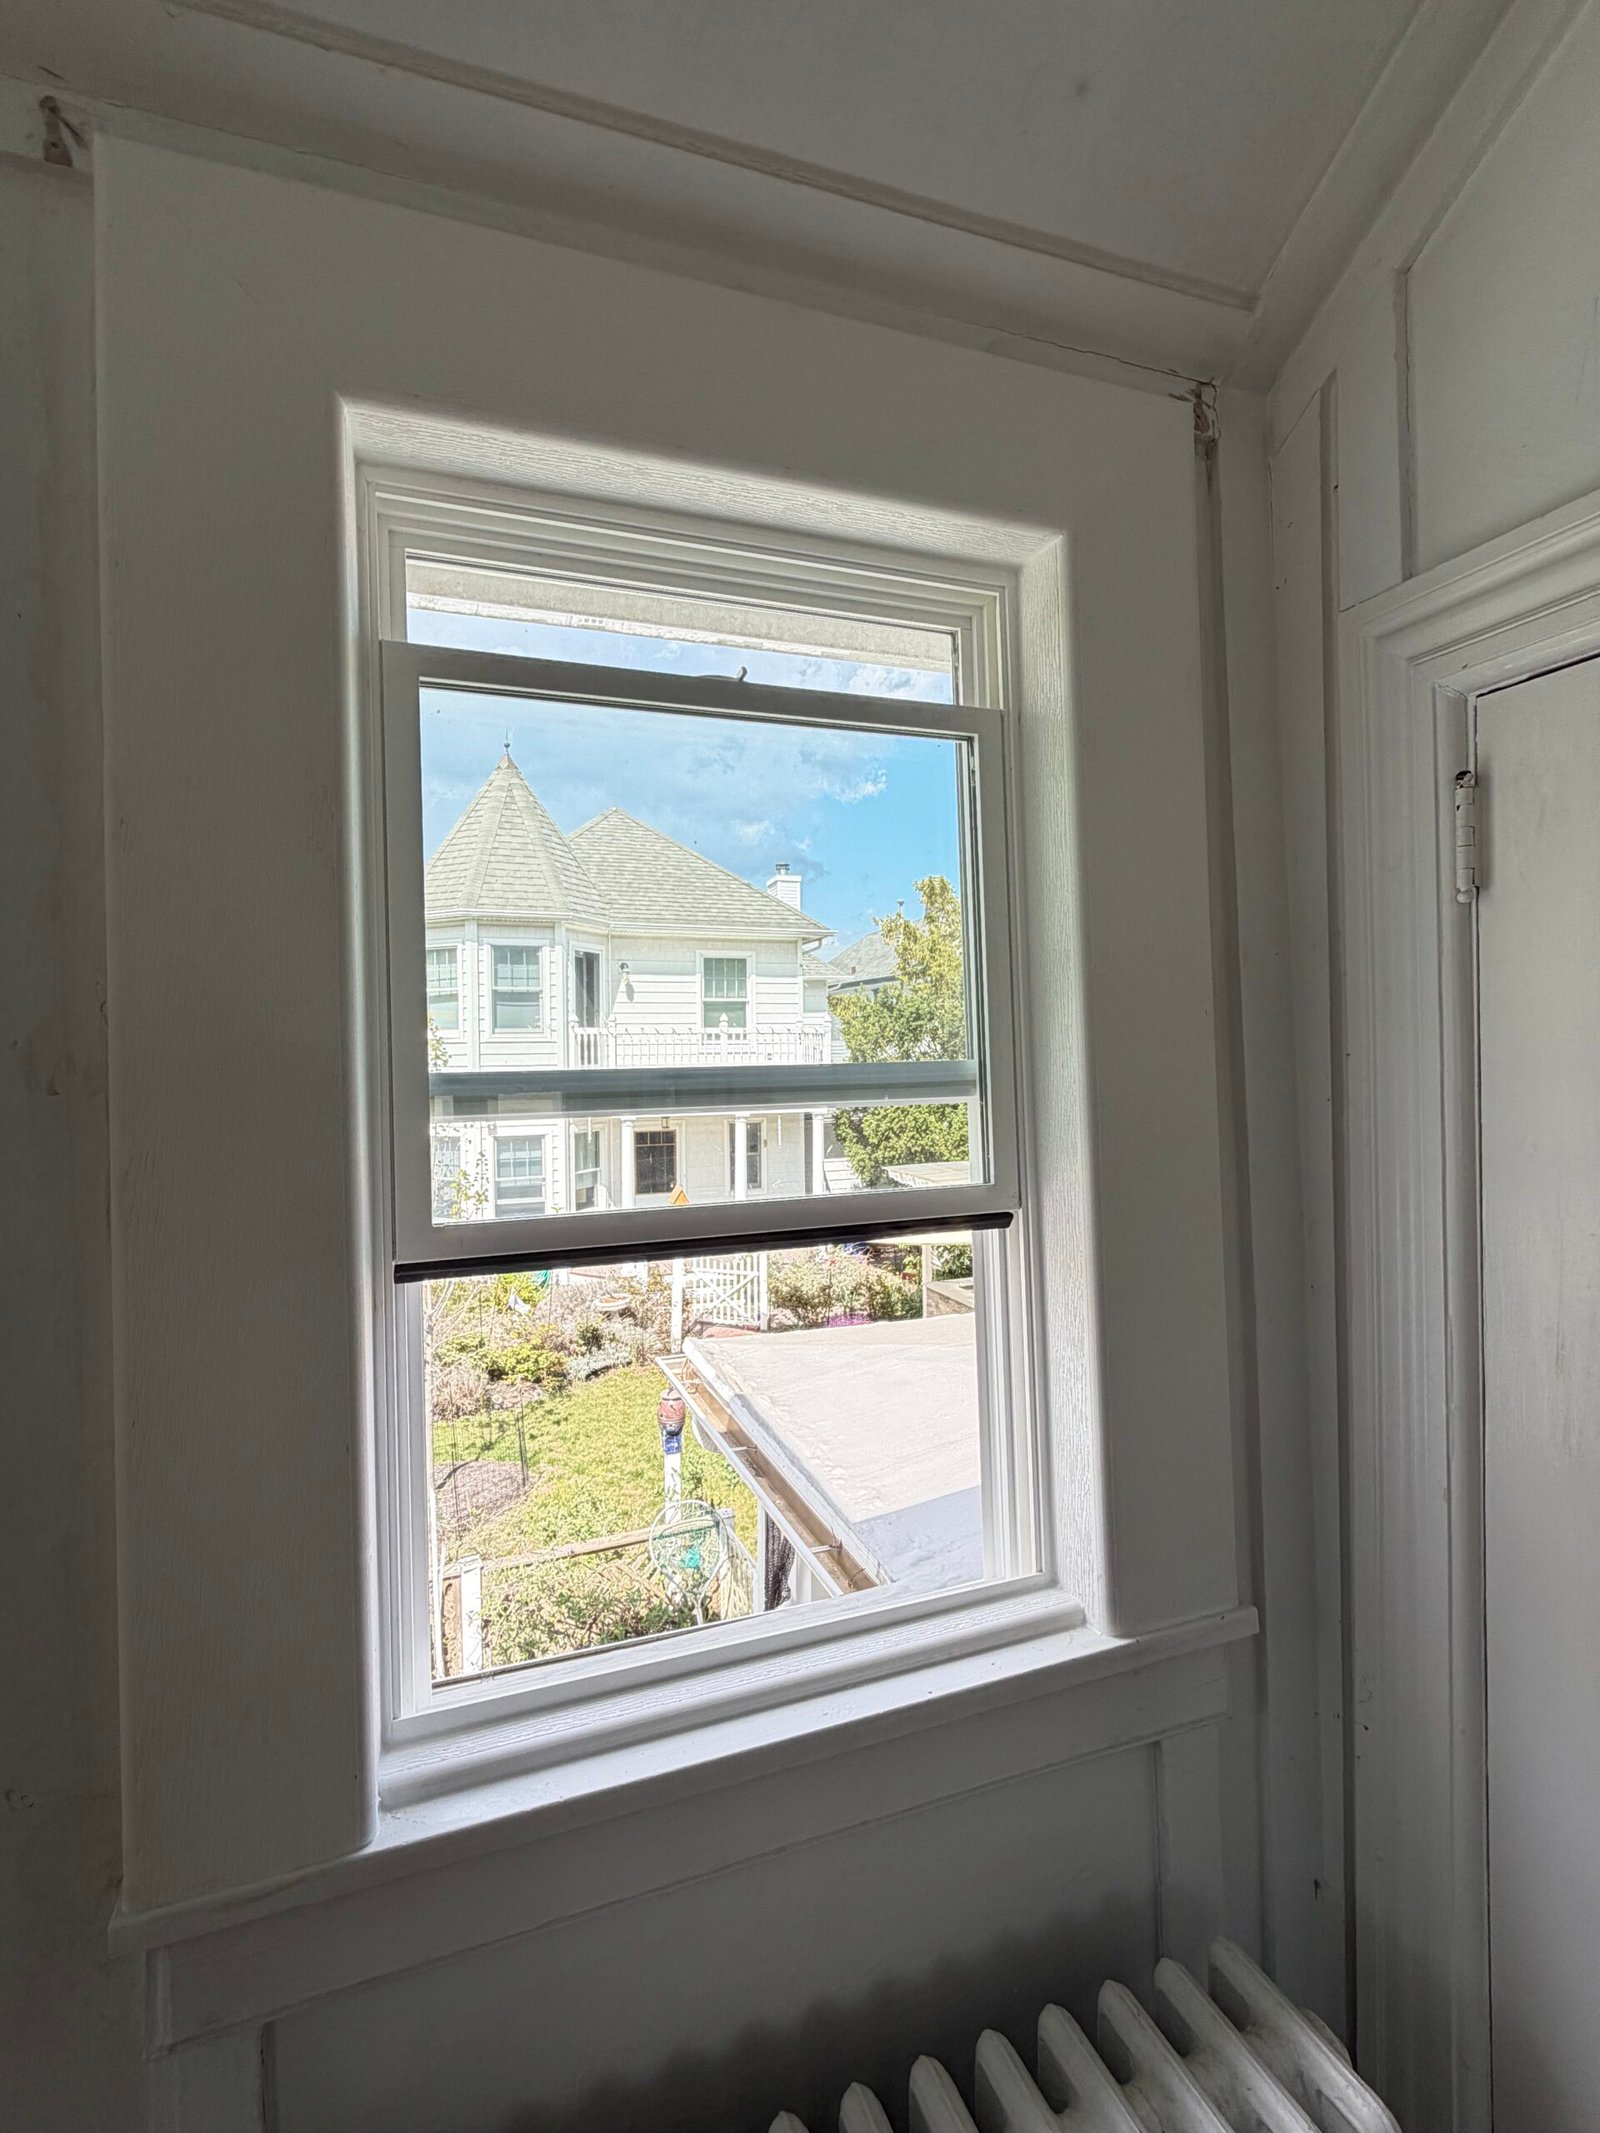
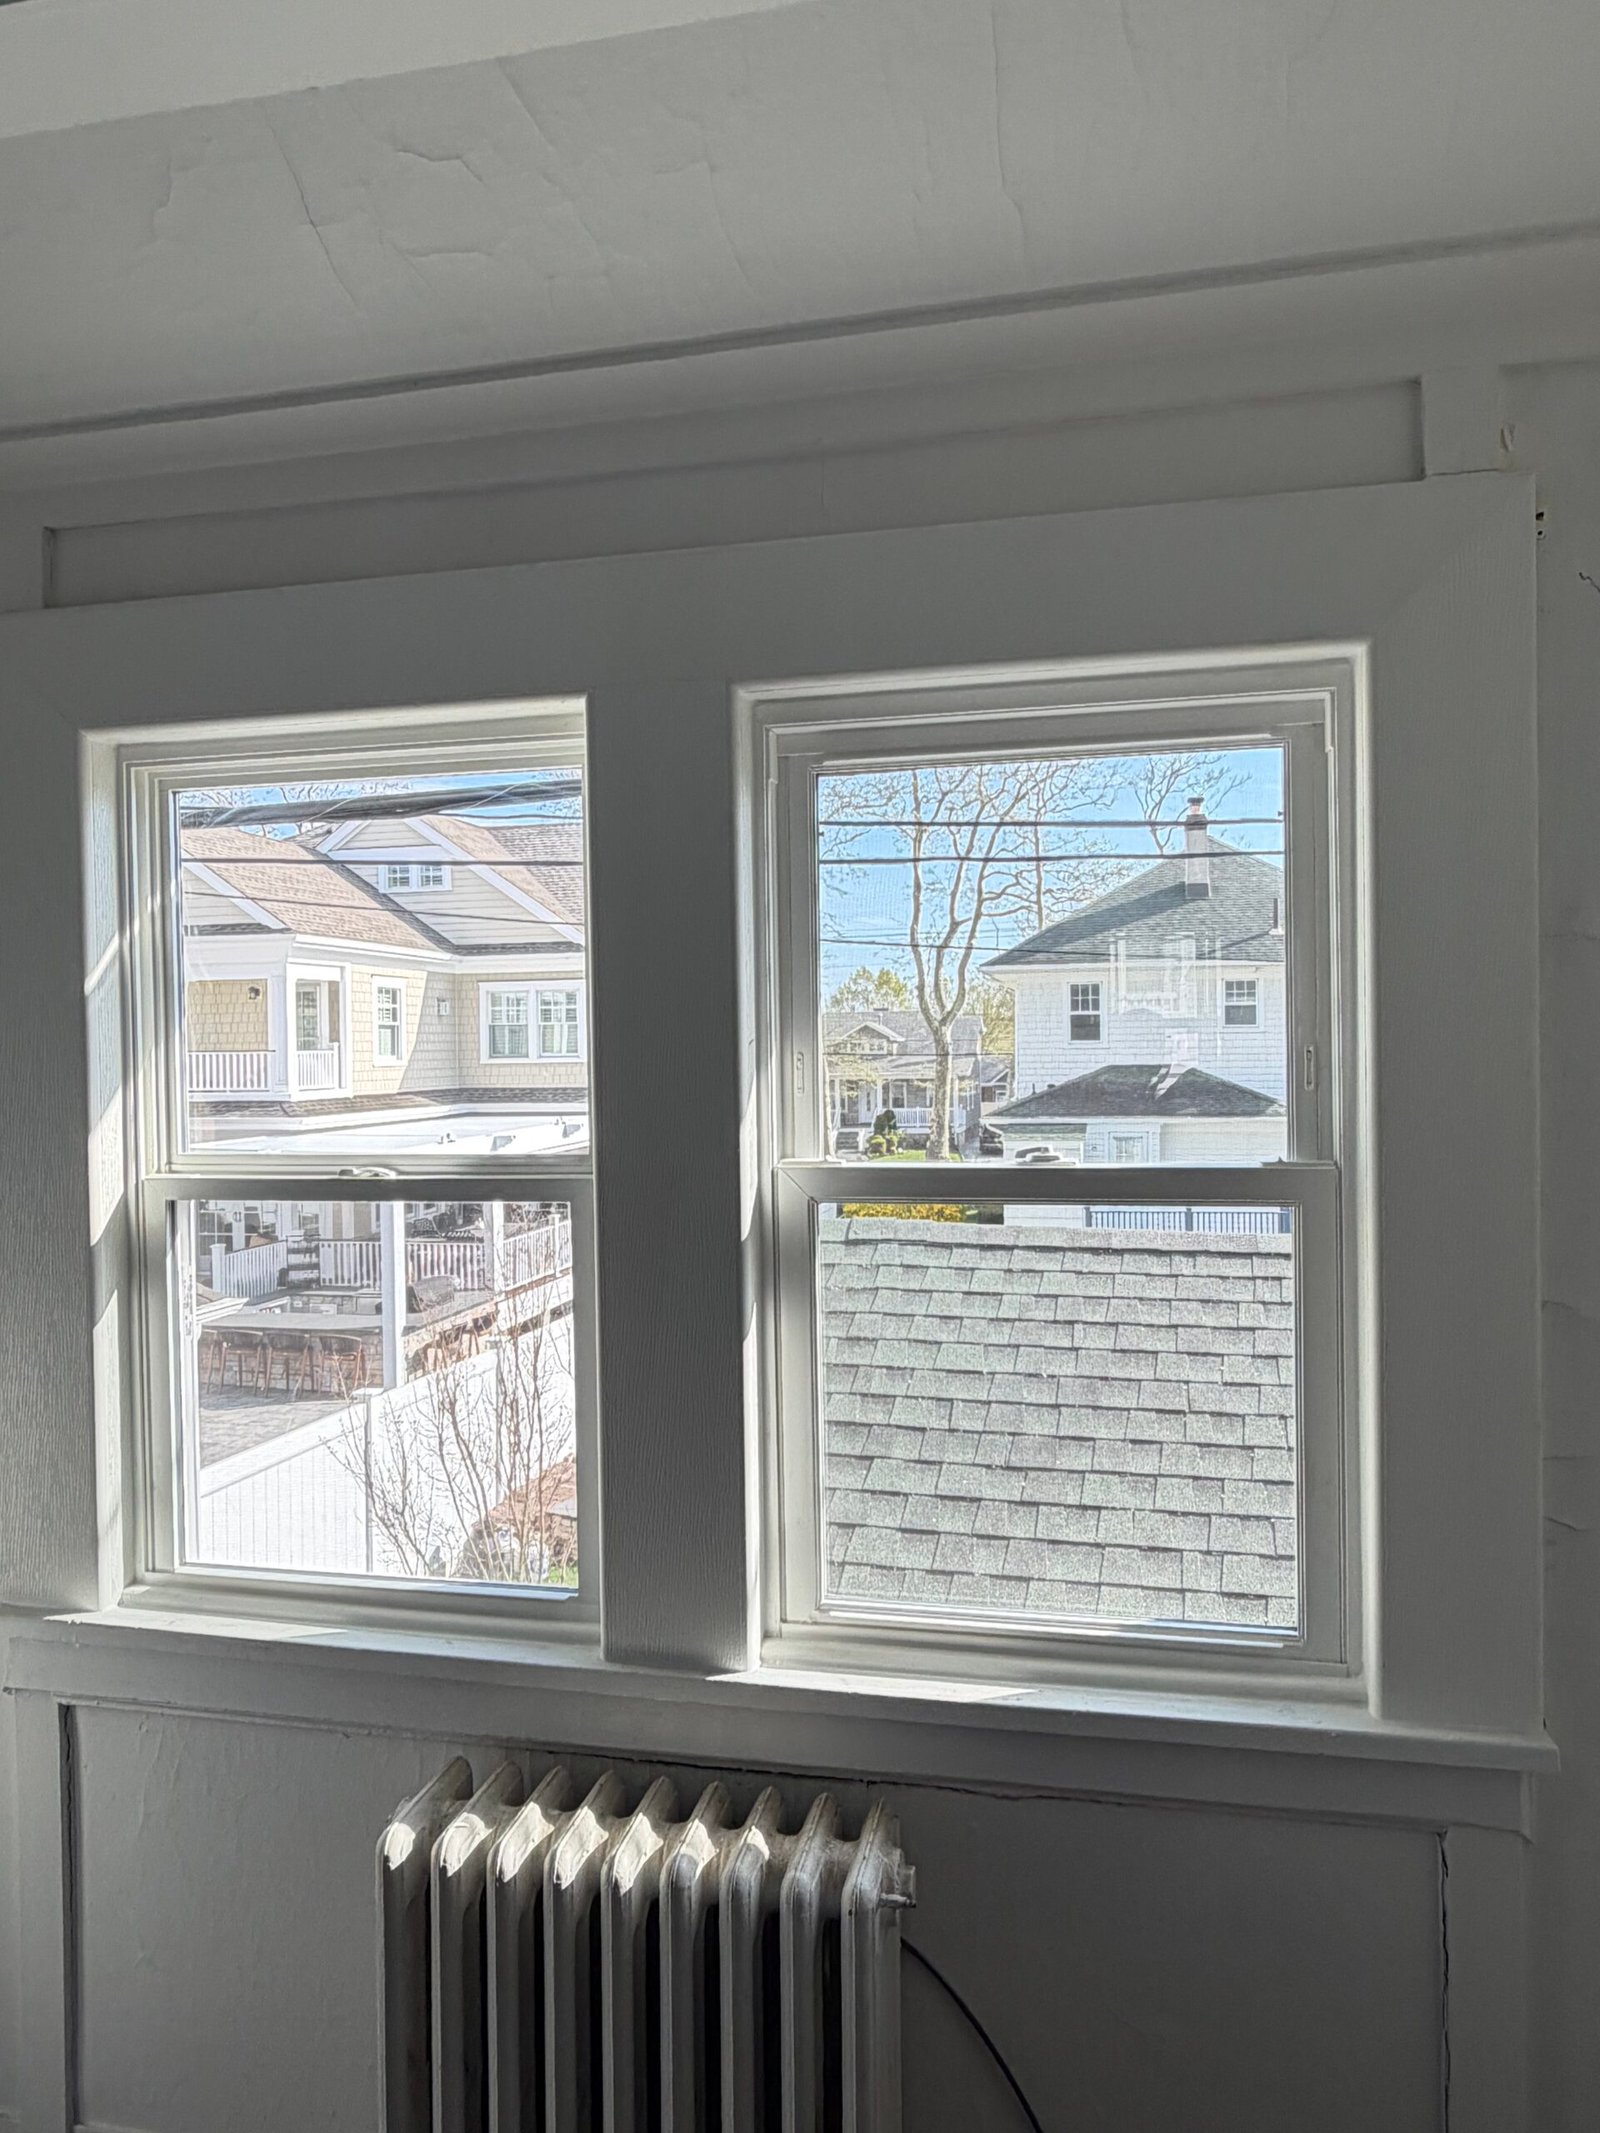
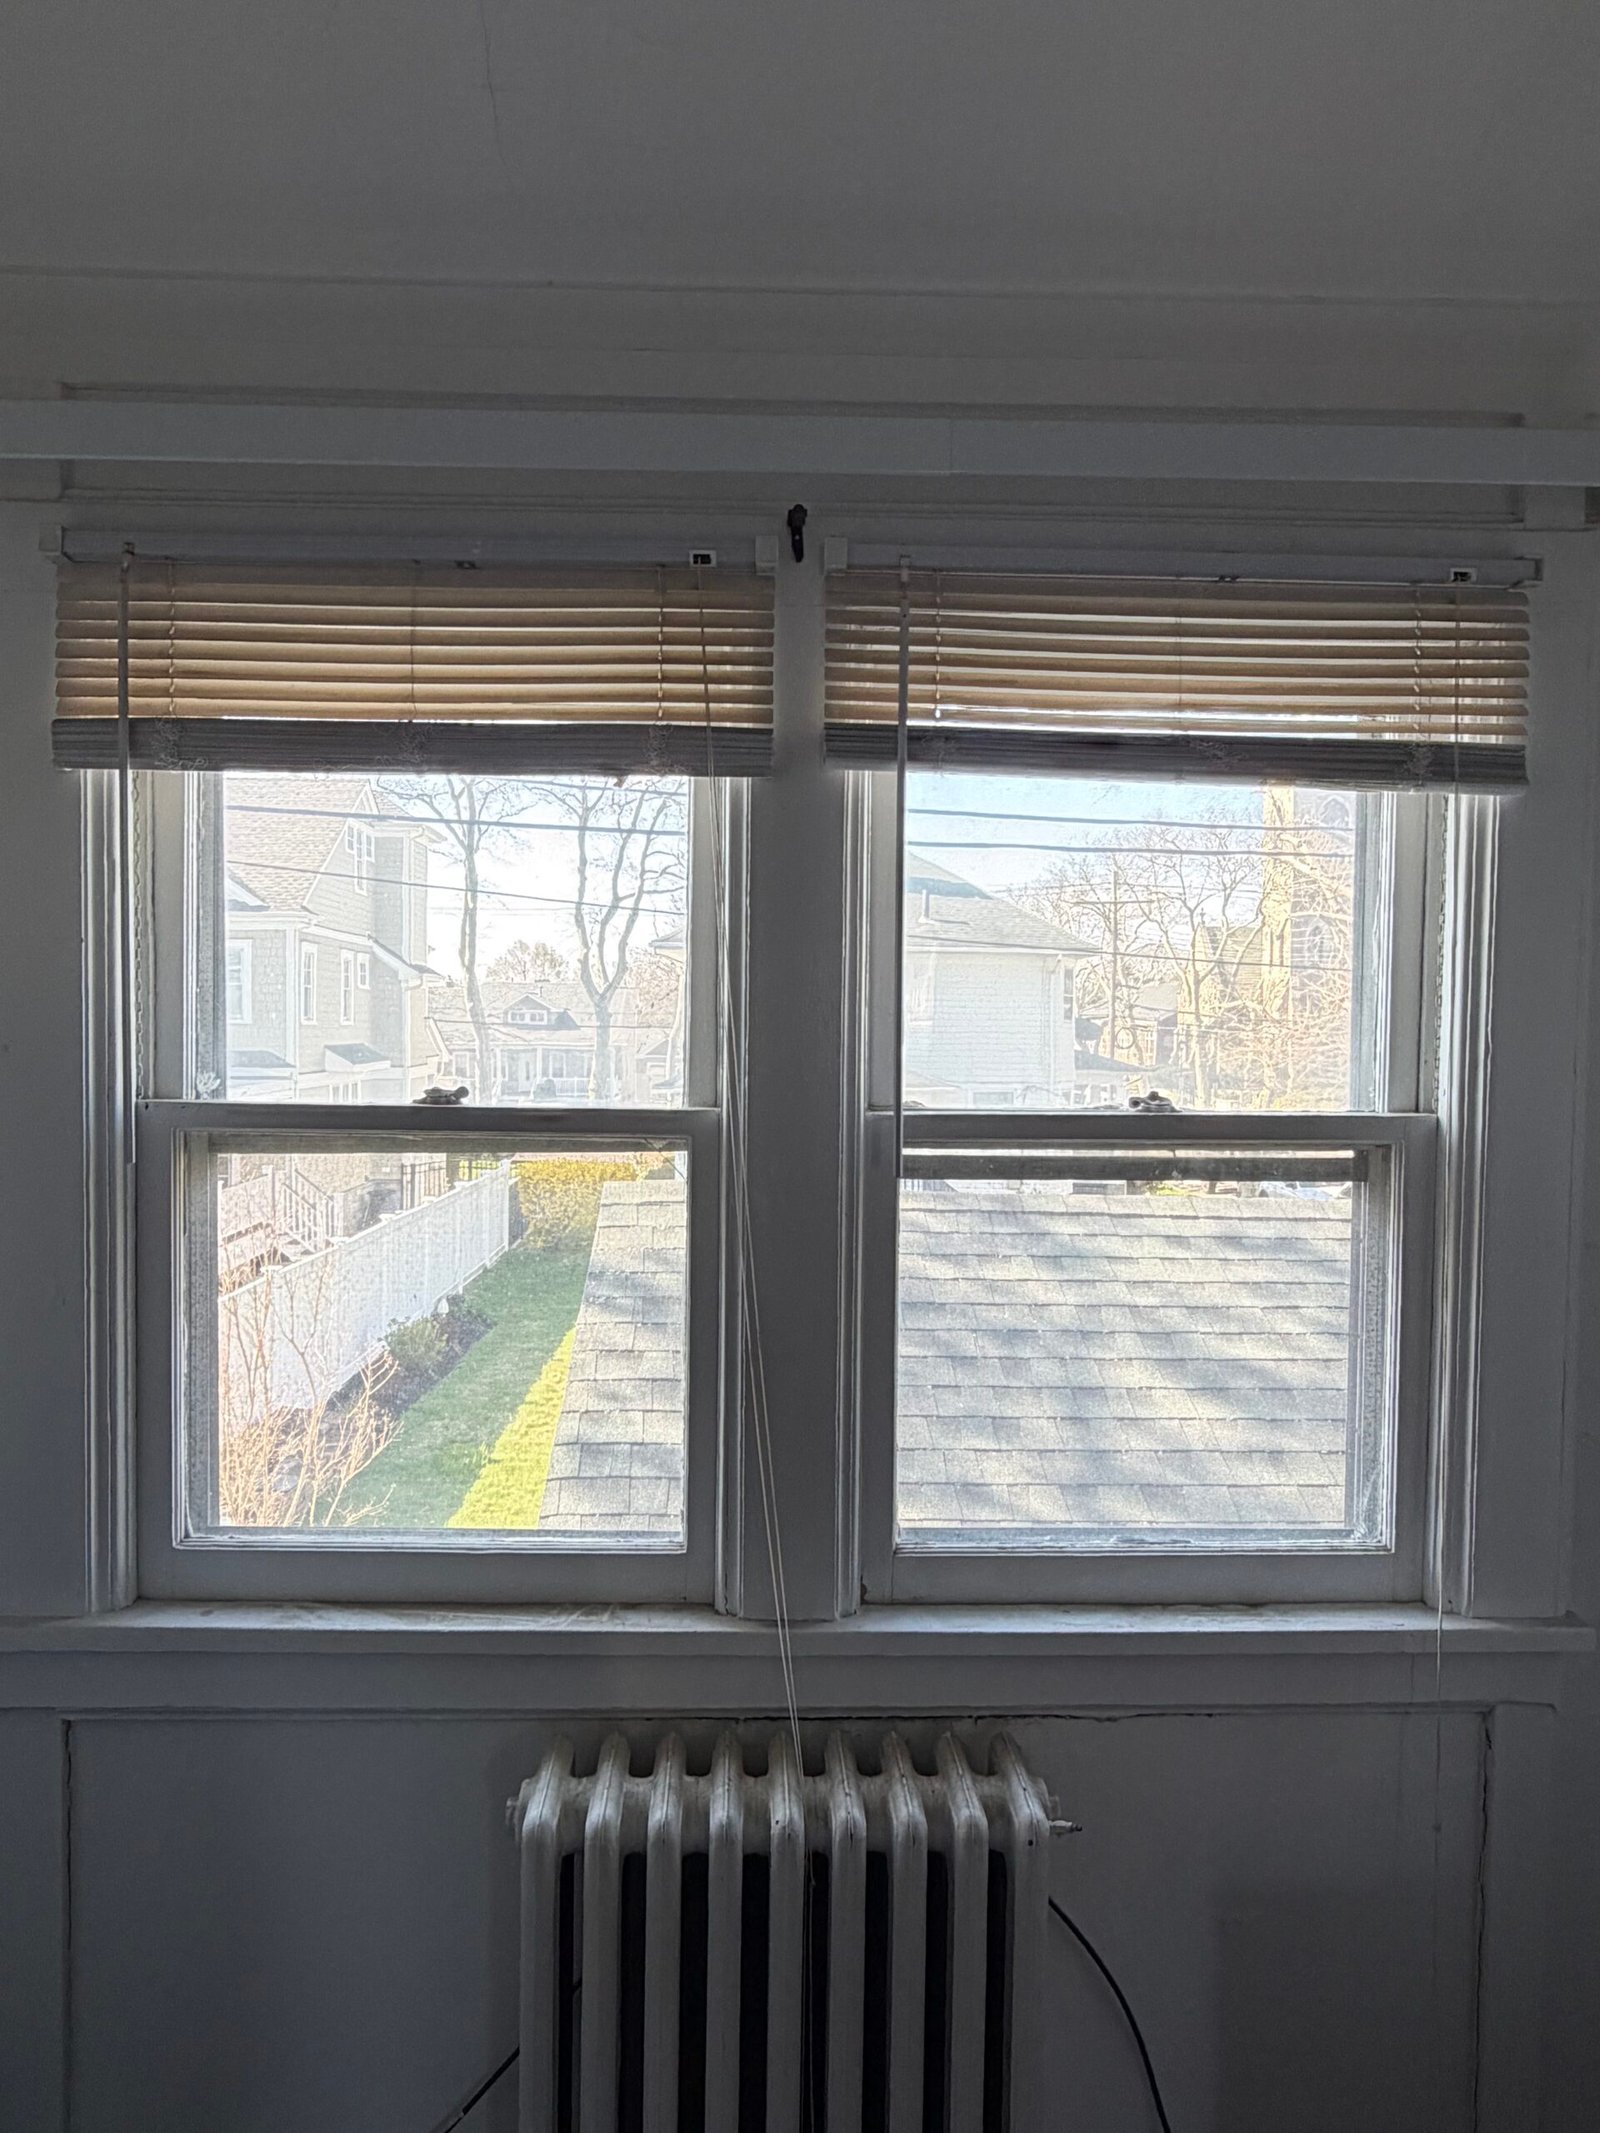
Original single and paired windows renewed with white-framed replacements, perimeter foam and finished interior trim. Follow the work across several rooms, from the exposed openings and new units to the completed inside and outside views.
 AFTER
 BEFORE
 AFTER
 BEFORE
The existing single and paired windows were replaced within their room openings. The construction photographs show the exposed timber perimeters, the new white units in place and foam filling the gaps around the frames before the interior casing was completed.
White trim and sill details bring the new windows into the rooms. The finished walkthrough and exterior photographs connect those interior details with the completed appearance of the replacement units from outside.
Explore six stages with 22 selected photographs and four videos. Select a photo to open the gallery, or play the videos beside the stages they document.
Stage 01
The project began with existing single and paired windows in several rooms. The starting photographs show the old units, painted casing, sills, blinds and the radiators below some of the openings.
These views record the appearance before the replacement work. They connect the original window frames and trim with the white replacements and finished openings shown at the end of the project.
Stage 02
Interior casing was opened and the old units were removed from the work areas, exposing the timber around the existing openings. The photographs follow a single window and two paired locations through this stage.
The two videos show work at paired and single openings before the new units and surrounding finishes were completed. The existing timber perimeters remained accessible for the installation and sealing that followed.
This video could not be played here. Open the original video.
Watch this stage
Watch work around the exposed paired openings before the replacement windows and surrounding trim were completed.
This video could not be played here. Open the original video.
Watch this stage
A second preparation view follows work around the timber perimeter of a single opening before its replacement and finish were completed.
Stage 03
White-framed replacement windows were fitted within the existing openings. The installation photographs show paired and single units in place while the surrounding timber and wall edges remained exposed.
The close video records a replacement frame before the interior finish was completed. At this point, the new units were installed and the work continued around their perimeters.
This video could not be played here. Open the original video.
Watch this stage
A close view of an installed white replacement frame and its exposed perimeter before foam and interior casing completed the opening.
Stage 04
Foam fills the visible gaps around the replacement frames before the casing is completed. The photographs show this stage at a single window and at the paired windows above the radiator.
The exposed perimeter areas were then ready for the interior finishing work that brings the new units back into the surrounding room.
Stage 05
White casing and sill details finish the replacement openings. The wider views show the completed single and paired windows, while the closer photographs record the trim around their edges and between the paired units.
The finished-room walkthrough brings those installations together across the interior. It shows how the new windows sit within the existing rooms and connect with their surrounding white finishes.
This video could not be played here. Open the original video.
Watch this stage
See the completed replacement windows and white interior trim across the rooms, including single and paired openings.
Stage 06
The exterior photographs show the paired replacements and individual windows within the white siding and surrounding trim. These views complement the finished interior casing and sill details.
Together, the inside and outside photographs connect the original units, exposed openings, replacement frames and completed finish around the windows.
White frames, renewed casing and completed sill details bring the single and paired windows into a consistent interior finish. The gallery connects the result with the openings, installation and sealing work behind it.
Planning to replace windows in one room or throughout several areas of your home? Send photographs, your property location and the openings you want to improve. Nashkov Group can help define the installation and finishing scope.
Discuss your window project