Phone:
(701)814-6992
Physical address:
6296 Donnelly Plaza
Ratkeville, Bahamas.

Phone:
(701)814-6992
Physical address:
6296 Donnelly Plaza
Ratkeville, Bahamas.
Project story
A replacement window brought together with renewed interior trim and the wall around it. Follow the work from the original unit through the exposed opening, preparation and installation to the finished view inside the room.
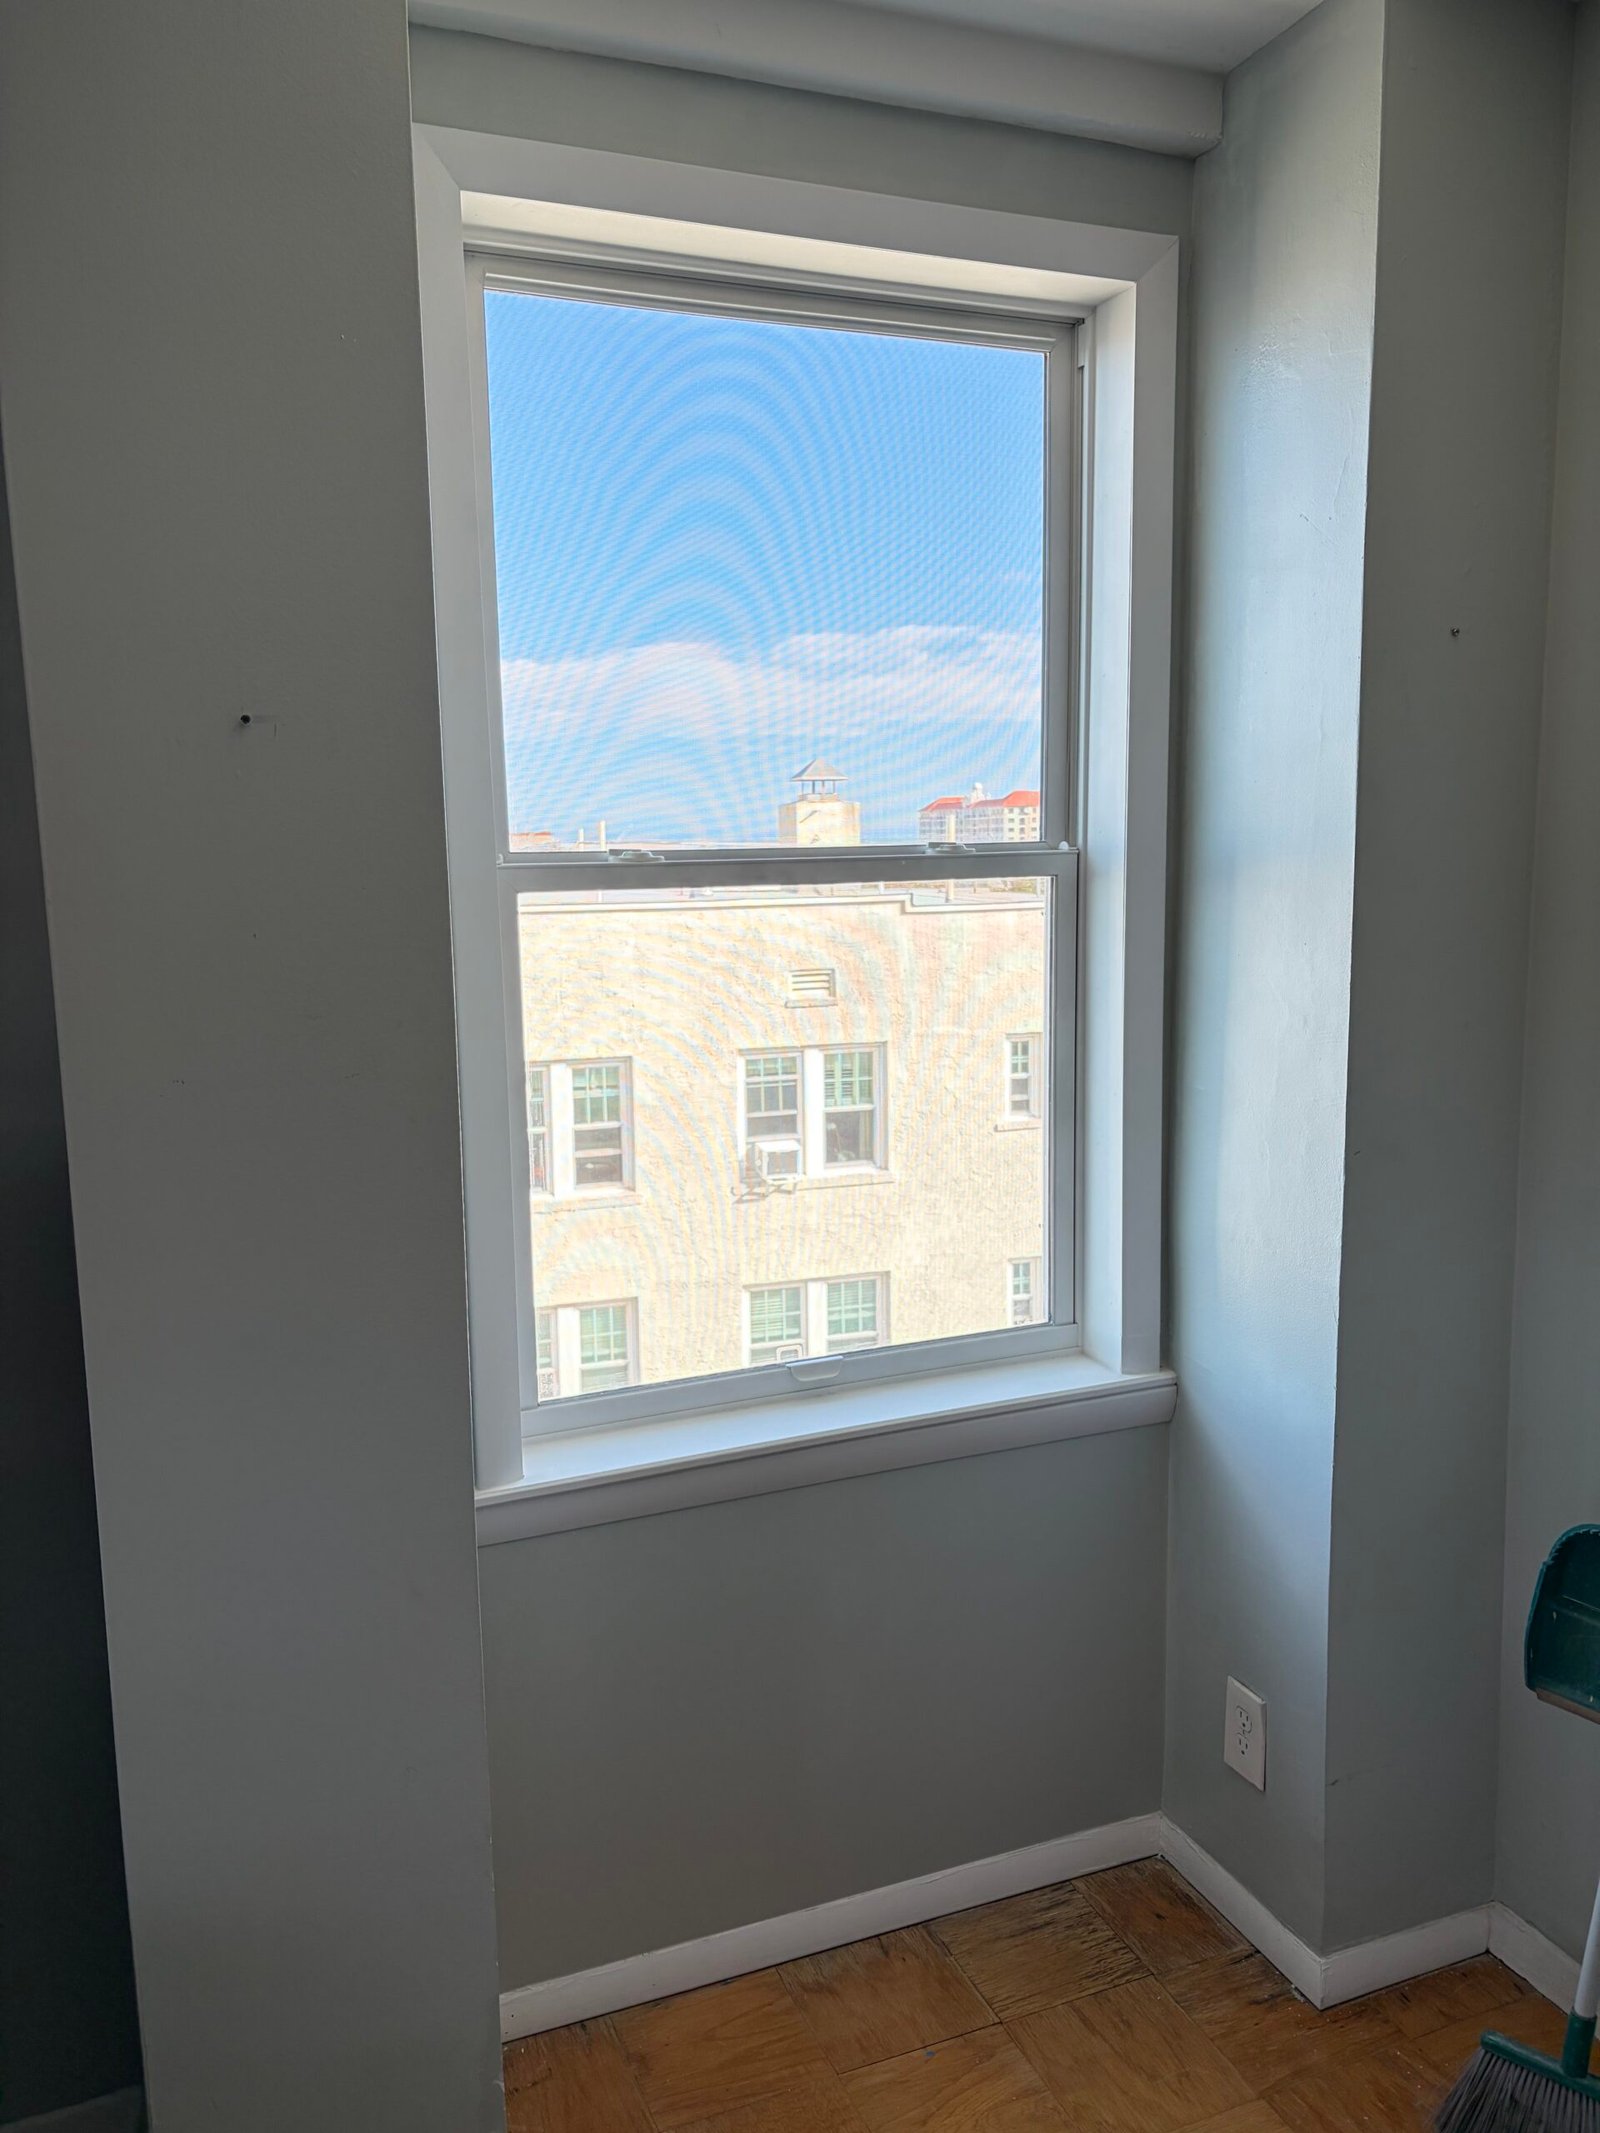 AFTER
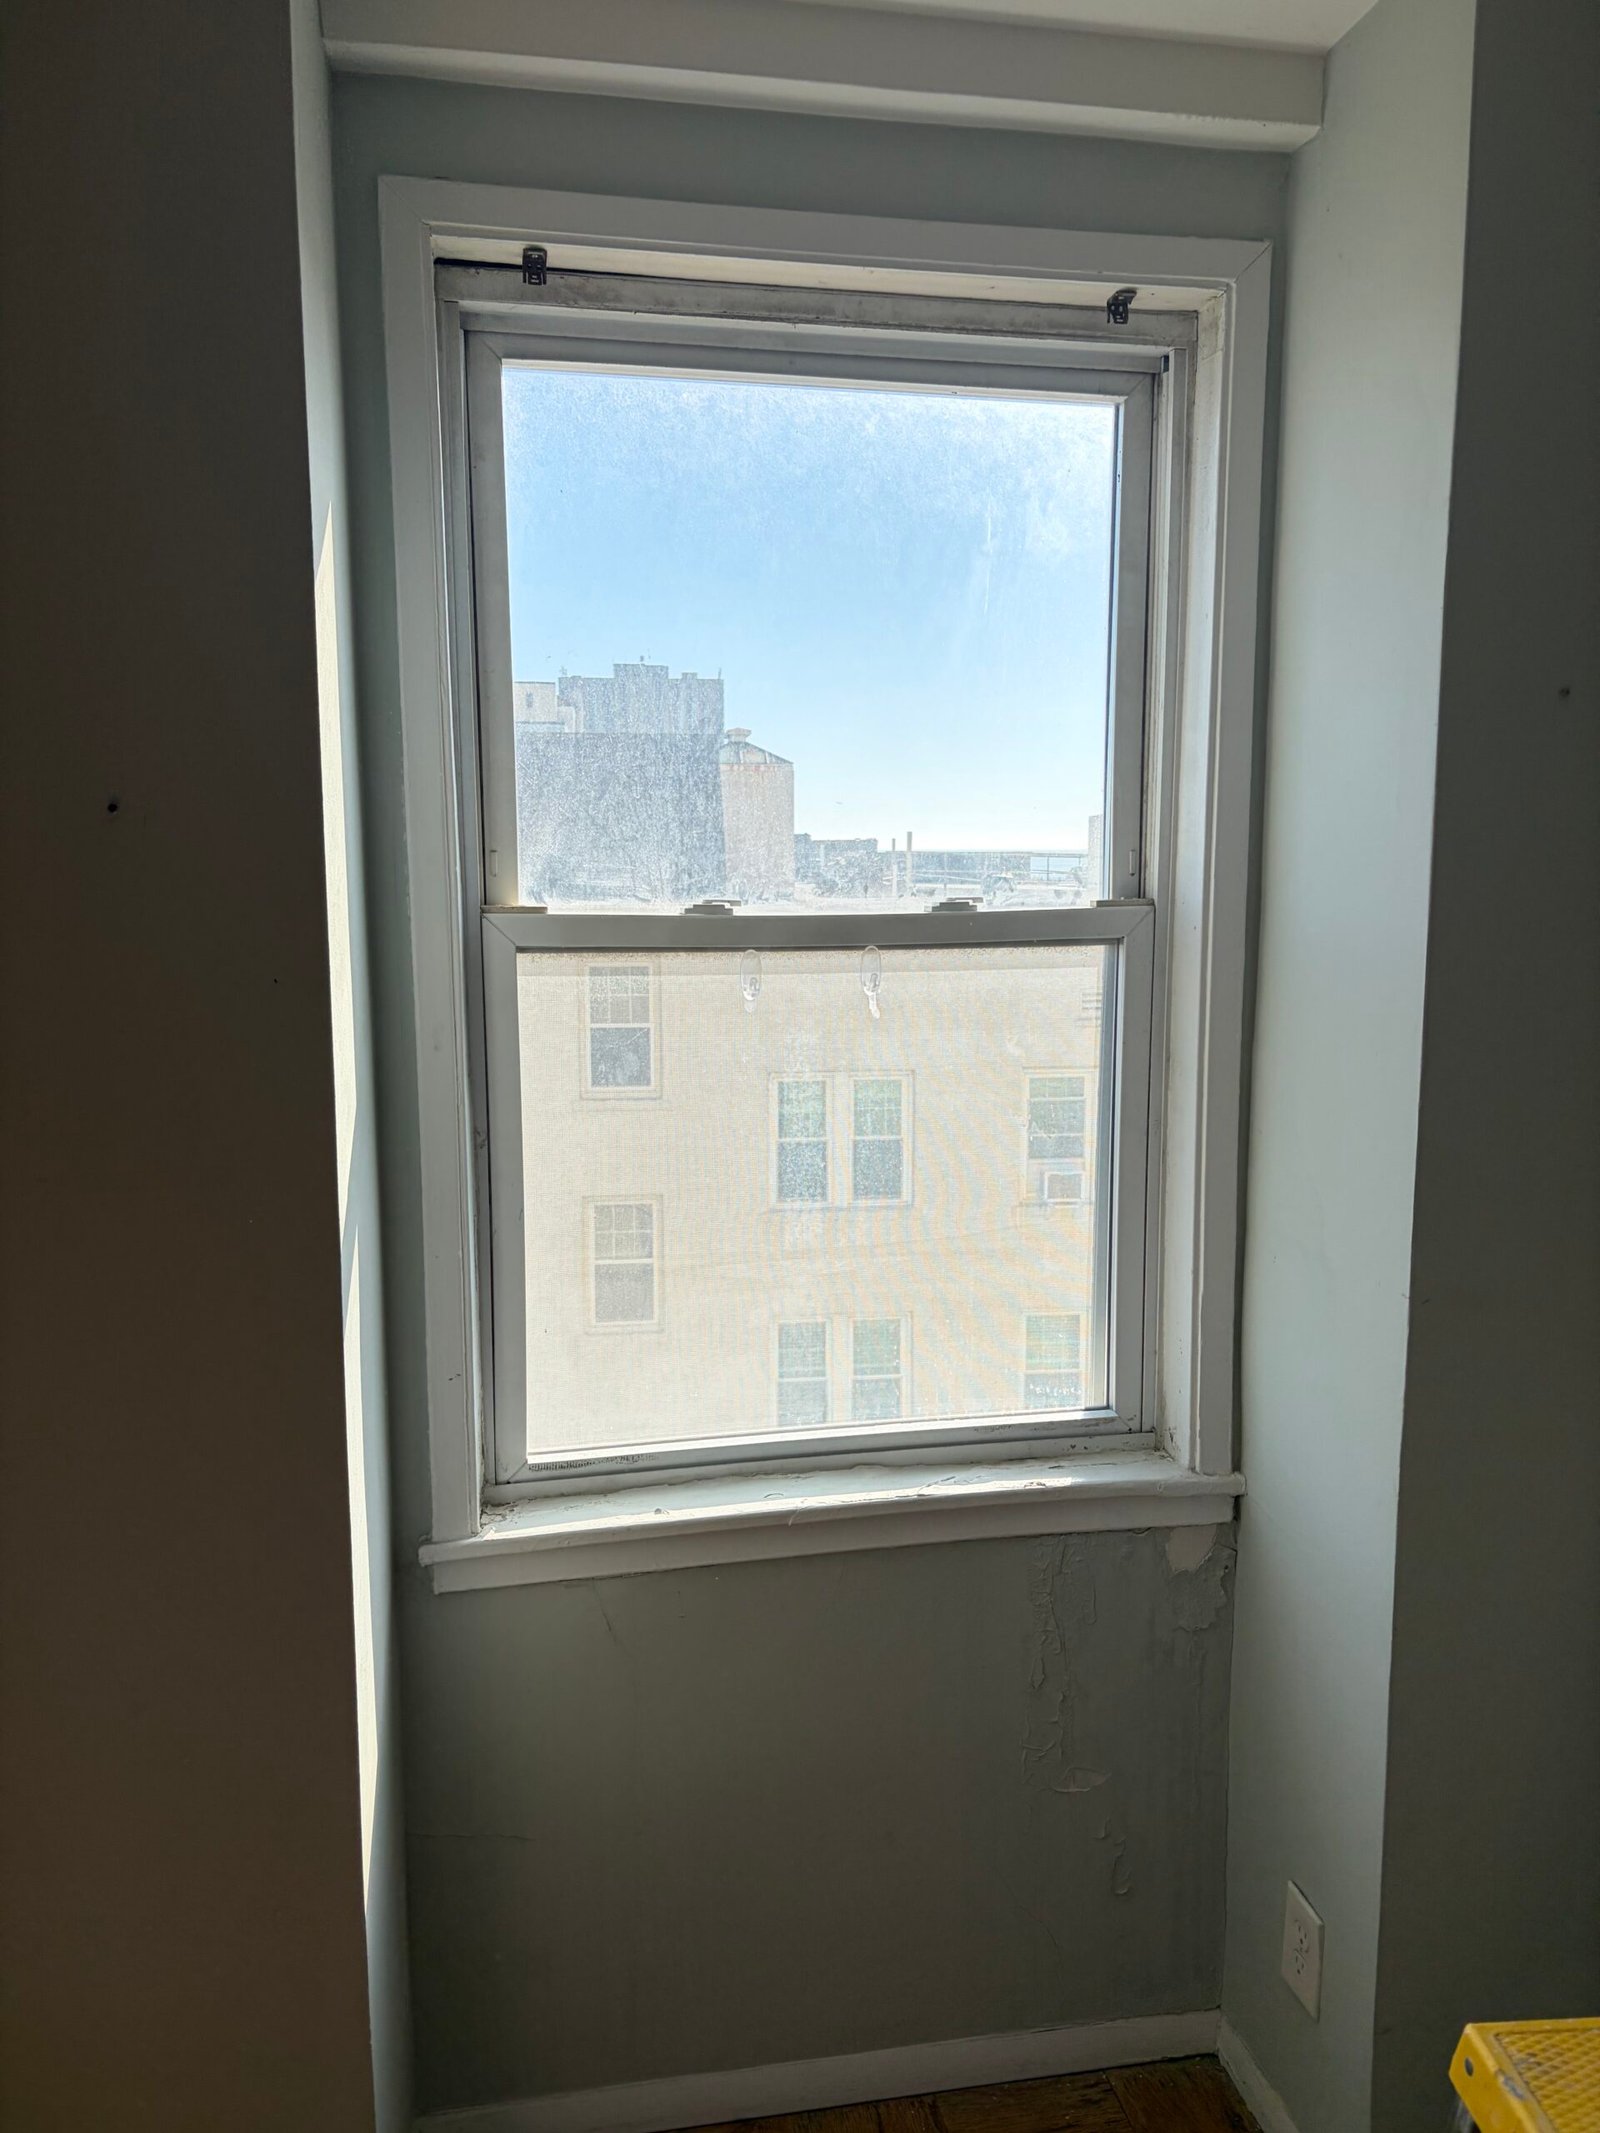 BEFORE
The original window and the exposed opening are the starting point for this project. The replacement was coordinated with work at the sill, interior returns and surrounding wall, so the visible improvement extends beyond the new unit alone.
The photographs show the opening during preparation, the replacement window with its installation labels and the interior after finishing. White trim frames the new unit against the retained wall color, bringing the installation back into the room.
Explore five stages below. Select any photograph to open the seven-photo project gallery on this page, then use the side arrows, keyboard or swipe to browse the sequence.
Stage 01
The starting photograph shows the existing window set within a deep interior opening. The unit, sill and surrounding trim establish the original appearance of this part of the room before the replacement work began.
This view provides the comparison with the finished installation: the window remains in the same wall opening, with the new unit and renewed interior edges brought back into the room.
Stage 02
The original window assembly was opened up for the replacement. The photograph shows the exposed perimeter, existing timber and the wall edges around the opening after the visible unit was removed.
With these areas accessible, the work could address the interior opening as well as the replacement window. The lower wall edge and the side returns are visible at this stage, before the finished trim is reinstated.
Stage 03
The next views show preparation around the inside of the window opening. The sill area and perimeter edges are brought together with new wall-board sections around the exposed work, creating the transition between the retained wall and the installation.
These details matter to the appearance of the finished opening: the window, sill, side returns and wall surface need to meet cleanly. The photographs record this part of the work before the finished replacement unit and its interior trim are fully in view.
Stage 04
The replacement window is shown fitted into the opening, with product labels still on the glass. Its white frame and horizontal meeting rail establish the new appearance, while the surrounding interior surfaces continue through the finishing stage.
This view connects the exposed opening with the final result. It shows the new unit in place before the labels are removed and the room is presented as a completed installation.
Stage 05
The final views show the replacement window with its labels removed and the surrounding interior finish reinstated. White casing and sill details frame the unit against the painted wall, bringing the opening back into the room.
The closer photograph shows the window itself; the wider view shows how the trim and repaired wall area connect with the existing baseboard and floor. Together they complete the visible sequence from the original unit to the finished interior.
The replacement unit, white trim and reinstated wall surfaces work together in the finished opening. The project sequence shows the preparation and interior work that connect the new window with the rest of the room.
Planning a window or door project? Share your property location, photographs and the improvements you have in mind. Nashkov Group can help define the unit selection, opening work and finishing details for your home.
Discuss your door or window project