Phone:
(848)318-7679
Physical address:
954 Vaughn Ave, Toms River 08753

Phone:
(848)318-7679
Physical address:
954 Vaughn Ave, Toms River 08753
Project story
A compact powder room brought together with light marble-look floor tile, a gray vanity and warm brass-tone details. Follow the work from the exposed subfloor through preparation and tile installation to the finished fixtures and trim.
 AFTER
 BEFORE
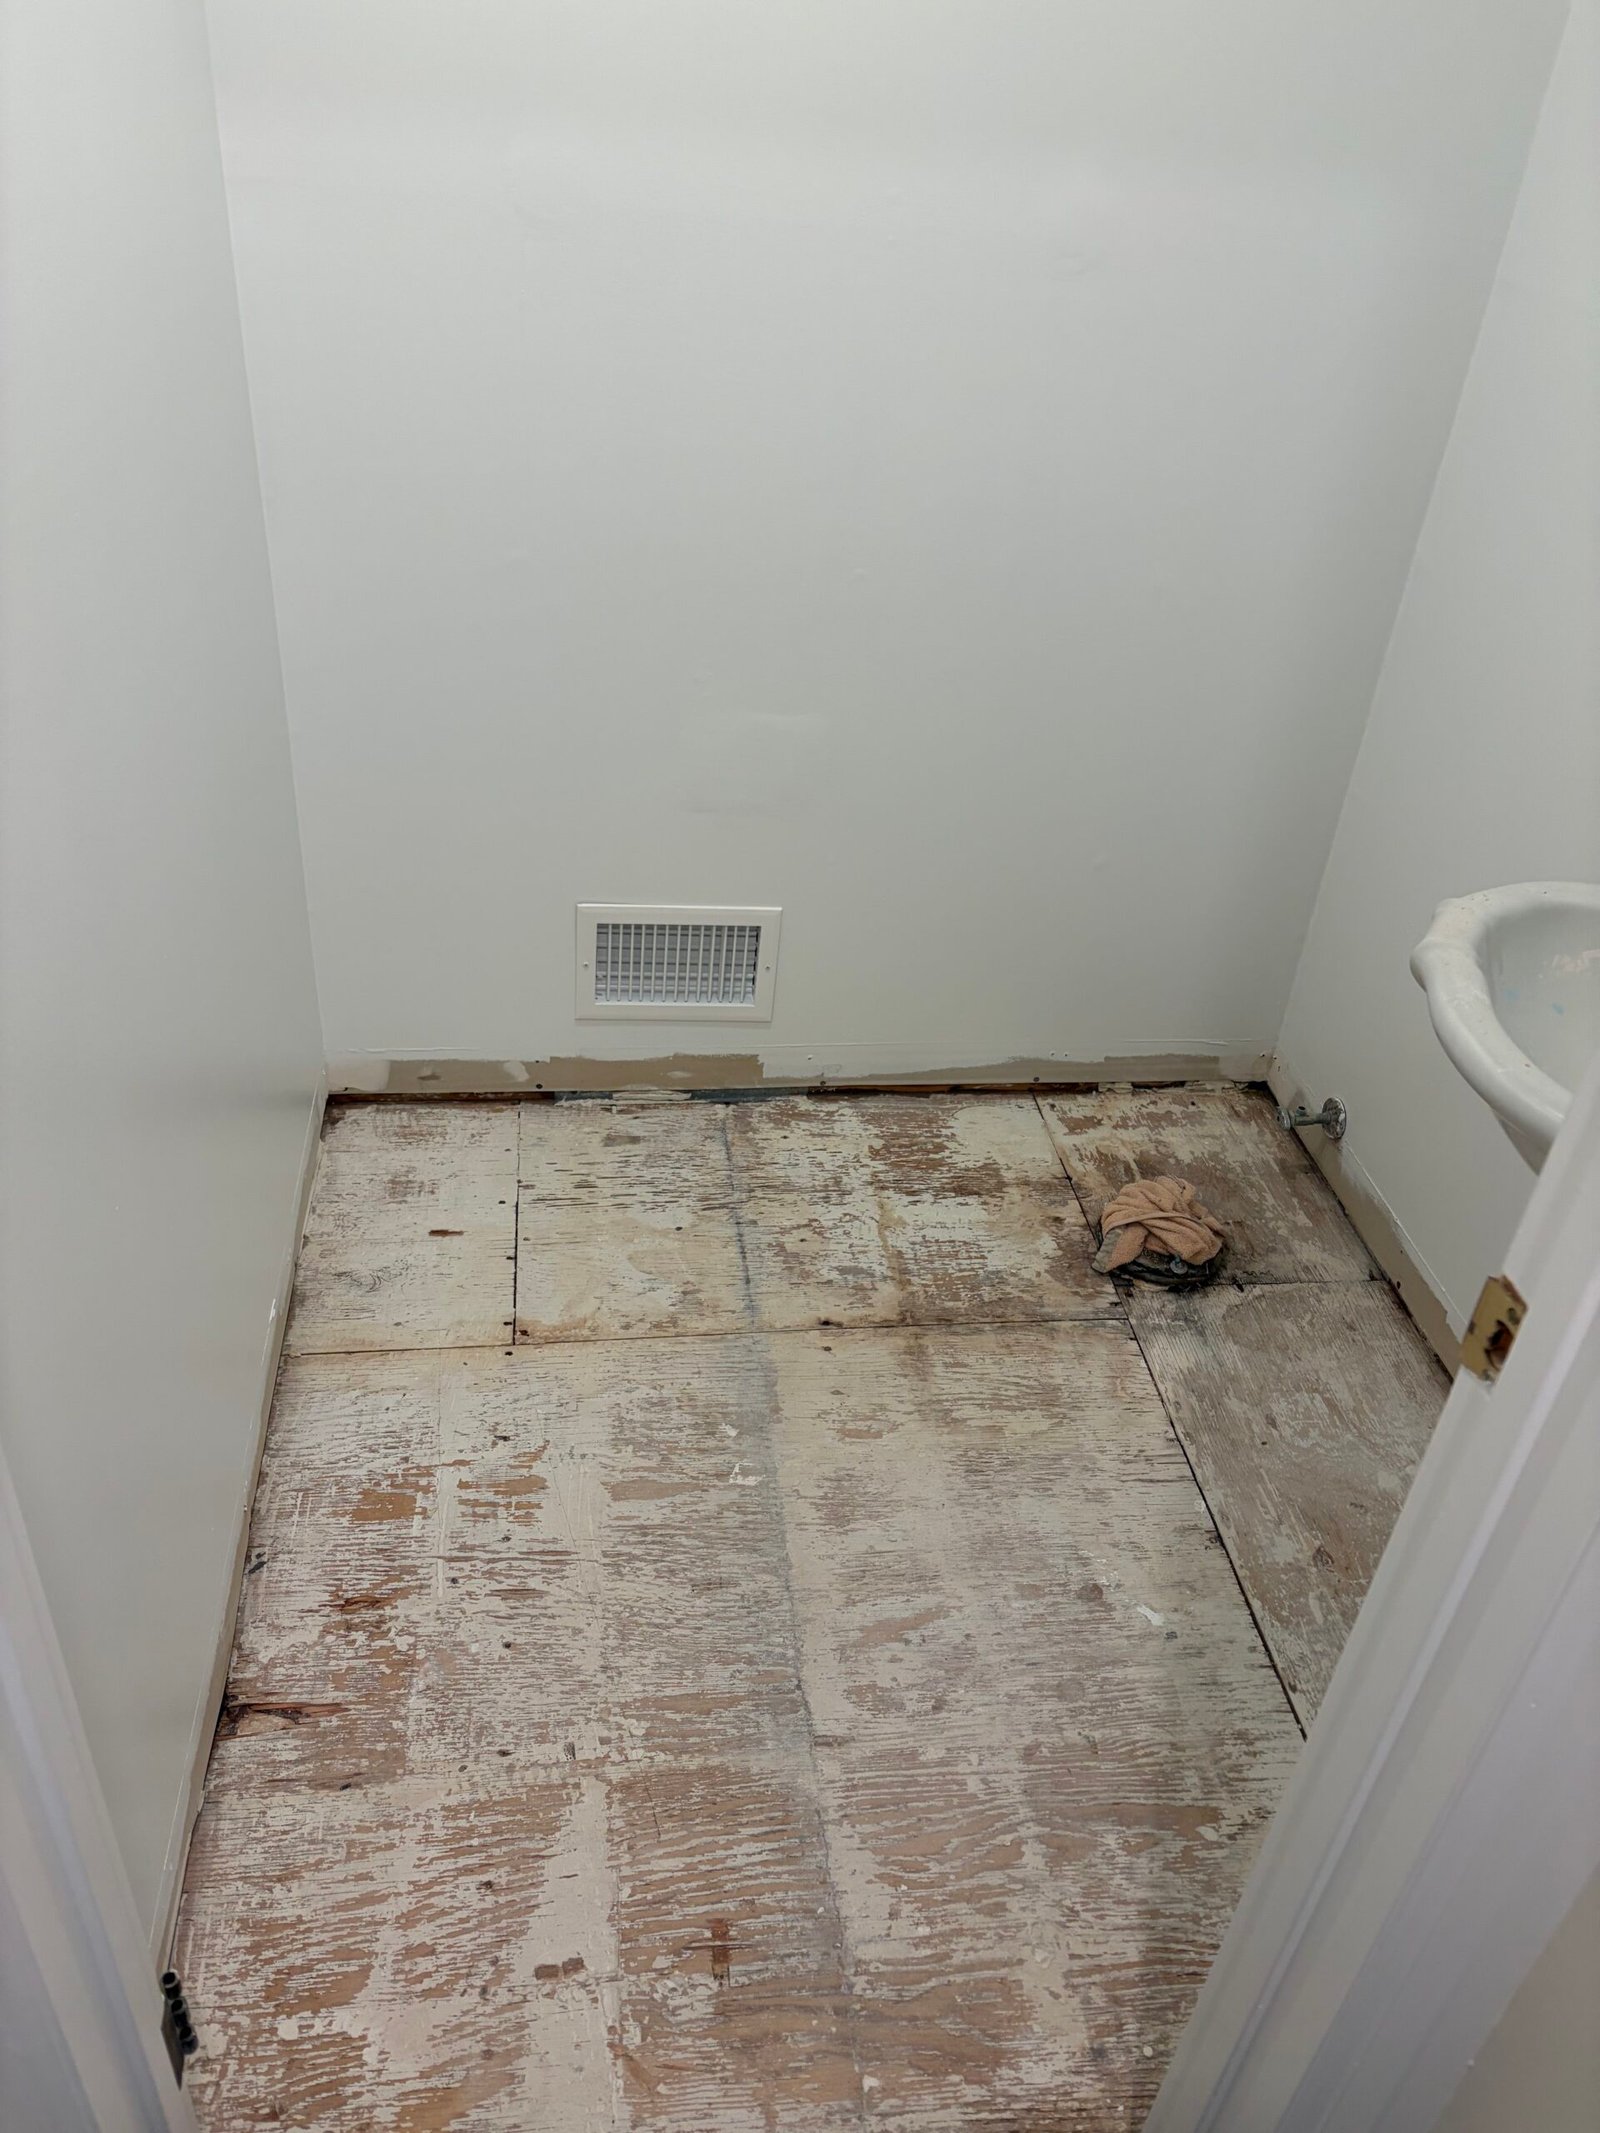
The first photograph shows the room after the old floor covering and toilet had been removed. Floor underlayment and new marble-look tile established the base for the finished powder room.
A gray vanity, white countertop and brass-tone faucet create a coordinated sink area, with matching cabinet hardware and a framed mirror above. The toilet, white baseboards and light wall finishes complete the room.
Explore four stages with seven photographs and three videos. Select a photo to open the gallery, or watch the walkthroughs and project montage alongside the stages they document.
Stage 01
The photo record begins with the old floor covering and toilet already removed. The exposed subfloor, toilet drain and edges of the room show the starting point for the new floor installation.
The first walkthrough records this stage from the doorway, including the walls, floor and existing fixture area before the new finishes were introduced.
This video could not be played here. Open the original video.
Watch this stage
A walkthrough of the powder room with the old floor covering and toilet already removed.
Stage 02
Blue floor underlayment was installed across the powder room. The material was cut around the room edges and toilet drain, leaving that connection accessible for the later fixture installation.
This stage shows the floor surface immediately before the marble-look tile was laid.
Stage 03
Light rectangular tiles with soft gray veining replaced the previous floor finish. The installation photograph shows the layout with leveling clips and spacers still in place.
The next view shows the tile after those installation aids were removed, while the toilet position and wall edges were still open for the remaining work.
Stage 04
A gray vanity with a white countertop, brass-tone faucet and matching cabinet hardware brings storage and a warm accent to the room. A framed mirror sits above the sink.
The toilet, light floor tile, painted walls and white baseboards complete the visible result. Watch the finished-room walkthrough for a closer view, then the project montage to follow the change from the exposed subfloor to the finished powder room.
This video could not be played here. Open the original video.
Watch this stage
See the marble-look floor, gray vanity, brass-tone faucet, framed mirror and toilet together.
This video could not be played here. Open the original video.
Watch this stage
The project montage connects the opened room, floor preparation and tile installation with the finished powder room.
Light tile keeps the floor visually open, while the gray vanity and brass-tone details give the sink area its own character. The photographs and videos connect that finished room with the preparation and installation work.
Thinking about updating a powder room or guest bathroom? Share your property location, photographs and the changes you have in mind. Nashkov Group can help you plan the scope and bring the finishes together.
Discuss your bathroom project