Phone:
(848)318-7679
Physical address:
954 Vaughn Ave, Toms River 08753

Phone:
(848)318-7679
Physical address:
954 Vaughn Ave, Toms River 08753
Project story
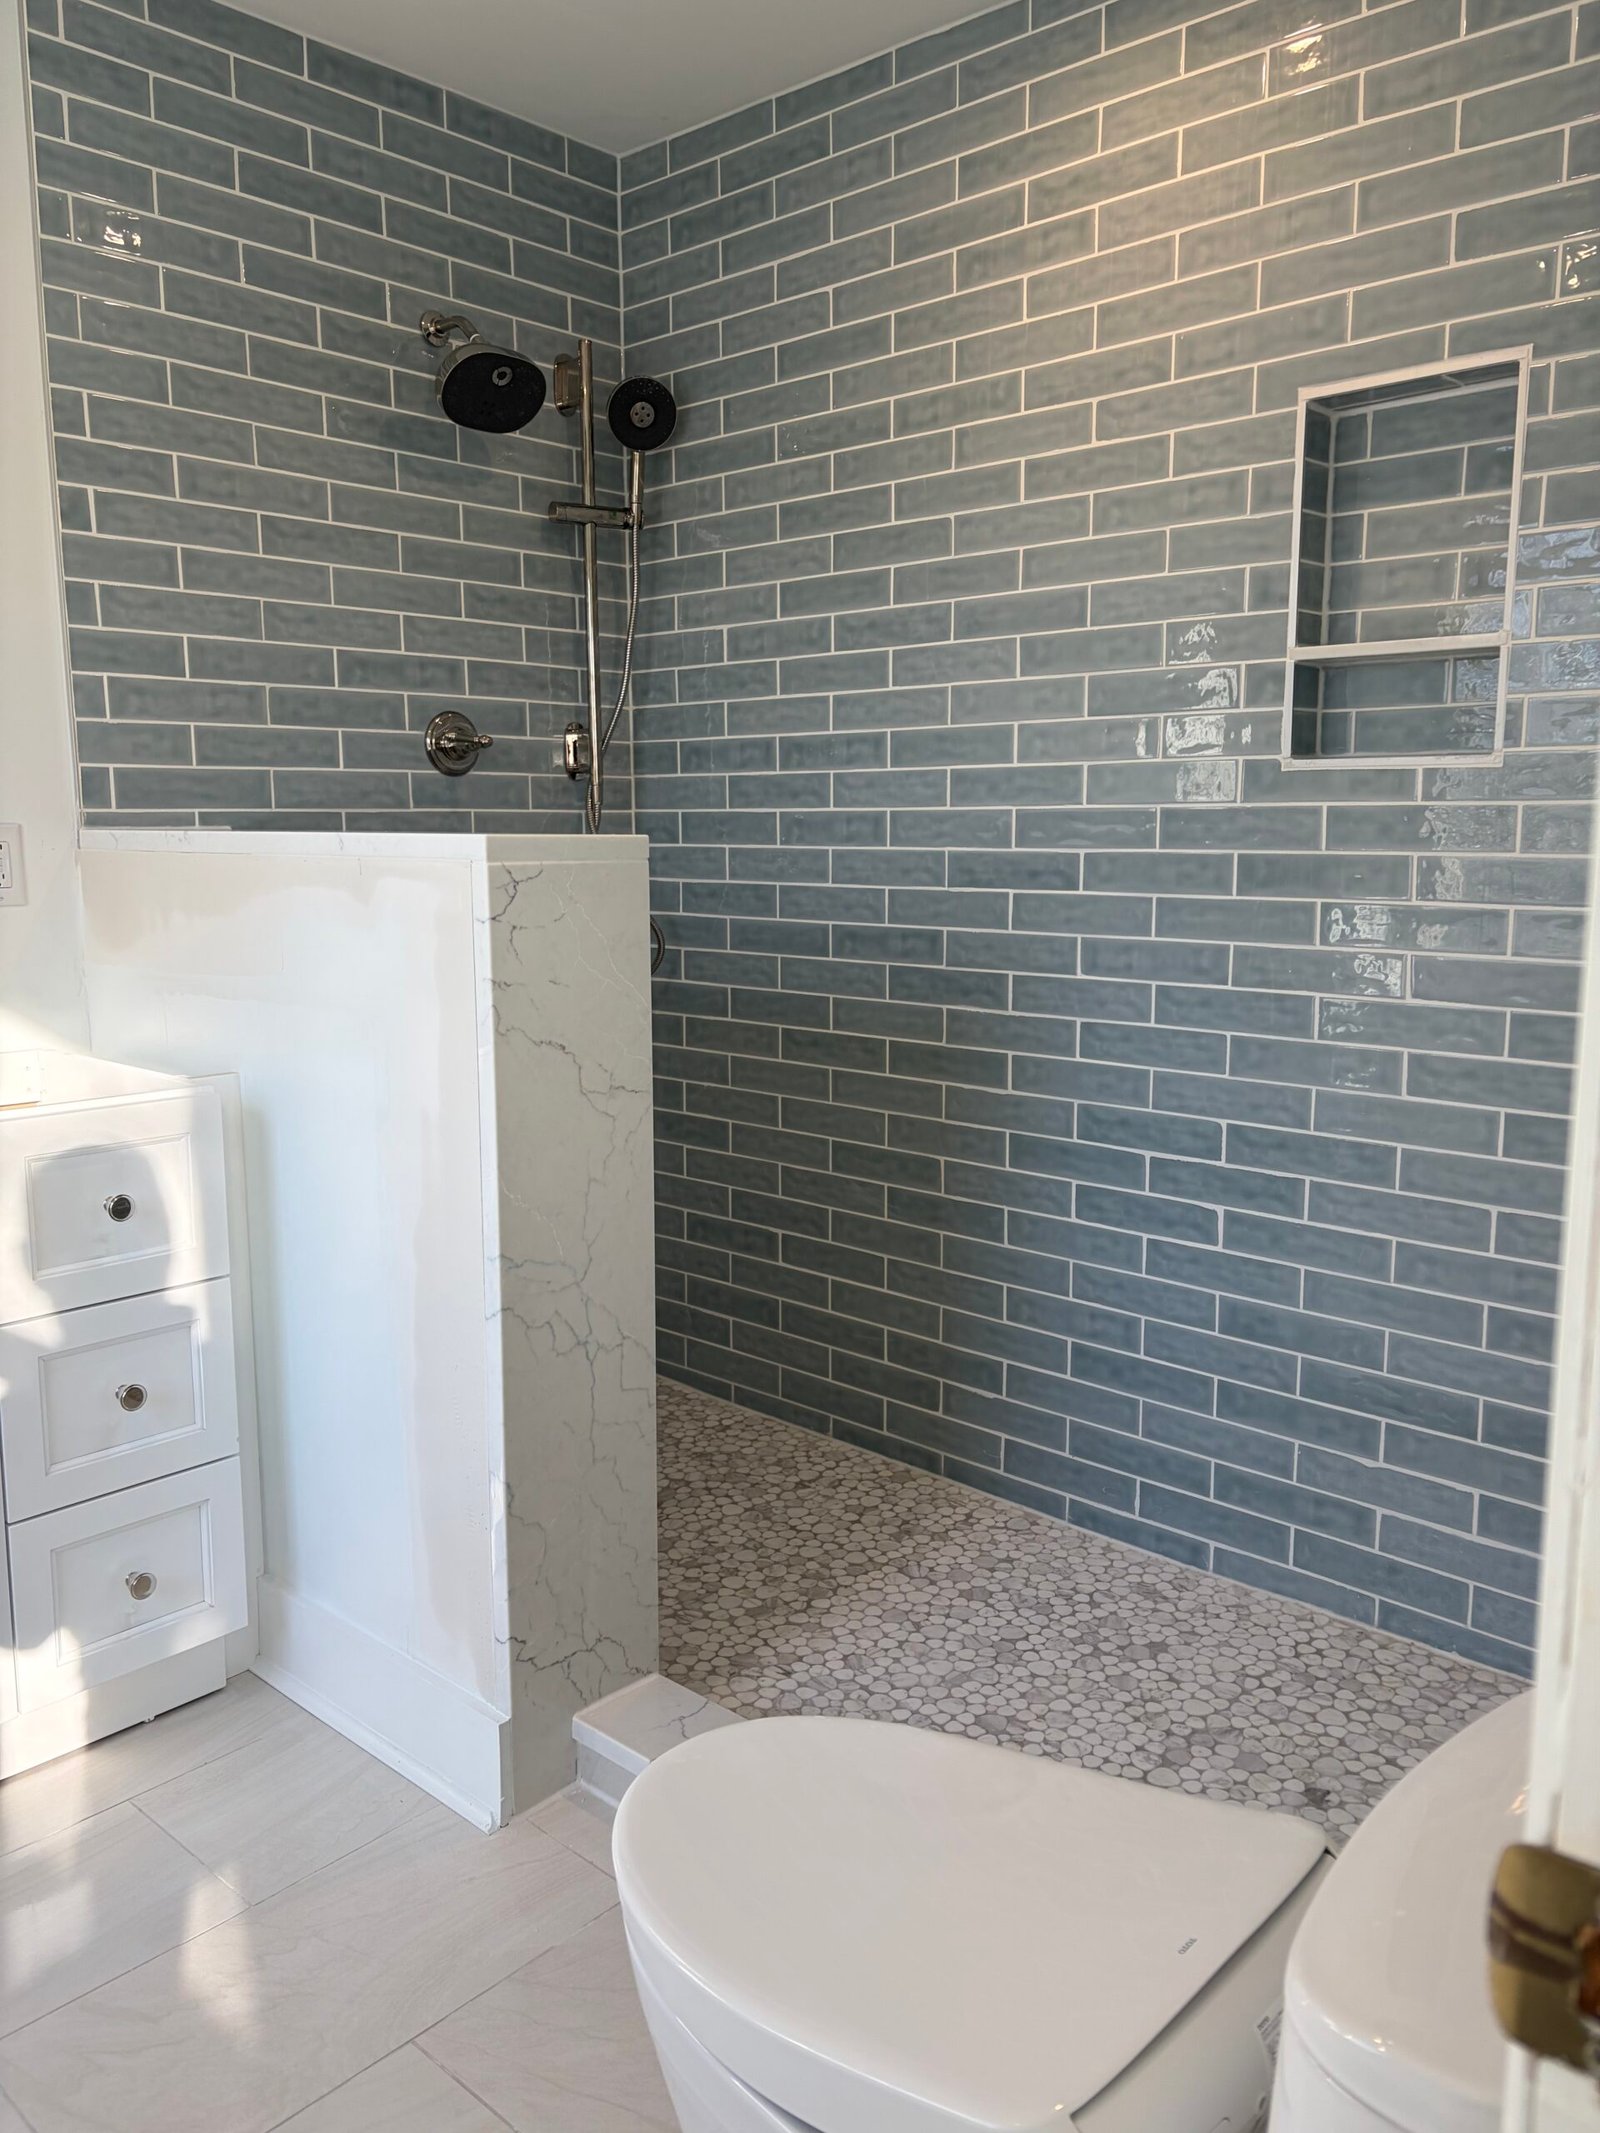
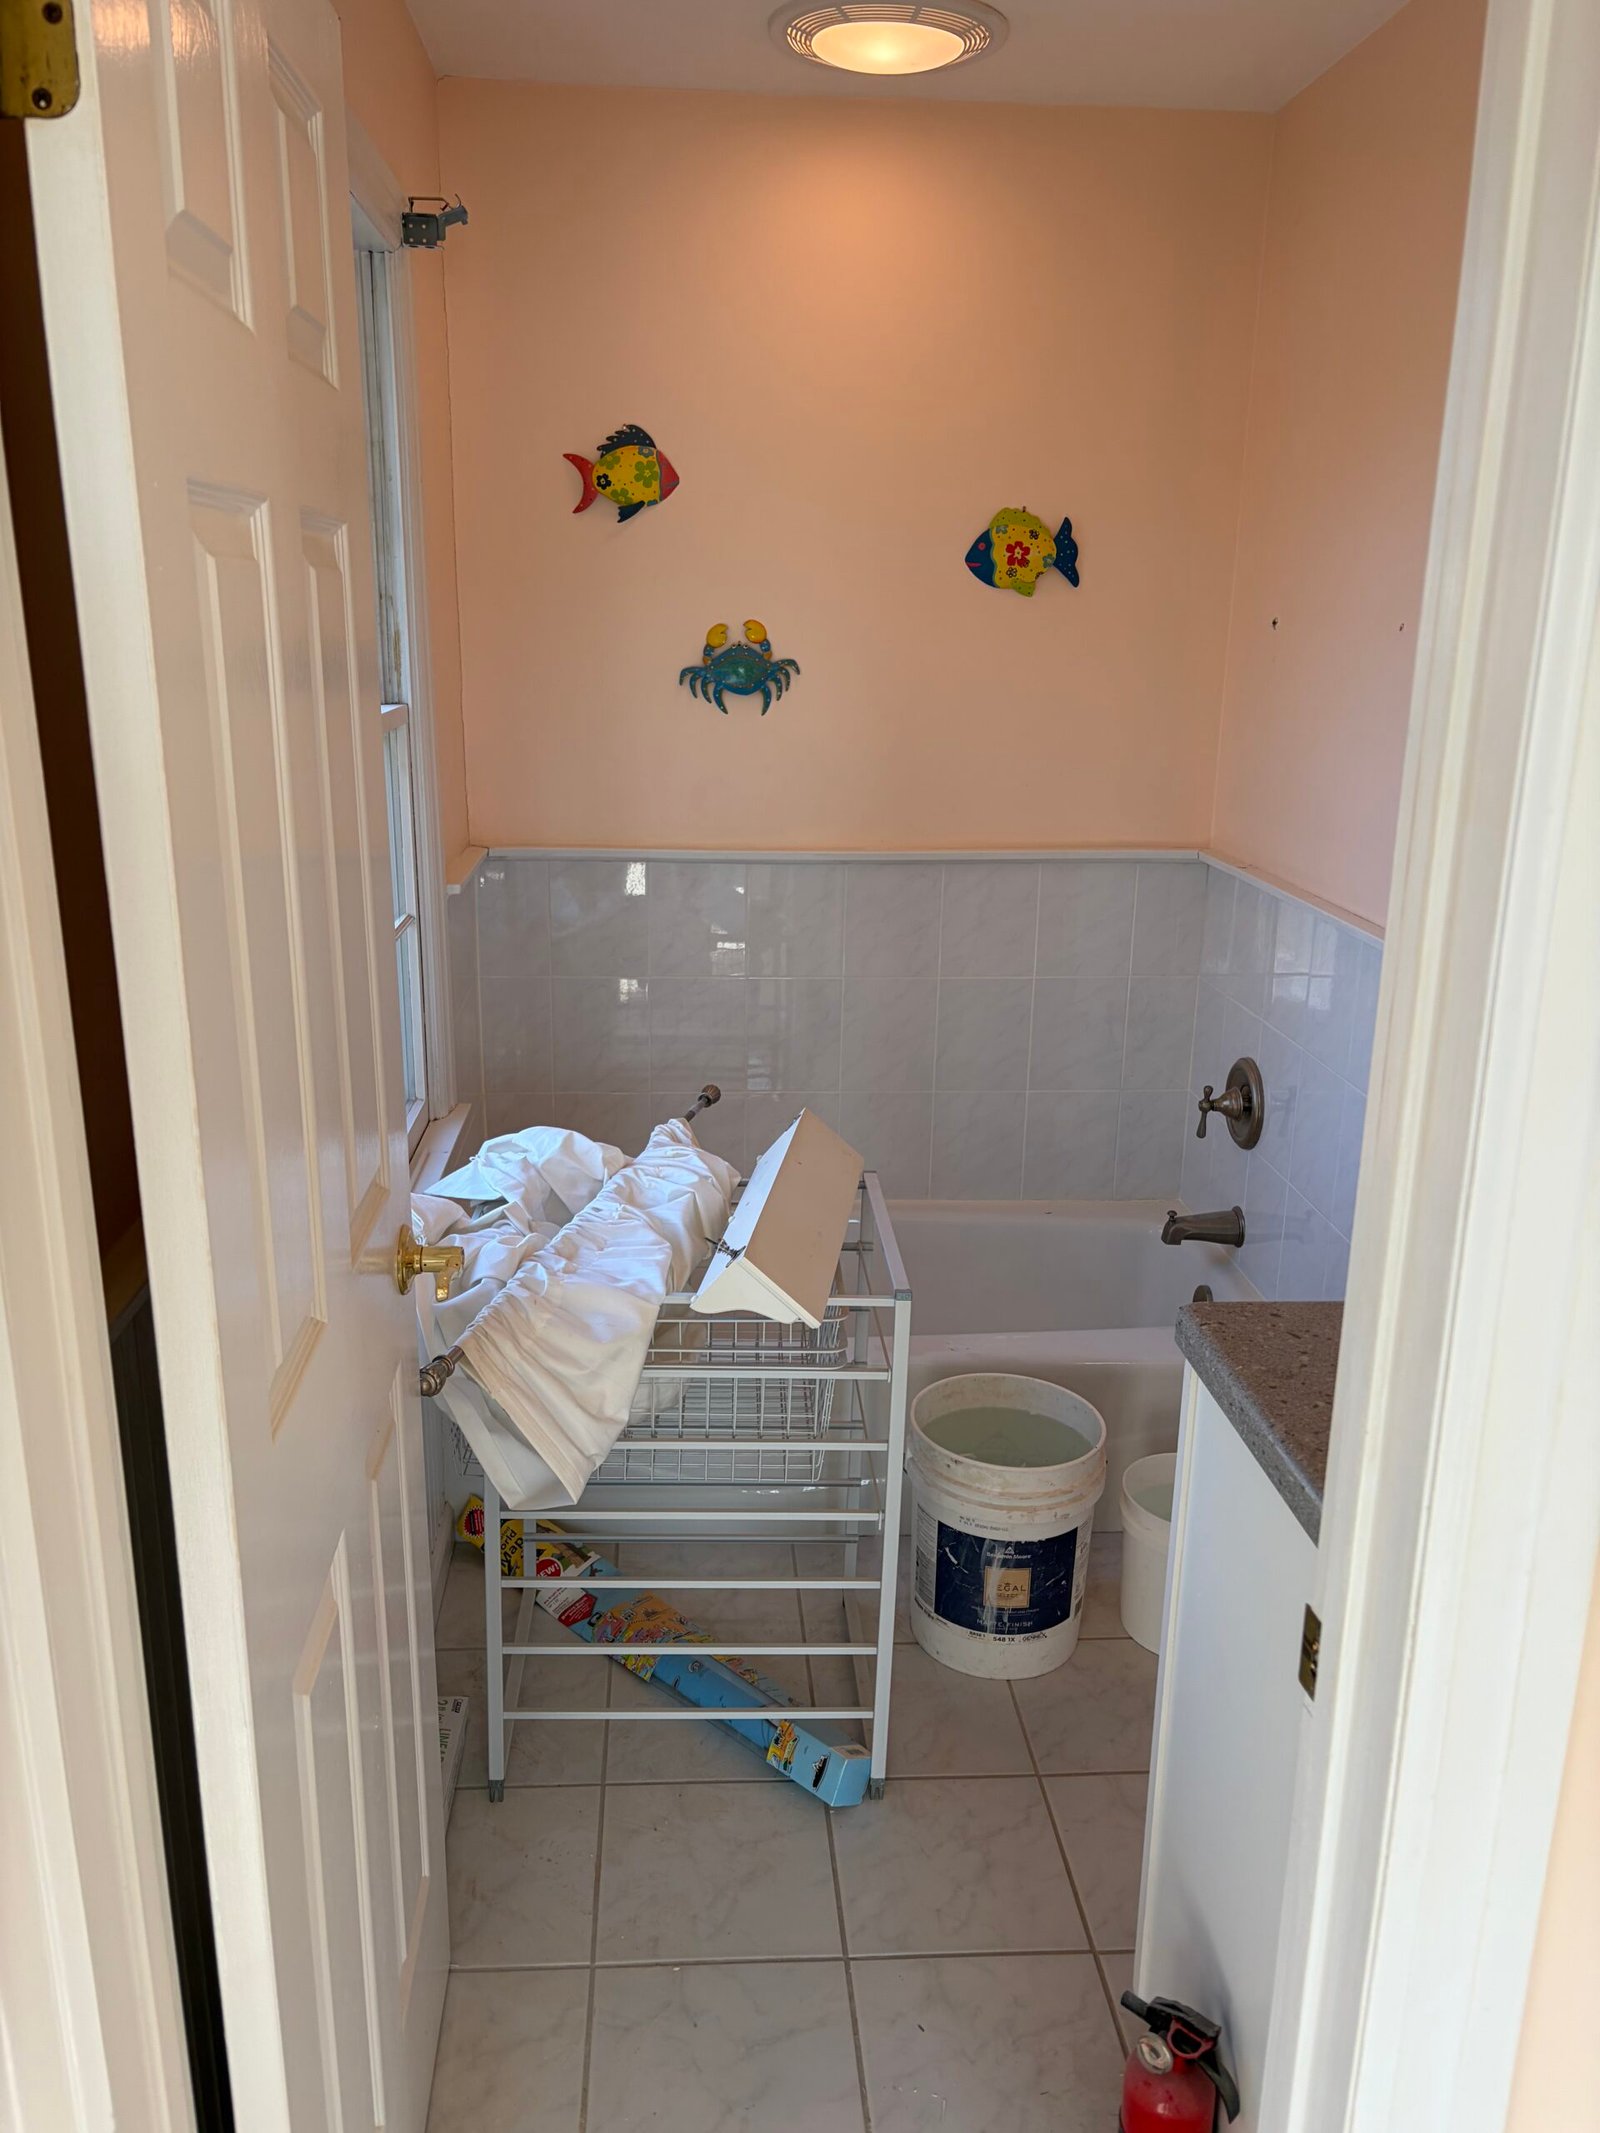
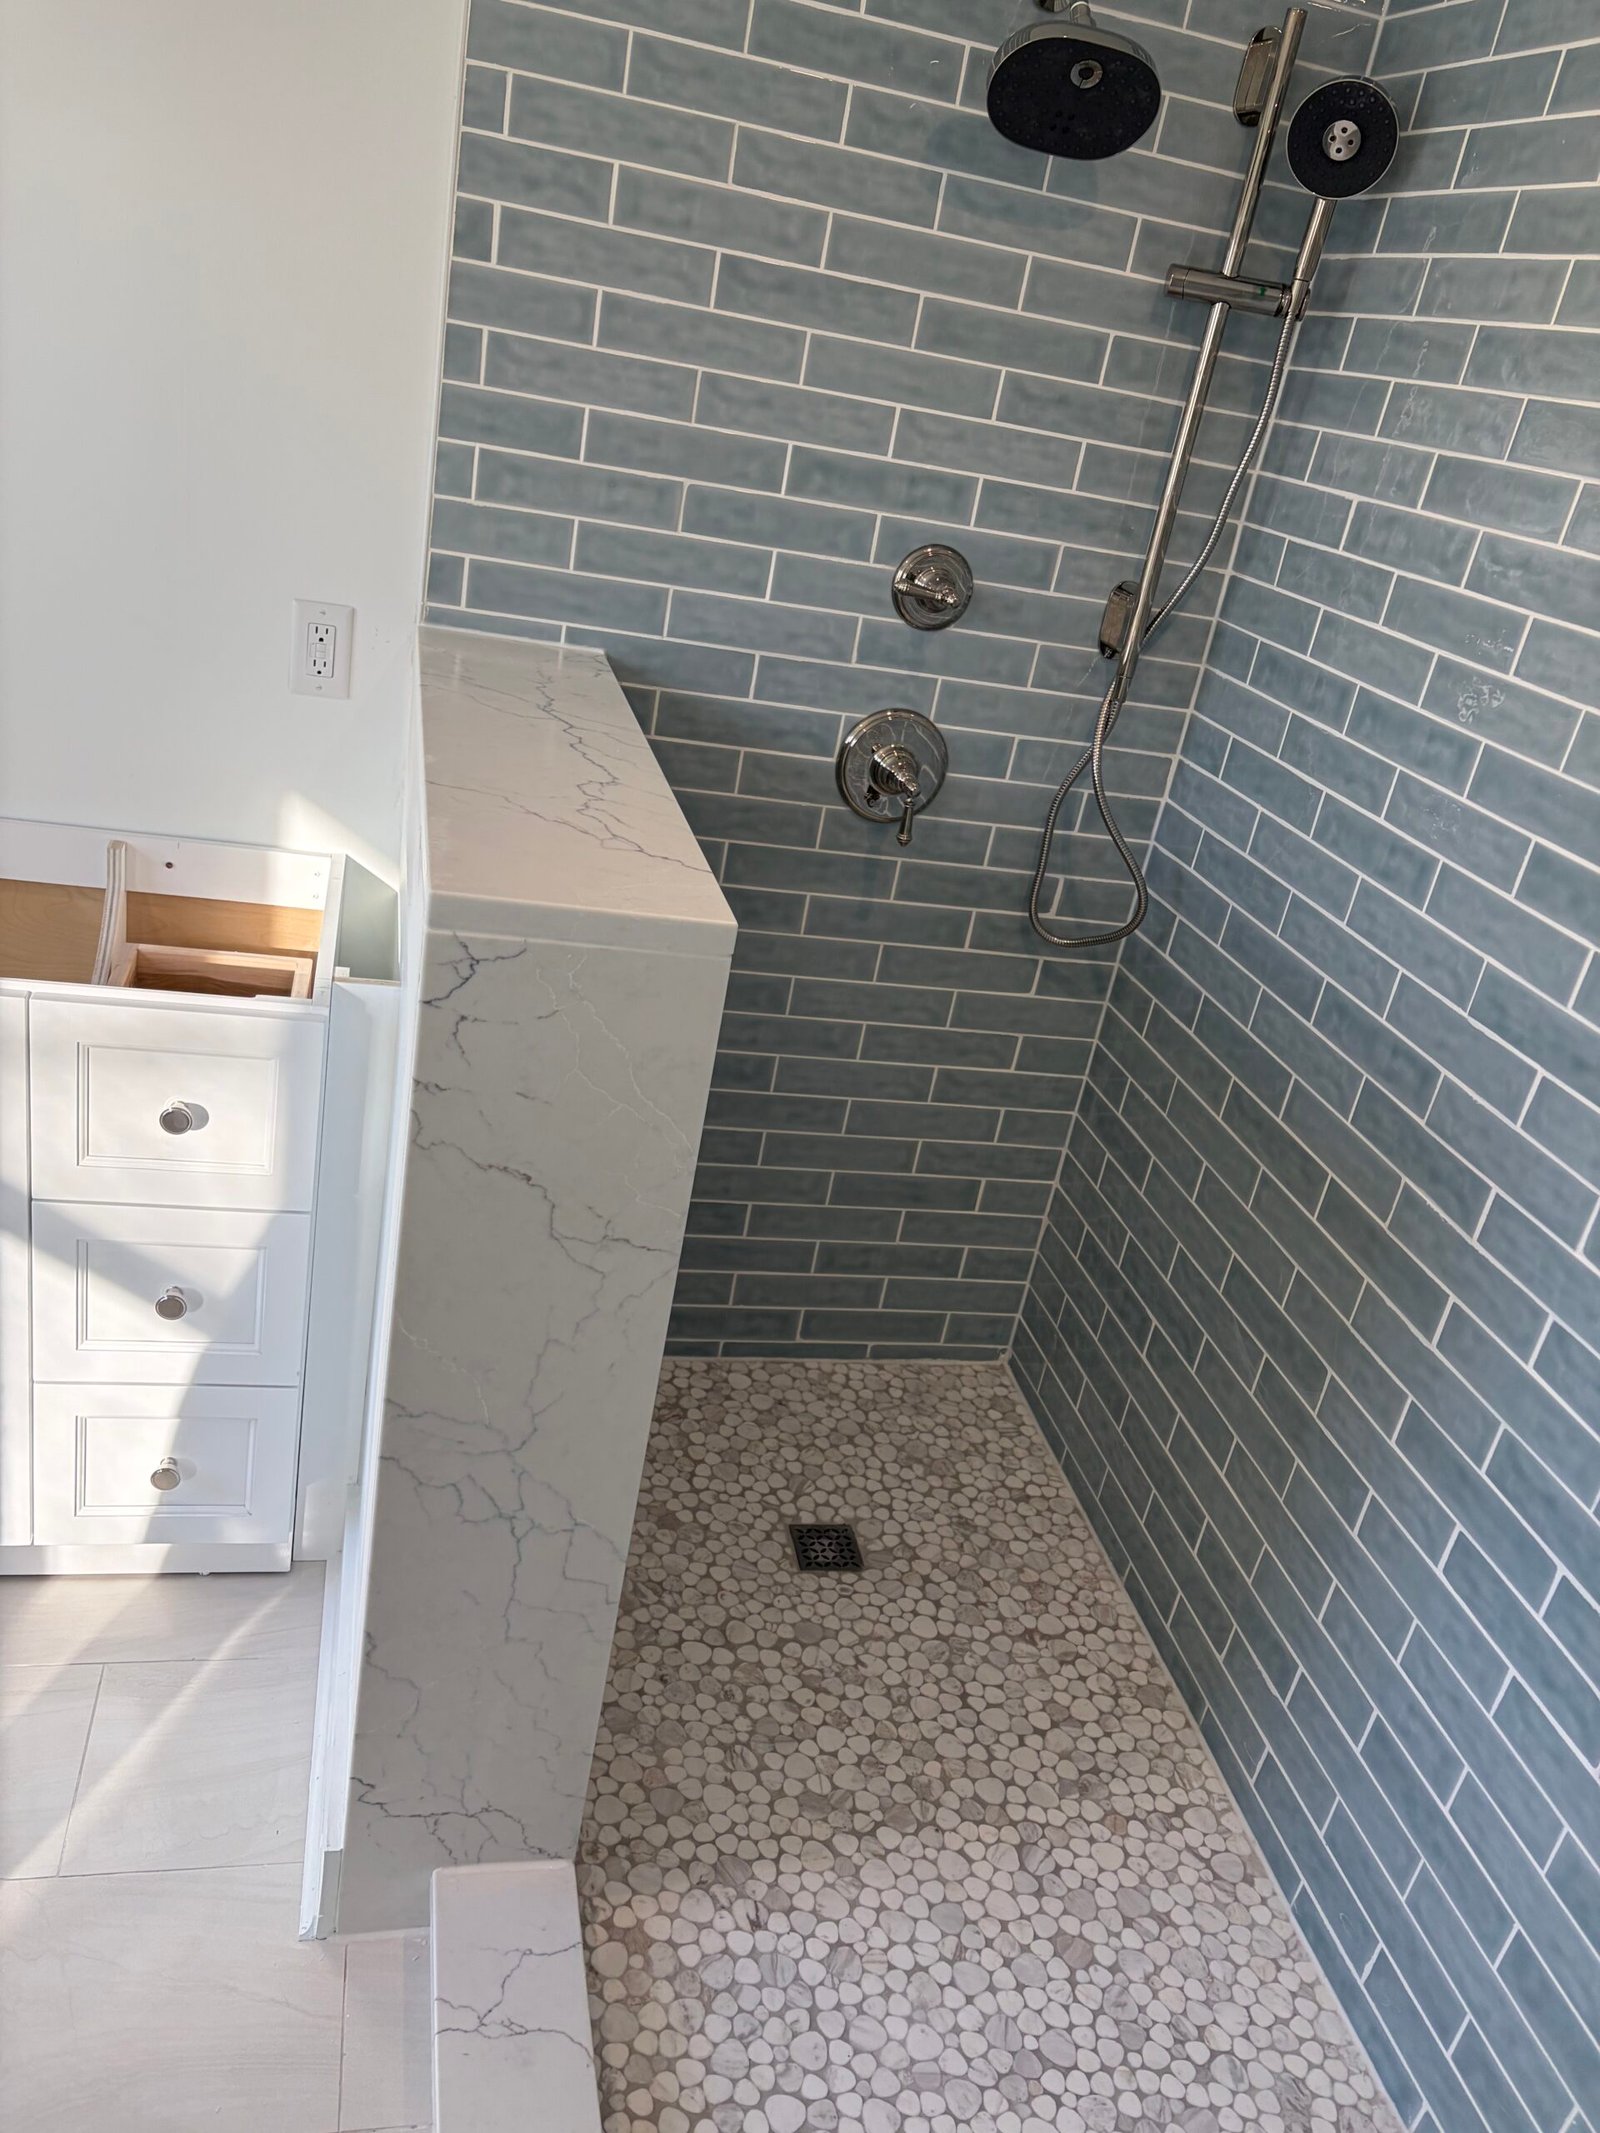
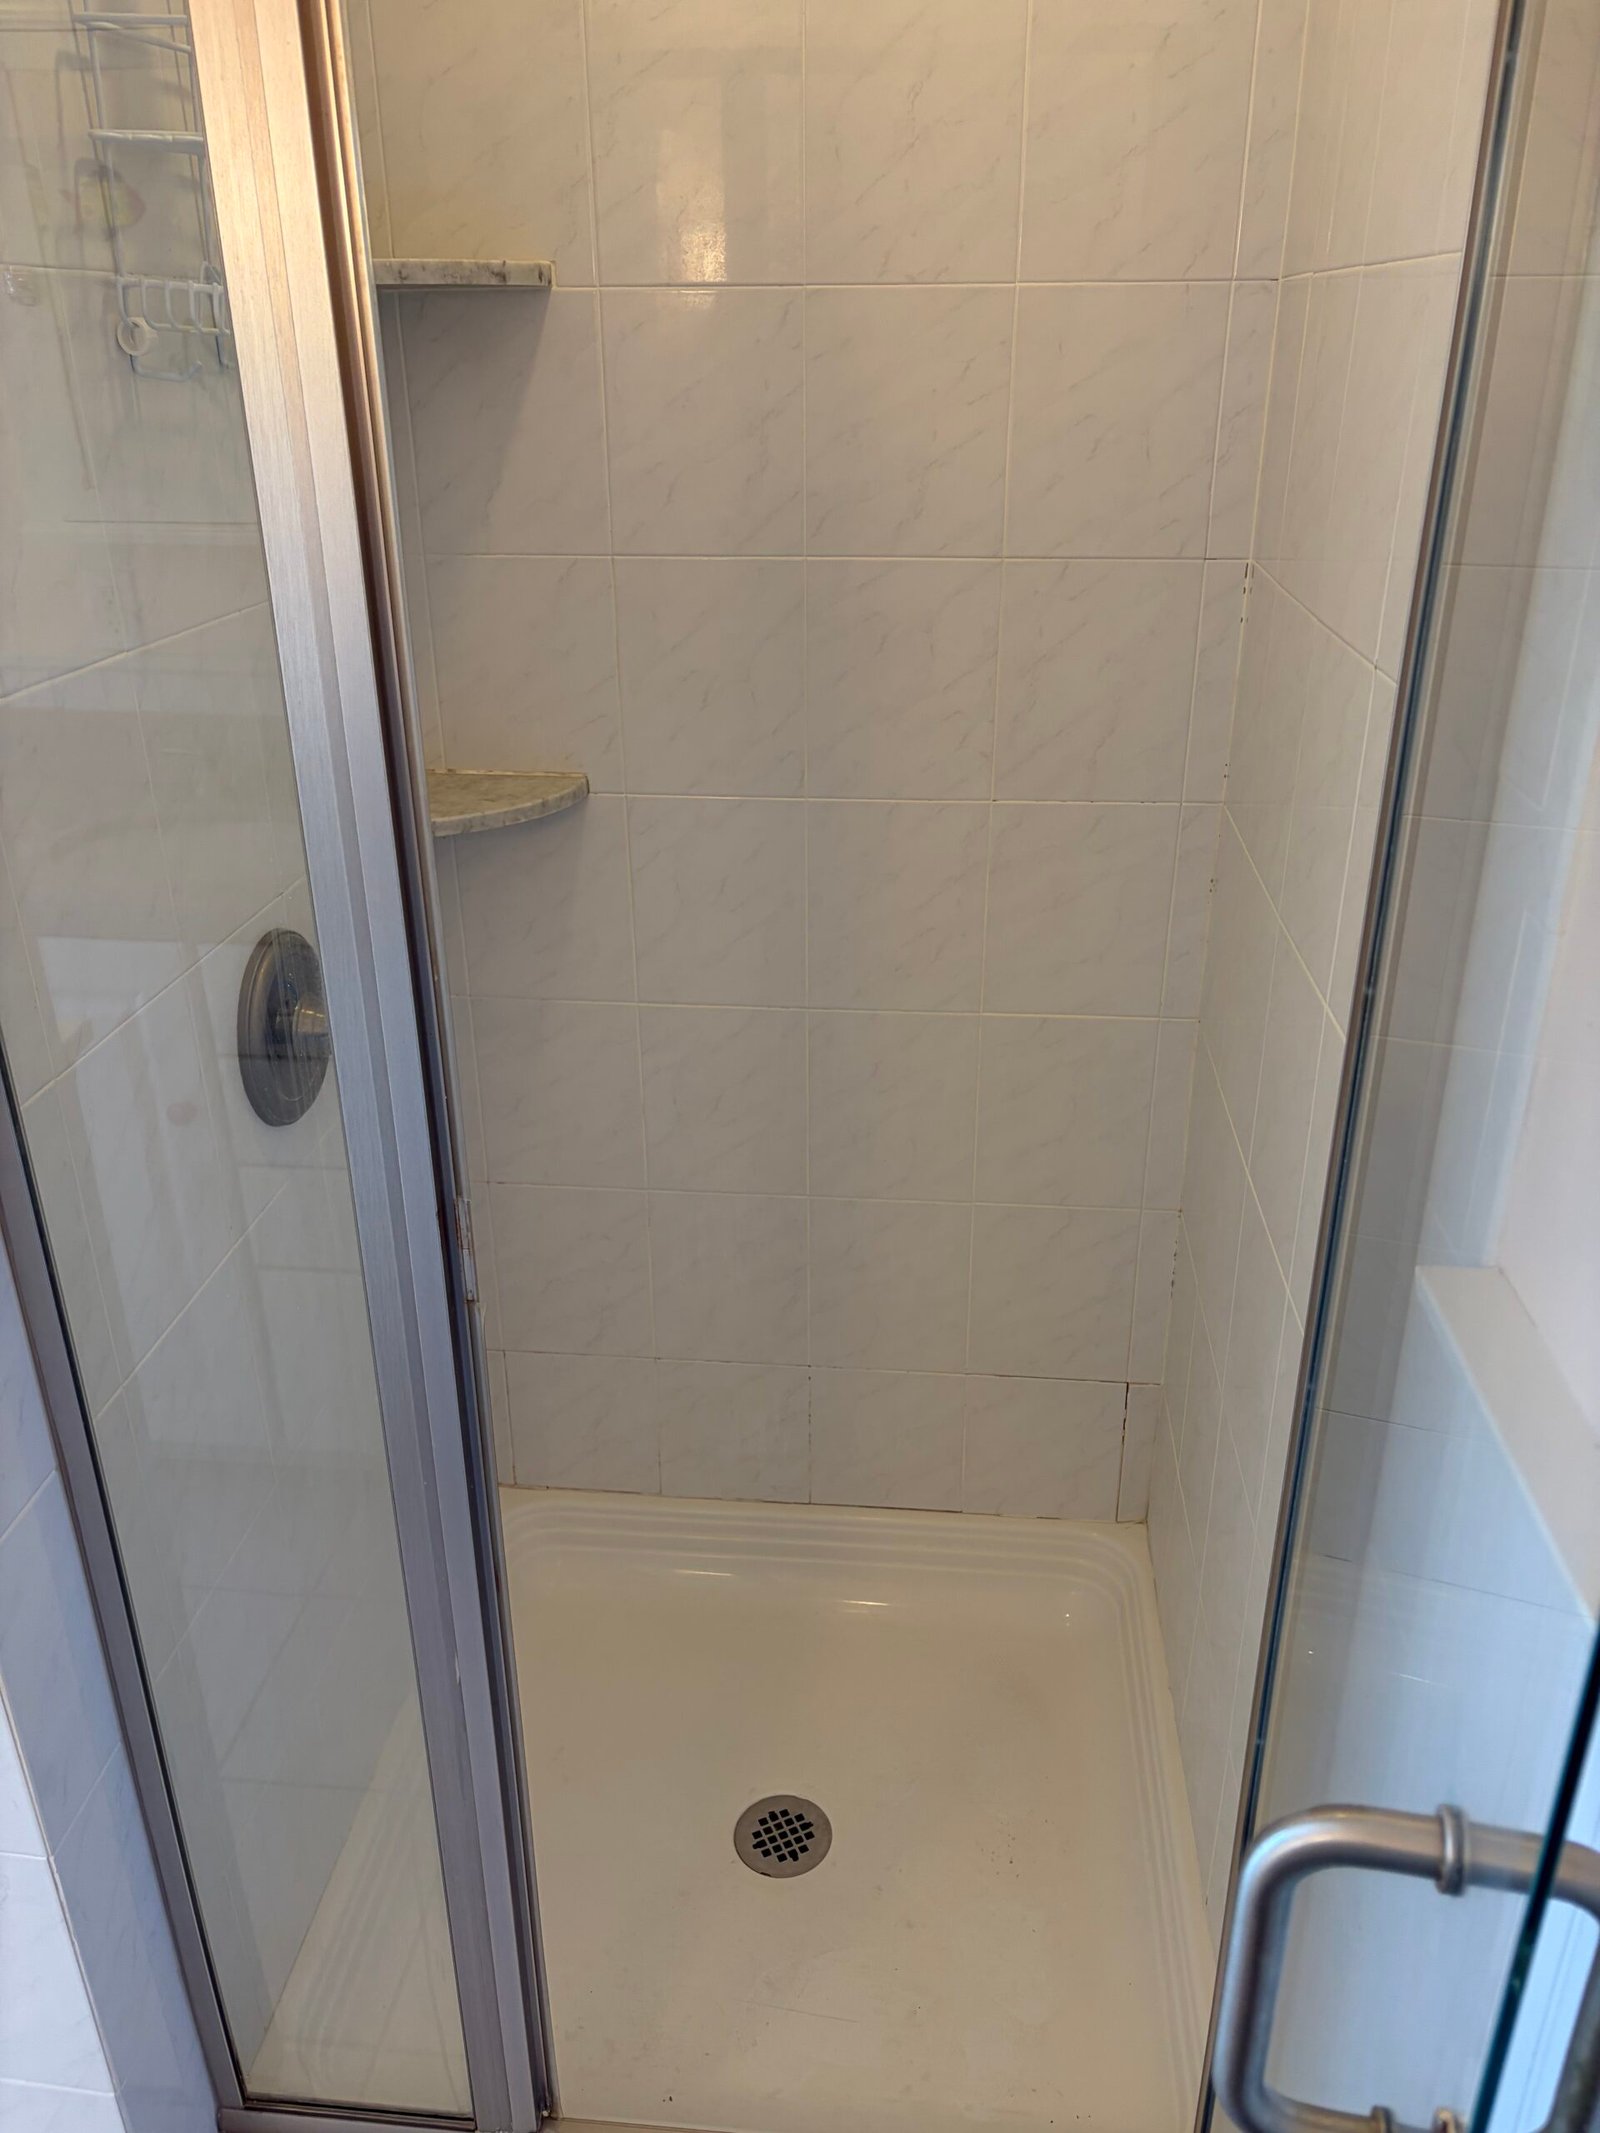
Peach-colored walls, a bathtub and an enclosed shower gave way to a blue-tiled walk-in shower, mosaic shower floor and light bathroom finishes. Follow the renovation from the original room through demolition, preparation and tilework, with photographs and videos alongside the stages.
 AFTER
 BEFORE
 AFTER
 BEFORE
This renovation brought the bathing areas, floor and wall finishes into a different arrangement. The photographs begin with the original bathtub, enclosed shower and vanity, then follow the room as those elements are removed and the underlying construction is opened up.
The rebuild introduces a walk-in shower with blue subway-style wall tile, a recessed niche, a corner shelf and a mosaic floor. A white vanity, updated toilet and light bathroom floor carry the new finish into the rest of the room.
Follow seven stages with 26 photographs and eight videos. Select a photo to open the gallery here; play each video beside the stage it documents.
Stage 01
The original room combined peach-colored walls, a tiled floor, a bathtub and a separate enclosed shower. A white vanity, countertop, toilet and window completed the existing arrangement. The first photographs and walkthrough record those fixtures and finishes before the room was opened up.
These starting views give context to the scale of the renovation: the work would involve the bathing areas, the floor, wall surfaces and the fixtures around them.
This video could not be played here. Open the original video.
Watch this stage
A walkthrough of the bathtub area, enclosed shower, vanity and original finishes before the renovation.
Stage 02
The old floor tile and selected wall finishes were removed, exposing the wall framing and insulation around the bathing areas and former vanity. The photographs show the room while the old bathtub and shower components were still being taken out.
Opening these surfaces made the underlying construction and service locations accessible for the rebuild. The accompanying video follows the room during this removal stage.
This video could not be played here. Open the original video.
Watch this stage
See the room during demolition, with the wall cavities exposed and the old fixtures still being removed.
Stage 03
The next sequence shows opened floor sections, exposed framing and the pipework serving the new shower arrangement. Shower controls and supply connections are visible while the walls remain open, alongside work at the subfloor.
Blue floor underlayment appears as preparation progresses through the room. These photographs and the video connect the removal work with the new surfaces that follow, before the installation is closed in.
This video could not be played here. Open the original video.
Watch this stage
A closer look at the open walls, service connections and floor preparation before the new finishes.
Stage 04
New wall surfaces and a partition reshape the shower area within the room. Wall boards, treated seams and the recessed niche are visible before the decorative tile finish, while the shower base and plumbing openings define the next installation steps.
The two videos show this stage from different positions: a walkthrough of the prepared room and a closer look at the shower base and wall details. The photographs record the same work before it is covered by tile.
This video could not be played here. Open the original video.
Watch this stage
Follow the new wall-board surfaces, partition and shower area while the room is being prepared for tile.
This video could not be played here. Open the original video.
Watch this stage
A closer view of the shower base, plumbing openings and treated wall joints before the next installation stage.
Stage 05
Small mosaic tile forms the shower floor, while larger light-colored tiles run across the main bathroom floor. Installation photographs show the floor tiles with leveling clips still in place and the transition into the shower area.
A white vanity cabinet is then positioned over the new floor. The contrast between the light floor and cabinetry sets the base for the blue wall tile and fittings that complete the visible design.
Stage 06
Blue subway-style tile is installed across the shower walls, with detailed cuts around the plumbing fittings, recessed niche and the edges of the partition. The photographs show the tile progressing through these areas while installation is still underway.
The varied blue surface and defined joints give the shower its character. The landscape photograph keeps the wider wall and niche in view, while the adjacent image shows how the tiled section meets the room finishes.
Stage 07
The final photographs bring the blue shower walls, recessed niche, corner shelf and mosaic floor together. A white partition separates the shower edge from the vanity, while the light bathroom floor and updated toilet connect the surrounding room.
The shower fittings and handheld shower are visible in the close view. Watch the two finished-room videos for the layout and details, then use the project montage to compare the starting room, construction stages and result.
This video could not be played here. Open the original video.
Watch this stage
See the light floor, white fixtures, blue shower tile and shower fittings together in the updated room.
This video could not be played here. Open the original video.
Watch this stage
Explore the recessed niche, corner shelf, mosaic floor and the relationship between the shower and the rest of the bathroom.
This video could not be played here. Open the original video.
Watch this stage
A project montage connecting the original room, the work in progress and the blue-tiled shower result.
Blue wall tile and a detailed mosaic floor give the shower its character, while white fixtures and a light bathroom floor bring the wider room together. The photographs and videos connect that visible result with the preparation and construction behind it.
Thinking about a bathroom renovation of your own? Share your property location, photographs and the changes you have in mind. Nashkov Group can help shape the scope from the existing room to the finishes you want.
Discuss your bathroom project