Phone:
(848)318-7679
Physical address:
954 Vaughn Ave, Toms River 08753

Phone:
(848)318-7679
Physical address:
954 Vaughn Ave, Toms River 08753
Project story
A bathtub behind framed glass doors became a walk-in shower with vertical blue-gray tile, a hexagonal mosaic floor and warm brass-tone details. Follow the room from the original finishes through removal, shower preparation and tilework to the glass enclosure and finished details.
 AFTER
 BEFORE
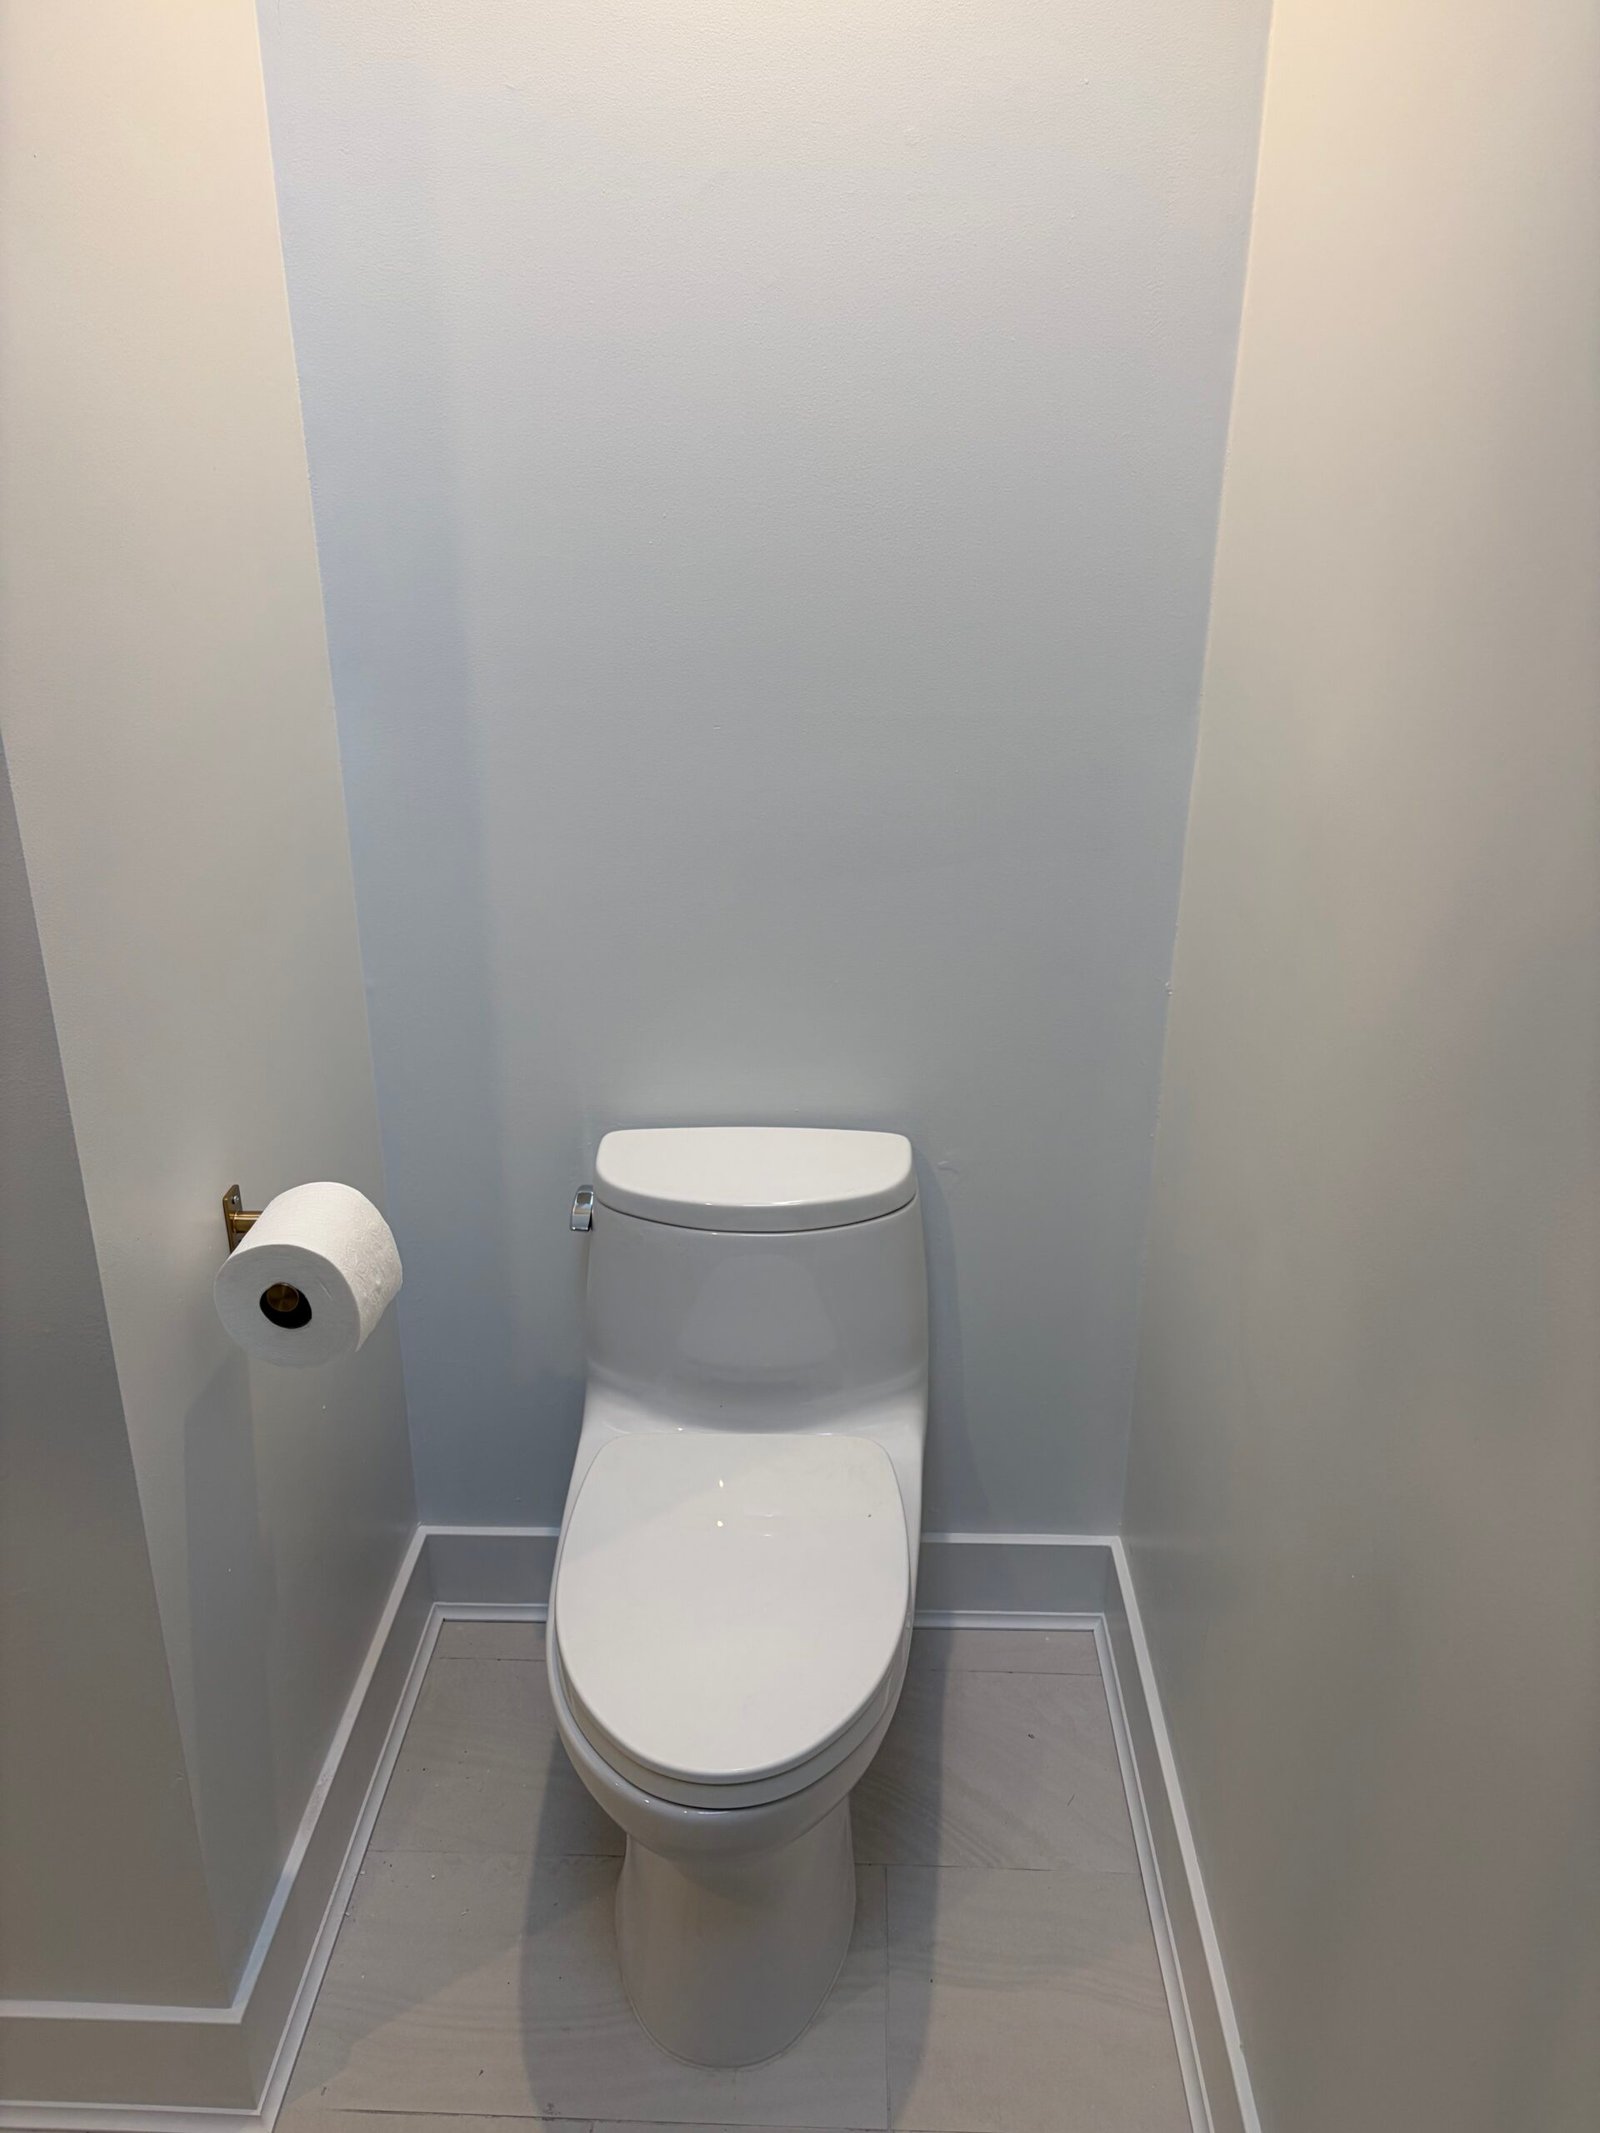 AFTER
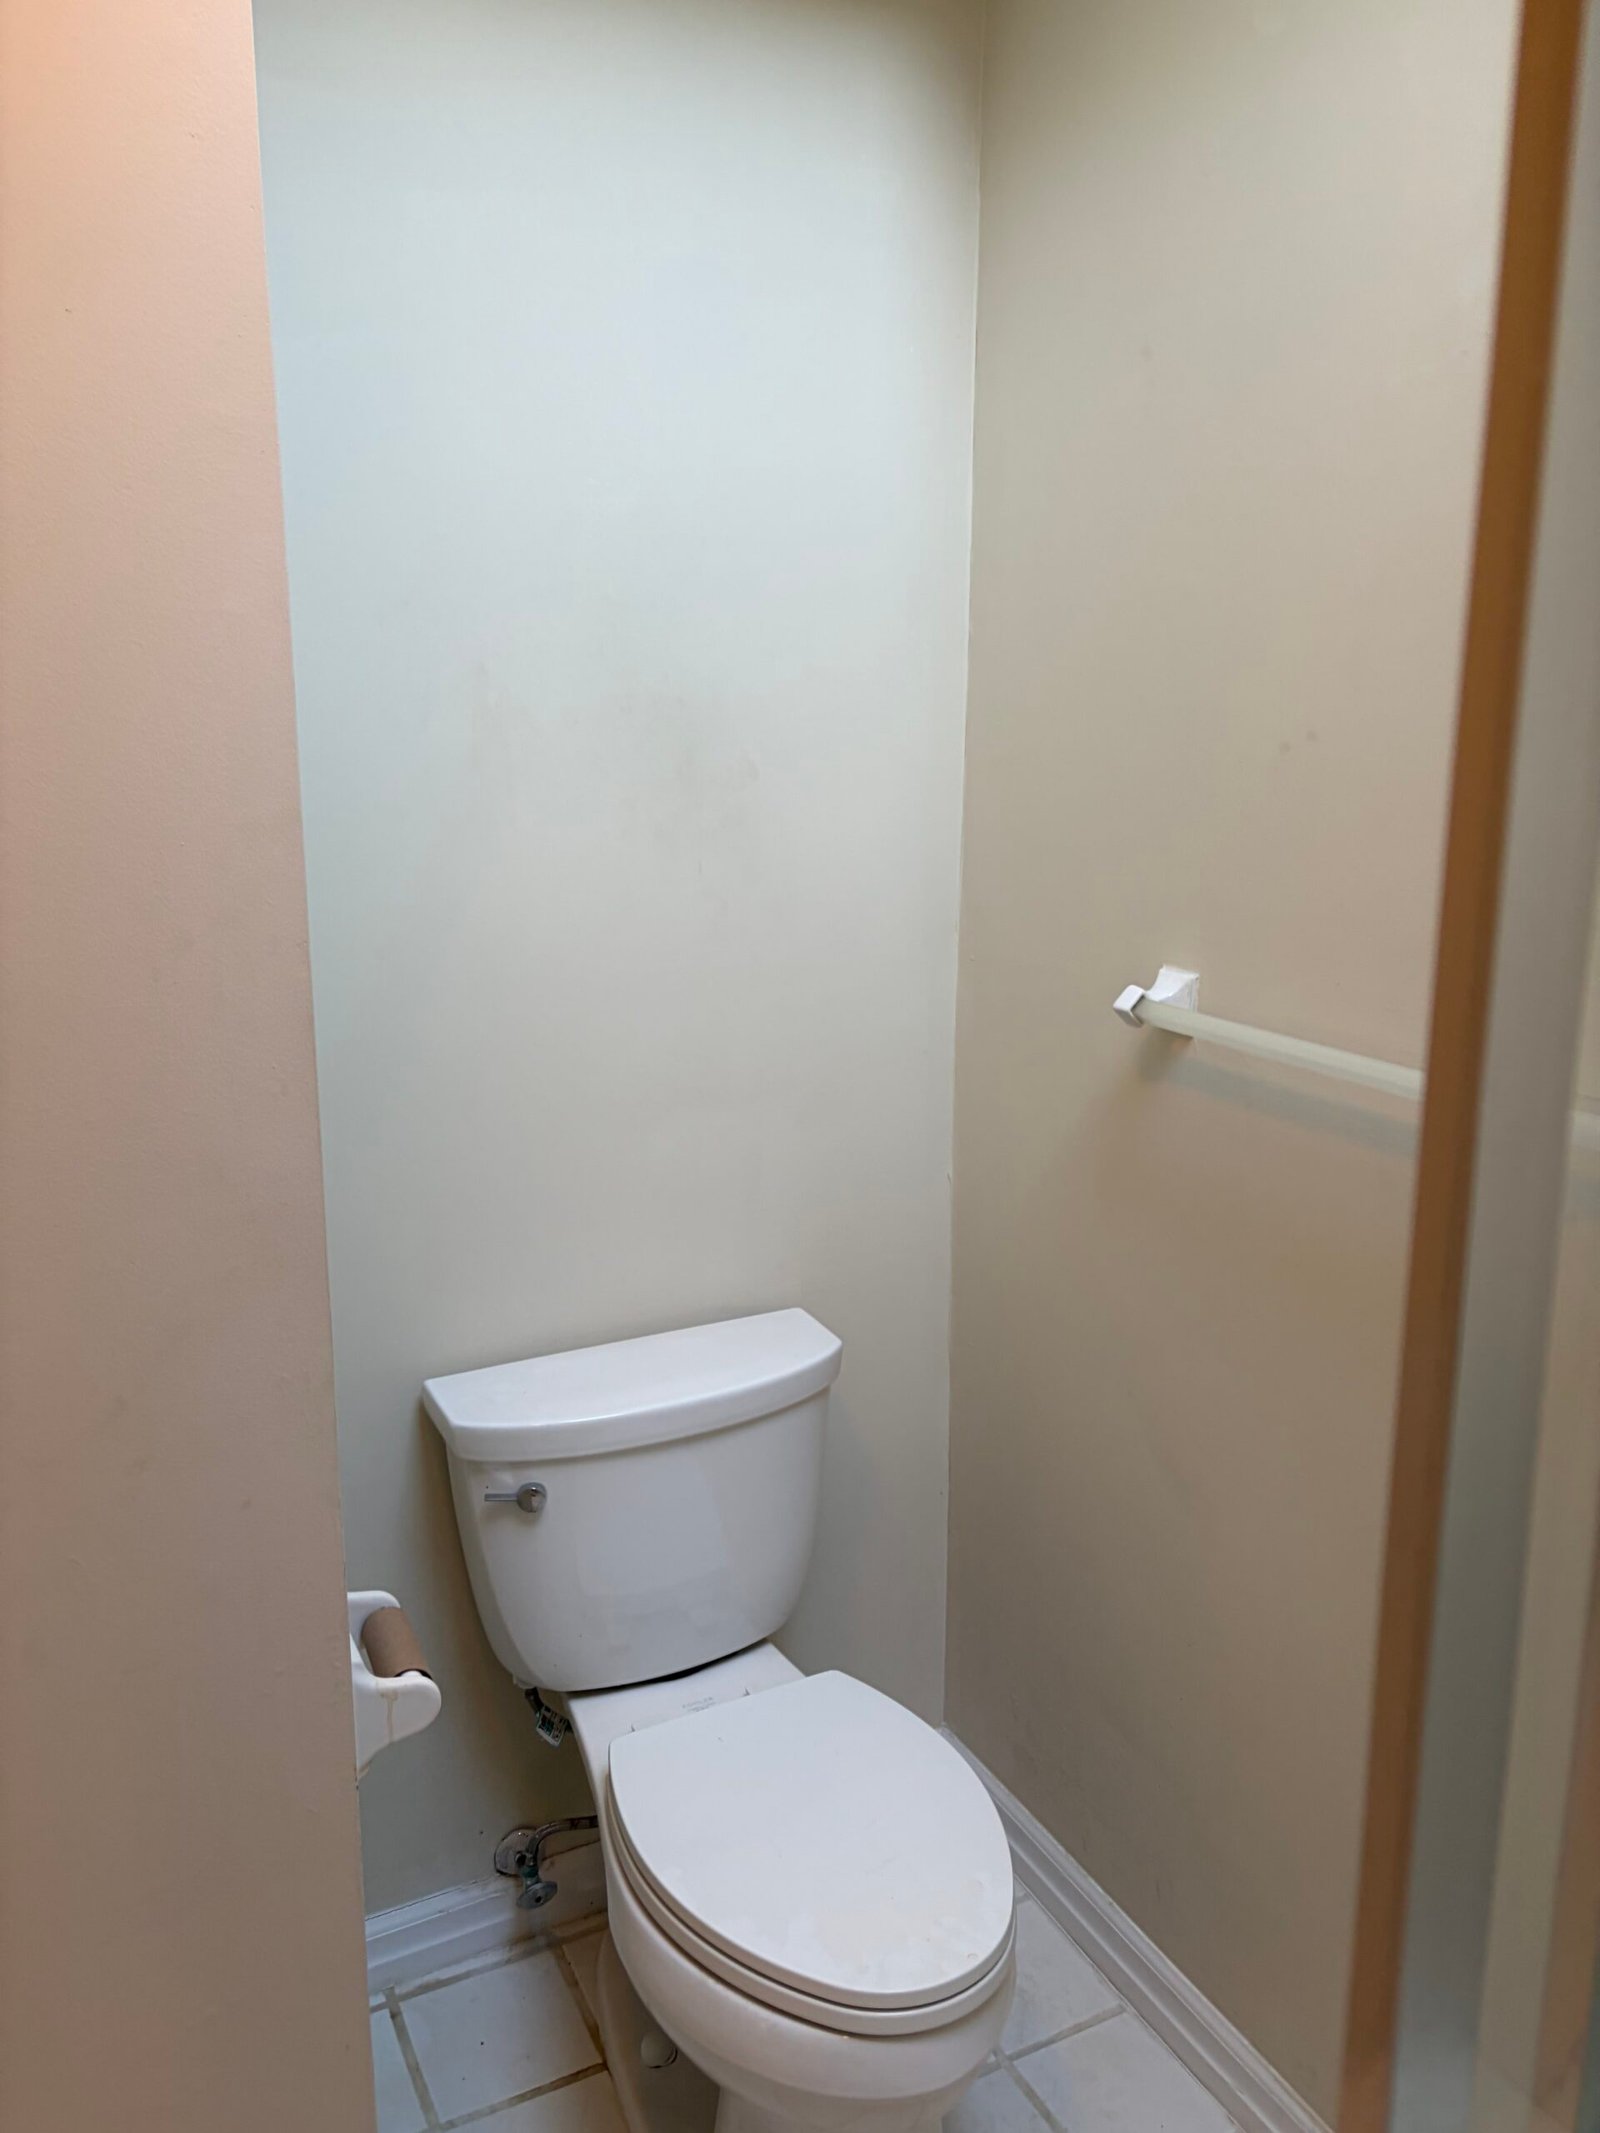 BEFORE
The original white tile surround, bathtub and framed enclosure were removed to make room for a tiled walk-in shower. The construction photographs show the exposed walls and plumbing, new shower base, wall boards, floor underlayment and coated shower walls before the visible finishes went in.
The finished shower combines vertical blue-gray tile, hexagonal floor mosaic, a divided niche and a corner shelf. Brass-tone fittings and clear glass doors bring the shower together, while the light bathroom floor, painted walls and white trim continue into the toilet alcove.
Explore eight stages with 41 photographs and five videos. Select a photo to open the gallery, or play the videos alongside the stages they document.
Stage 01
The starting room had a bathtub behind framed sliding glass doors, a white tile surround, a vanity and a separate toilet alcove. Small square floor tiles connected the spaces.
The photographs and two walkthroughs record the original bathing area, fixtures and finishes before removal began.
This video could not be played here. Open the original video.
Watch this stage
A walkthrough of the existing vanity, bathtub, framed enclosure and original finishes.
This video could not be played here. Open the original video.
Watch this stage
A second view of the original tub, glass doors, bathroom floor and vanity immediately before the work began.
Stage 02
The existing floor tile, vanity, toilet and bathtub were removed. Opening the bathing area exposed the wall framing, insulation, pipework and floor around the drain.
These views show the room between the old finishes coming out and the new shower being built. The underlying surfaces and plumbing locations were accessible for the next stage.
Stage 03
New backer boards formed the shower walls, and a new shower base and drain took the place of the tub. The plumbing openings remained accessible while the wall surfaces were being prepared.
Blue floor underlayment was installed through the bathroom passage and toilet alcove. The photographs also show the transition between the bathroom floor and the shower curb.
Stage 04
The shower-board joints and base edges were treated, followed by a red waterproofing coating on the wall surfaces. A recessed niche was formed in the shower wall.
Hexagonal mosaic tile introduced the shower-floor pattern, while the coated walls and plumbing openings remained visible before the wall tile was installed.
Stage 05
Larger, light-colored tiles replaced the original small square floor tiles. The installation continued along the passage and into the fixture areas.
The photographs capture the floor during installation, with leveling clips still in place and the shower wall preparation visible beside it.
Stage 06
Blue-gray tile was installed vertically across the shower walls, with cuts around the niche, plumbing openings and the edges of the shower. Spacers and leveling clips are visible during installation.
A corner shelf and recessed storage add practical details to the tiled area. The later views bring the vertical wall pattern and hexagonal shower floor together before the fittings and glass were added.
Stage 07
Grouting defined the vertical tile pattern, and the niche received a shelf divider. A brass-tone showerhead, handheld shower and matching controls completed the shower fittings.
The light floor, painted walls and updated toilet carried the new finishes into the surrounding room. The walkthrough records the shower tile, storage details and mosaic floor before the glass enclosure was installed.
This video could not be played here. Open the original video.
Watch this stage
Explore the blue-gray wall tile, recessed niche, corner shelf and hexagonal floor before the enclosure was fitted.
Stage 08
Clear glass doors and a brass-tone top rail finished the walk-in shower. The final photographs show the enclosure, showerhead, handheld shower, controls, divided niche and corner shelf together.
White trim and light tile complete the toilet alcove. Watch the finished-room walkthrough, then the project montage to connect the original bathtub with the construction work and the new shower.
This video could not be played here. Open the original video.
Watch this stage
See the light floor, clear glass doors, brass-tone fittings and finished shower details together.
This video could not be played here. Open the original video.
Watch this stage
A project montage showing the original bathroom, the work in progress and the completed walk-in shower.
Vertical tile, a mosaic floor and brass-tone accents give the shower its character. The gallery connects those finished surfaces with the framing, preparation and installation work behind them.
Thinking about replacing a bathtub or updating your bathroom? Share your property location, photographs and the changes you have in mind. Nashkov Group can help you plan the scope and bring the different parts of the renovation together.
Discuss your bathroom project