Phone:
(848)318-7679
Physical address:
954 Vaughn Ave, Toms River 08753

Phone:
(848)318-7679
Physical address:
954 Vaughn Ave, Toms River 08753
Project story
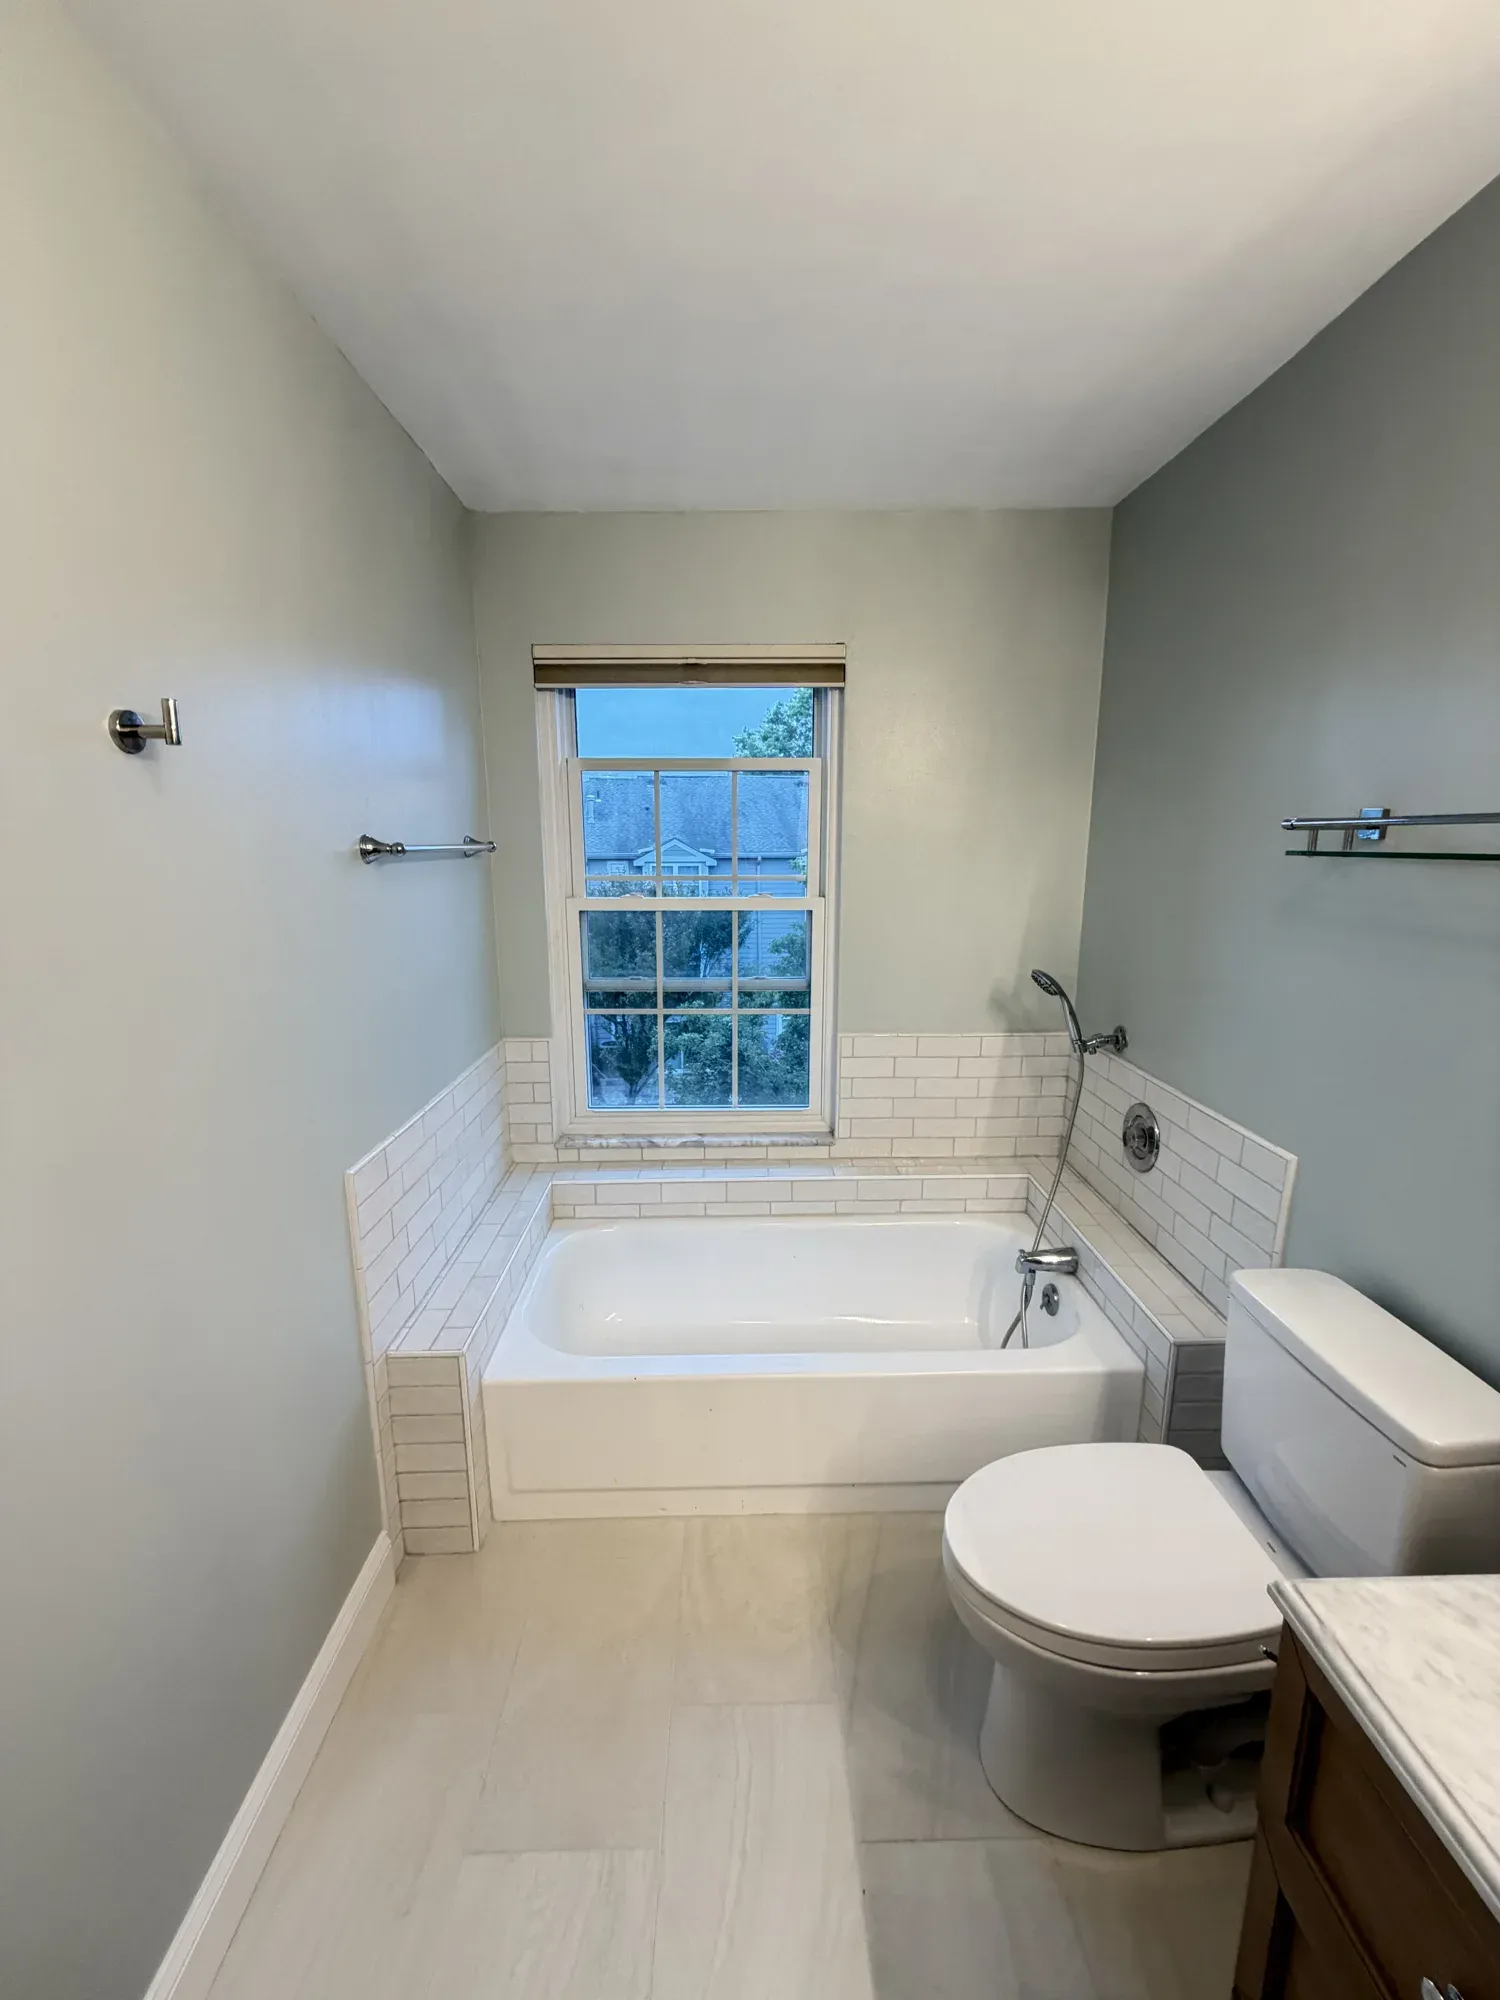
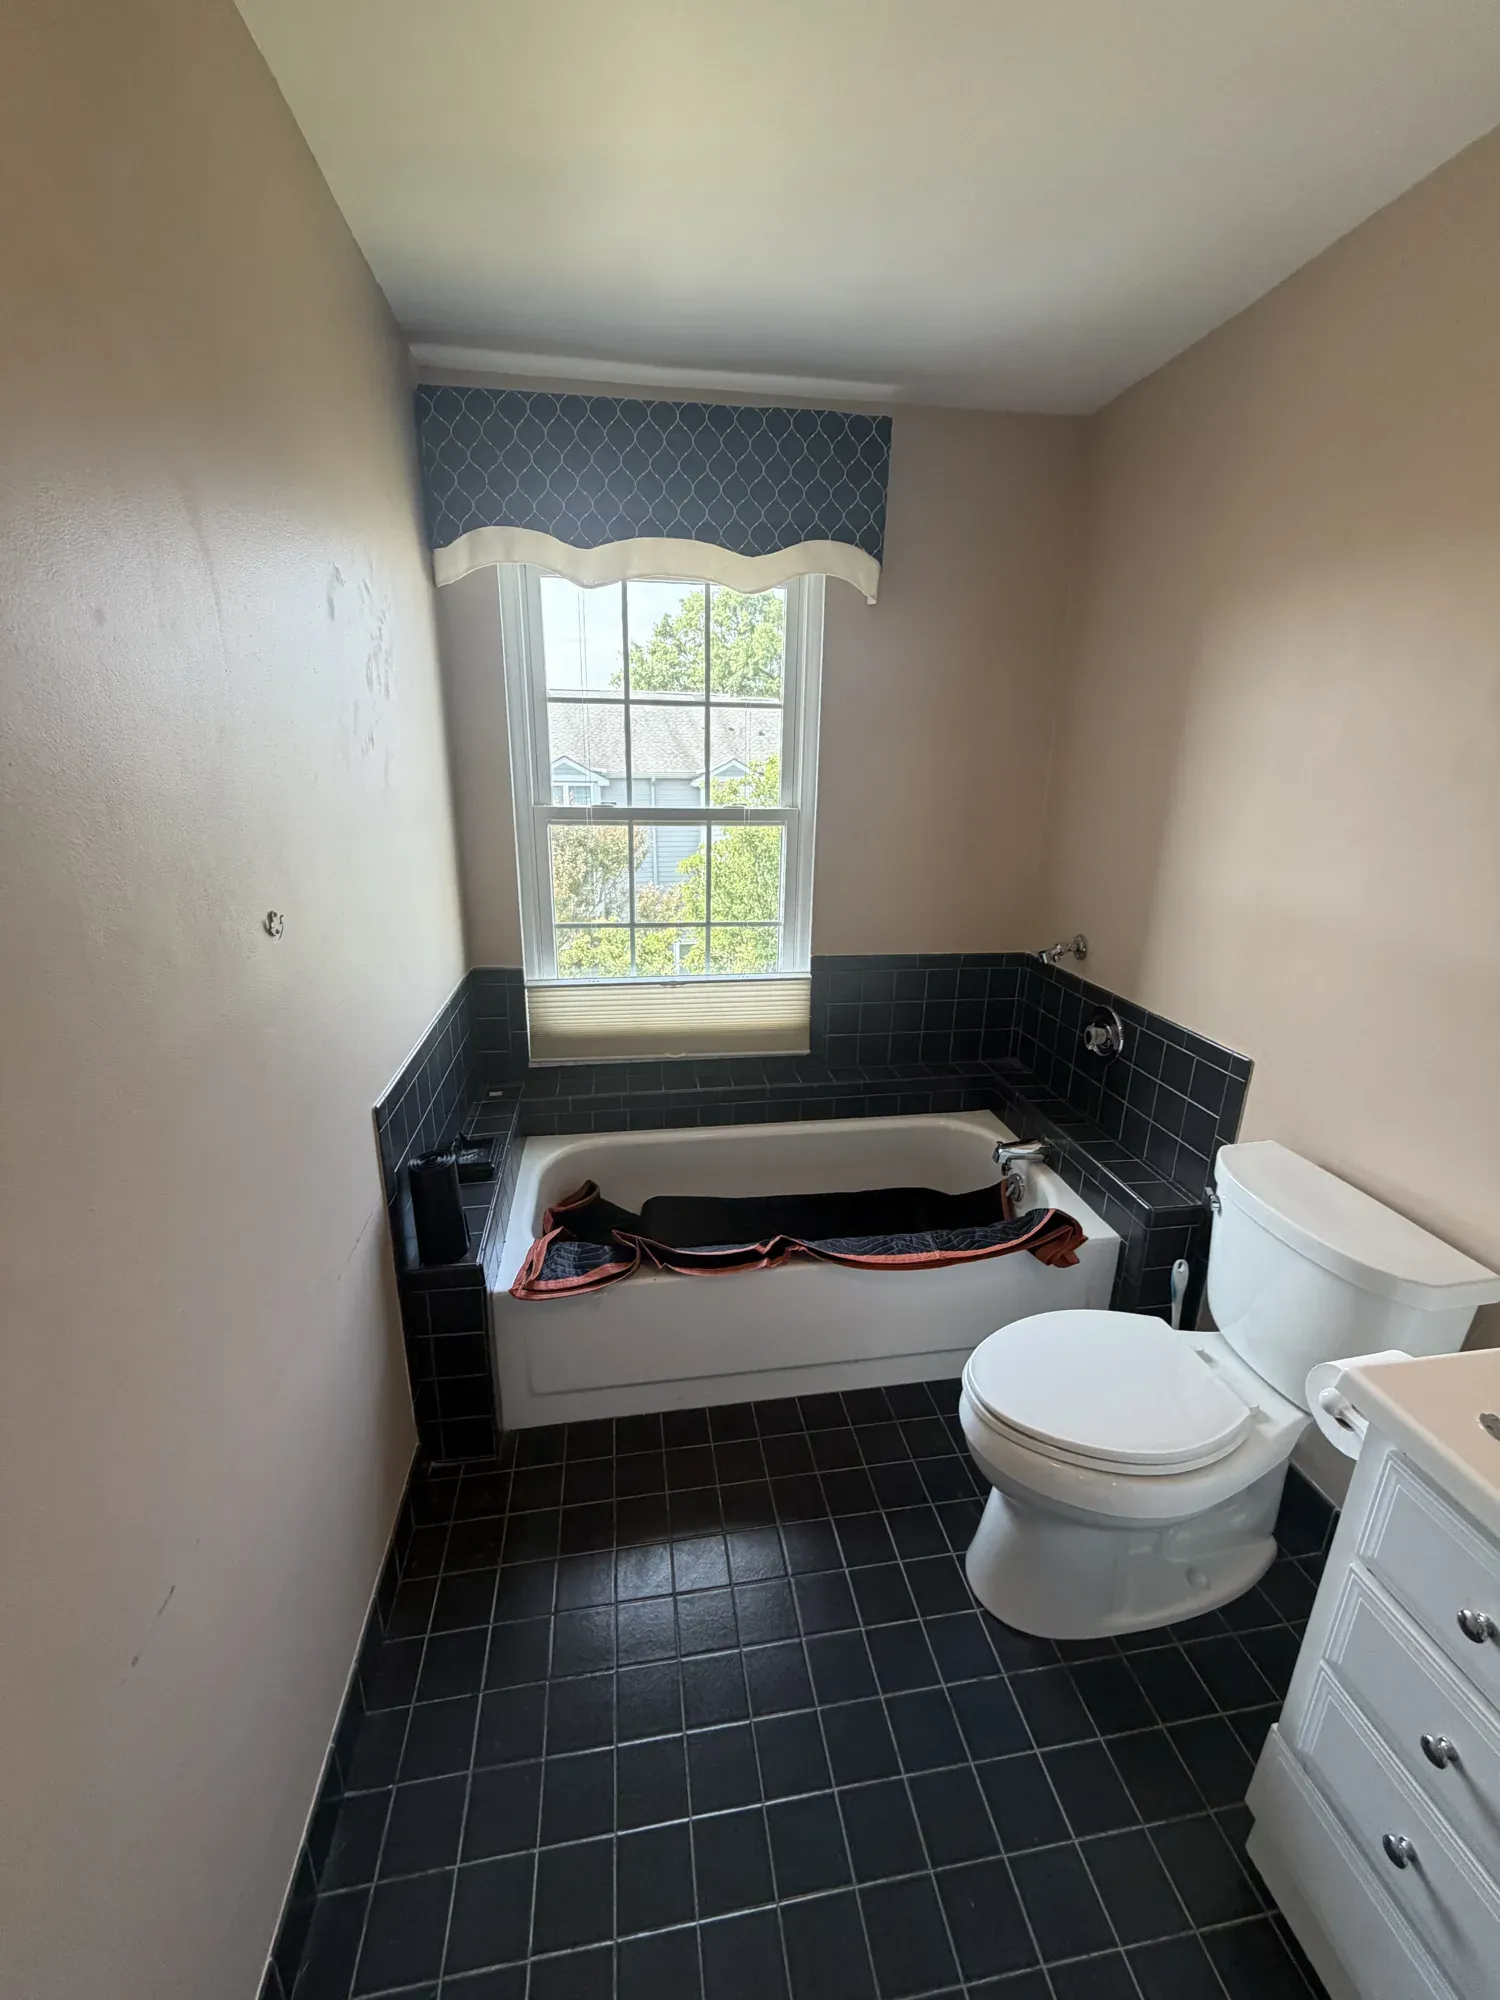
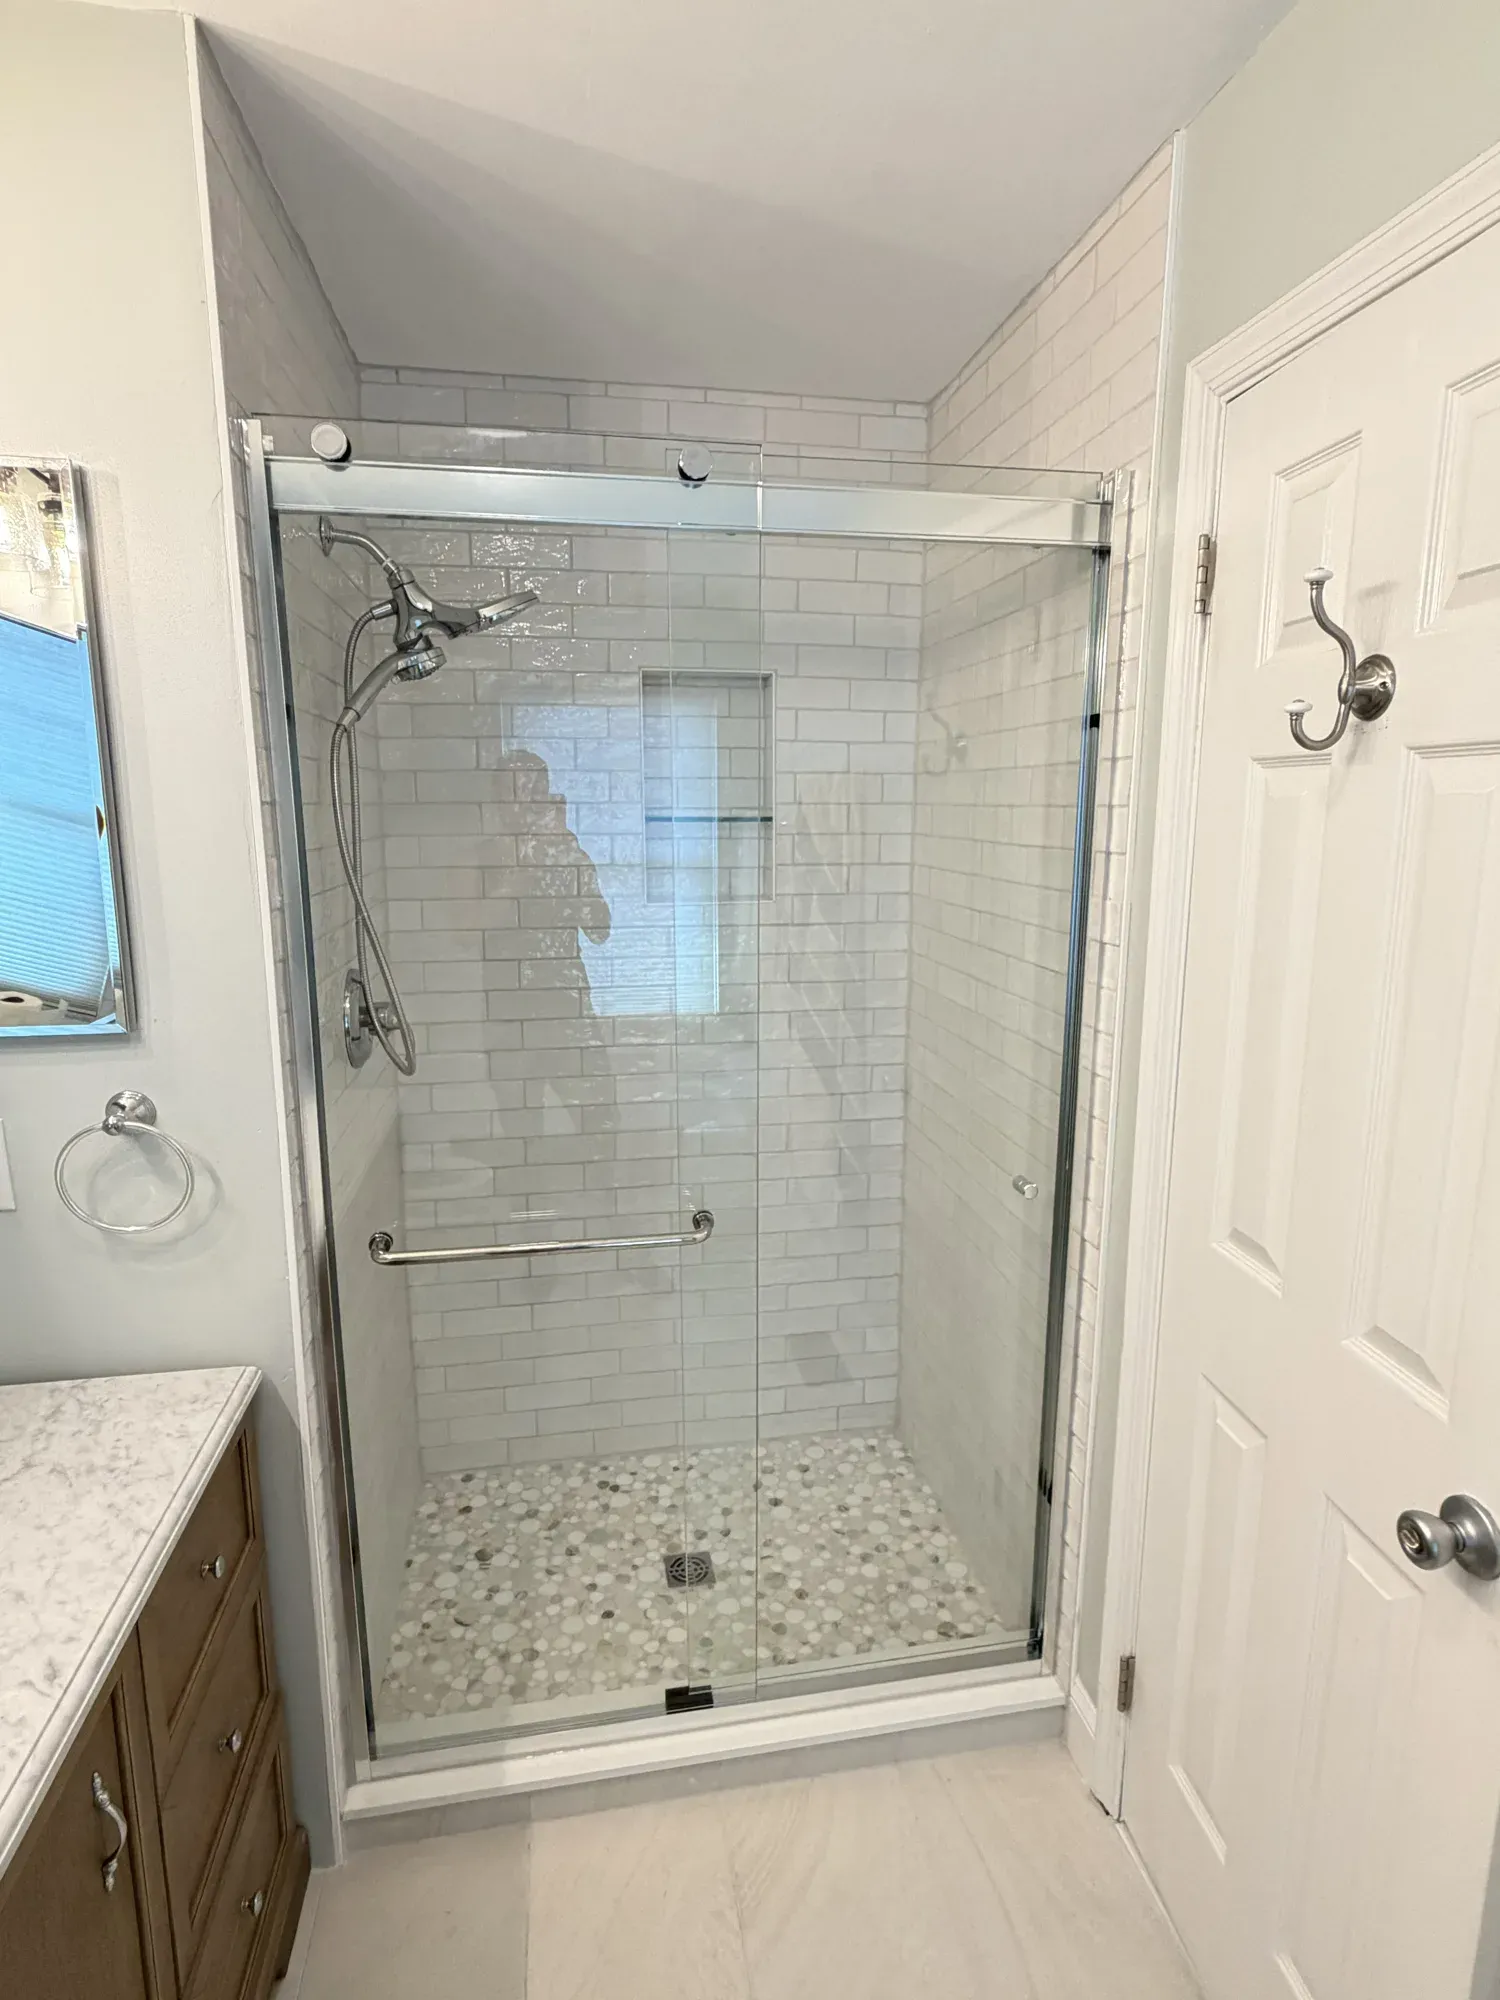
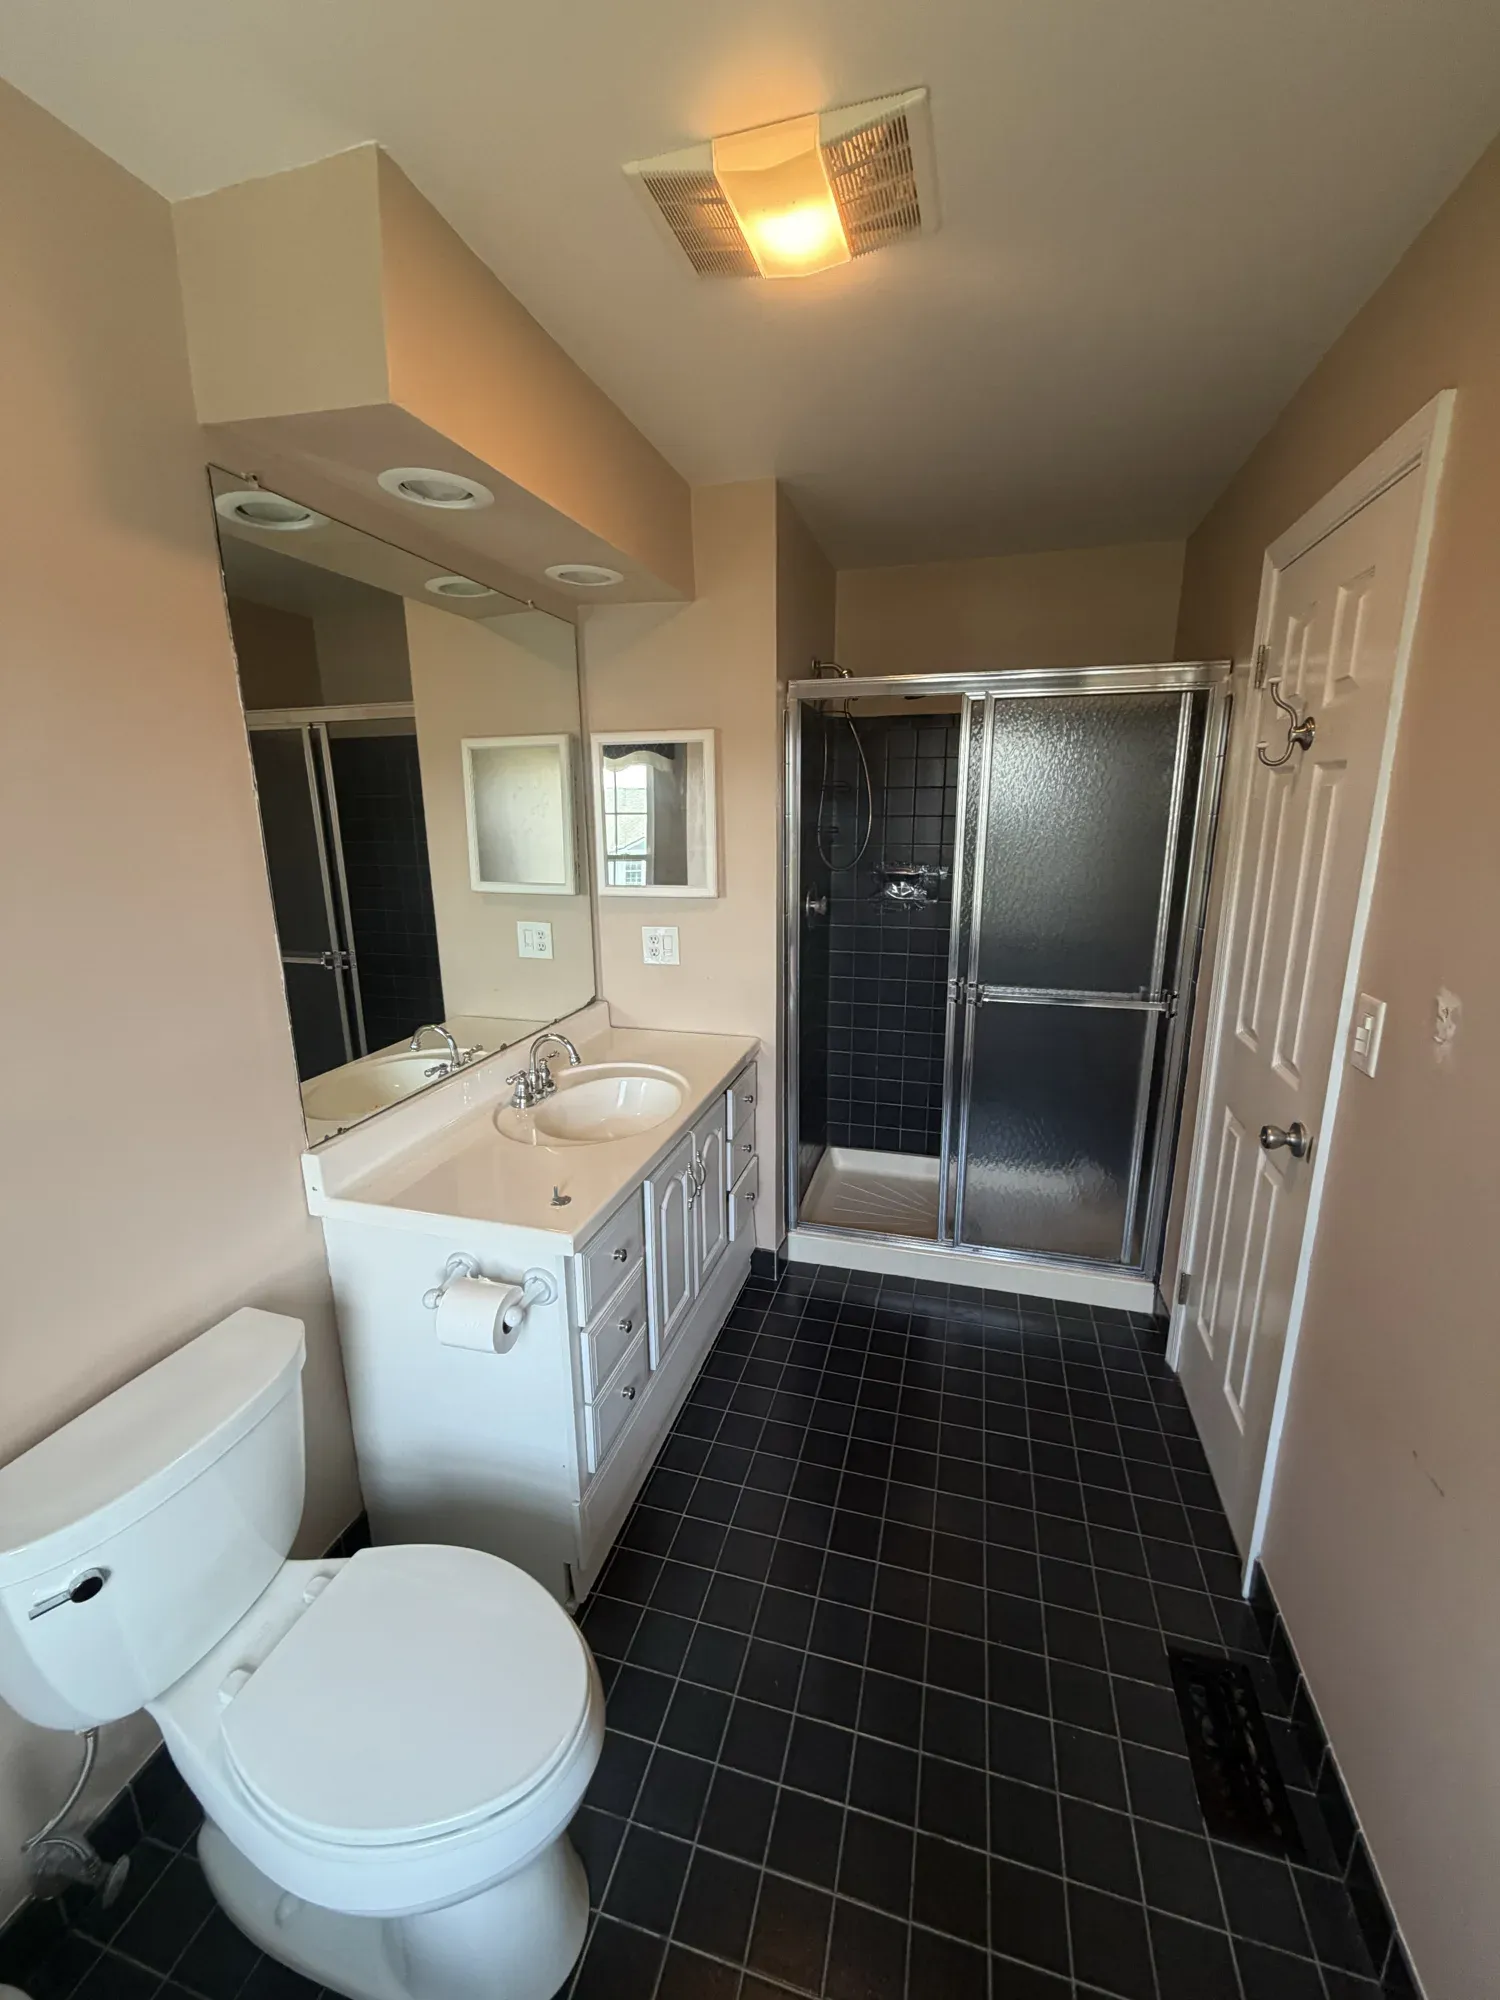
A complete change in atmosphere: dark floor tile and an enclosed shower gave way to light finishes, a warm wood-tone vanity and a bright glass shower. Follow the project from the original bathroom through preparation, tile installation and the finished room.
 AFTER
 BEFORE
 AFTER
 BEFORE
The renovation brought the floor, tub area, shower and vanity into a lighter, more coordinated design. Preparation and tilework formed the foundation of the update, followed by the room’s visible fixtures and finishing details.
Stage 01
The starting space had dark floor tile, a dark tub surround, a white vanity and an enclosed shower. These views show the existing layout and the finishes that shaped the renovation.
Stage 02
The old floor finishes, vanity and shower enclosure were removed as the work area was opened up. Selected wall and ceiling areas were exposed, and the room was prepared for new surfaces and finishes.
Stage 03
The shower base and wall backer panels were fitted, with the recessed niche formed into the shower wall. Floor underlayment and the tub surround were prepared ahead of tile installation.
Stage 04
Light rectangular floor tile replaced the dark floor finish. White subway-style tile was installed in the shower, with detailed cuts around the niche, corners and fittings. The photographs show the tilework while installation was still in progress.
Stage 05
A wood-tone vanity, light countertop, mirror and updated lighting created a warmer focal point. The tub area received a coordinated light tile surround, while fresh wall finishes and trim brought the room together.
Stage 06
The finished shower combines white wall tile, a recessed niche, a round mosaic tile floor and a clear glass enclosure with metal hardware. The transparent enclosure opens up the view of the new tilework and completes the transformation.
Light tile connects the bathroom floor, tub area and shower, while the wood-tone vanity adds warmth. Clear glass keeps the shower visually open and brings the finished tilework into view.