Phone:
(848)318-7679
Physical address:
954 Vaughn Ave, Toms River 08753

Phone:
(848)318-7679
Physical address:
954 Vaughn Ave, Toms River 08753
An exterior chimney renewed with textured stone facing
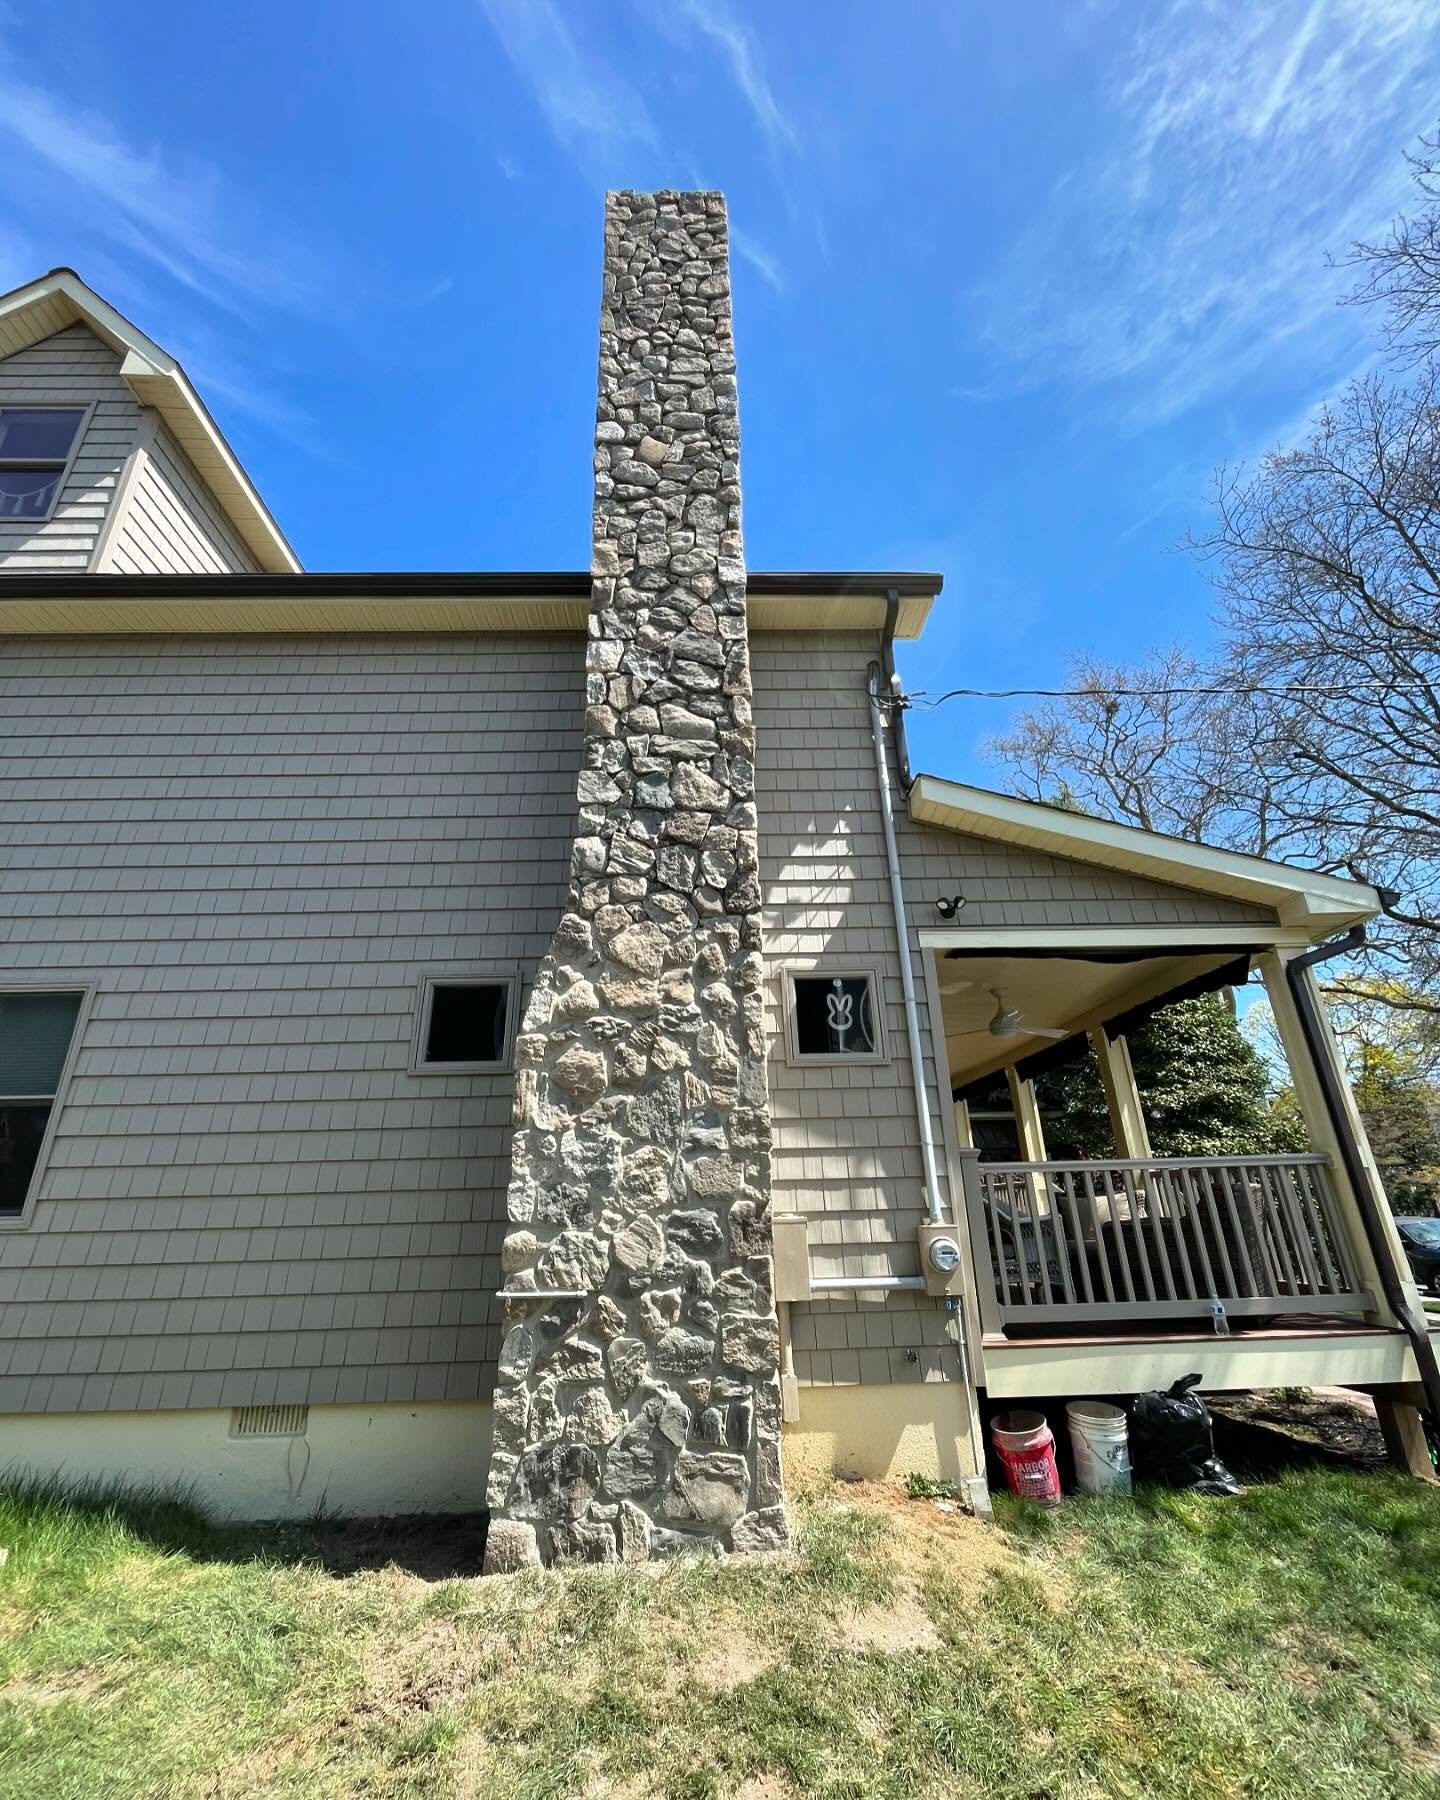
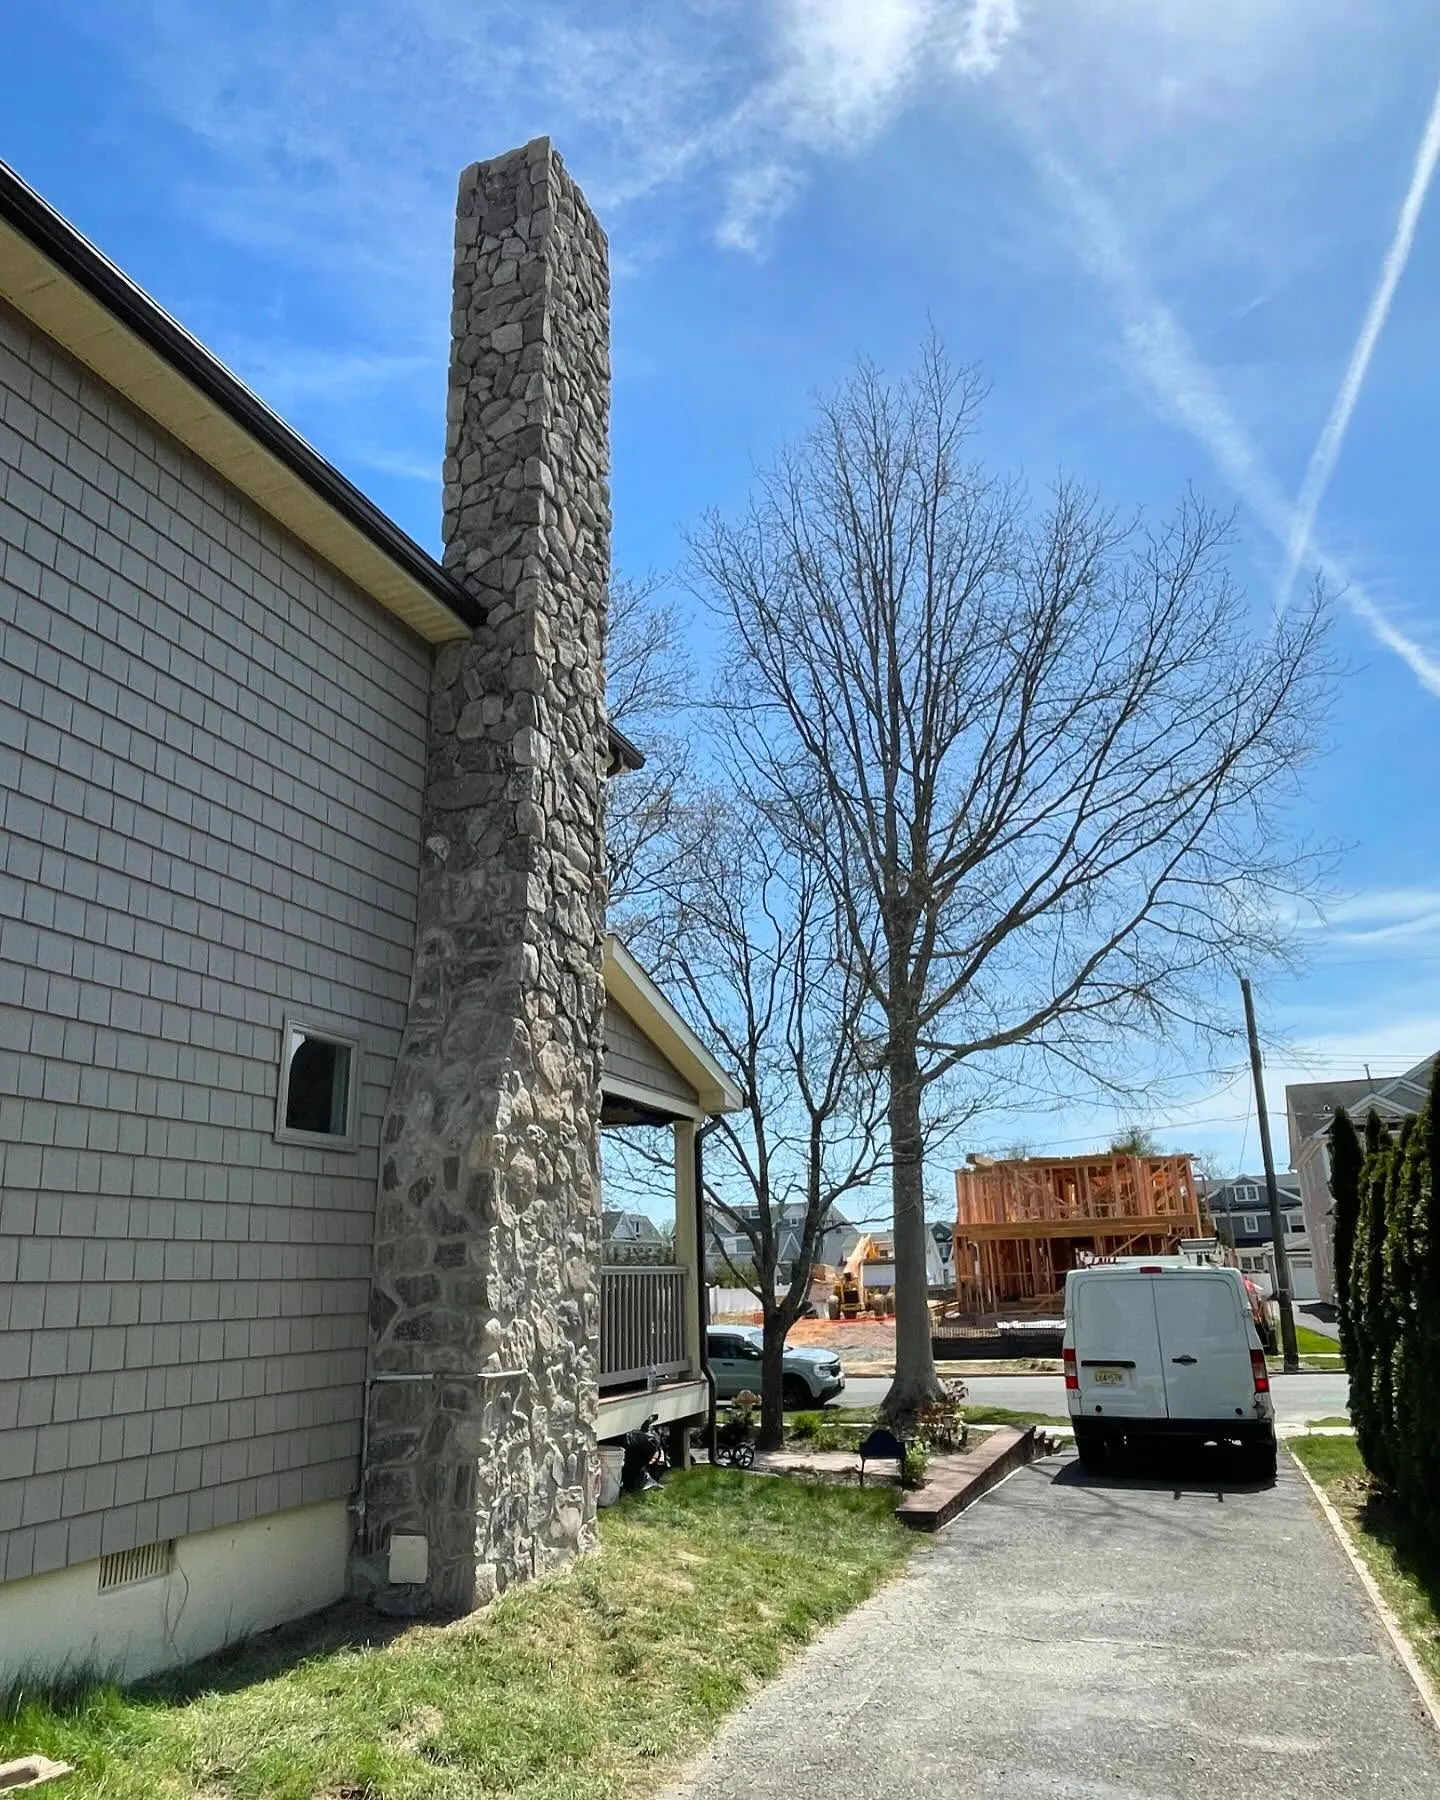
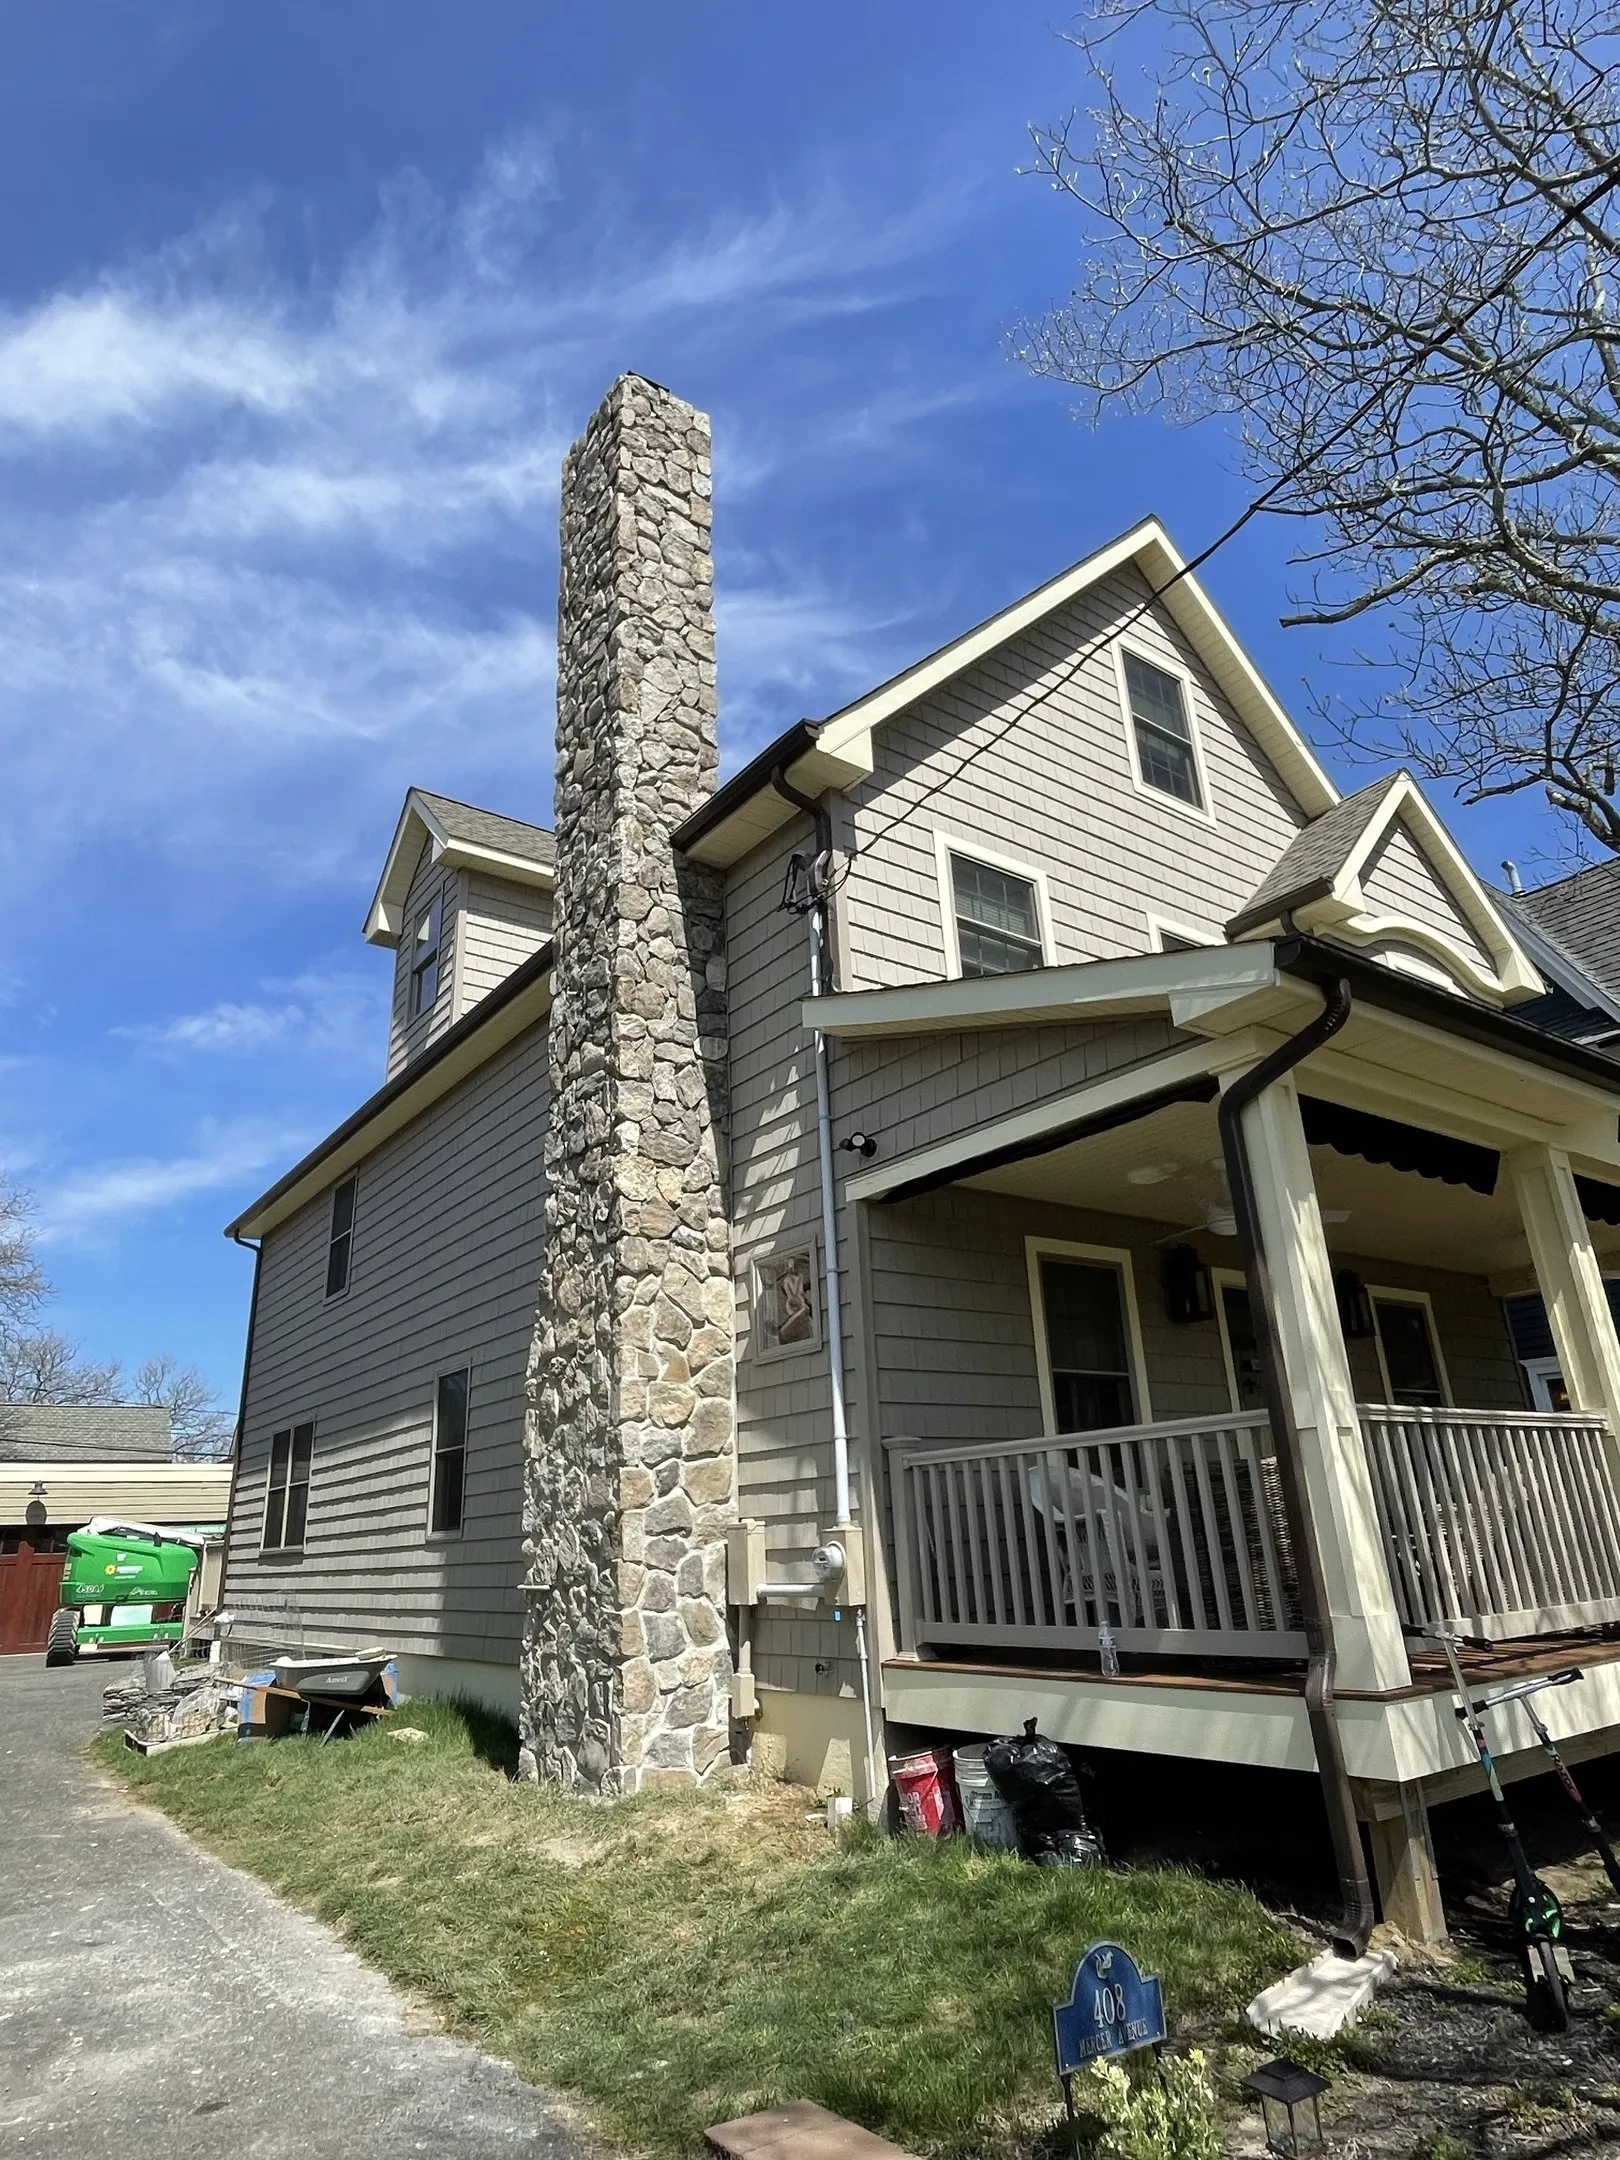
Nashkov Group Construction LLC renewed this exterior chimney with irregular gray stone cladding. The original plain light-colored surface became a textured finish carried across the visible faces, around the outside corners and above the roofline. Follow the chimney before the work, the lower-section installation and the completed facing from different sides of the house.
 AFTER
 BEFORE
From a plain surface to a textured exterior detail
Irregular gray stone brings a different texture to the tall chimney beside the shingled siding and porch. The finish follows the changing width of the chimney and continues around its outside corners.
Move the slider to compare the earlier surface with the new cladding. The photographs below follow the lower courses through to the completed upper section and wider views of the house.
Explore the original chimney, the stone installation in progress and the finished exterior. Select a photograph to view the full image, then browse with the arrows, keyboard or a swipe.
Stage 01
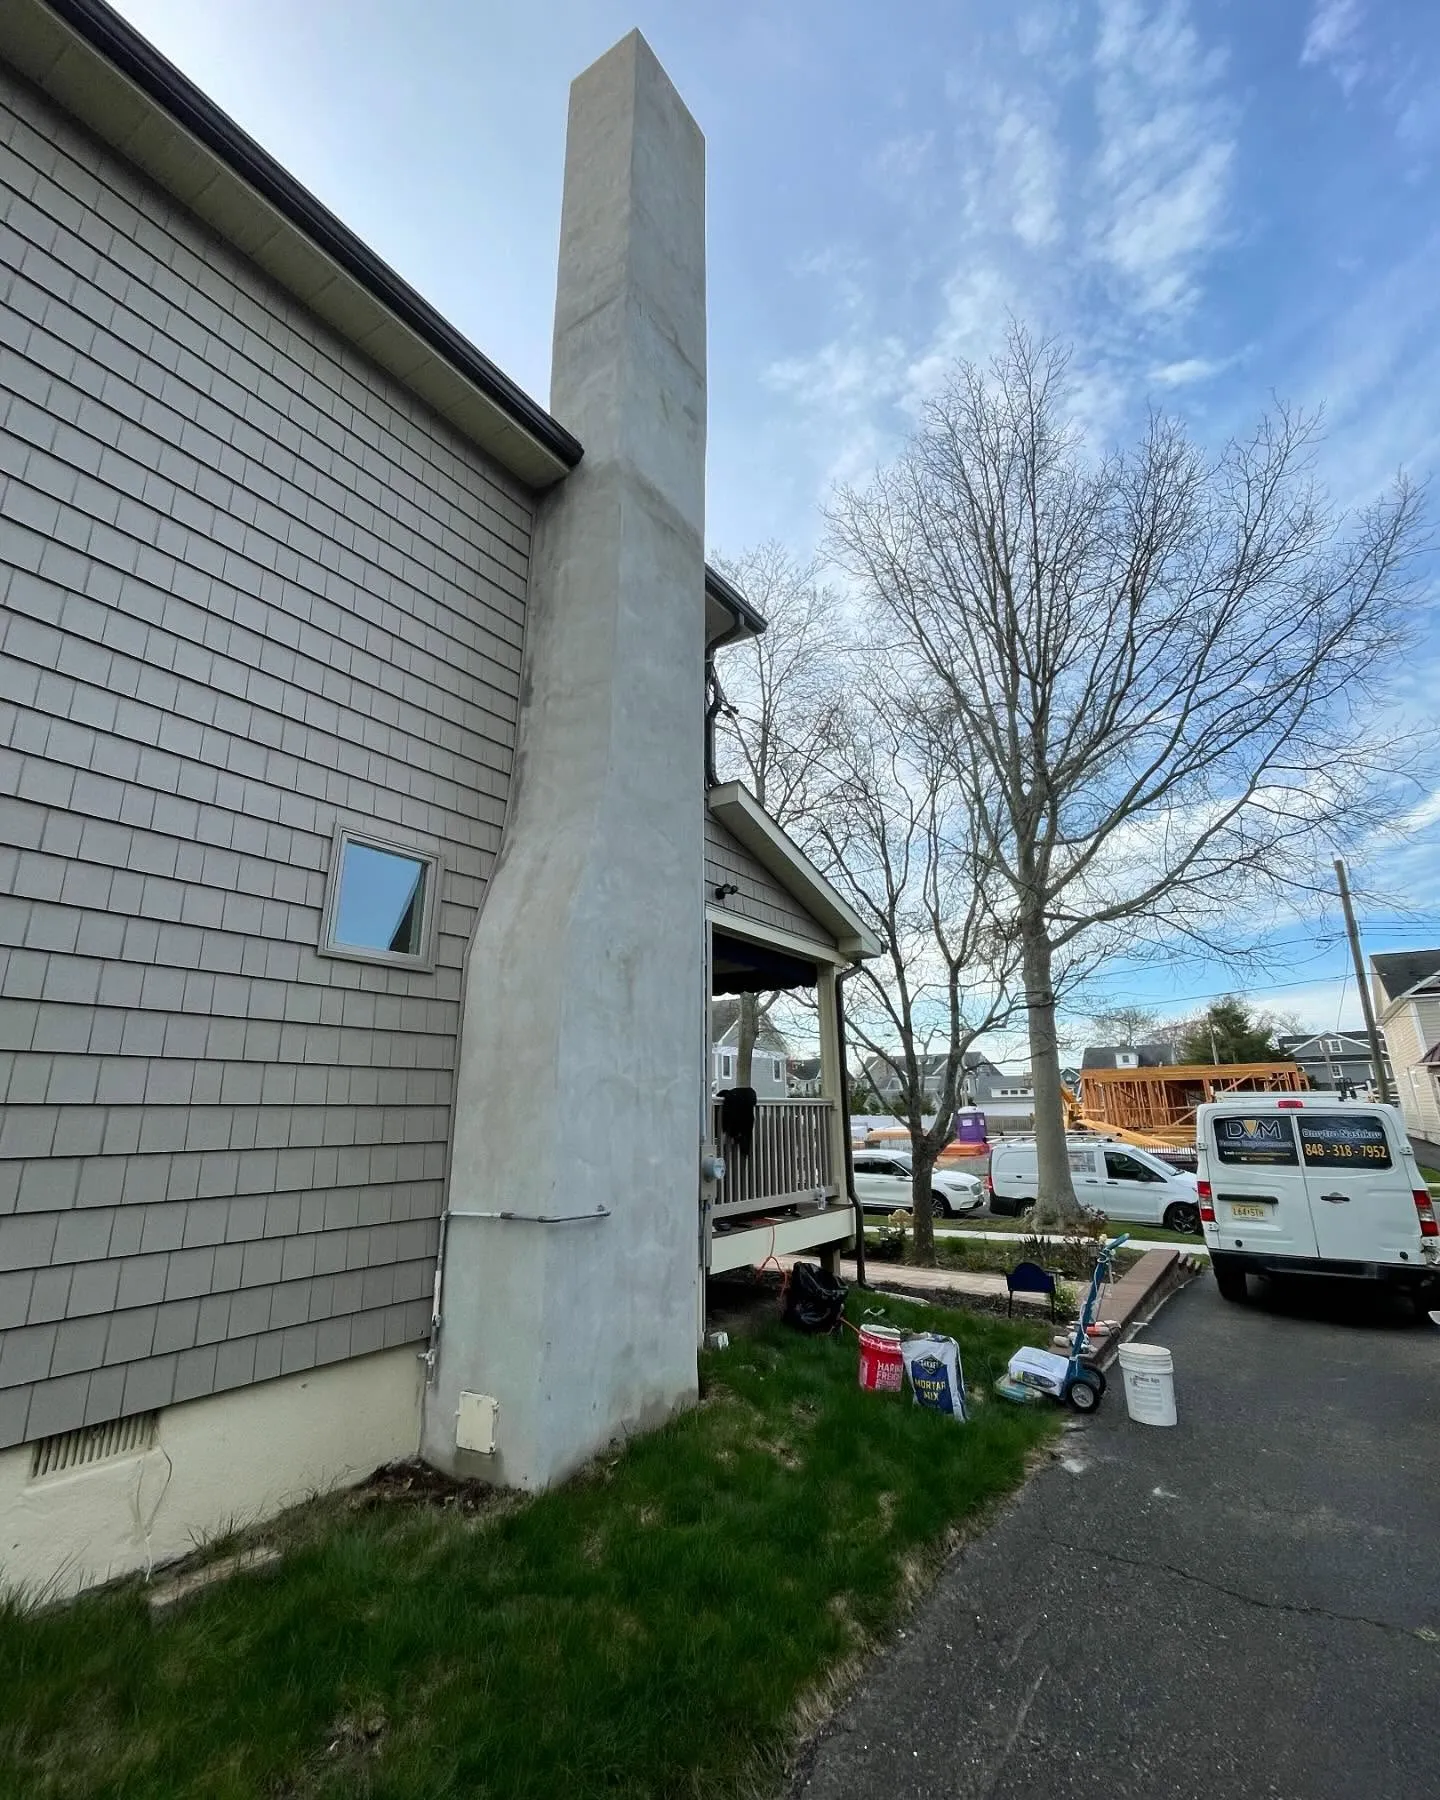
The original chimney had a plain light-colored exterior surface. The starting photographs show its height, widening lower section and connection with the house siding and roofline.
Views from both sides establish the existing appearance beside the driveway and porch before the stone finish was added.
Stage 02
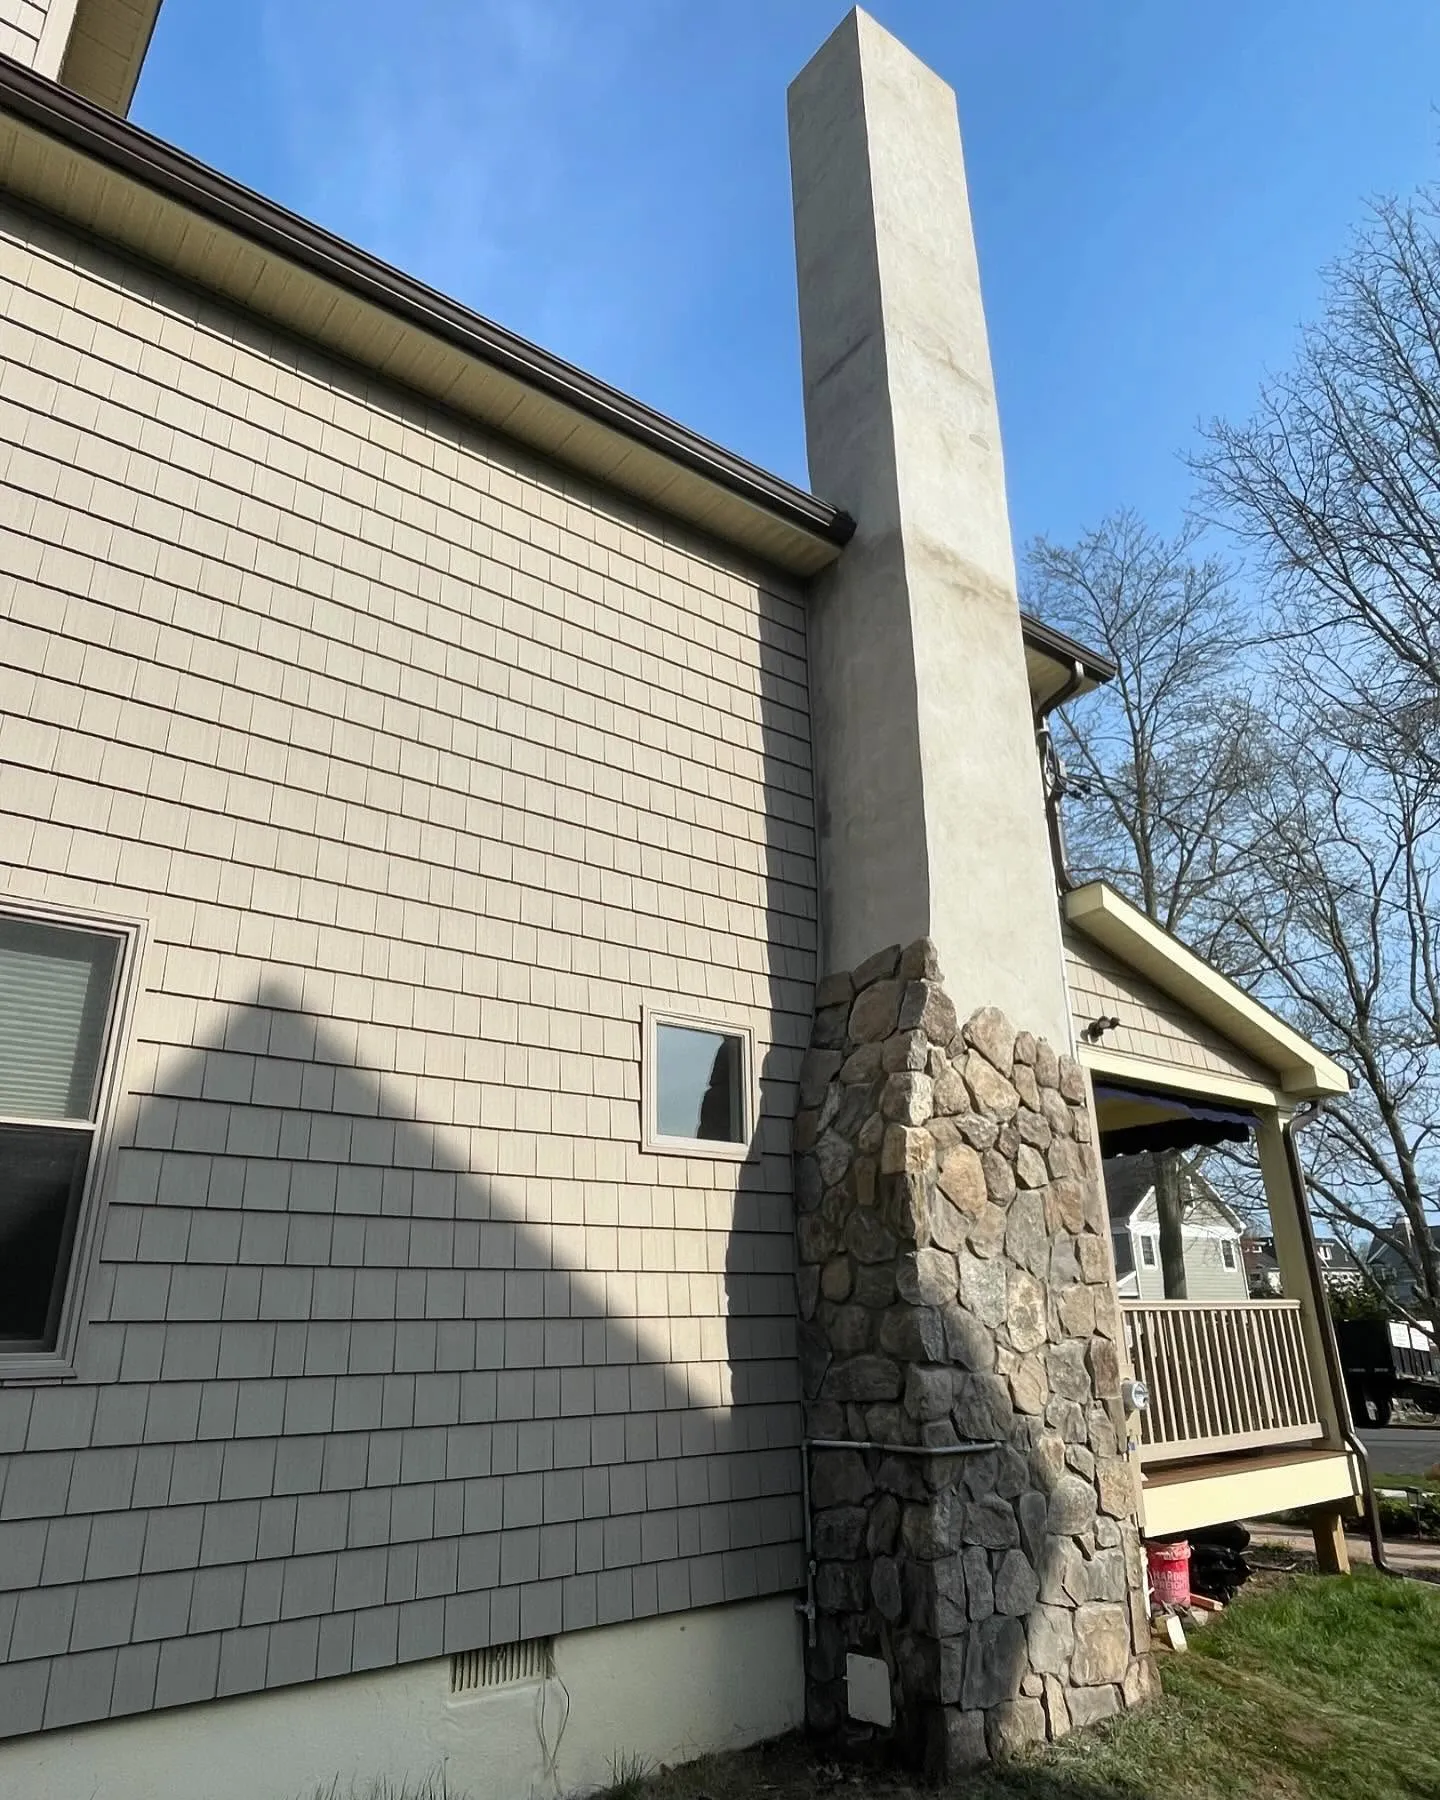
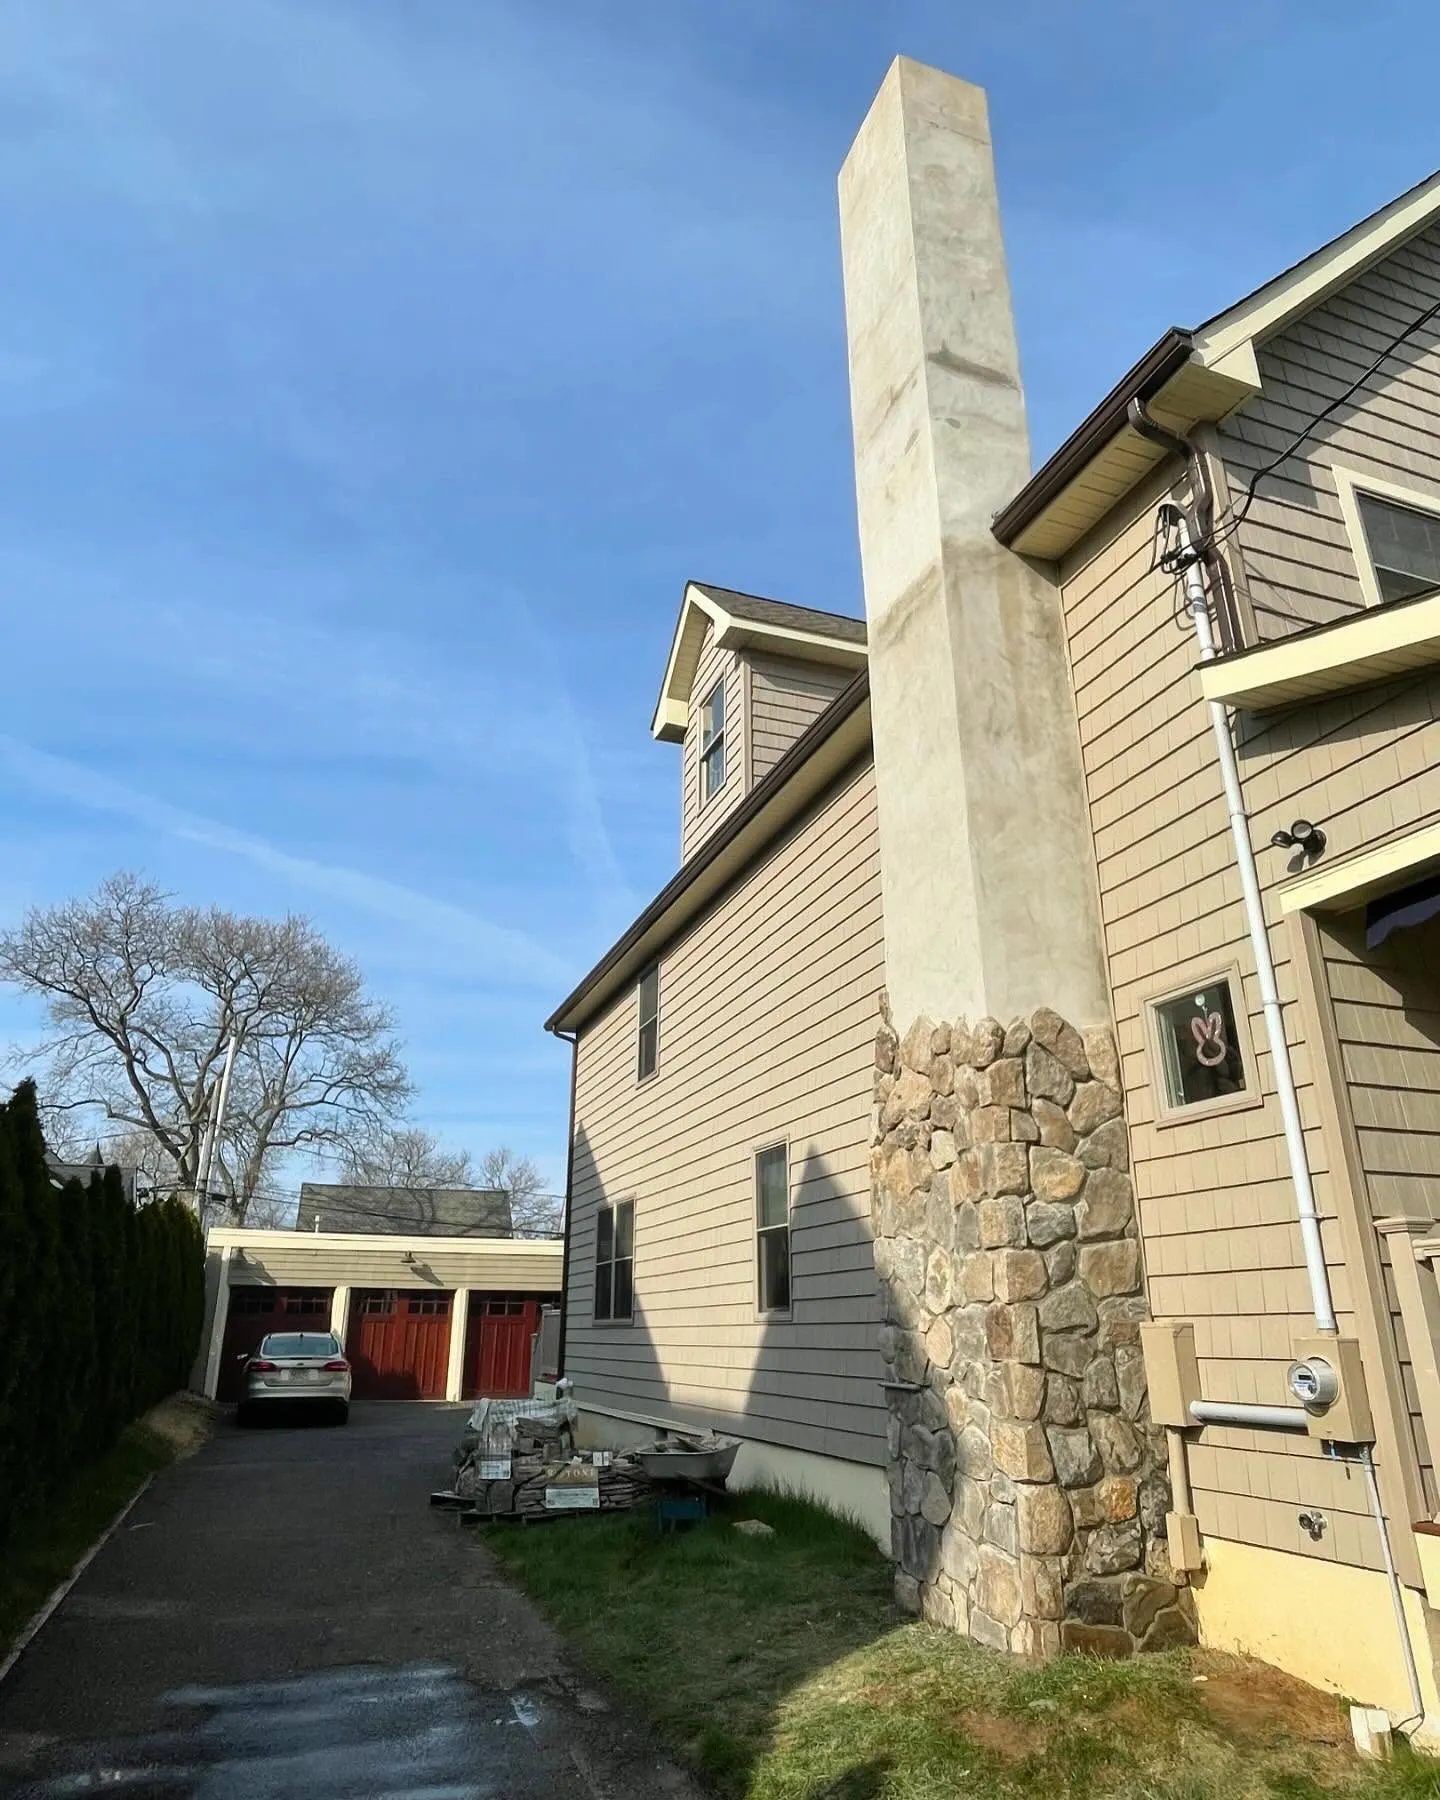
Irregular stone facing was installed on the lower chimney section and carried around its outside corners. The construction photographs show the contrast between the new textured facing below and the plain upper surface.
These views record the installation in progress before the cladding continued to the top of the chimney.
Stage 03
The gray stone finish continues from the base up the chimney and above the roofline. Different unit sizes and corner pieces form the irregular pattern across the visible faces.
The finished driveway, front and porch-side views show the full height of the cladding and its relationship with the house siding, roof and porch.
Planning stone cladding for an exterior chimney or a coordinated fireplace finish? Send Nashkov Group Construction LLC photographs of the existing area, your property location and the appearance you have in mind. We can discuss the scope, facing options and an on-site visit.
Discuss your chimney cladding project