Phone:
(848)318-7679
Physical address:
954 Vaughn Ave, Toms River 08753

Phone:
(848)318-7679
Physical address:
954 Vaughn Ave, Toms River 08753
Rebuilt retaining walls & defined outdoor levels
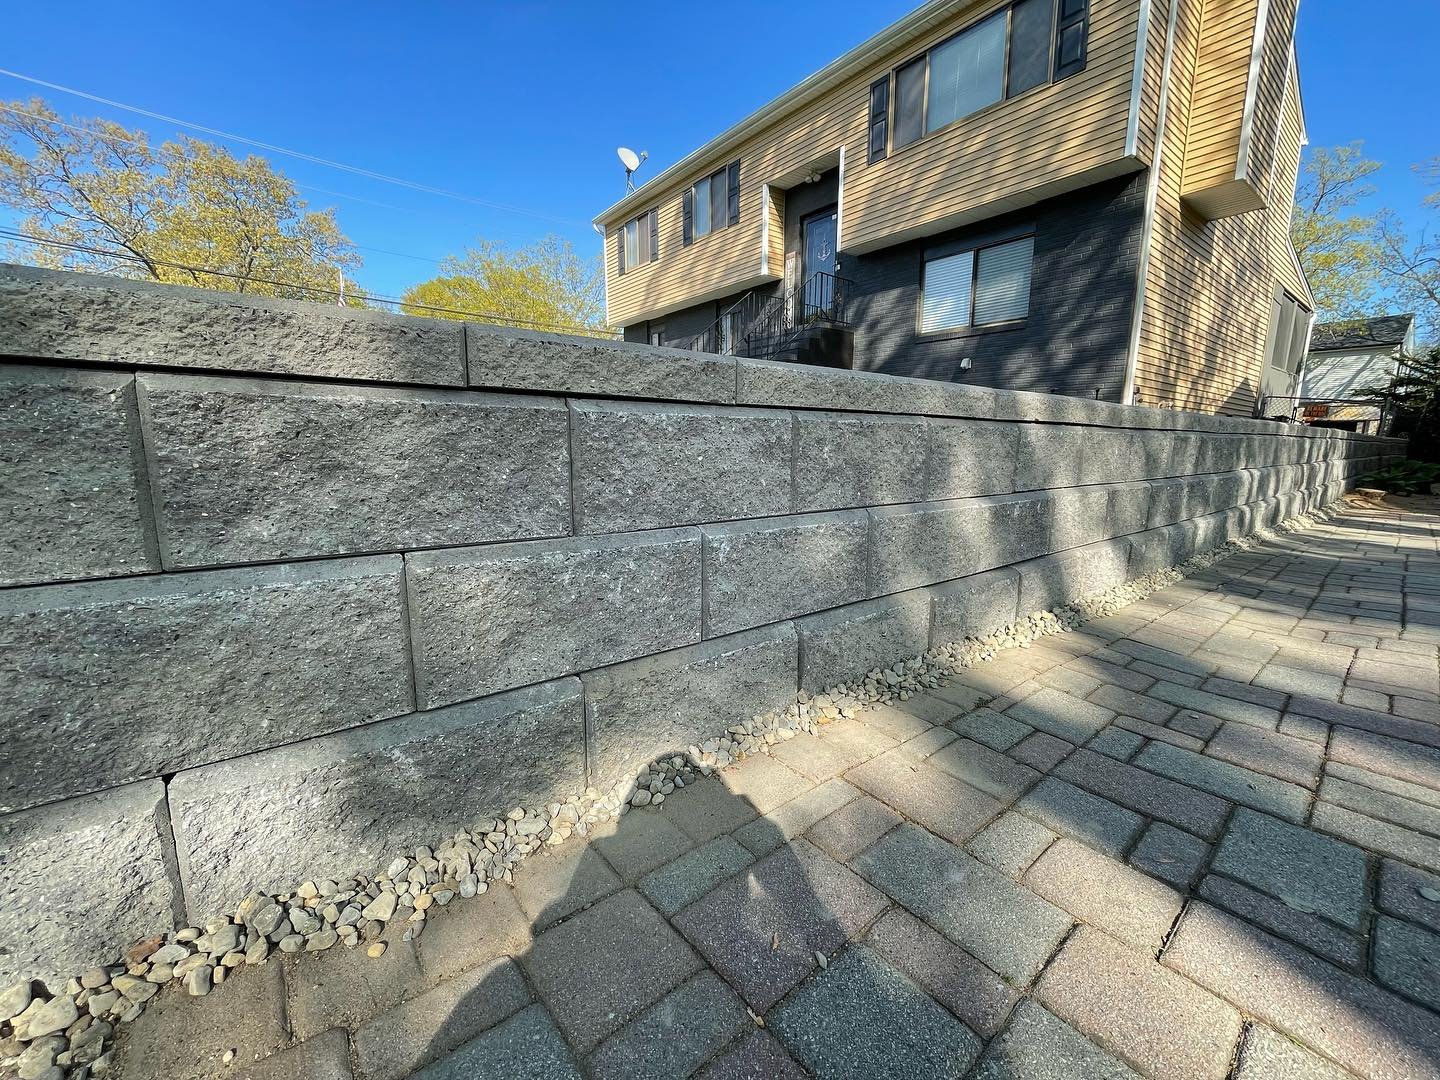
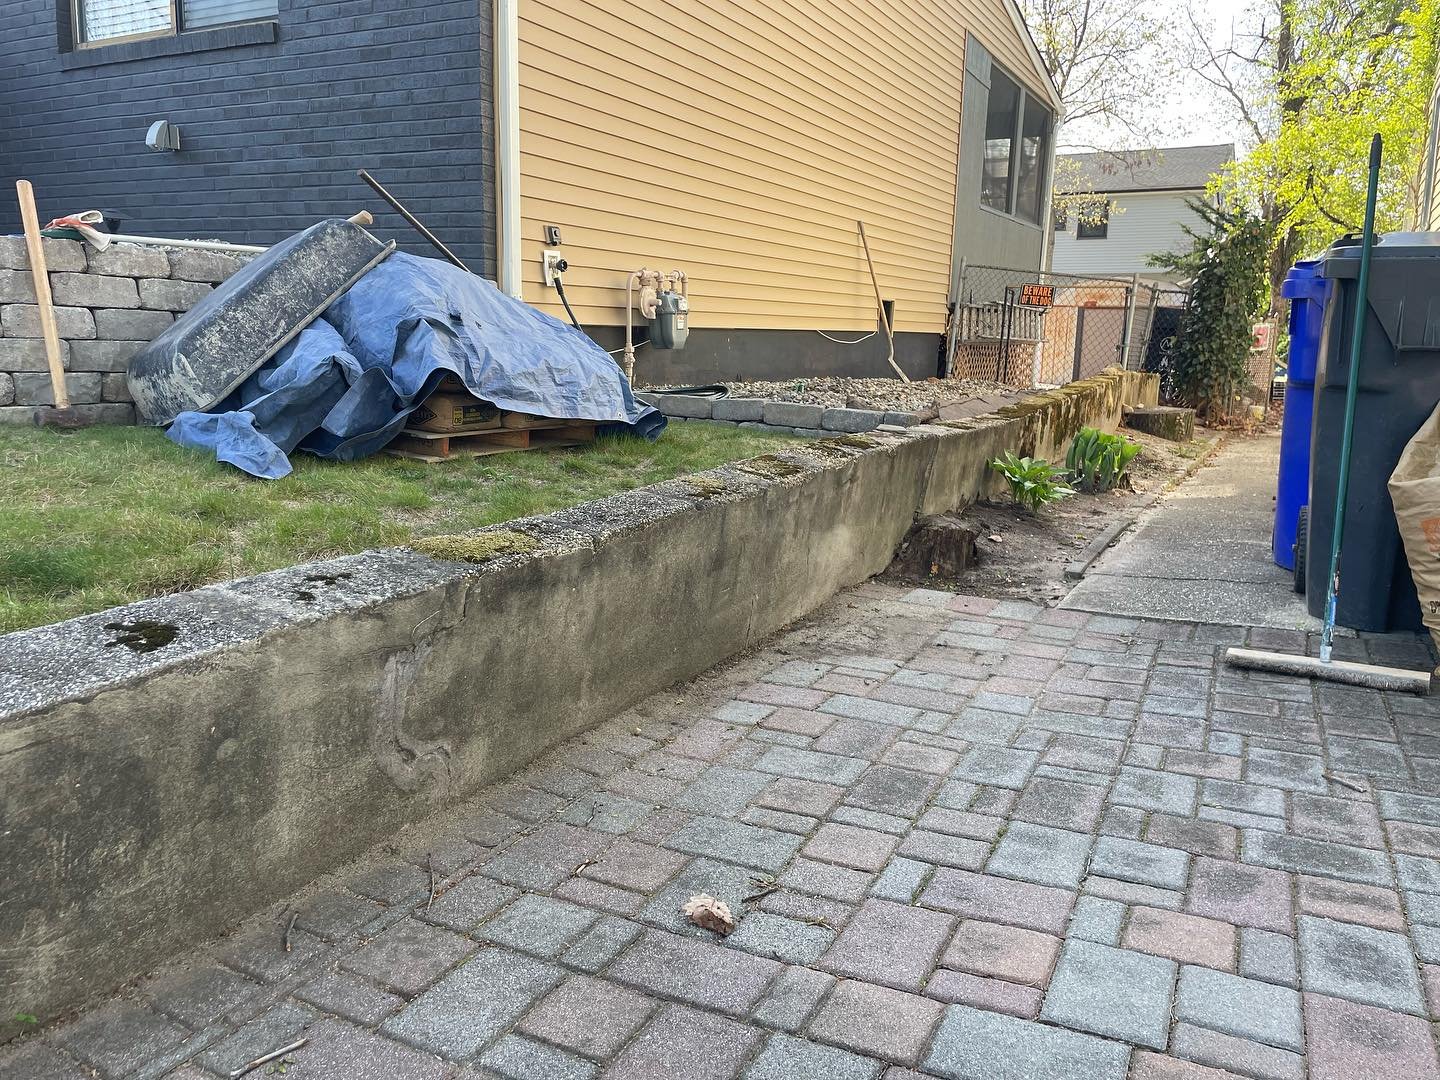
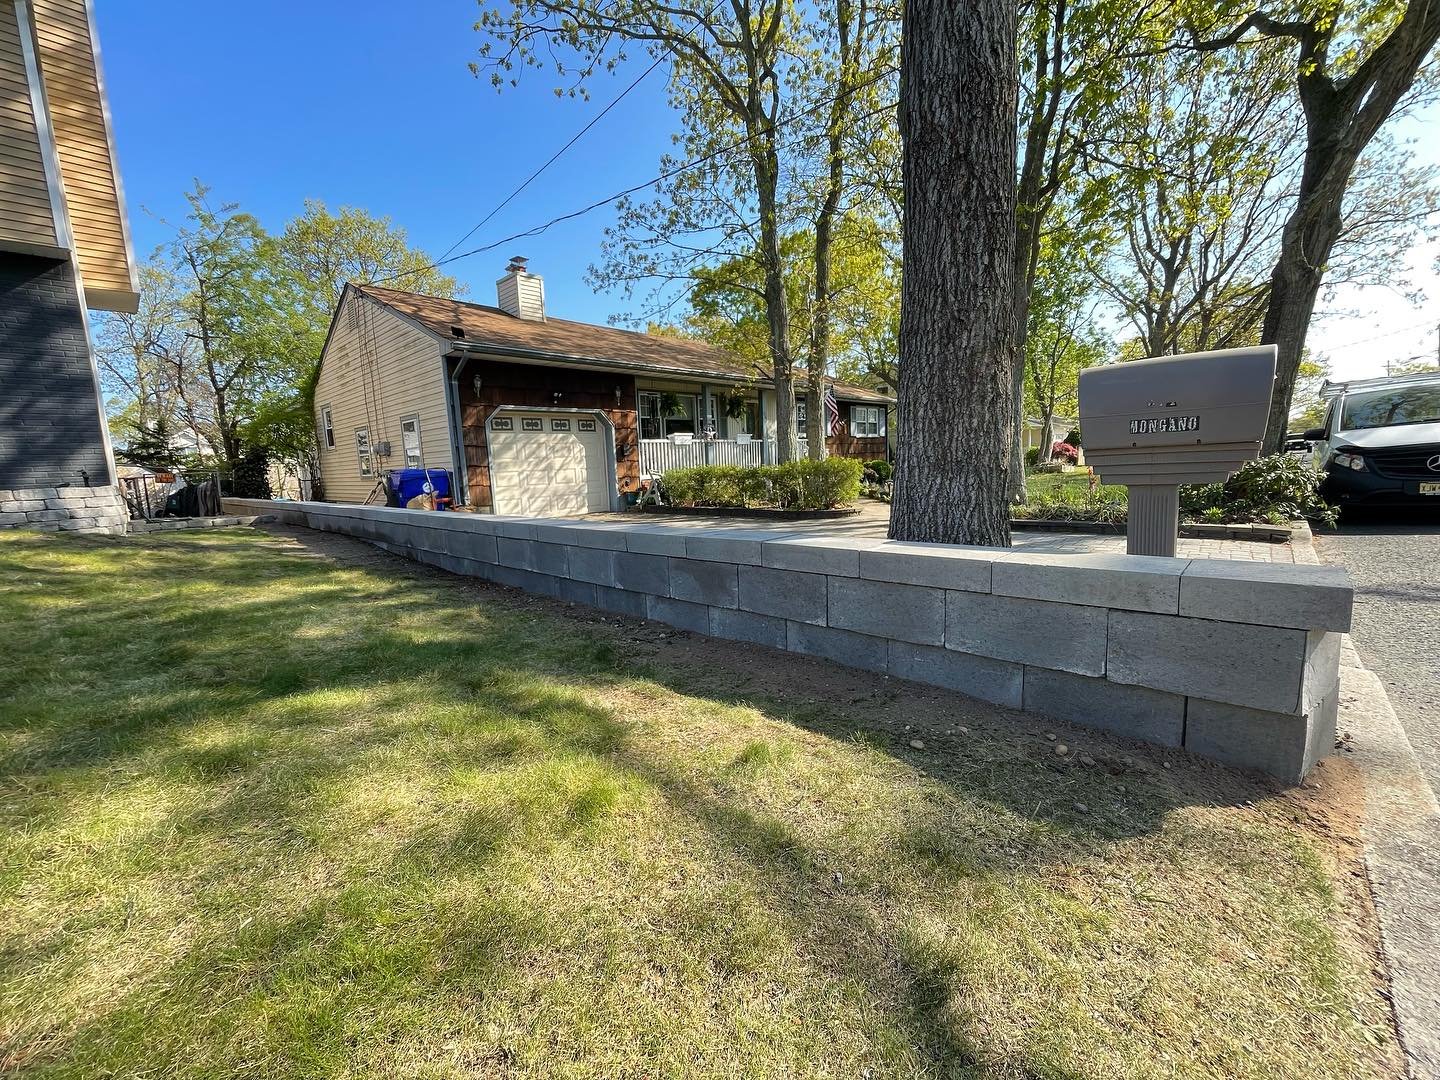
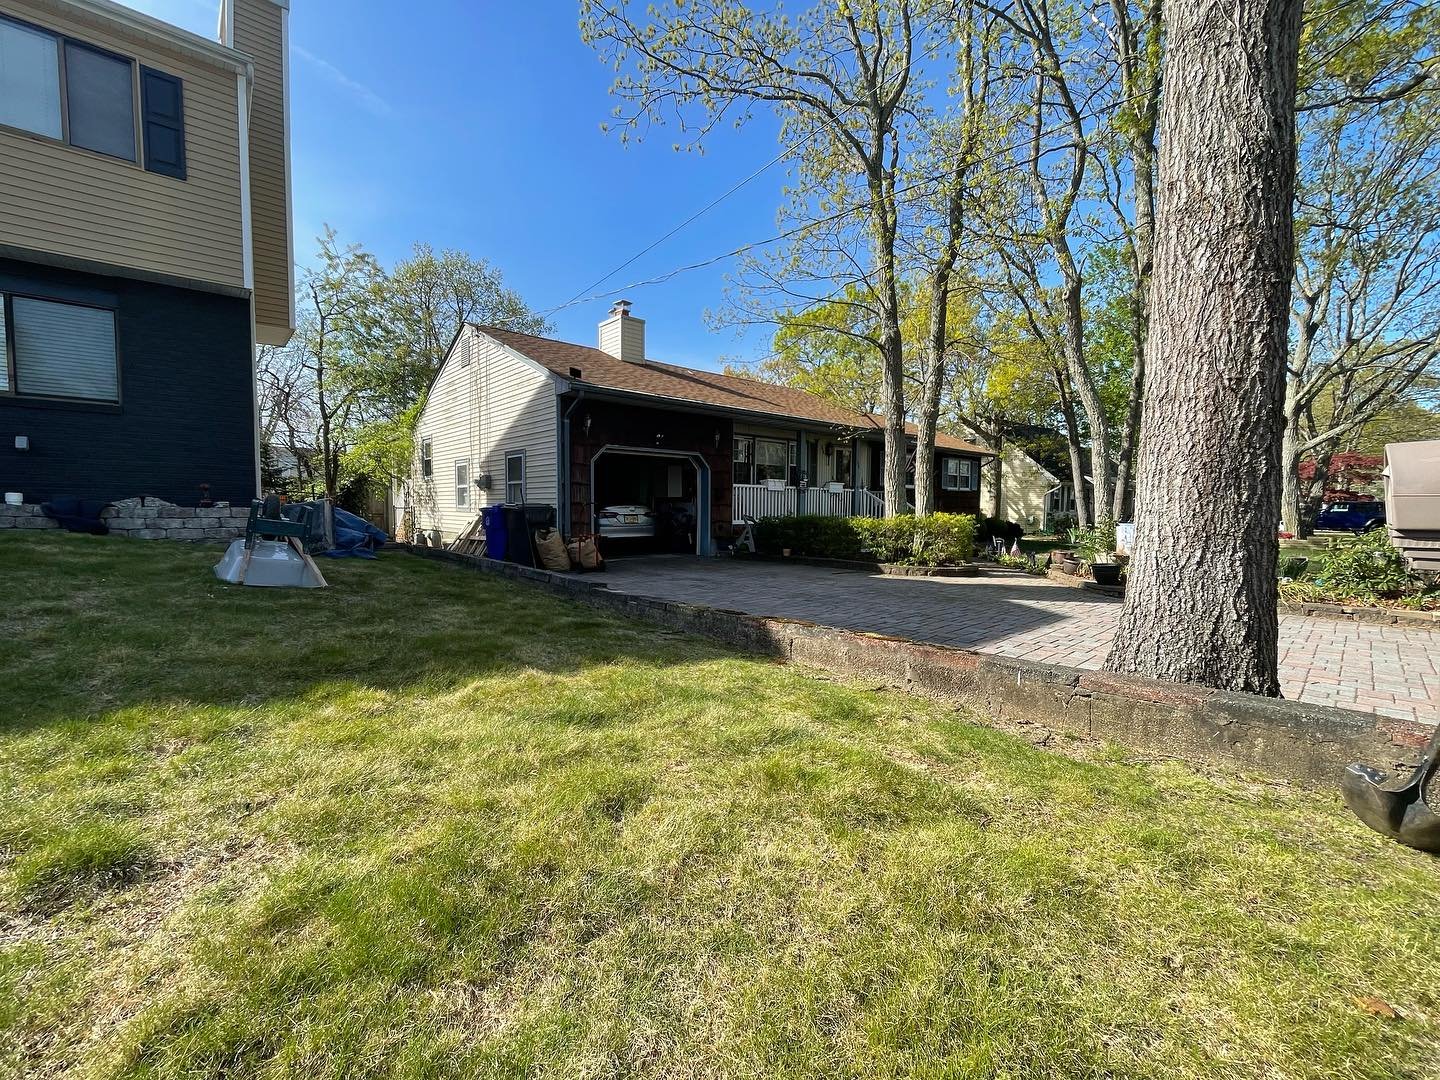
Nashkov Group Construction LLC reconstructed the retaining wall beside this home’s paved approach and installed an additional wall at the house corner. The work included removal of the old concrete wall, preparation of a crushed-stone base, installation of gray block courses and caps, and the curved corner-wall detail. The new masonry brings a defined edge to the lawn, side garden strip and existing paving.
 AFTER
 BEFORE
 AFTER
 BEFORE
Move the sliders to compare the old concrete wall with the completed blockwork. The stages below show the exposed ground, crushed-stone base, uncapped block courses, corner wall and finished cap line.
Follow the old wall through removal, base preparation, block installation and finished masonry. Select a photograph to view the full image, then browse with the arrows, keyboard or a swipe.
Stage 01
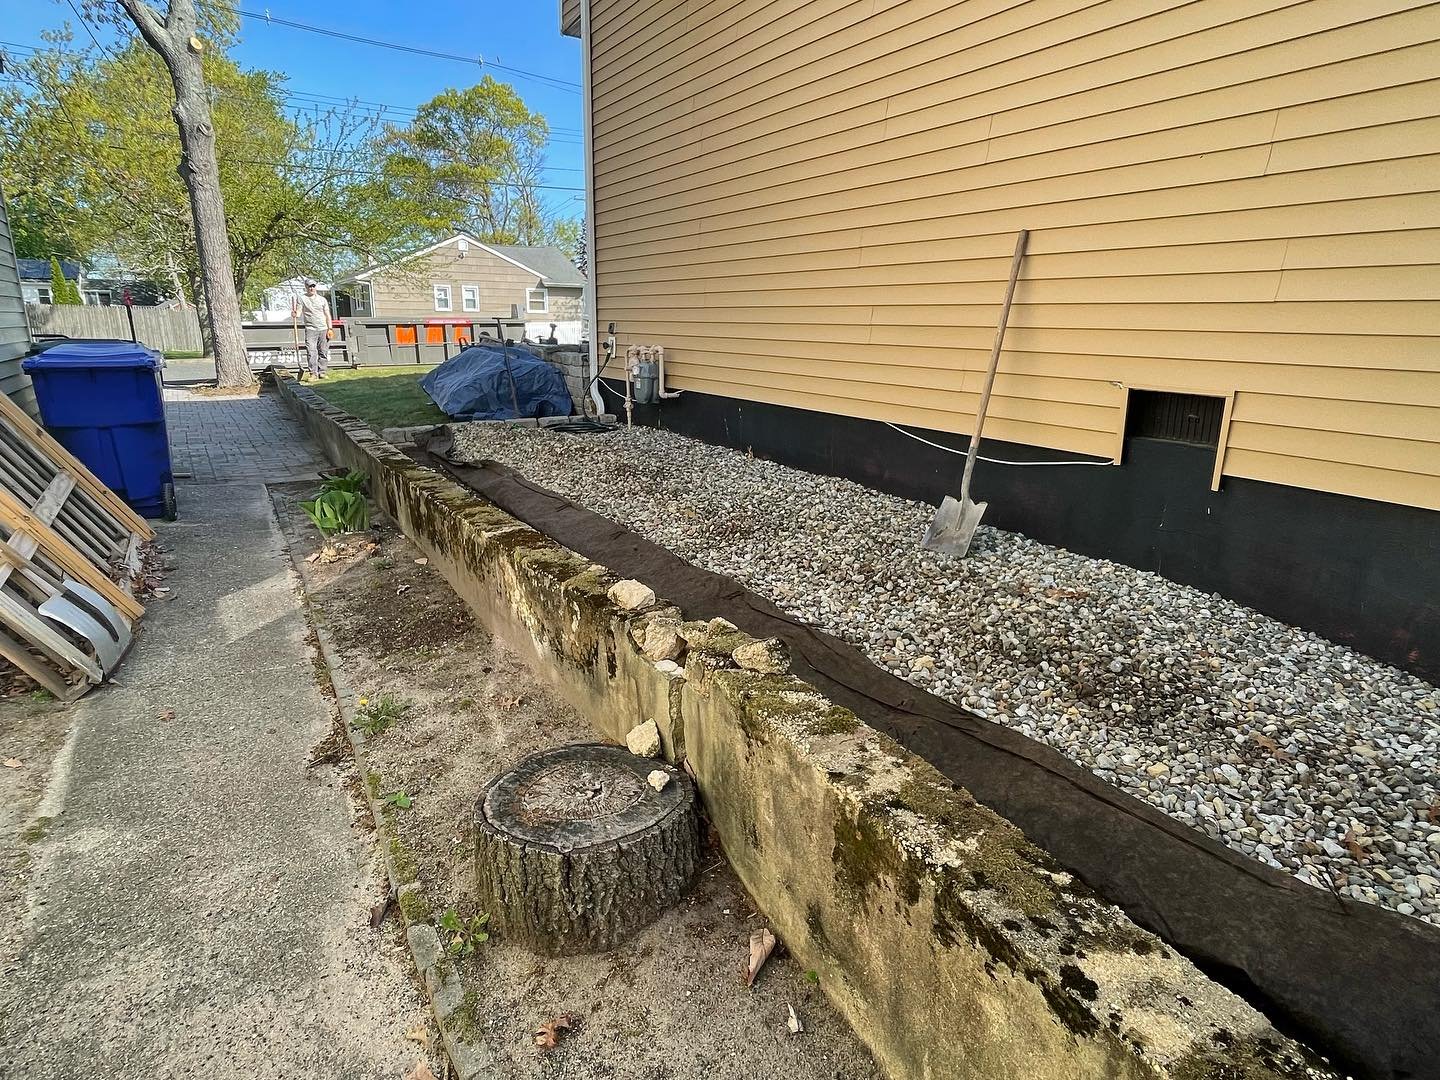
The original concrete wall separated the raised lawn and side garden strip from the paved approach. Its worn face, broken top sections and surrounding edges are visible in the starting photographs.
Views from the side passage and front lawn establish the wall route, the existing paving and the tree beside the work area.
Stage 02
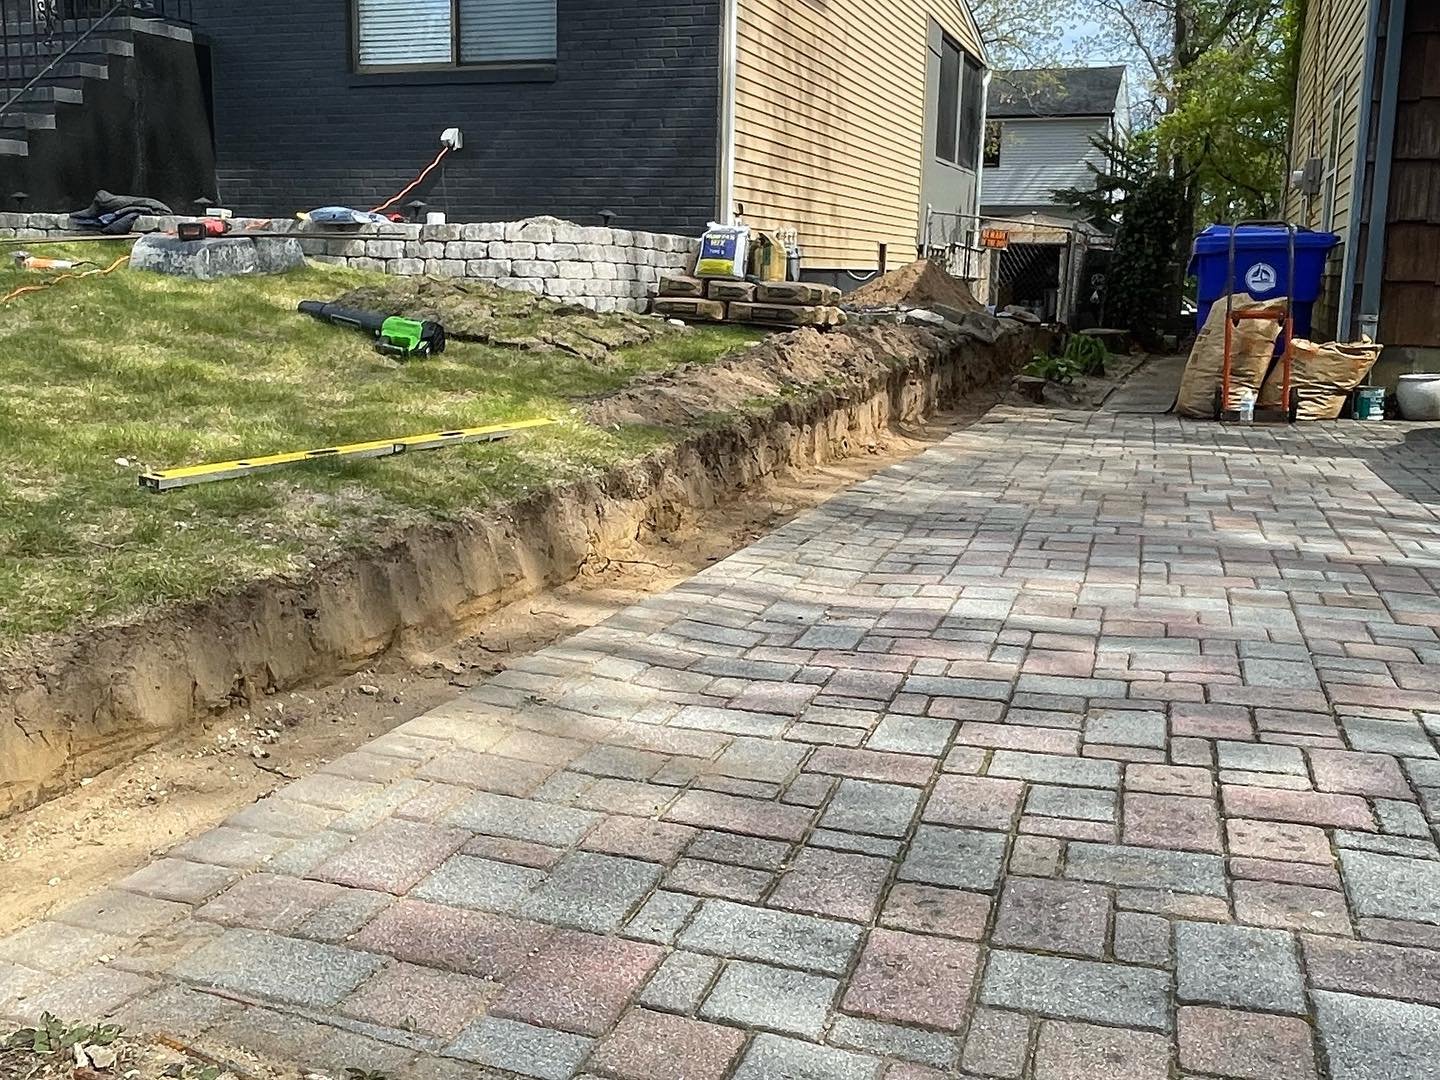
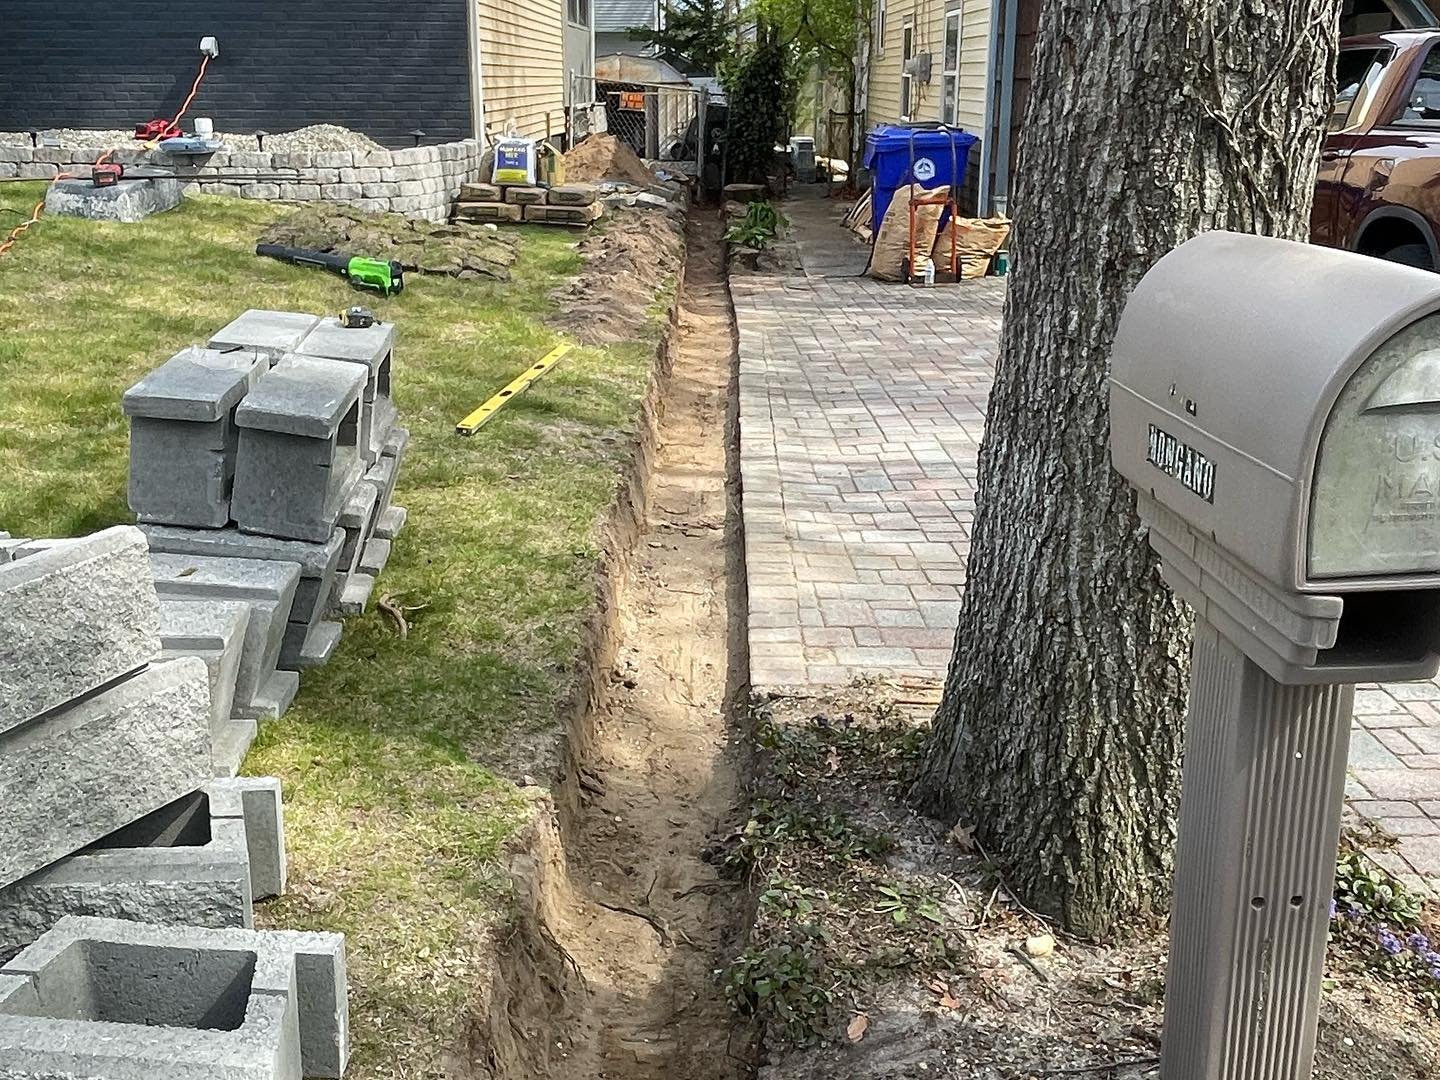
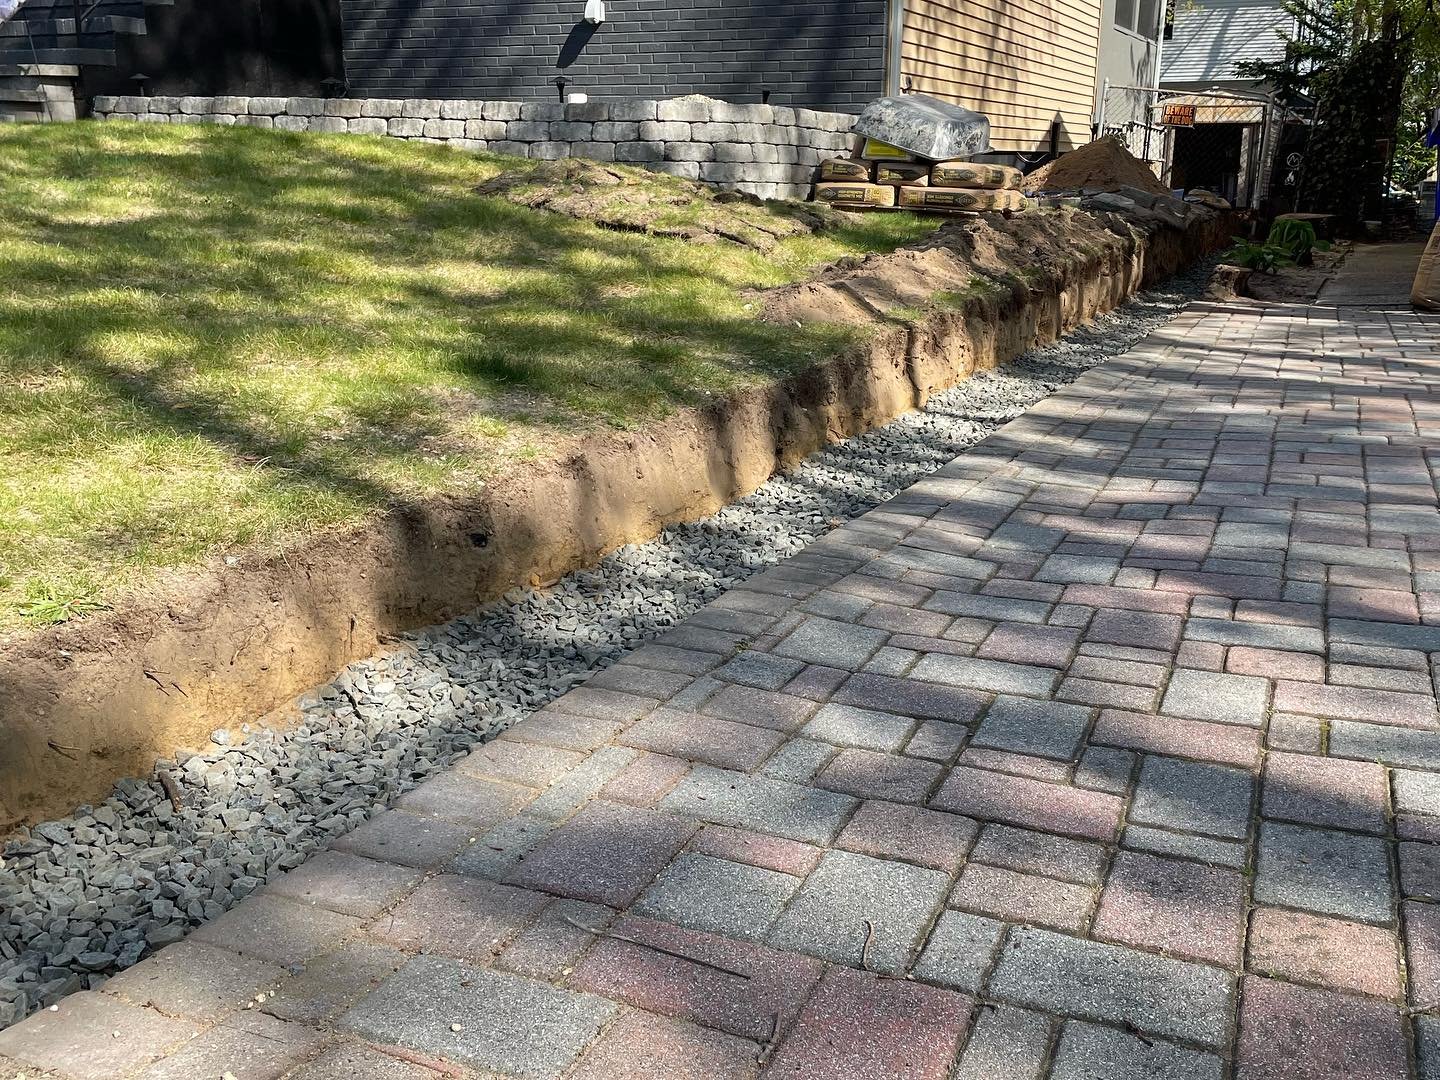
The old wall was removed along the planned replacement route. The photographs show the exposed soil edge and open trench beside the existing pavers.
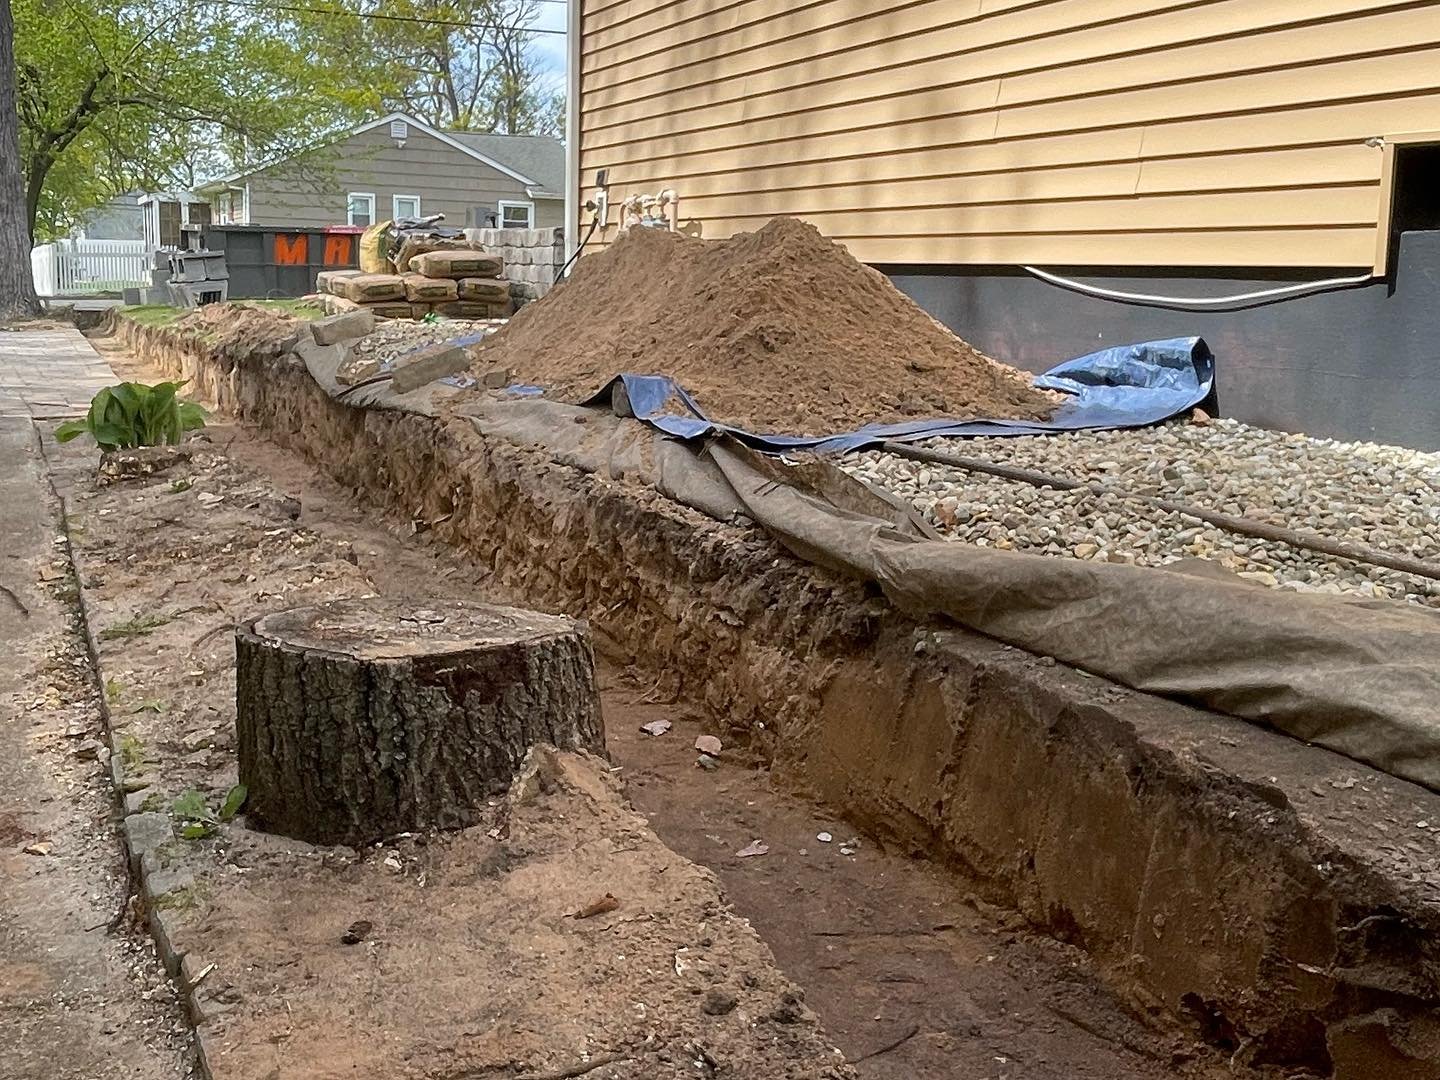
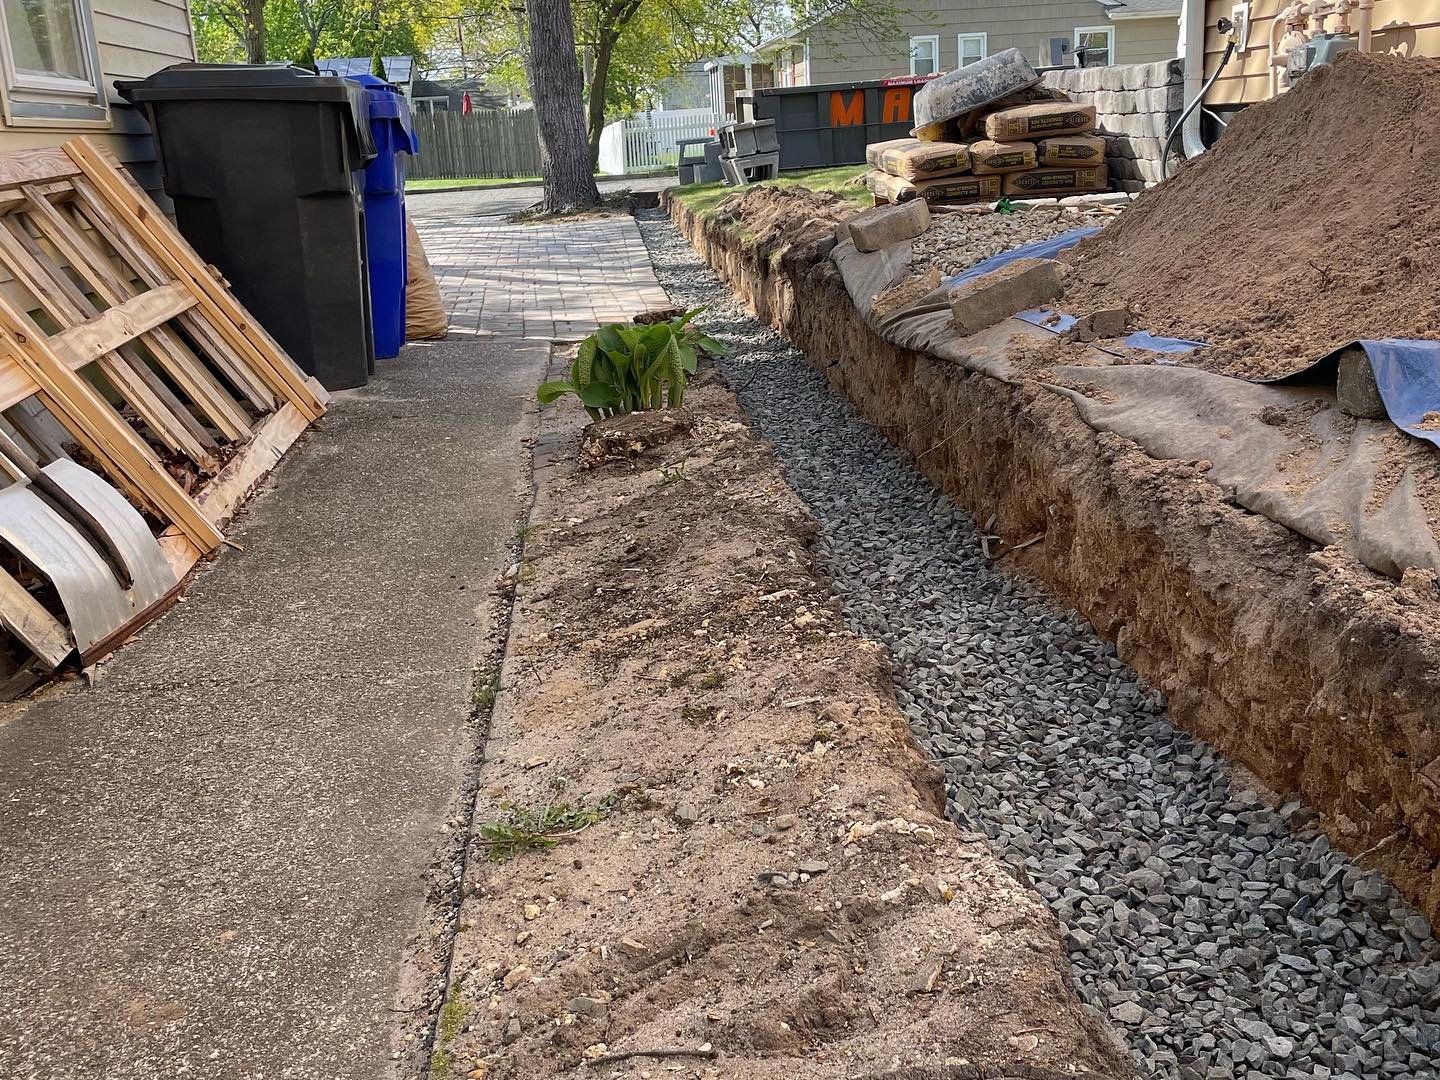
The side section was also opened for rebuilding, with the planting strip, stump and gravel area beside the house visible during this stage.
Stage 03
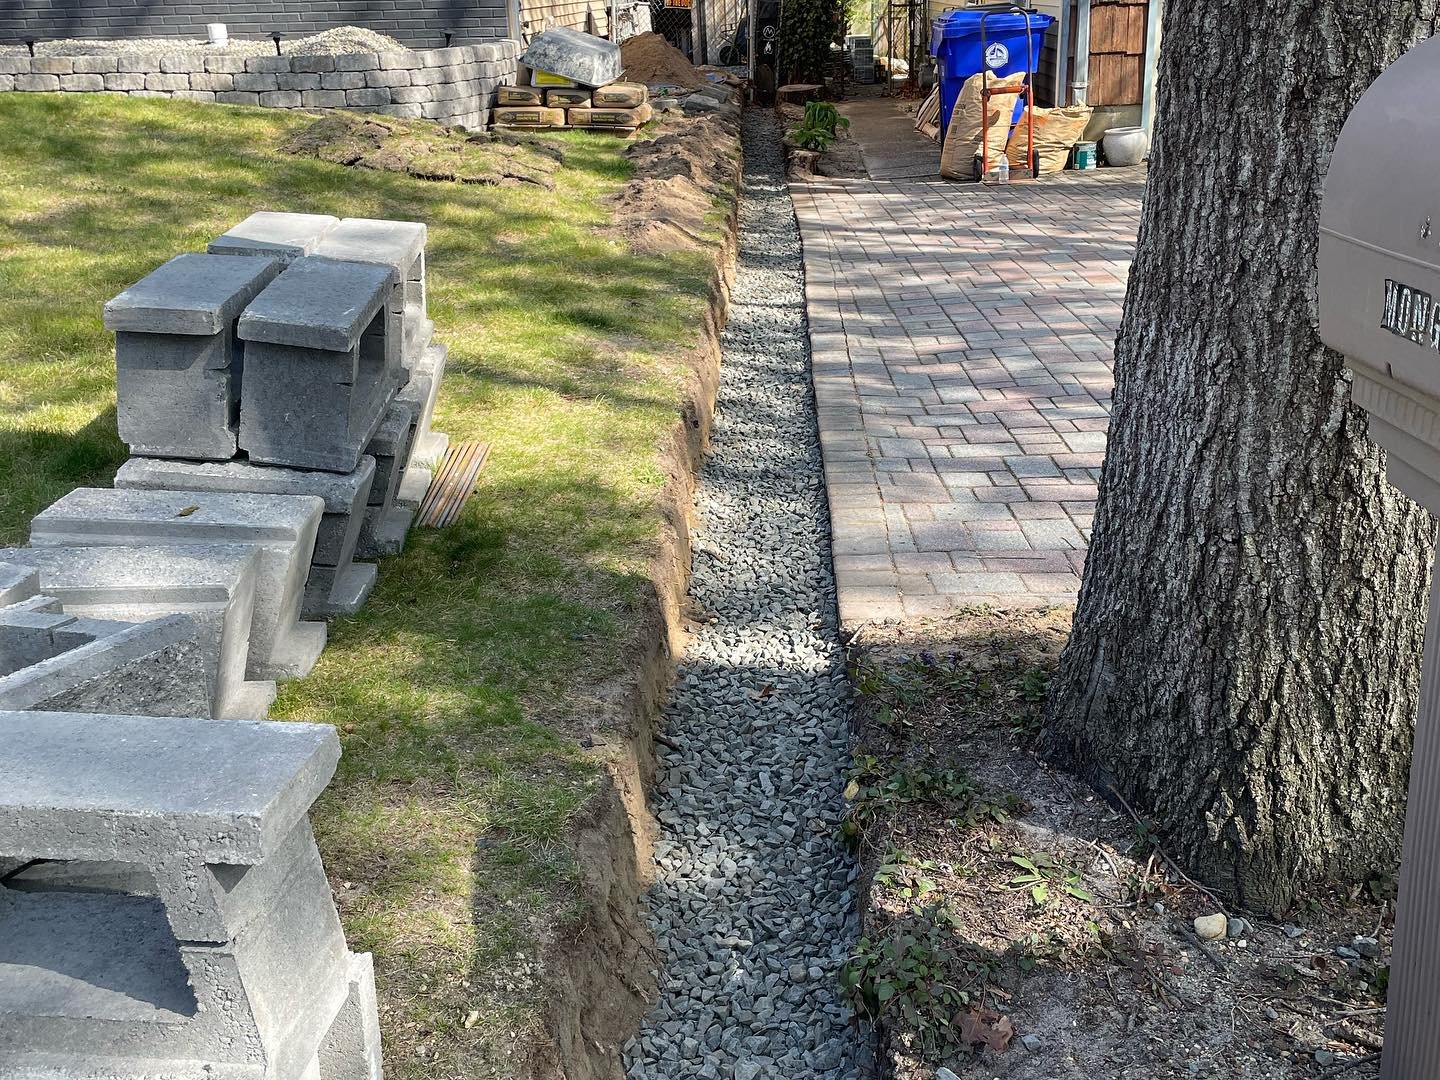
Crushed stone was placed along the wall trench before the block courses were built. The front and side views show the base following the existing paved route.
Replacement wall blocks were brought into the work area as the prepared base established the line for the new wall.
Stage 04
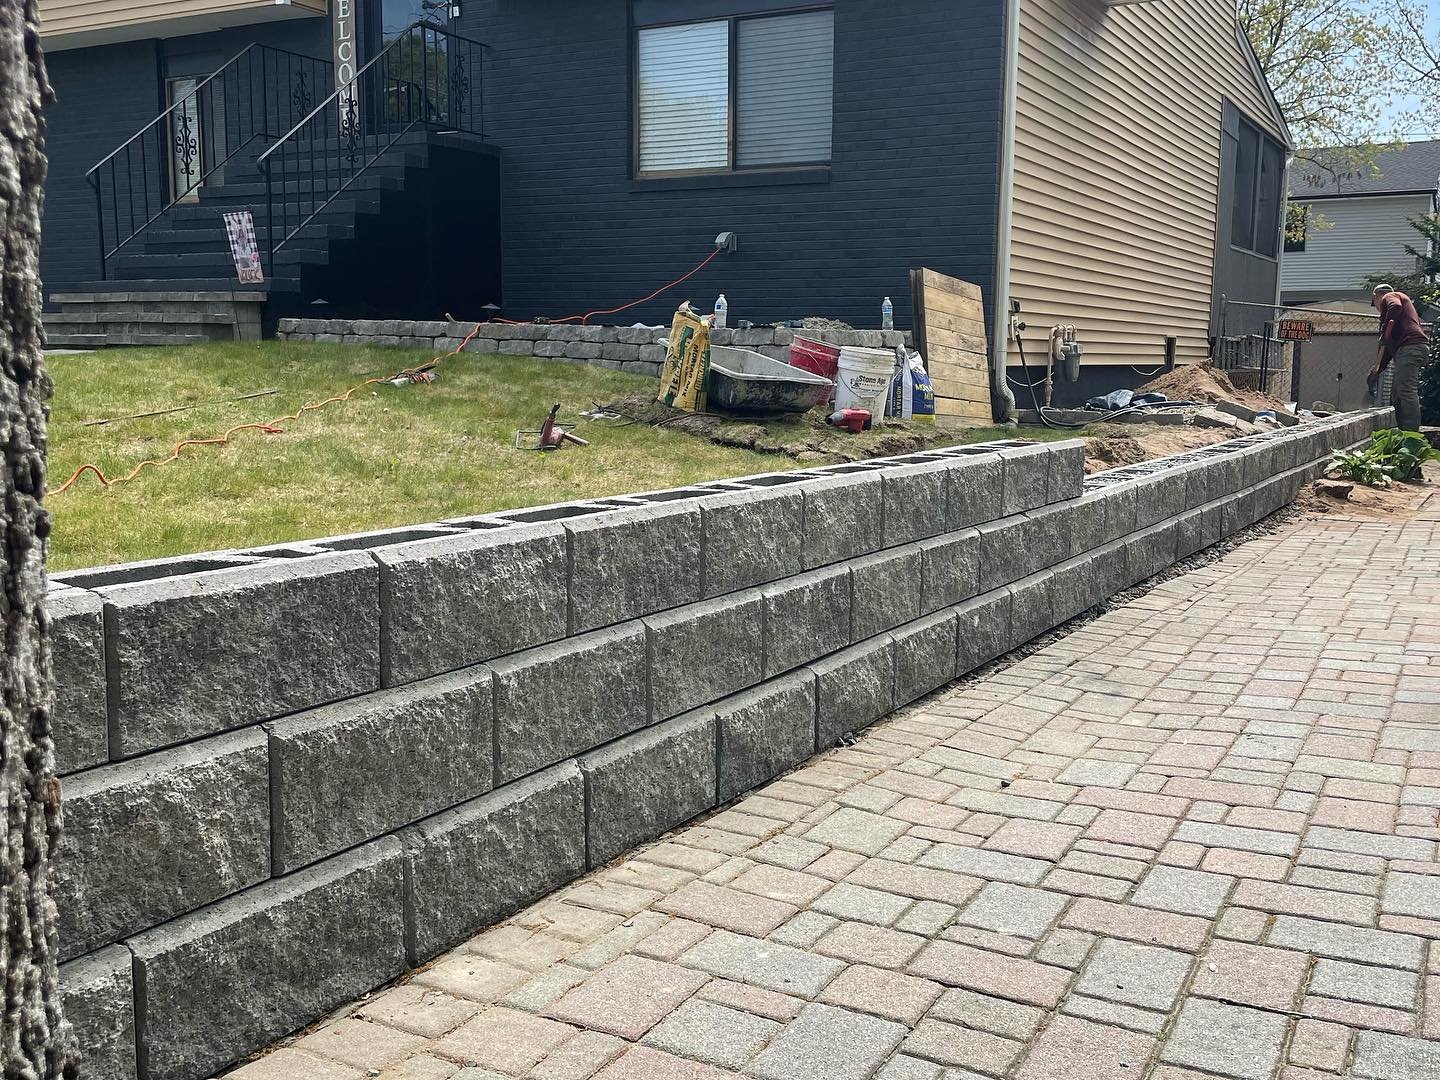
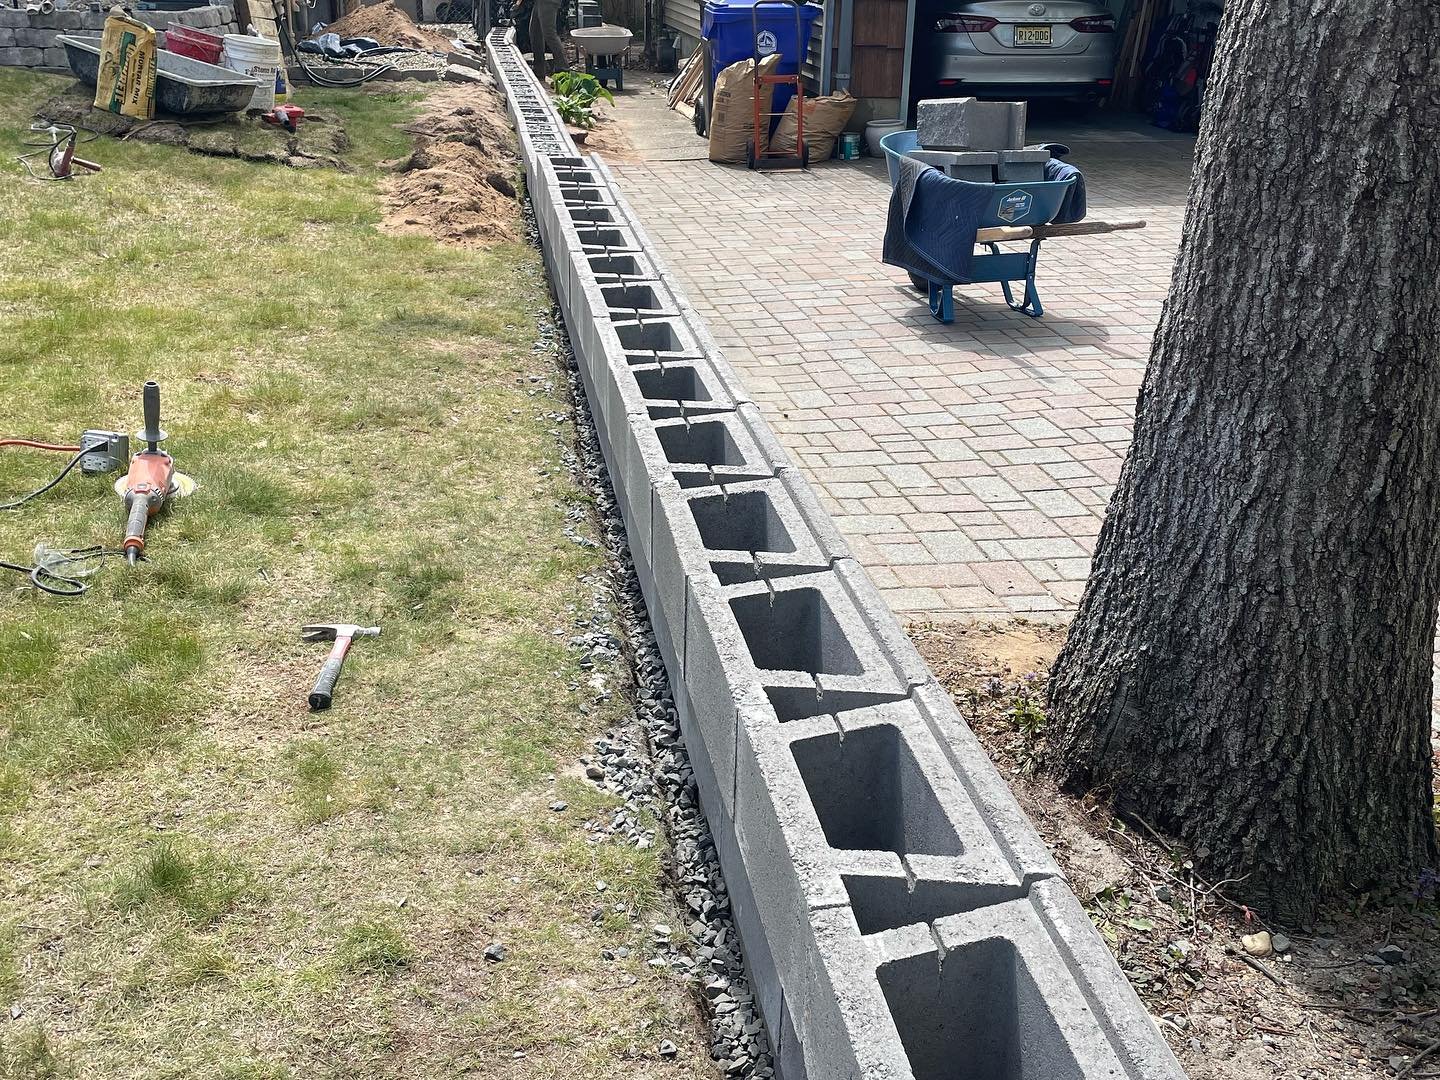
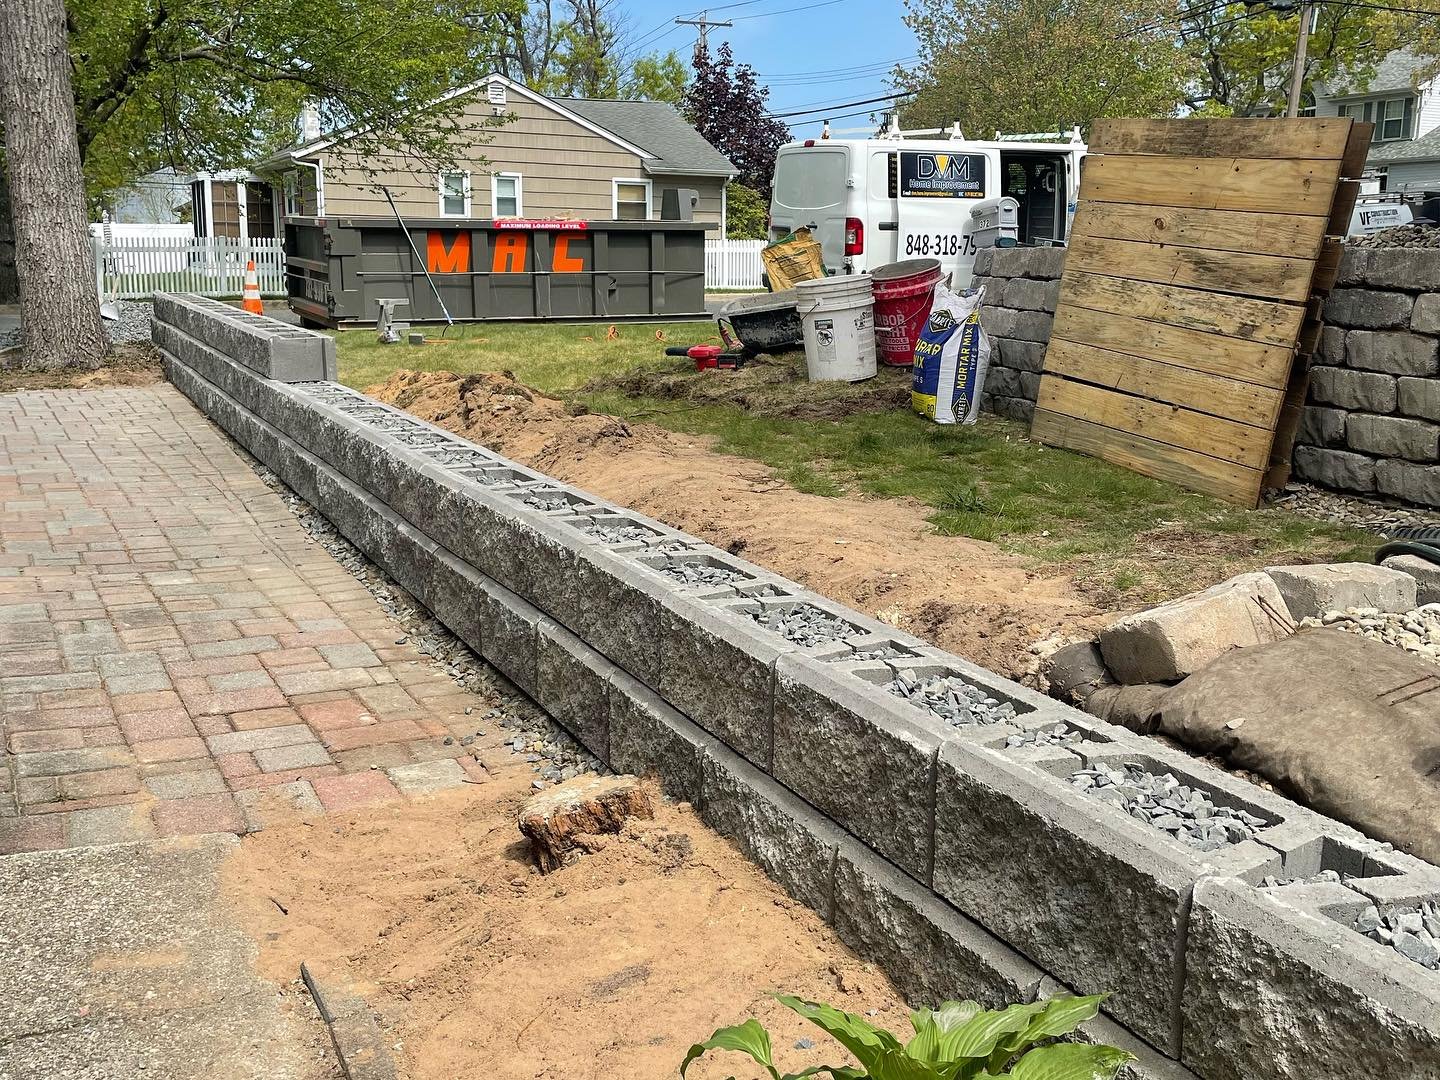
Gray retaining-wall blocks were laid in staggered courses along the rebuilt wall. The construction views show the textured faces and the open block cores before capping.
Crushed stone is visible within the cores in the reverse view. The photographs follow the block line around the lawn and through the side section beside the house.
Stage 05
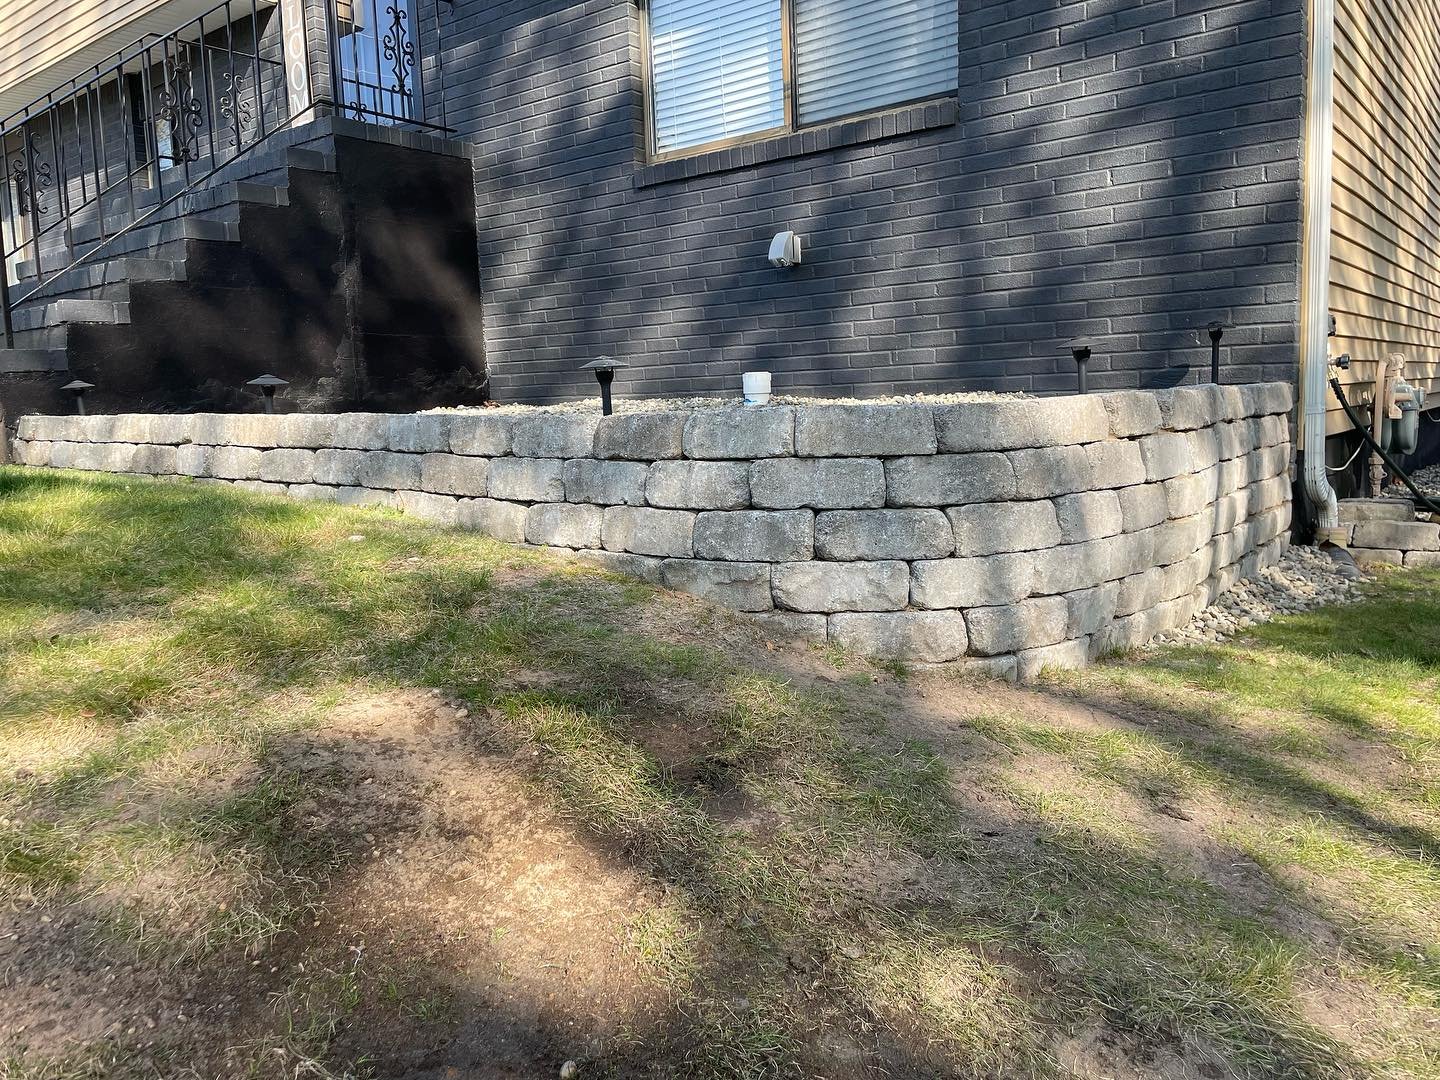
The scope also included an additional retaining wall at the front corner of the house. The dedicated view shows a curved arrangement of smaller textured blocks below the entrance and window.
The wall defines the raised area around the corner and follows its change in level toward the lawn.
Stage 06
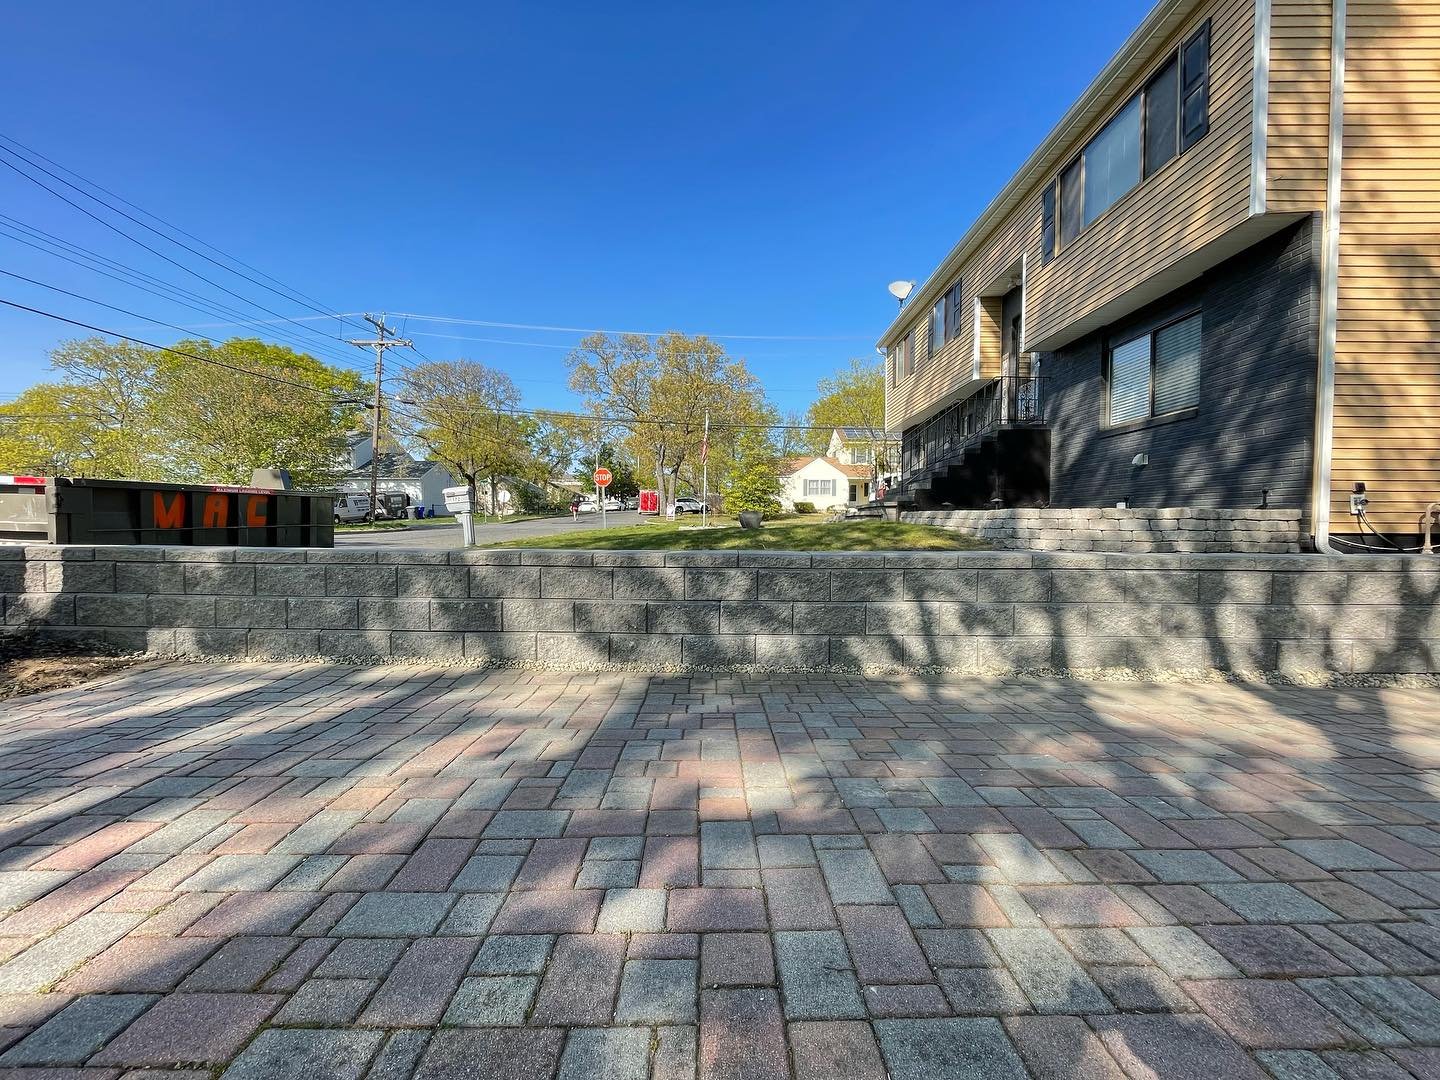
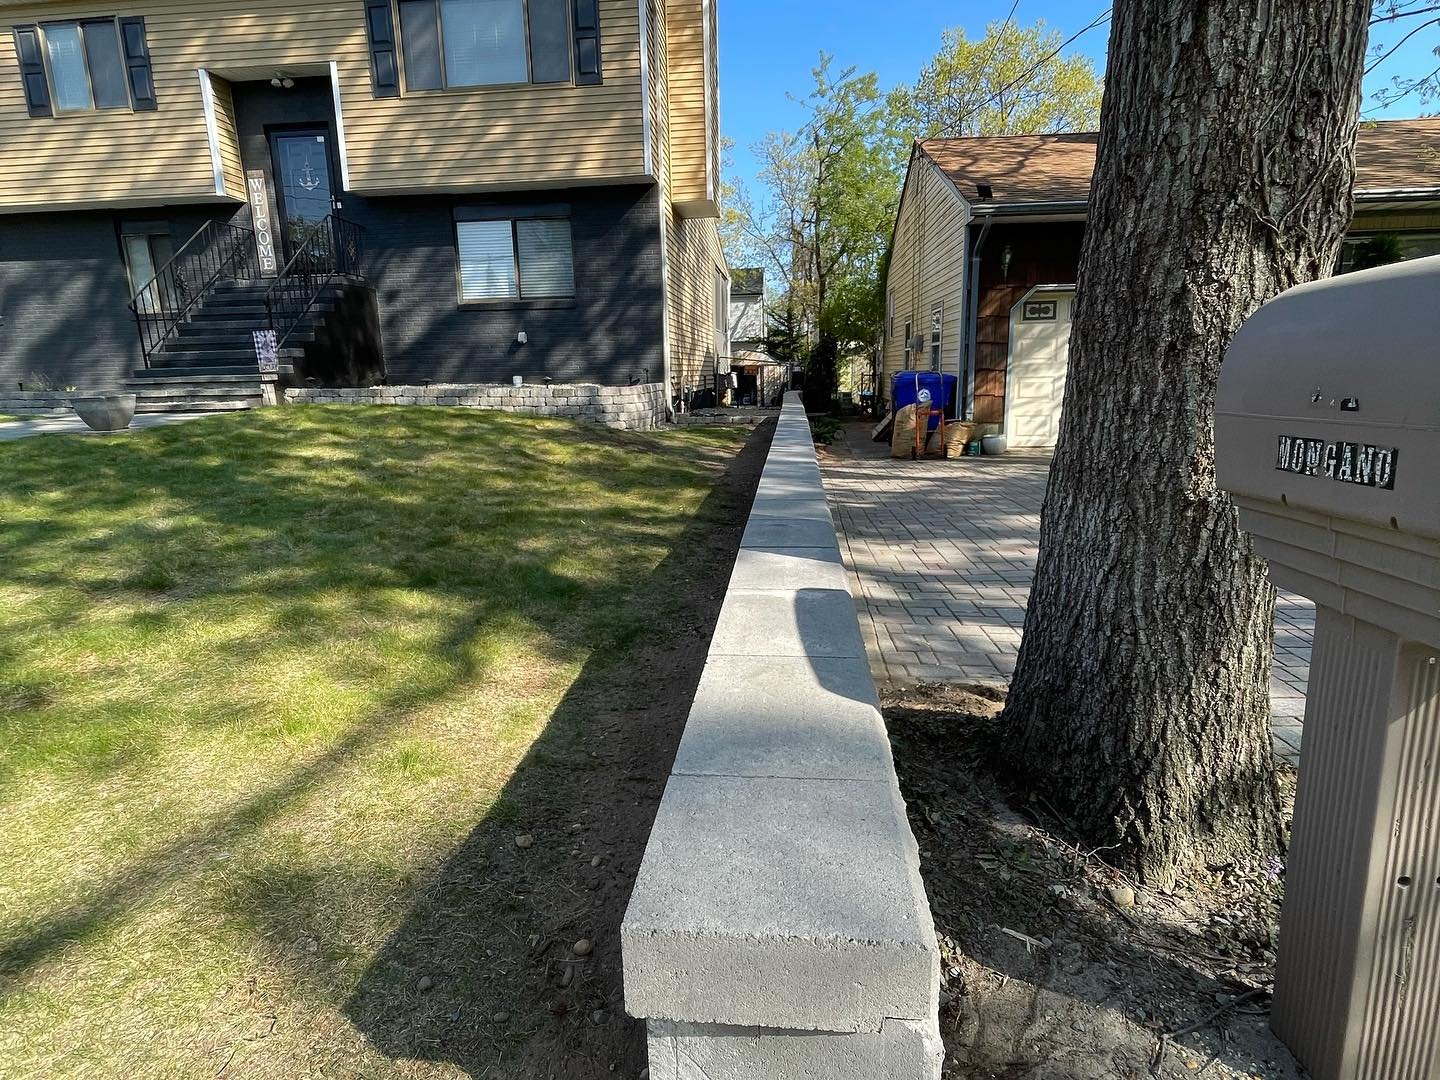
Caps complete the top of the long replacement wall. Close and wider views show the gray block face, the continuous cap line and the connection with the existing paver approach.
The finished wall defines the edge of the lawn and side garden strip. Views from the pavement, lawn and mailbox end show the completed masonry from both sides.

Planning a retaining-wall replacement or a new wall beside your home, lawn or paved approach? Send Nashkov Group Construction LLC photographs of the area, your property location and the changes you have in mind. We can discuss the scope, materials and an on-site visit.
Discuss your retaining-wall project