Phone:
(848)318-7679
Physical address:
954 Vaughn Ave, Toms River 08753

Phone:
(848)318-7679
Physical address:
954 Vaughn Ave, Toms River 08753
A renewed floor and coordinated fixture installation
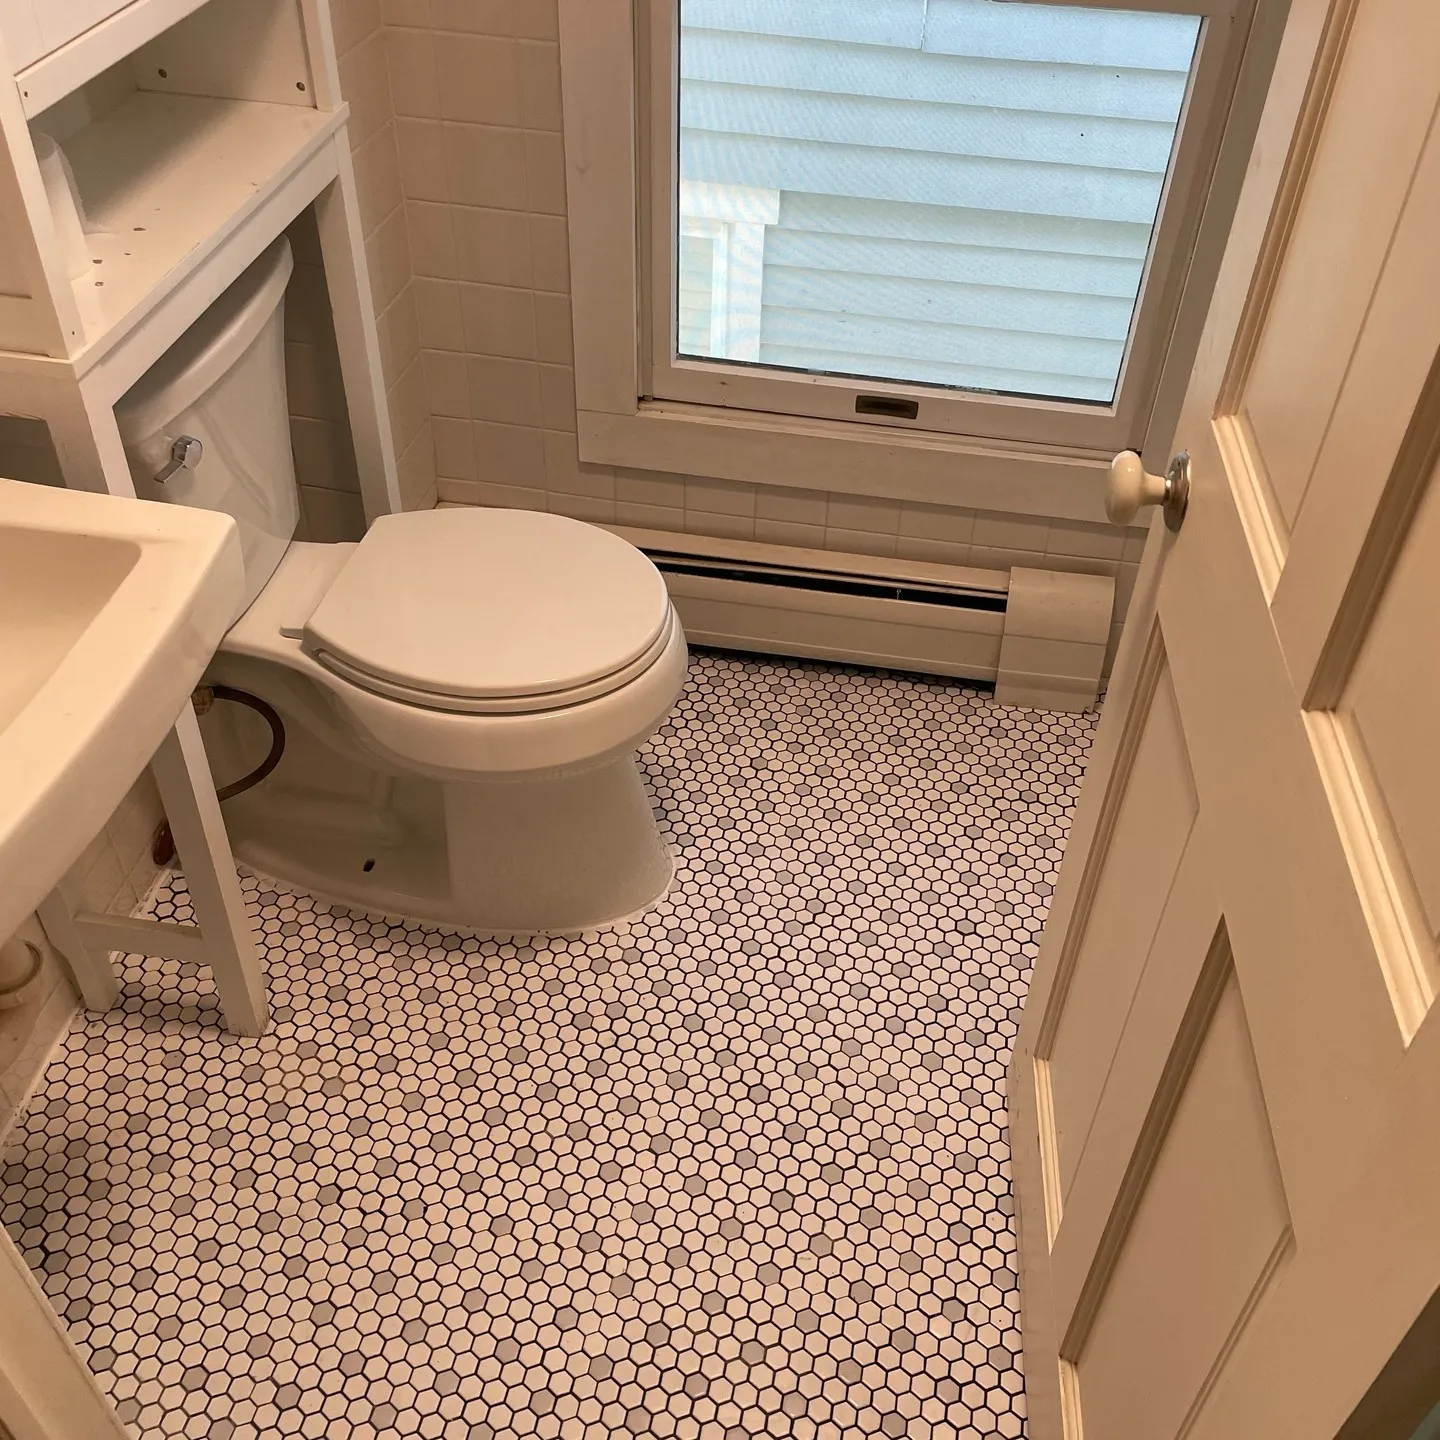
Nashkov Group Construction LLC installed bathroom floor tile and fitted the toilet over the new floor finish. White hexagonal mosaic tile with dark joint lines gives this compact room a brighter appearance around its existing sink, window and heating arrangement.
Move the slider to compare the earlier floor surface with the hexagonal tile and installed toilet.
 AFTER
 BEFORE
This focused bathroom update brought floor tile installation and toilet installation into the same scope. The room keeps its compact arrangement while the new floor connects the doorway, sink area and toilet position.
Follow the earlier floor condition, tile installation and the renewed toilet area. Select a photograph to view the full image, then use the arrows, your keyboard or a swipe to browse the gallery.
Stage 01
The starting photograph shows a blue grid-patterned floor covering with an area already opened near the doorway. The toilet, sink, storage unit, window and baseboard heater establish the existing room arrangement around the floor work.
This view records the condition before the new floor finish was installed. The exposed patch and the adjoining surfaces identify the work area that would be brought into a continuous tiled floor.
Stage 02
White hexagonal mosaic tile was installed across the bathroom floor. The small repeating shapes create a consistent pattern through the compact space, with dark joint lines defining the individual tiles.
The tile layout follows the room perimeter and the areas around the sink and toilet position. The doorway, existing wall finishes and heating cover form the boundaries for the new floor surface.
Stage 03
The toilet was installed over the new tile floor in the existing room arrangement. The later photograph shows it in place beside the sink, with the white hexagonal floor extending through the visible bathroom area.
The light tile and dark joints give the floor a more defined appearance beneath the retained wall and window finishes. Together, the flooring and toilet installation complete the photographed update.