Phone:
(701)814-6992
Physical address:
6296 Donnelly Plaza
Ratkeville, Bahamas.

Phone:
(701)814-6992
Physical address:
6296 Donnelly Plaza
Ratkeville, Bahamas.
Project story
An existing basement window replaced with a white-framed unit and finished interior trim. Follow the original opening through removal, fitting, local edge finishing and perimeter foam to the completed white border.
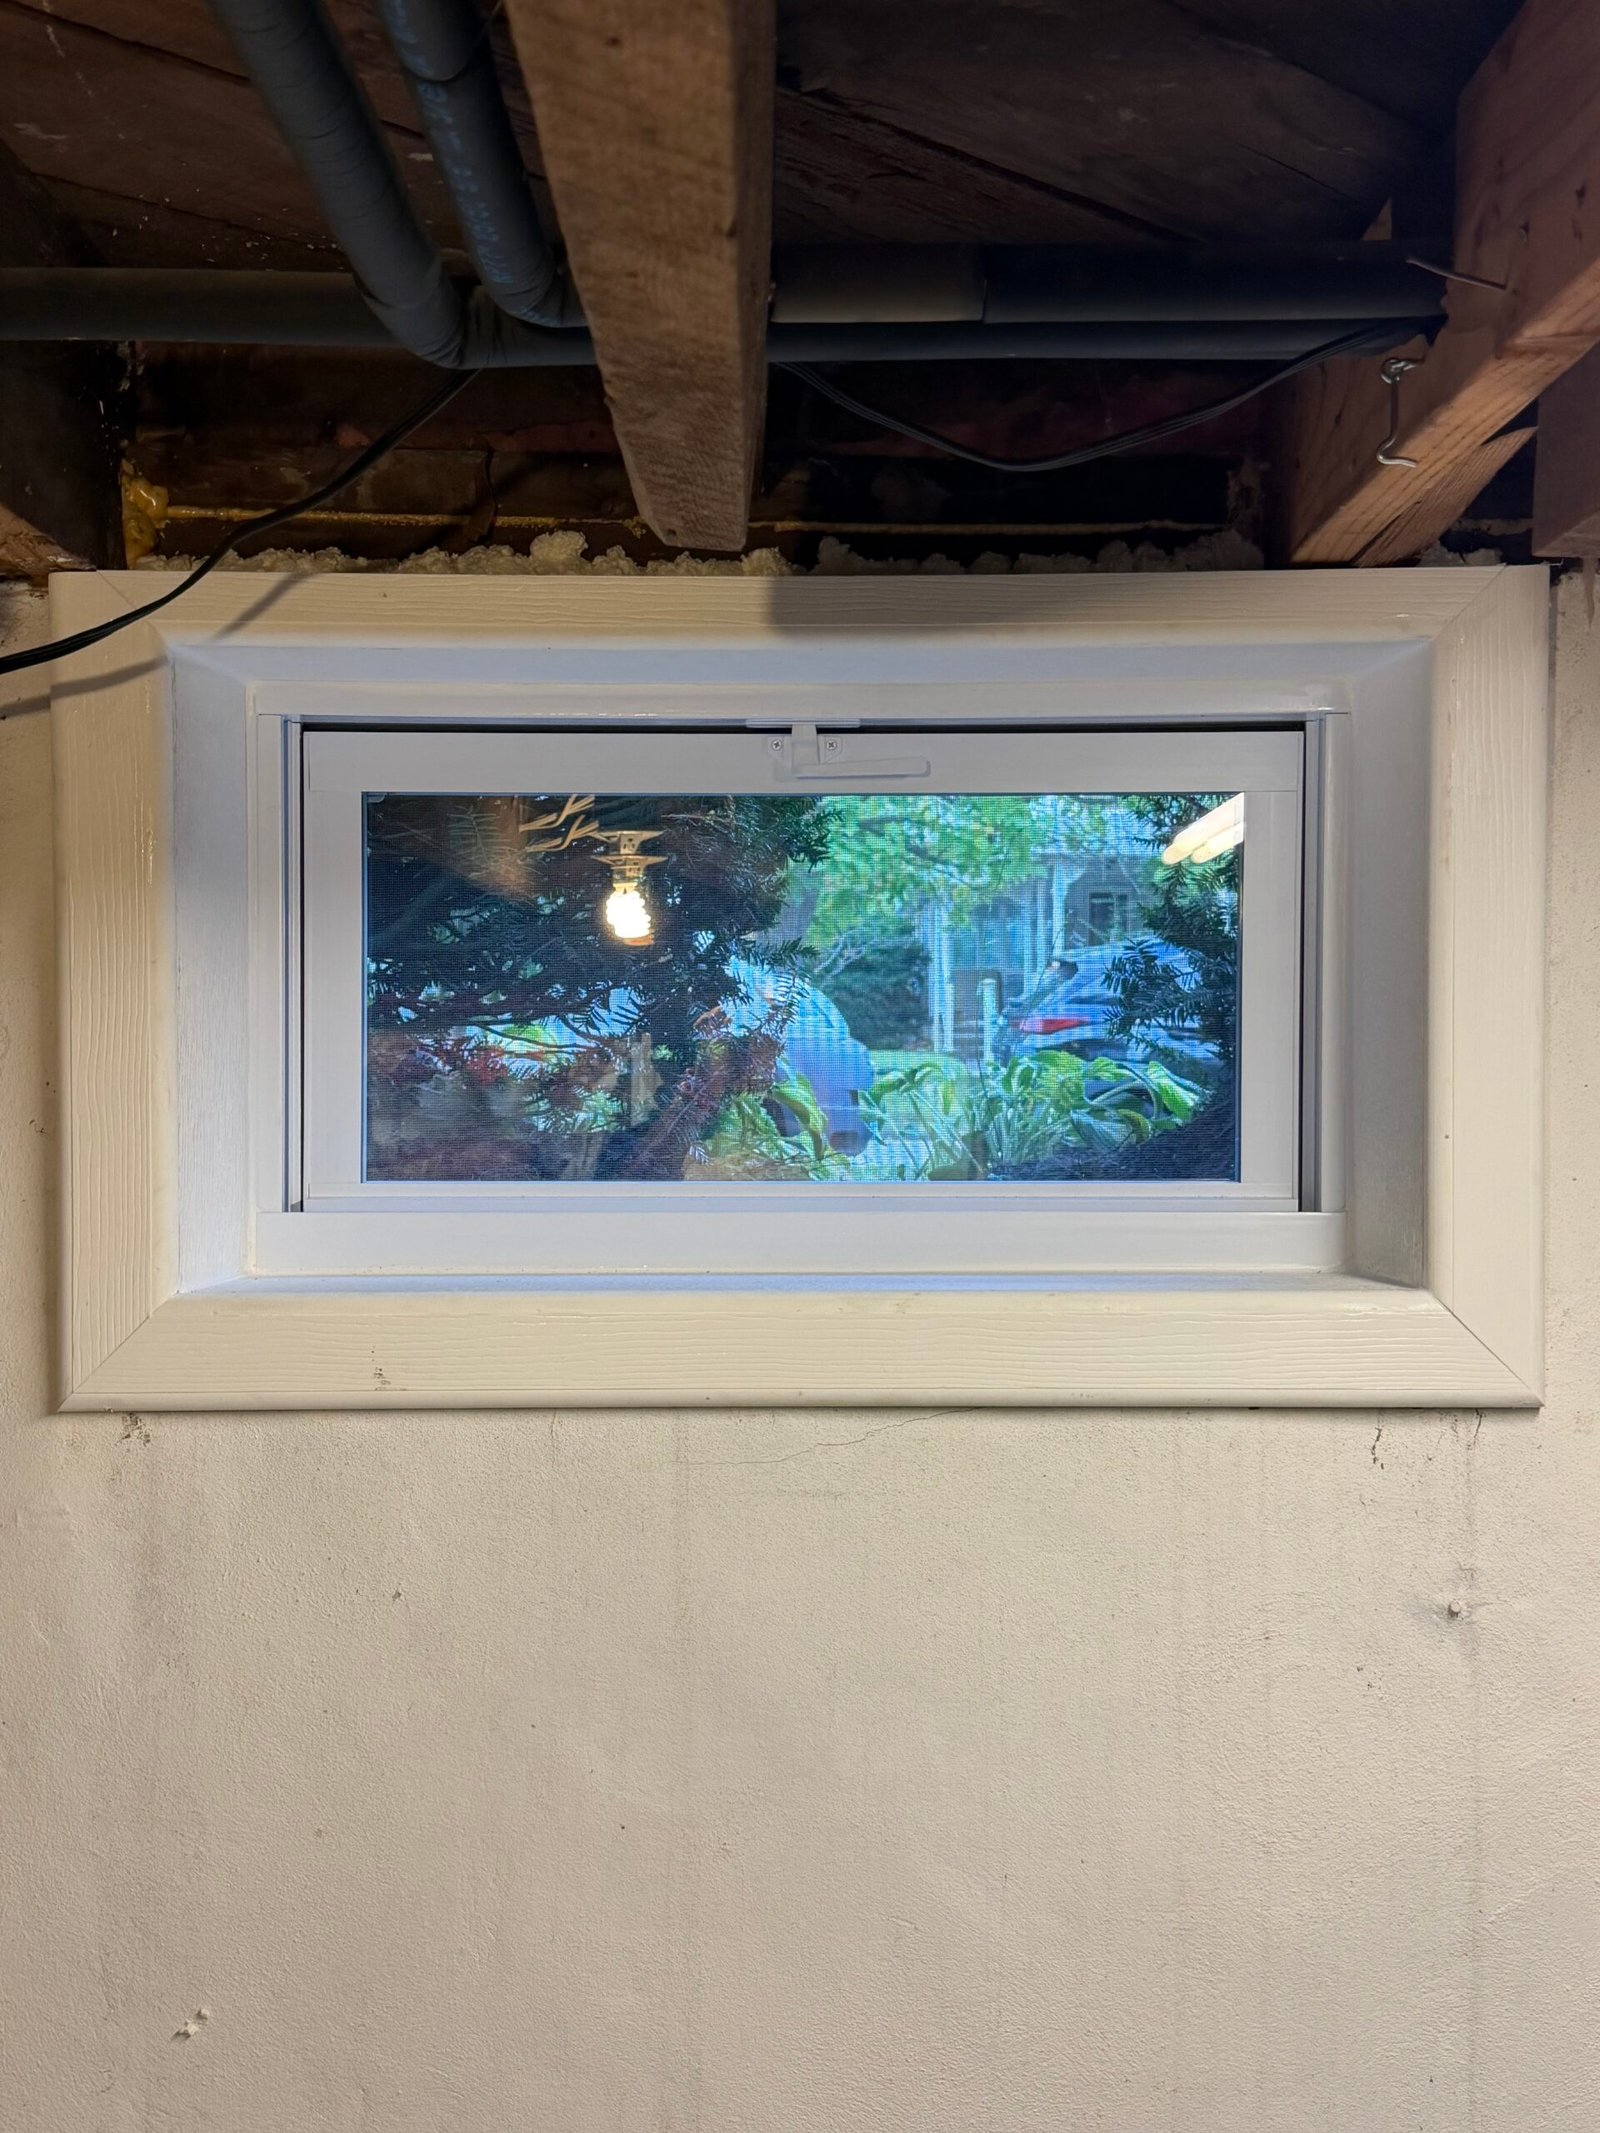 AFTER
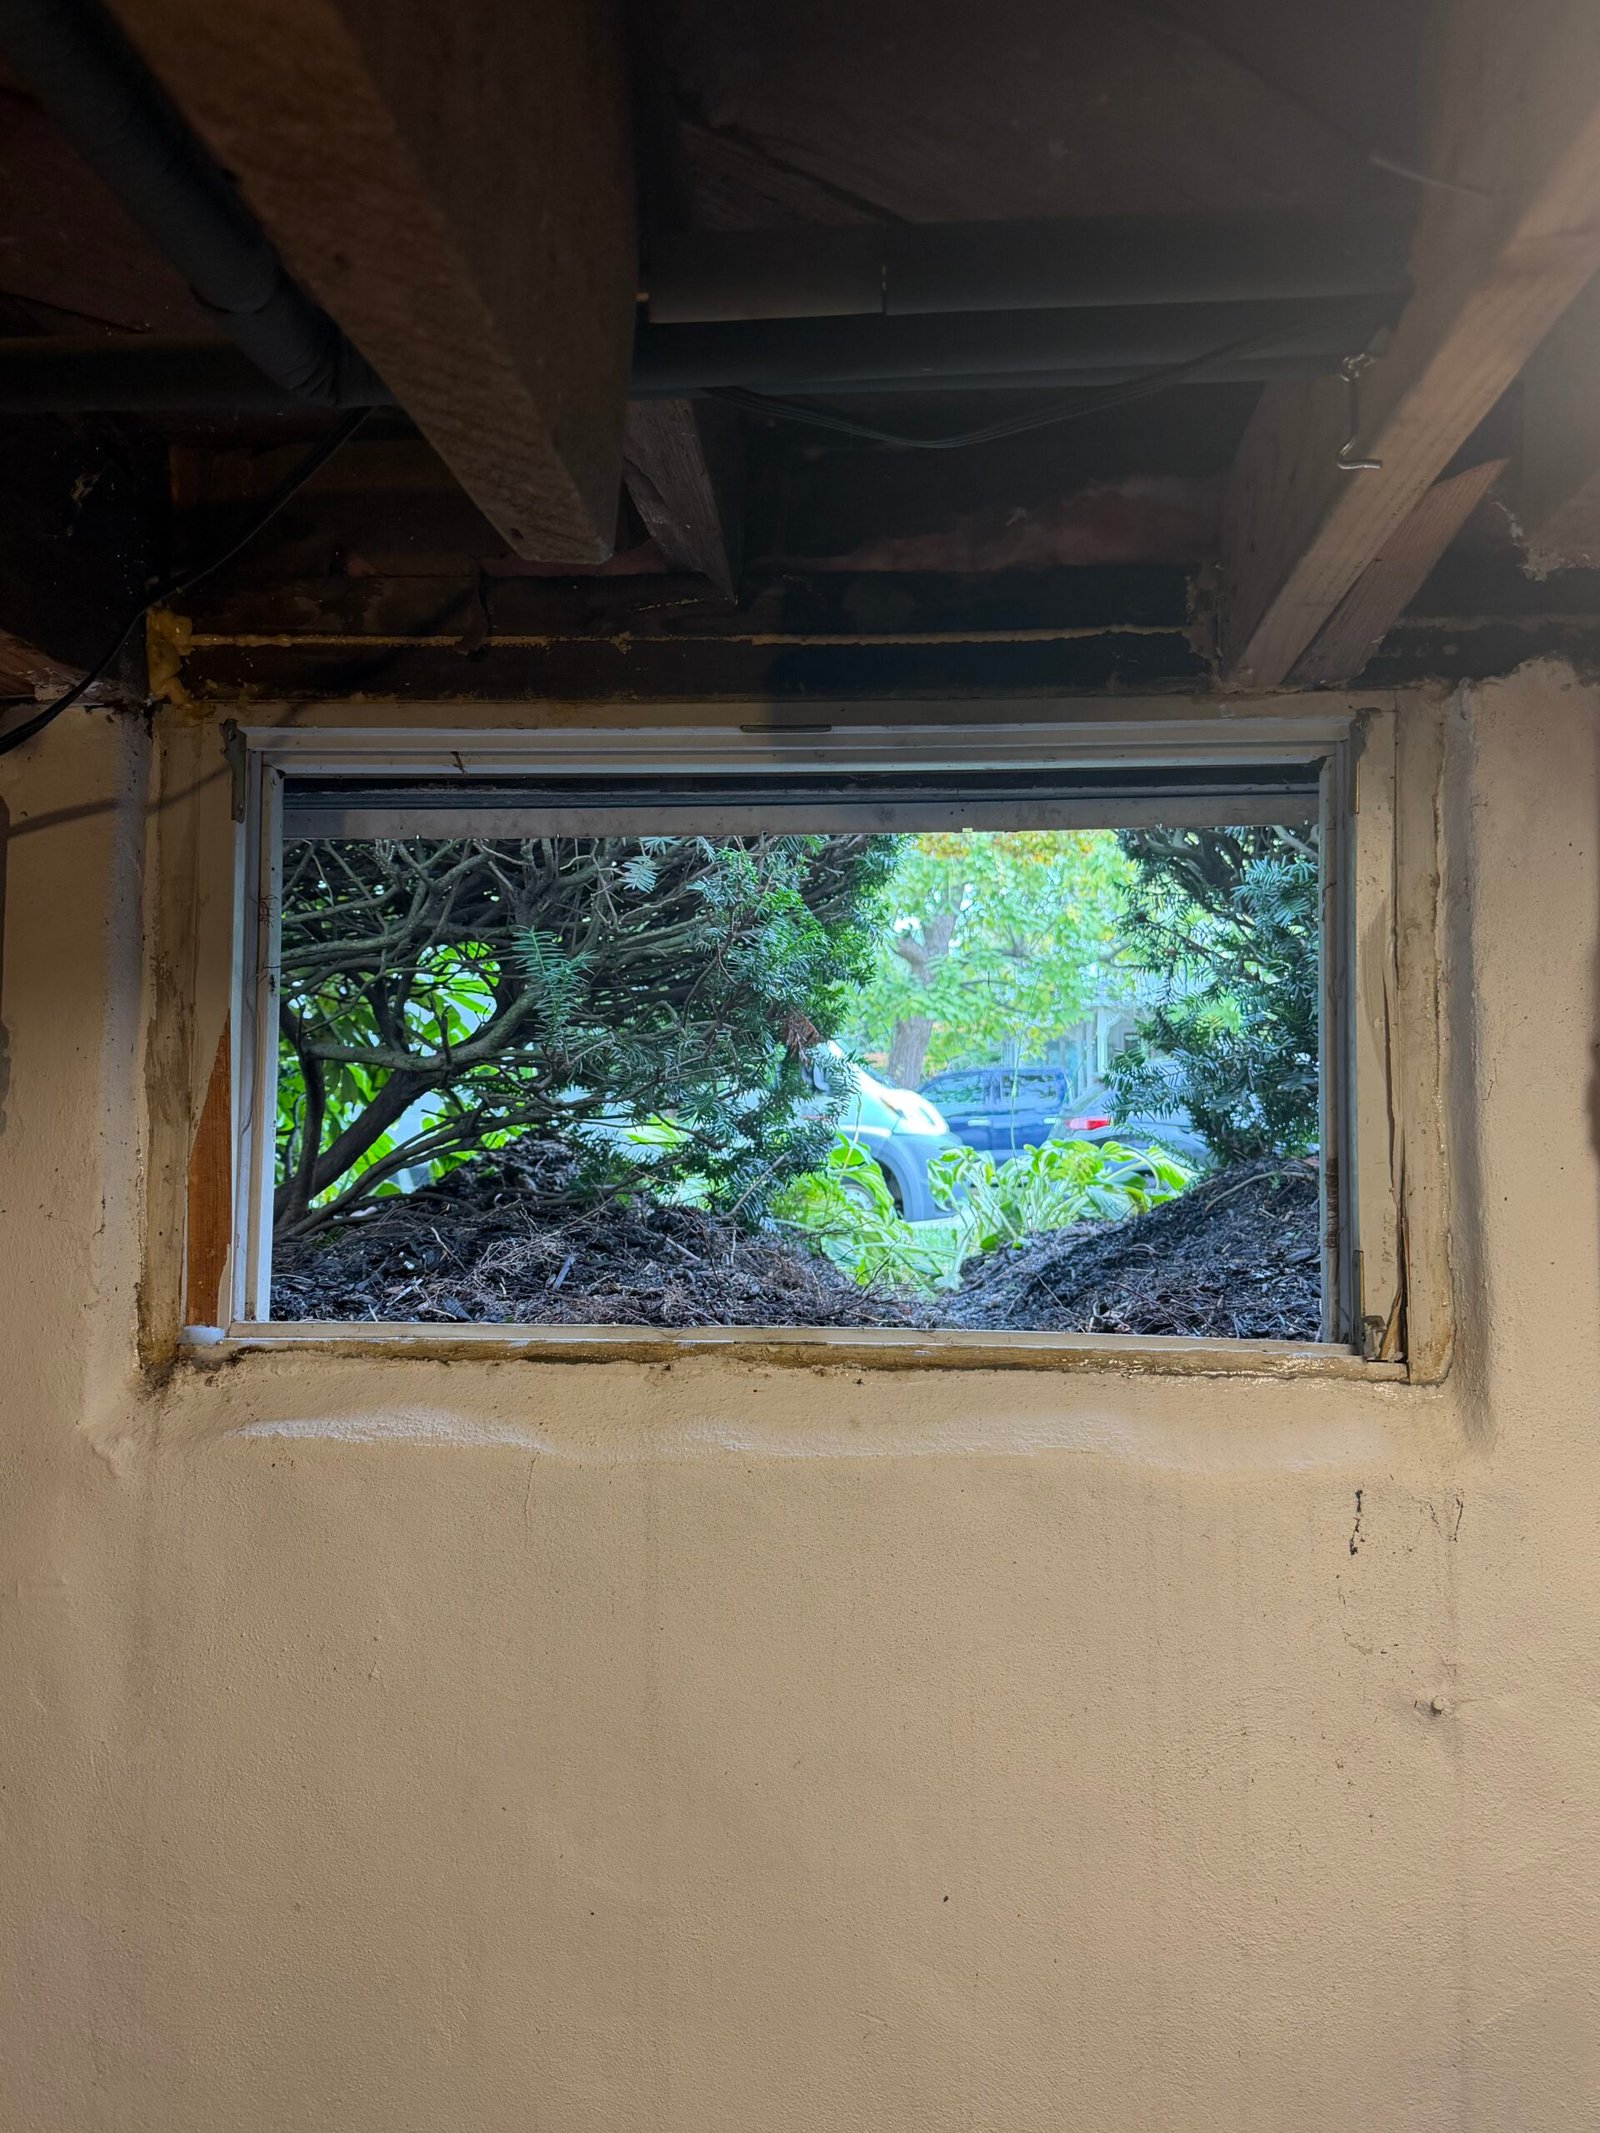 BEFORE
The old basement window was removed and a new white-framed unit fitted within the existing wall opening. The photographs show the clear aperture, the replacement in place and the local finishing around the masonry edges.
Foam fills the visible perimeter gaps before white interior trim completes the border. The finished view connects the new frame with the surrounding basement wall.
Five photographs follow five stages of the replacement. Select a photo to open the gallery, then use the arrows, keyboard or swipe to browse the work.
Stage 01
The existing window sat high in the basement wall beneath the exposed ceiling joists and pipework. The starting photograph records the old frame and the visible edges of the wall opening.
This view provides the comparison with the new white-framed unit and finished interior border at the end of the project.
Stage 02
The old window was removed, leaving a clear opening in the basement wall. The exposed perimeter made the sides and lower edge accessible for the replacement work.
The photograph shows the transition between the original unit coming out and the new window being fitted within the existing opening.
Stage 03
A new white-framed basement window was fitted in the opening. Gray masonry-edge finishing is visible along the lower edge and sides while the work around the frame is still underway.
At this stage the new unit is in place, with its surrounding edges ready for the perimeter sealing and interior finishing that follow.
Stage 04
Foam is visible along the upper perimeter of the new frame. The surrounding edges remain accessible as the installation moves from fitting the unit to completing the interior finish.
This close stage view connects the new window with the edge repairs and sealing work around it before the completed white trim covers the perimeter.
Stage 05
White interior trim completes the border around the replacement window. The finished photograph shows the new frame and surrounding finish together within the basement wall.
The final view brings the sequence together: the original window removed, the replacement fitted, the perimeter filled and the opening finished with a clean white border.
The new white frame and completed border give the opening a more finished appearance. The gallery connects that result with the removal, fitting and perimeter work.
Planning to replace a basement window or renew the finish around an existing opening? Send photographs, your property location and the changes you have in mind. Nashkov Group can help define the replacement and finishing scope.
Discuss your basement window project