Phone:
(701)814-6992
Physical address:
6296 Donnelly Plaza
Ratkeville, Bahamas.

Phone:
(701)814-6992
Physical address:
6296 Donnelly Plaza
Ratkeville, Bahamas.
Project story
Two bedroom windows replaced and brought together with renewed white interior trim. Follow the original units, exposed openings, installation and perimeter sealing through to the finished view inside the room.
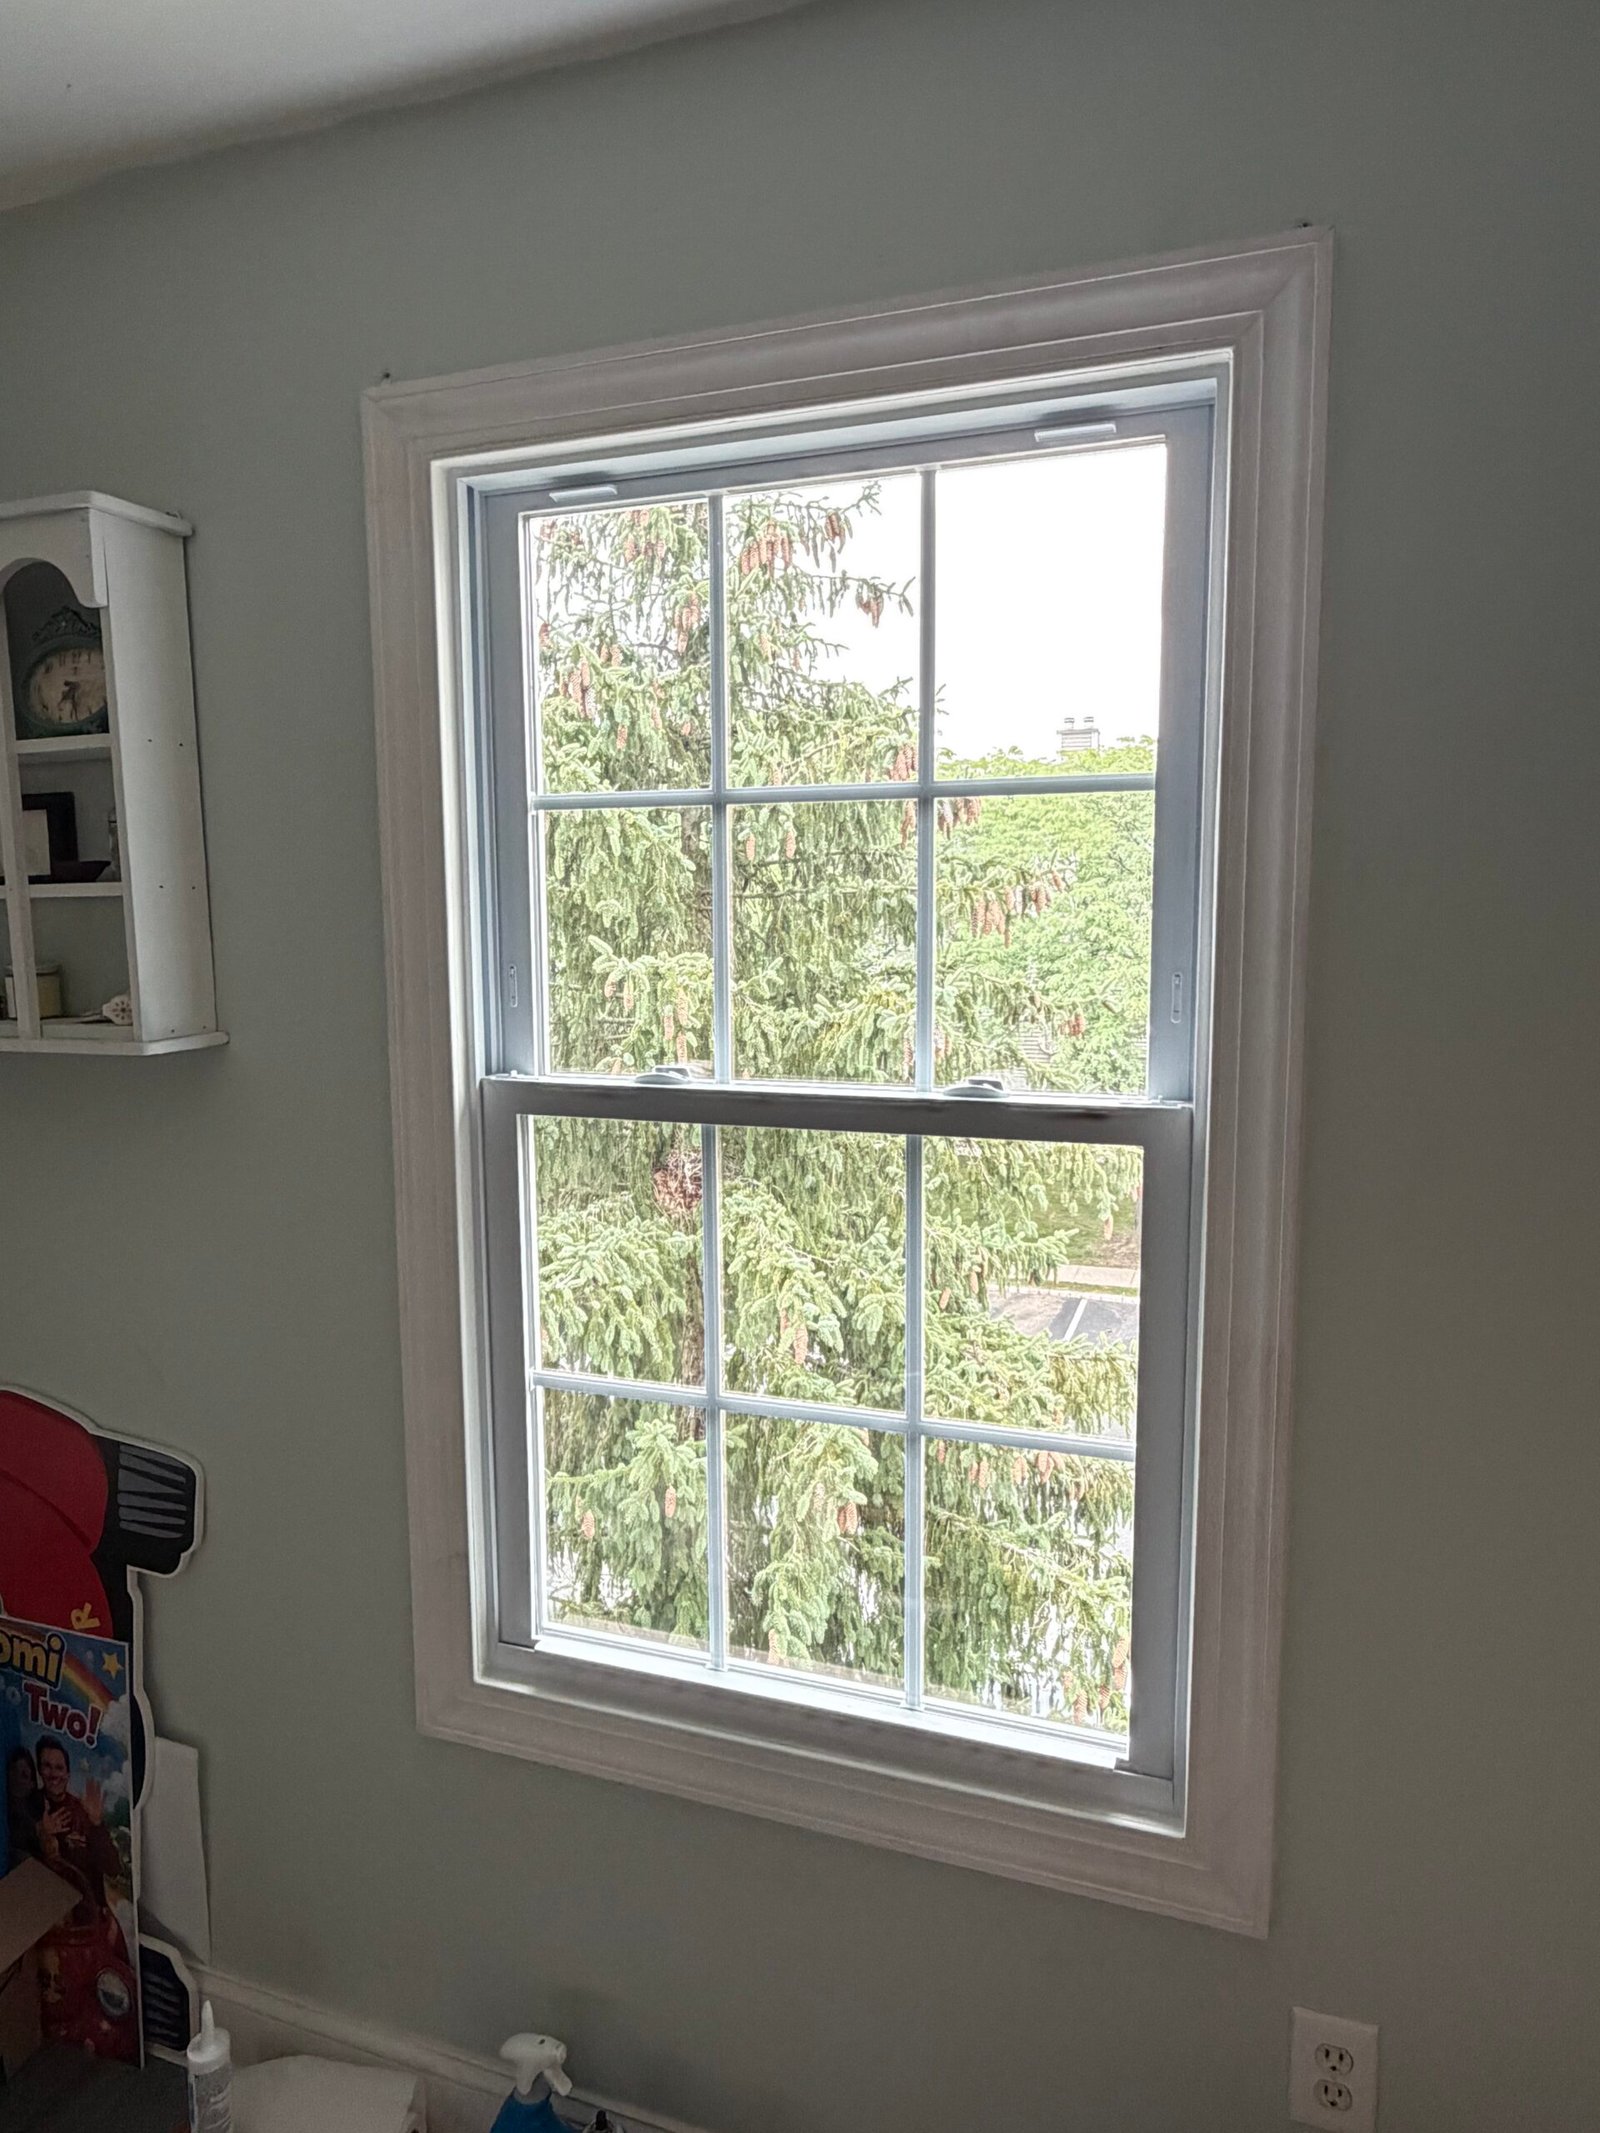 AFTER
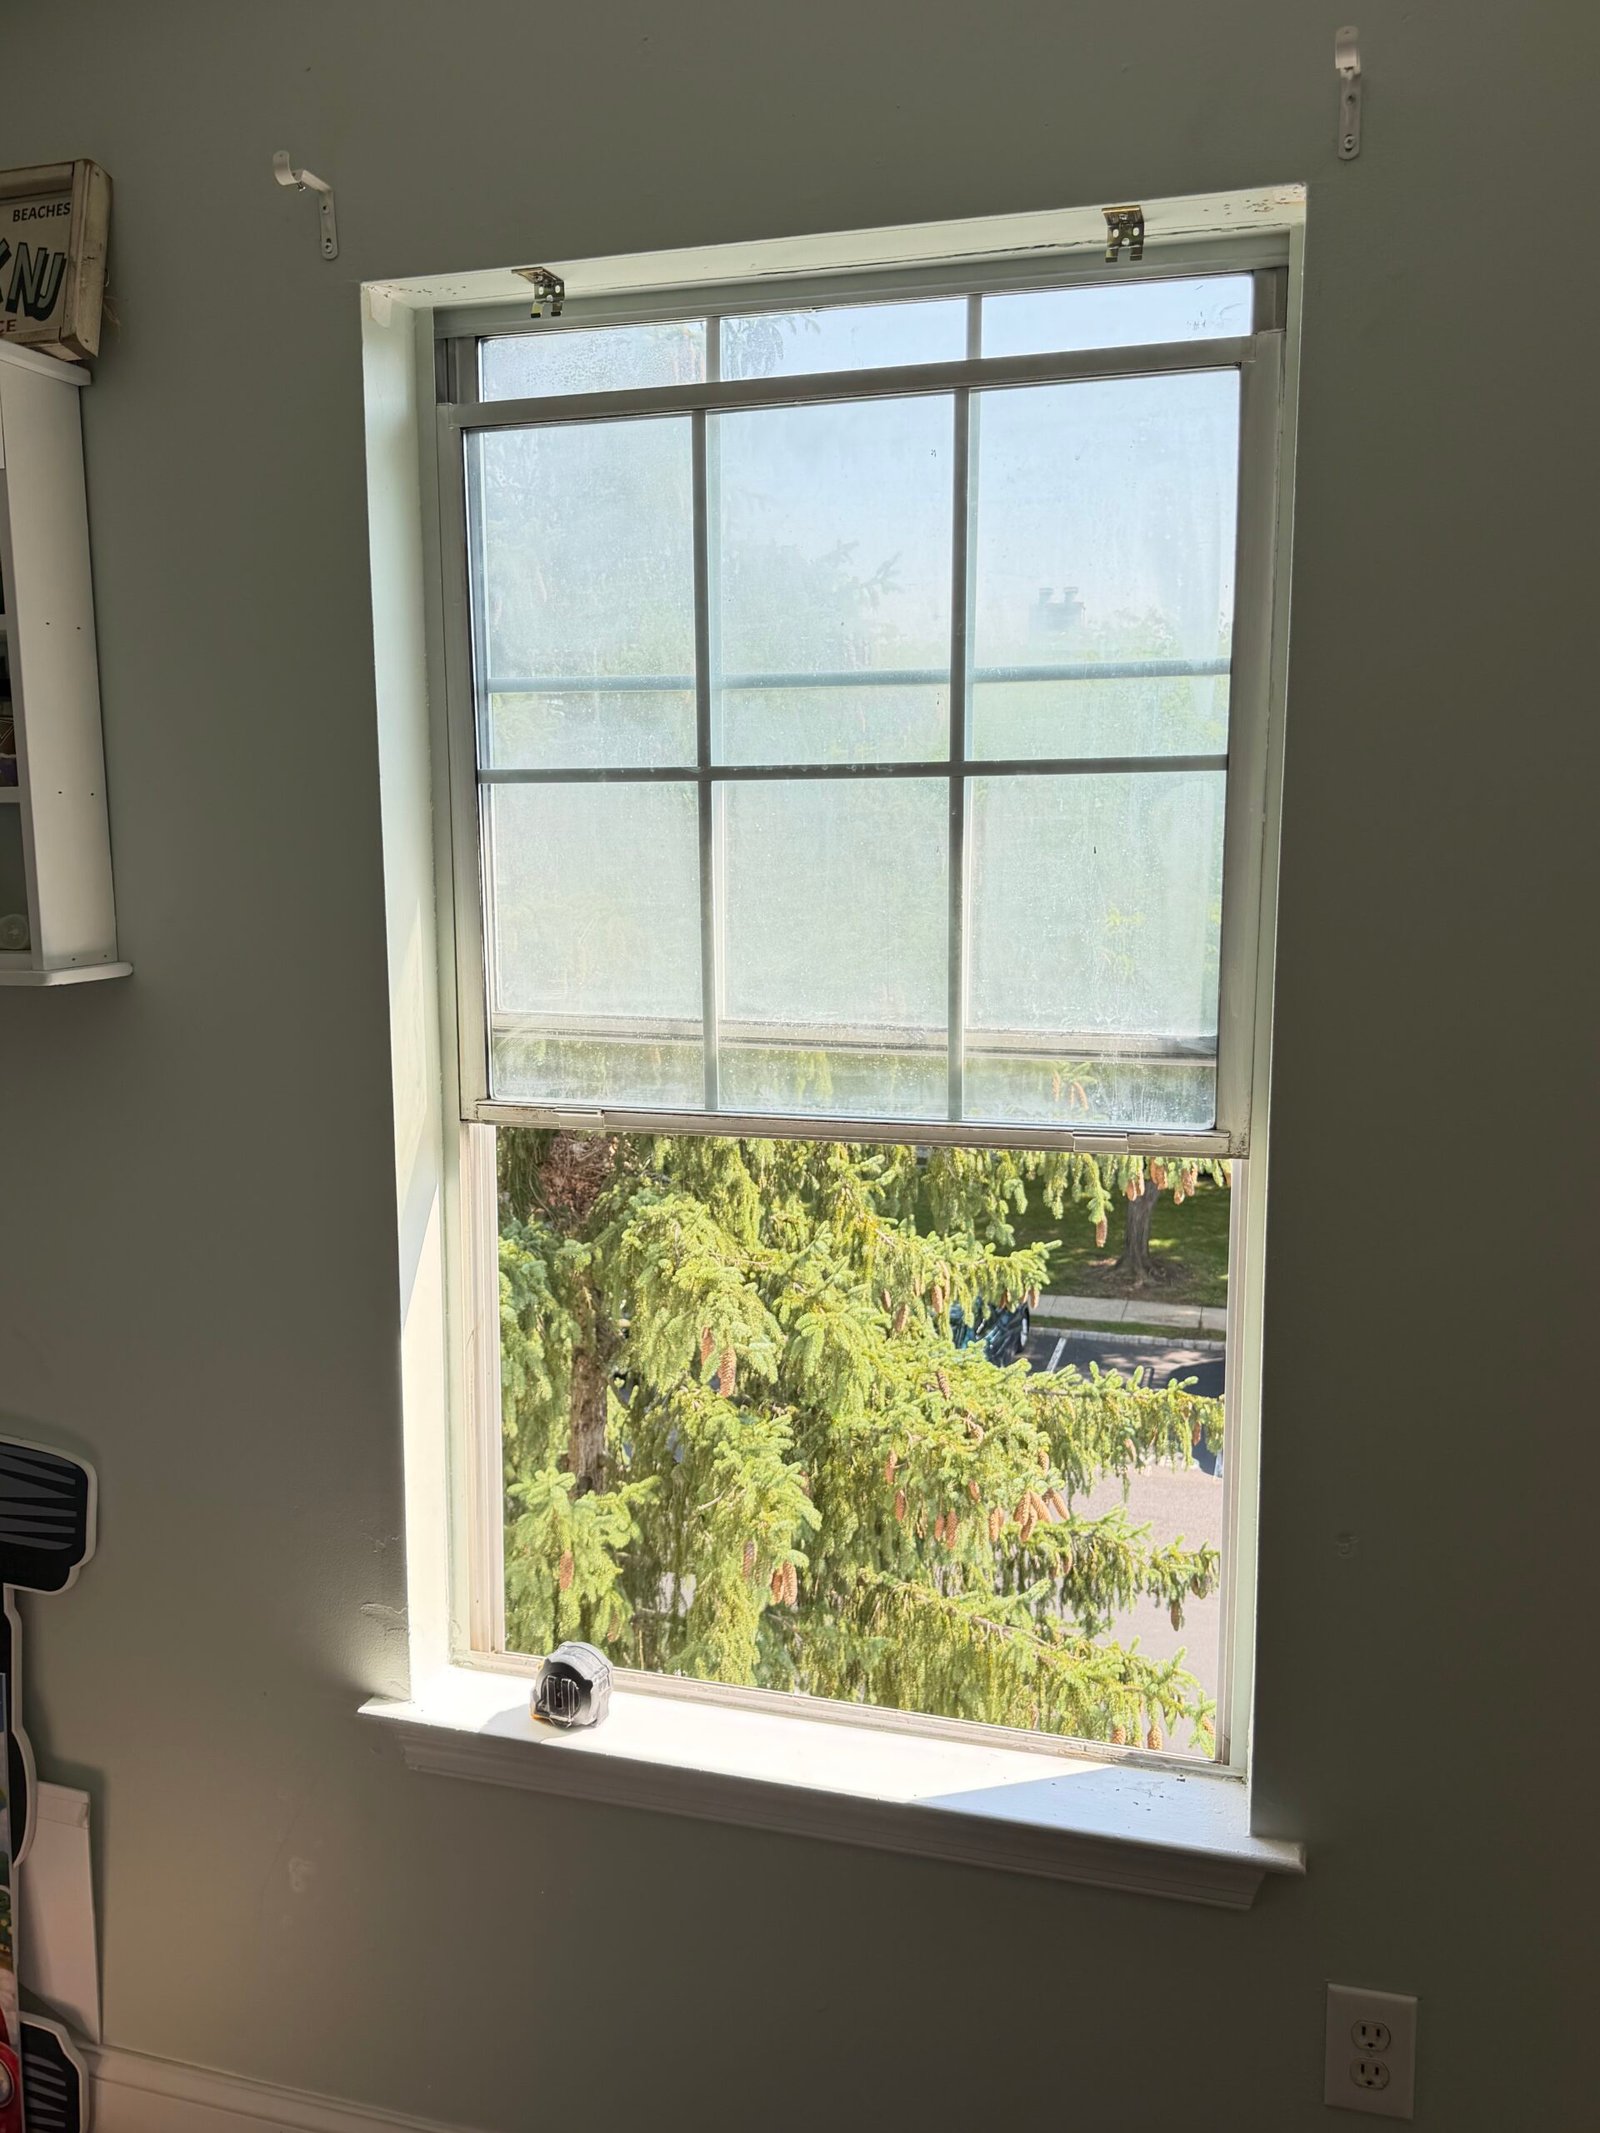 BEFORE
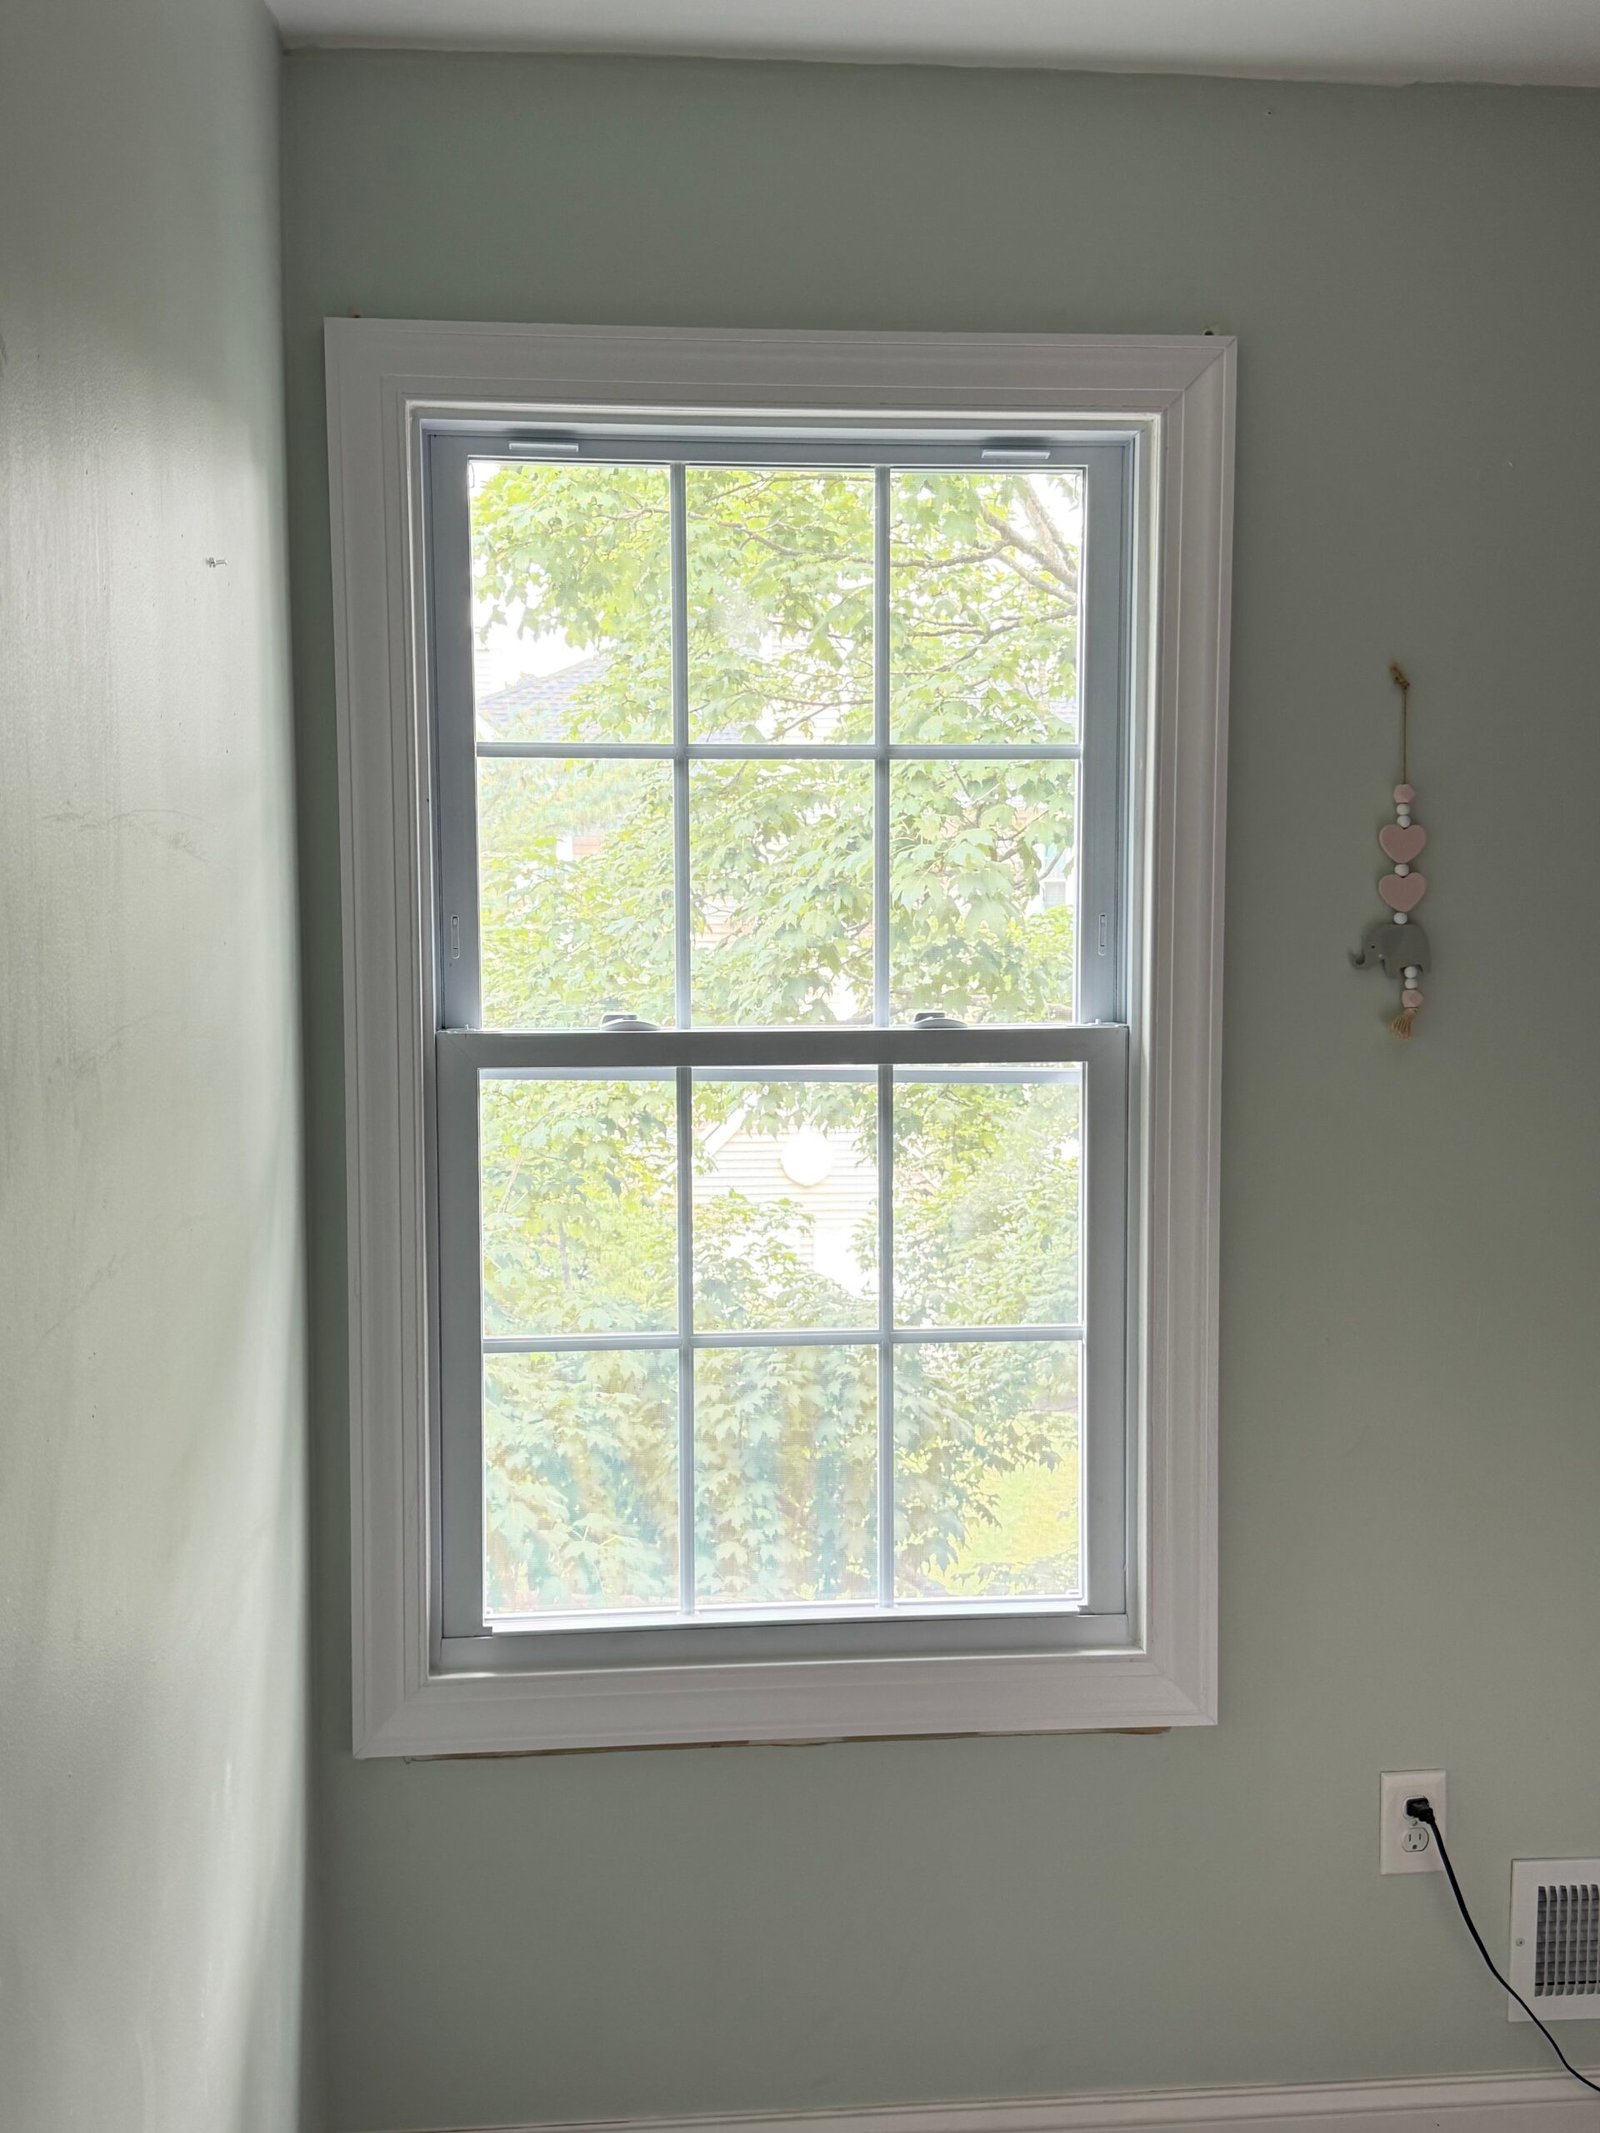 AFTER
 BEFORE
Both original windows were removed and replaced with white-framed units within the existing room openings. The photographs show the exposed timber and wall edges, the replacements in position and the surrounding trim before it was renewed.
A stage video records foam being applied around an installed frame. The final photographs show white casing around both openings and the two finished installations within the bedroom.
Explore five stages with 11 selected photographs and two videos. Select a photo to open the gallery, or watch the frame-sealing video and project montage beside the stages they document.
Stage 01
The project began with two existing bedroom windows and their original interior trim. The first views show the units in place, including the roller shades and the surrounding wall finishes.
These photographs provide the comparison with the replacements: both openings remain part of the room, with the new window units and renewed white casing brought together at the end.
Stage 02
The old window assemblies were removed to open the installation areas. One photograph captures an assembly being lifted from the opening; the other shows the exposed second opening and a unit standing inside the room.
The uncovered perimeters made the existing timber and wall edges accessible for the replacement and subsequent interior finishing.
Stage 03
New white-framed windows with divided-light patterns were positioned within the existing openings. The photographs show the replacements in place while the surrounding interior edges remained unfinished.
The closer view records the frame and exposed perimeter before the final casing was installed, connecting the window installation with the finishing work that followed.
Stage 04
With the replacement units in place, the work continued around their perimeters. The stage video shows expanding foam being applied around an installed frame before the interior finishing was completed.
The wider room photograph shows both replacement windows before the white casing was fitted. At this point the new units were installed, with their surrounding edges still being brought back into the room.
This video could not be played here. Open the original video.
Watch this stage
Watch expanding foam being applied around an installed window frame before the interior trim was fitted.
Stage 05
White interior casing finishes the edges around both replacement windows. The close views show each completed opening, while the final room view brings the two installations together.
The project montage follows the original window, exposed opening, installed replacement and finished trim. It connects the visible result with the stages shown in the gallery.
This video could not be played here. Open the original video.
Watch this stage
The supplied montage brings together the original units, removal, replacement windows and finished white trim.
Matching white frames and casing bring the two window openings into a coordinated interior finish. The gallery and videos connect that result with the removal, installation and sealing work.
Planning to replace windows or renew the finish around them? Share your property location, photographs and the openings you want to improve. Nashkov Group can help define the installation and finishing scope.
Discuss your window project