Phone:
(848)318-7679
Physical address:
954 Vaughn Ave, Toms River 08753

Phone:
(848)318-7679
Physical address:
954 Vaughn Ave, Toms River 08753
Project story
A compact bathroom brought together with gray marble-look wall tile, a coordinated floor and a white vanity with black accents. Follow the work from the exposed subfloor through tile installation, the toilet and mirror, and the final vanity and finishing details.
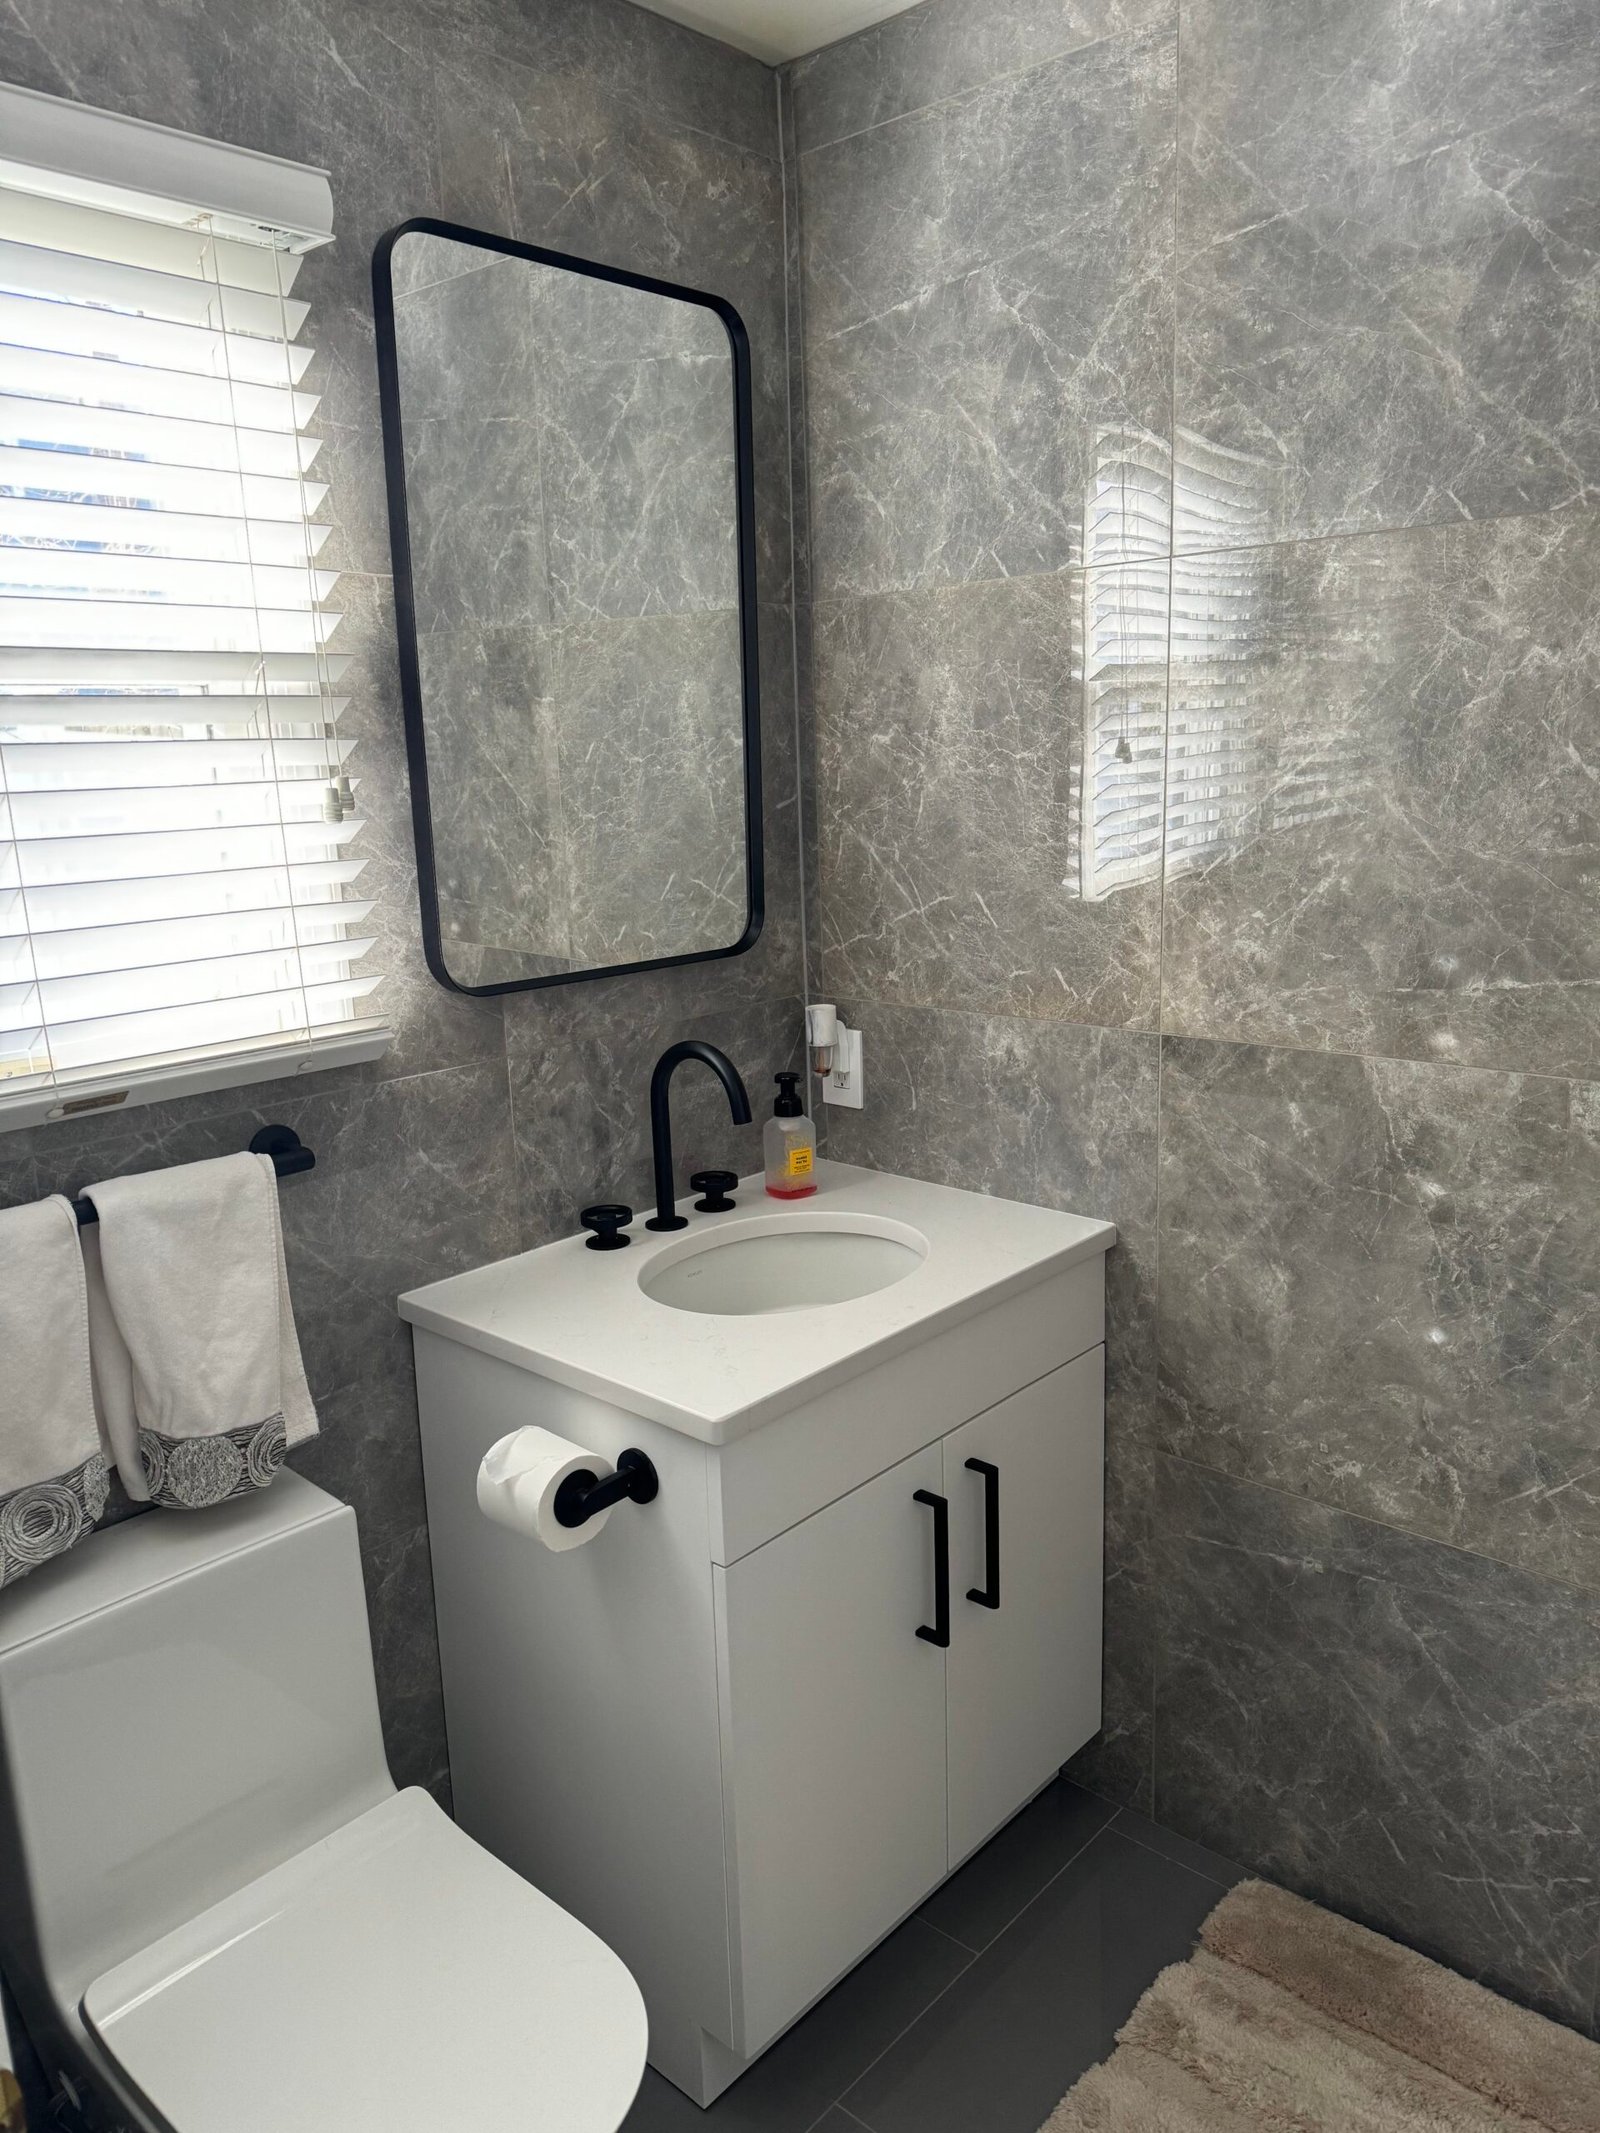 AFTER
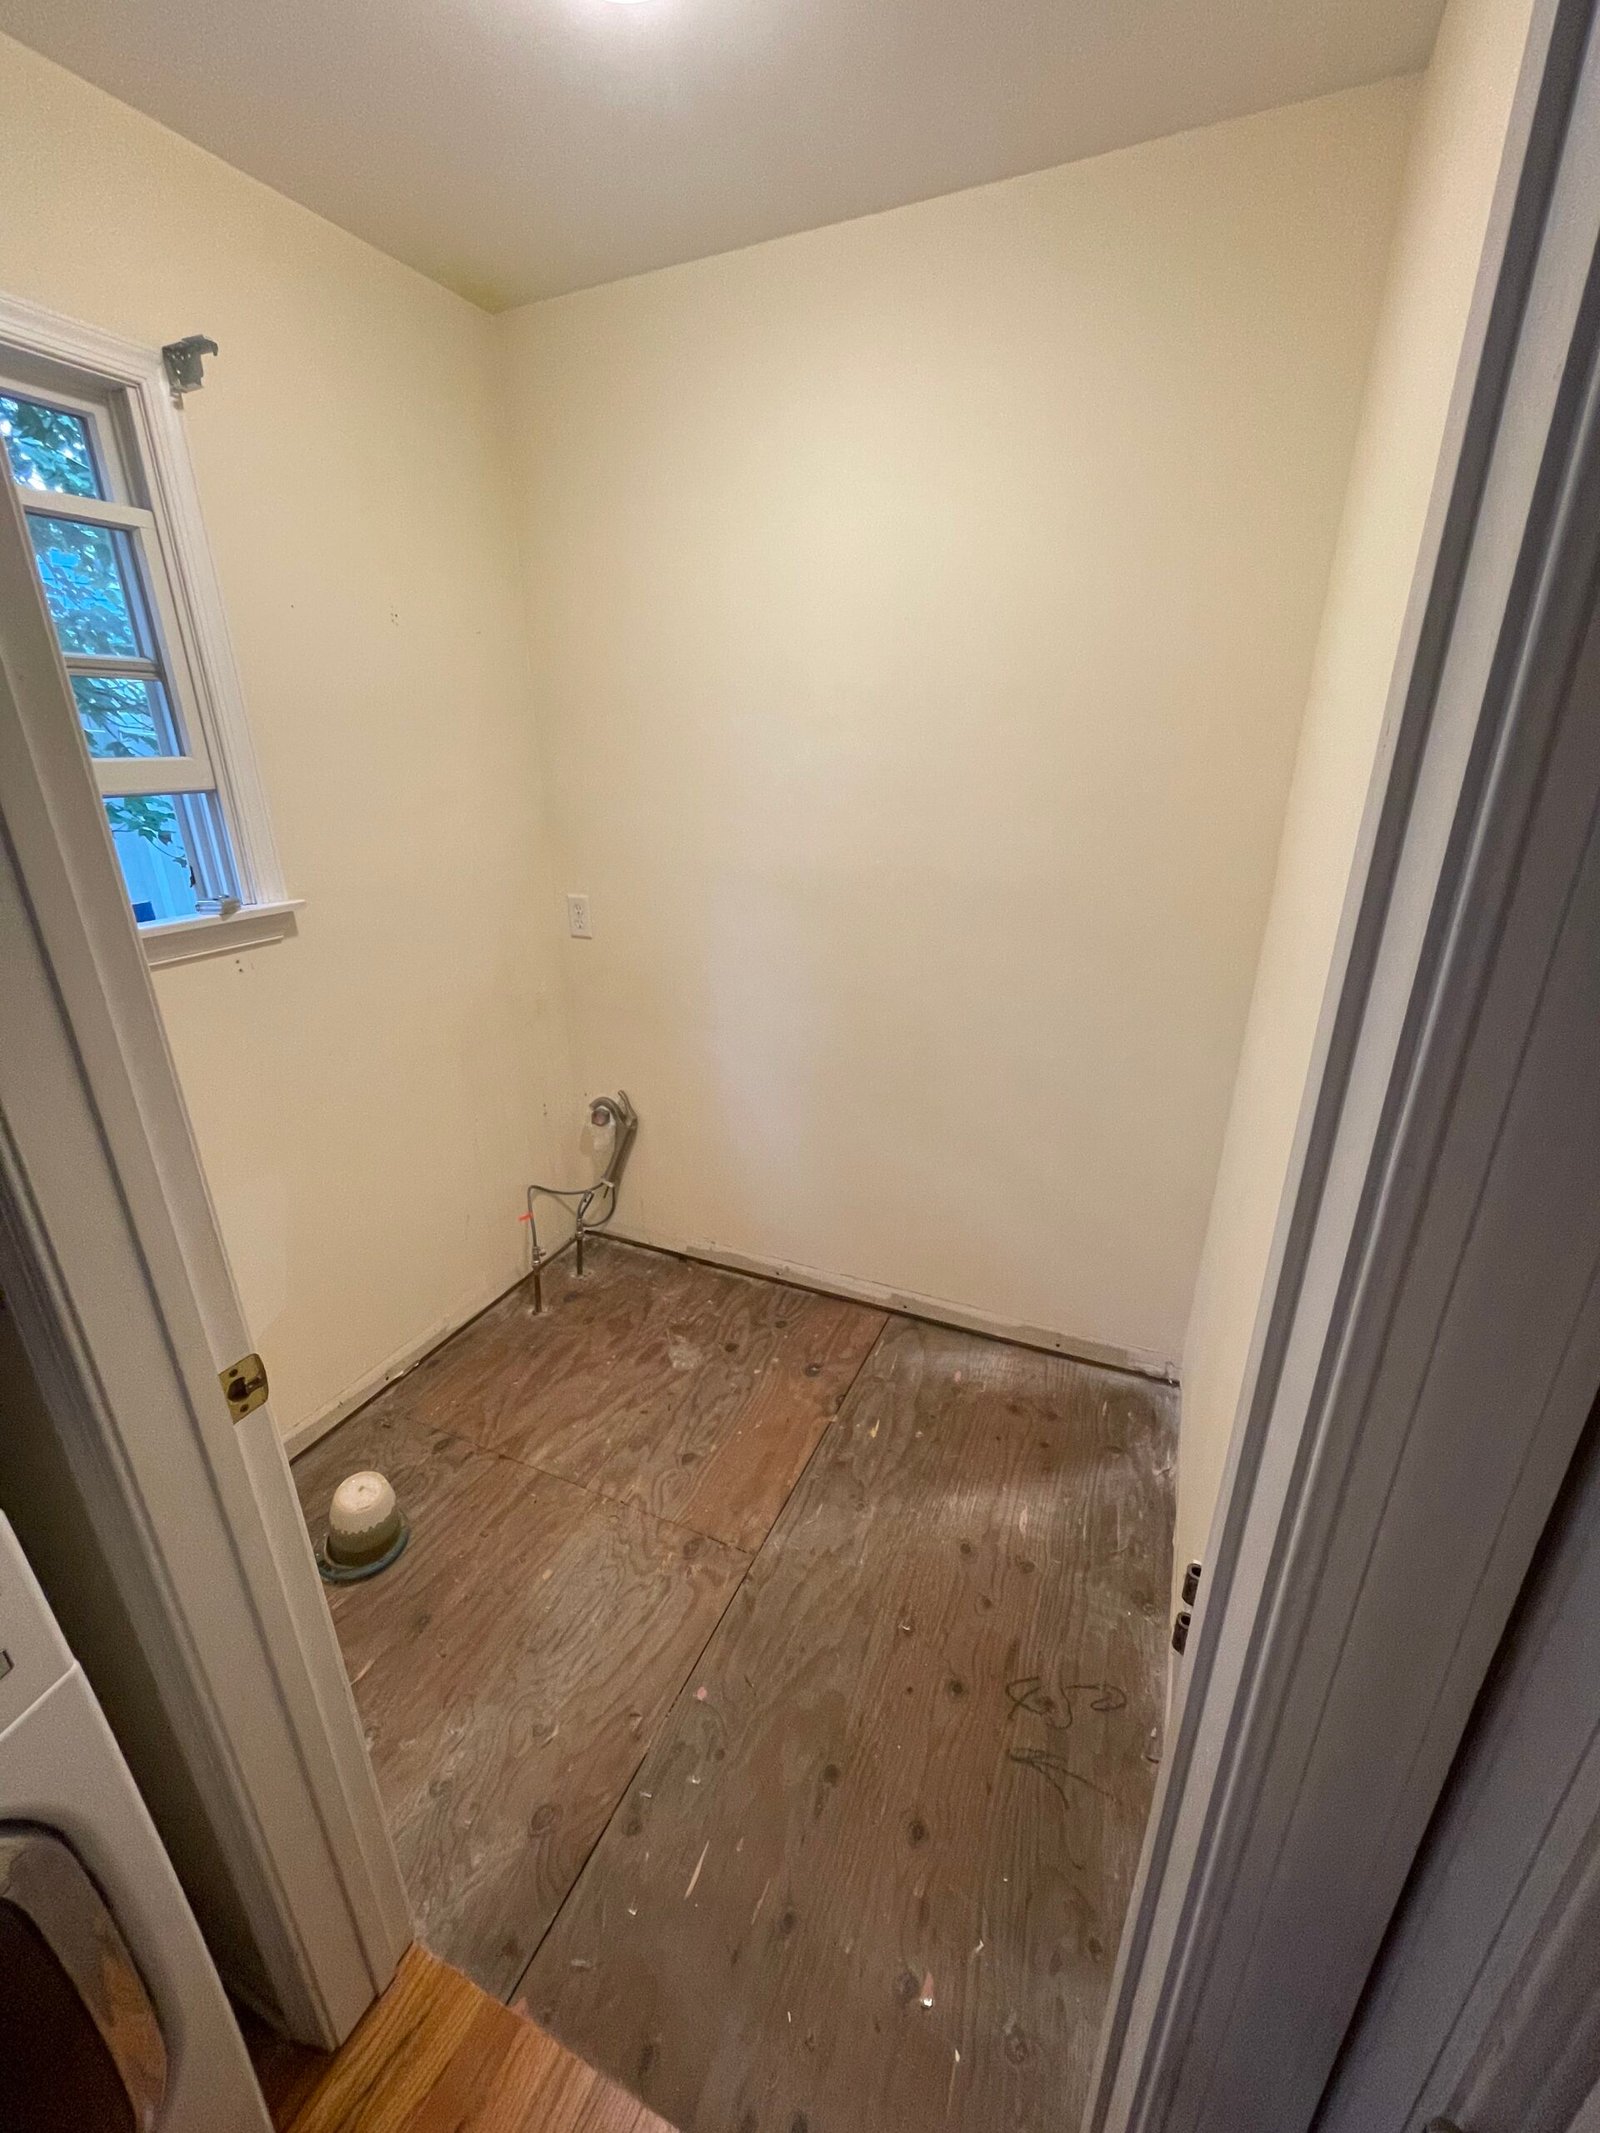 BEFORE
The first photographs show a cleared room with plain walls, an exposed subfloor and visible plumbing connections. Gray wall and floor tile gave the space a consistent finish, with the wall layout carried around the existing window, doorway and corners.
A white toilet and vanity introduce a lighter contrast, while the black-framed mirror, faucet, cabinet handles and accessories connect the finishing details. The sequence follows the work from floor preparation to the installed tile and fixtures.
Explore the six stages below. Select any photograph to open the 12-photo gallery on this page, then use the side arrows, keyboard or swipe to follow the sequence.
Stage 01
The photo sequence begins with the bathroom already cleared for the next stage of work. The floor finish is absent, leaving the subfloor exposed, while the walls are plain and the toilet and vanity connections are visible. The original window and doorway establish the shape of the compact room.
These starting views provide the reference for the finished space: the same room, brought together with a coordinated floor, full-height wall tile and new visible fixtures.
Stage 02
An orange underlayment was fitted over the bathroom floor ahead of tiling. The photograph shows the material following the room’s outline and working around the existing plumbing locations, with installation tools still in the work area.
This stage sits between the exposed subfloor and the gray tile seen in the later photographs. It records the floor preparation before the finished surface was laid.
Stage 03
Large gray marble-look tiles were installed across the bathroom walls, paired with gray floor tile. The varied veining gives the wall surfaces texture, while the floor creates a coordinated base for the room.
Leveling clips remain visible along the wall joints in these installation views. The photographs show the layout progressing across the back wall and into the corners, with plumbing openings left accessible for the fixtures that follow.
Stage 04
The tile layout continued around the window opening and the bathroom doorway. These views bring the perimeter details into focus: cuts beside the trim, alignment through corners and the relationship between the wall joints and the new floor.
The installation photographs show the wall finish reaching close to the ceiling and following the retained openings. Attention to those edges helps the tiled surfaces read as one room rather than separate wall sections.
Stage 05
With the tile clips removed, the room begins to take on its finished appearance. A white toilet and a black-framed mirror are in place, while the vanity connections remain exposed for the next part of the installation.
These intermediate views show the gray wall and floor finishes together before the sink cabinet is added. The window continues to bring daylight into the space, highlighting the tile pattern and the contrast between the gray surfaces and the white fixture.
Stage 06
The final photograph shows a white vanity and basin set against the gray marble-look wall tile. A black faucet, cabinet handles and rounded-corner mirror bring the fittings into a consistent finish, alongside matching dark accessories and a white window blind.
Together with the installed toilet and coordinated floor, these details complete the visible renovation. The contrast between the starting photographs and the final view shows how the surface finishes and compact fixtures changed the character of the room.
Gray tile connects the walls and floor, white fixtures keep the room light, and black fittings give the details a consistent appearance. The result brings the surfaces and everyday fixtures together in one compact space.
Planning your own bathroom update? Share your location, photographs and the changes you have in mind. Nashkov Group can help define the finishes, preparation and installation for your room.
Discuss your bathroom project